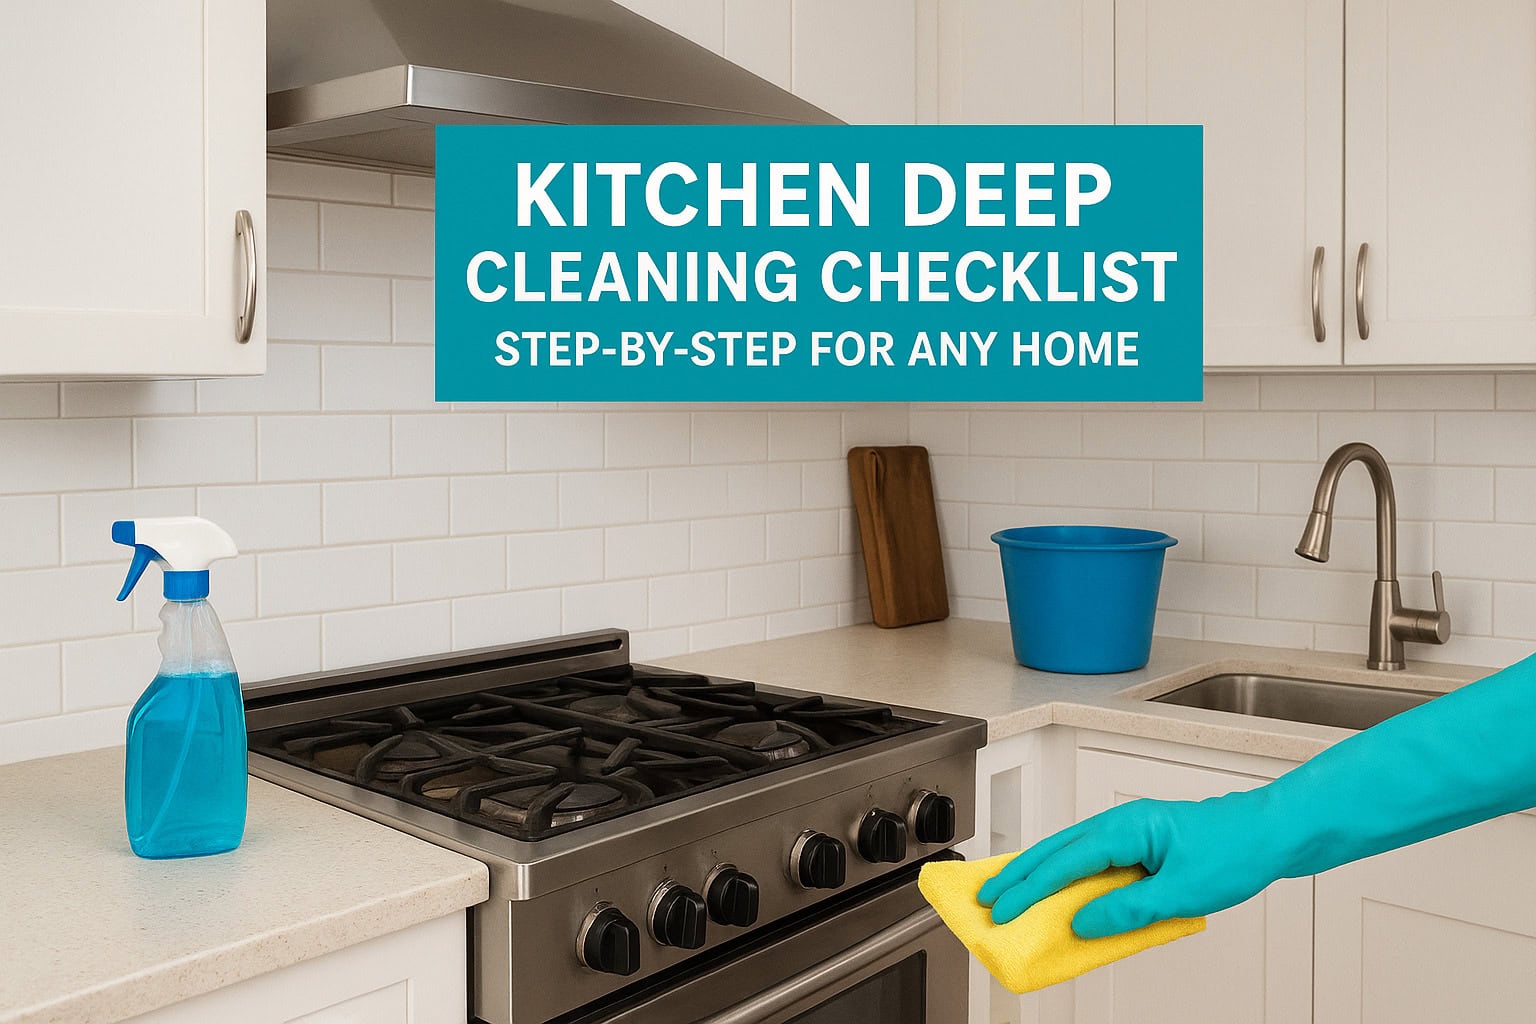
Your kitchen handles a lot, grease splatters, food spills, sticky residue on cabinet handles, and crumbs in places you didn’t know existed. Over time, even regular wiping down isn’t enough to tackle the buildup hiding behind appliances and inside drawers. That’s where a proper kitchen deep cleaning checklist comes in. Having a structured plan helps you clean every corner systematically, so nothing gets overlooked and your kitchen actually feels clean when you’re done.
At AlphaLux Cleaning, we’ve deep cleaned countless kitchens across New York, from busy family homes to apartments getting ready for new tenants. We know exactly which spots collect the most grime and which tasks people tend to skip. This guide shares what our professional cleaners do when tackling a kitchen deep clean, broken down into clear steps you can follow yourself or use to know what to expect when hiring help.
Below, you’ll find a room-by-room breakdown covering appliances, cabinets, countertops, floors, and those often-forgotten areas like light fixtures and baseboards. Whether you’re prepping for a special occasion, doing a seasonal refresh, or just tired of surface-level cleaning, this checklist will help you get your kitchen back to spotless.
What a kitchen deep clean includes
A kitchen deep clean goes beyond the daily wipe-downs and weekly maintenance you already do. Instead of just cleaning surfaces you can see, you tackle the buildup hiding in overlooked spots like the space between your stove and countertop, the grease coating your range hood filter, and the sticky film inside cabinet doors. You’re moving appliances to clean behind them, emptying drawers to scrub the insides, and addressing grime that’s accumulated over months or even years. This level of cleaning takes more time and effort, but the results make your kitchen feel brand new.
The five core areas your deep clean covers
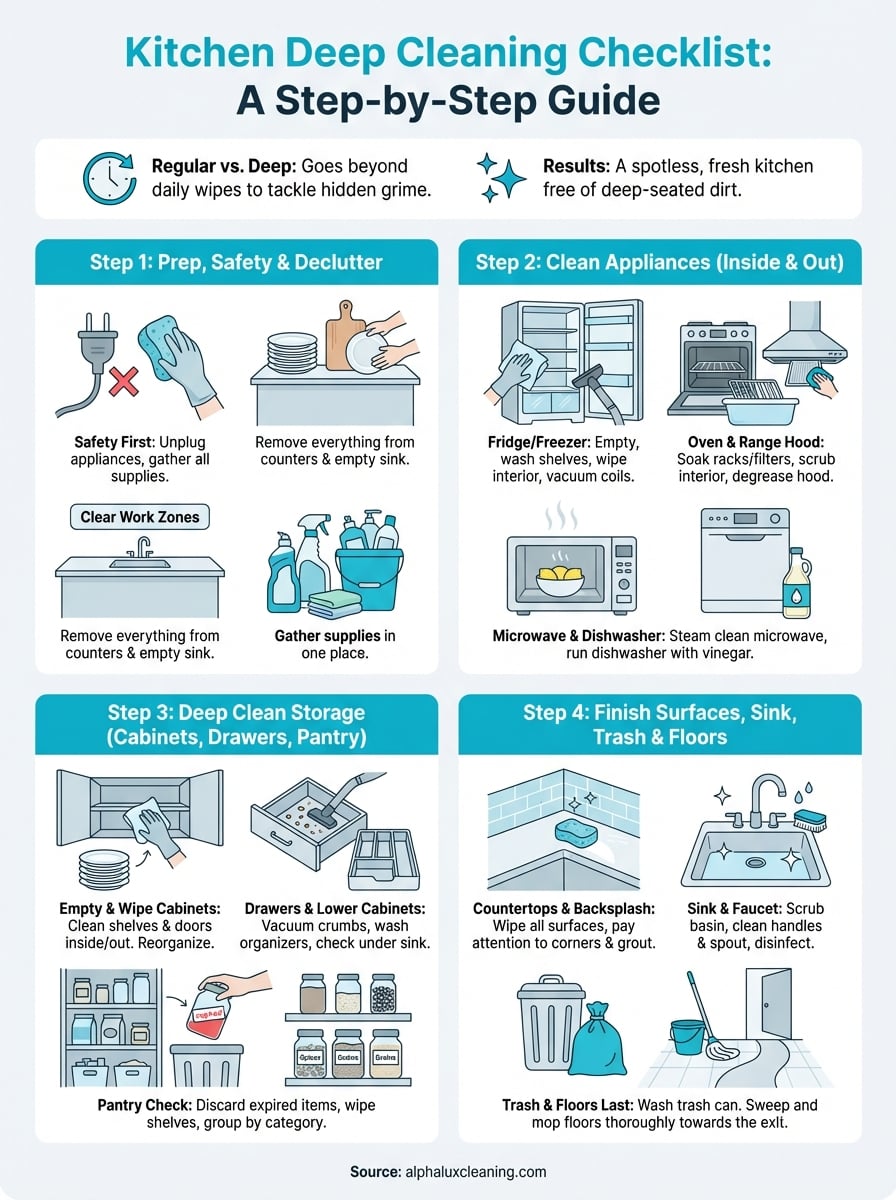
Your kitchen deep cleaning checklist breaks down into five main zones that professional cleaners address systematically. First, you’ll prep and declutter to clear surfaces and make everything accessible. Second, you’ll clean all major appliances inside and out, including your oven, refrigerator, microwave, and dishwasher. Third, you’ll tackle cabinets, drawers, and pantry spaces by emptying, wiping, and reorganizing them. Fourth, you’ll deep clean all surfaces, your sink, countertops, backsplash, and floors. Finally, you’ll address often-forgotten areas like light fixtures, baseboards, and the tops of cabinets.
Each zone includes specific tasks that go deeper than routine cleaning. For example, in the appliance zone, you’re not just wiping the front of your oven, you’re removing the racks, scrubbing baked-on residue from the interior, and cleaning the door glass until it’s spotless. In the cabinet zone, you’re pulling items out shelf by shelf, wiping down every surface, checking expiration dates, and putting everything back in an organized way.
Deep cleaning your kitchen means addressing the grime you don’t see every day, not just the spots you wipe during regular maintenance.
What separates deep cleaning from your weekly routine
Regular cleaning keeps your kitchen functional day to day. You wipe counters after cooking, sweep floors, and clean dishes. Deep cleaning addresses what regular maintenance misses. You’re pulling out your refrigerator to vacuum the coils, scrubbing grout lines with a brush instead of a quick mop, and removing every item from your pantry to check for spills and expired goods. This process takes several hours, not the 15 minutes you spend on daily upkeep.
The biggest difference shows in your results. After a deep clean, your cabinet handles aren’t sticky, the corners of your countertops don’t have crumb buildup, and your kitchen actually smells fresh instead of masking odors with air freshener. You’ve eliminated the sources of grime rather than just covering them up. Professional cleaners know that deep cleaning should happen every three to six months, depending on how heavily you use your kitchen, to maintain this level of cleanliness and prevent buildup from becoming overwhelming.
Step 1. Prep, safety, and a quick declutter
Before you start scrubbing and cleaning, you need to set up your workspace properly and gather everything you’ll need. This first step in your kitchen deep cleaning checklist prevents you from stopping mid-task to hunt for supplies or move clutter around. Taking 15 to 20 minutes to prep your kitchen makes the actual cleaning process faster and more efficient because you’ve already created clear work zones and removed obstacles that would slow you down.
Safety first and gathering supplies
Turn off and unplug any appliances you’ll be cleaning or moving during your deep clean. This includes your refrigerator if you plan to pull it out, your dishwasher, and countertop appliances like your toaster and coffee maker. You want to eliminate any electrical hazards before you start working with water and cleaning solutions around these items.
Gather all your cleaning supplies in one place so you’re not walking back and forth to fetch items:
- All-purpose cleaner and degreaser
- Microfiber cloths and sponges
- Scrub brushes (various sizes)
- Bucket with warm water
- Rubber gloves
- Trash bags for discarding expired items
- Step stool or ladder for high cabinets
Preparing your supplies and workspace before you start cleaning saves you time and prevents interruptions that break your momentum.
Clear counters and work zones
Remove everything from your countertops and place items temporarily in your dining room or another space outside the kitchen. This includes appliances, dish racks, cutting boards, utensil holders, and decorative items. You need completely bare surfaces to clean properly and access areas that are usually blocked. Don’t just move things from one counter to another, you’ll end up shuffling items around instead of actually cleaning.
Empty your sink completely and load any dirty dishes into the dishwasher or wash them quickly by hand. Your sink becomes a crucial tool during deep cleaning for rinsing cloths, filling buckets, and soaking removable parts from appliances. Starting with a clear, empty sink gives you the workspace you need to tackle each cleaning task efficiently without dishes getting in your way.
Step 2. Clean appliances inside and out
Your appliances accumulate the most stubborn grime in your kitchen because they’re constantly exposed to heat, grease, and food particles. This step of your kitchen deep cleaning checklist focuses on cleaning every appliance thoroughly, not just wiping the exterior surfaces. You’ll remove shelves, racks, and filters to scrub away buildup that regular cleaning misses. Plan to spend 60 to 90 minutes on this section, depending on how many appliances you have and their current condition.
Refrigerator and freezer deep clean
Unplug your refrigerator and remove everything from both compartments, discarding expired items as you go. Take out all removable shelves, drawers, and door bins, then wash them in your sink with warm soapy water. While those parts dry, wipe down the interior walls and ceiling of both the fridge and freezer using an all-purpose cleaner or a mixture of equal parts water and white vinegar. Don’t forget to clean the rubber door seals where mold and food residue collect. Pull your refrigerator away from the wall to vacuum the coils on the back or bottom, which improves efficiency and prevents overheating.
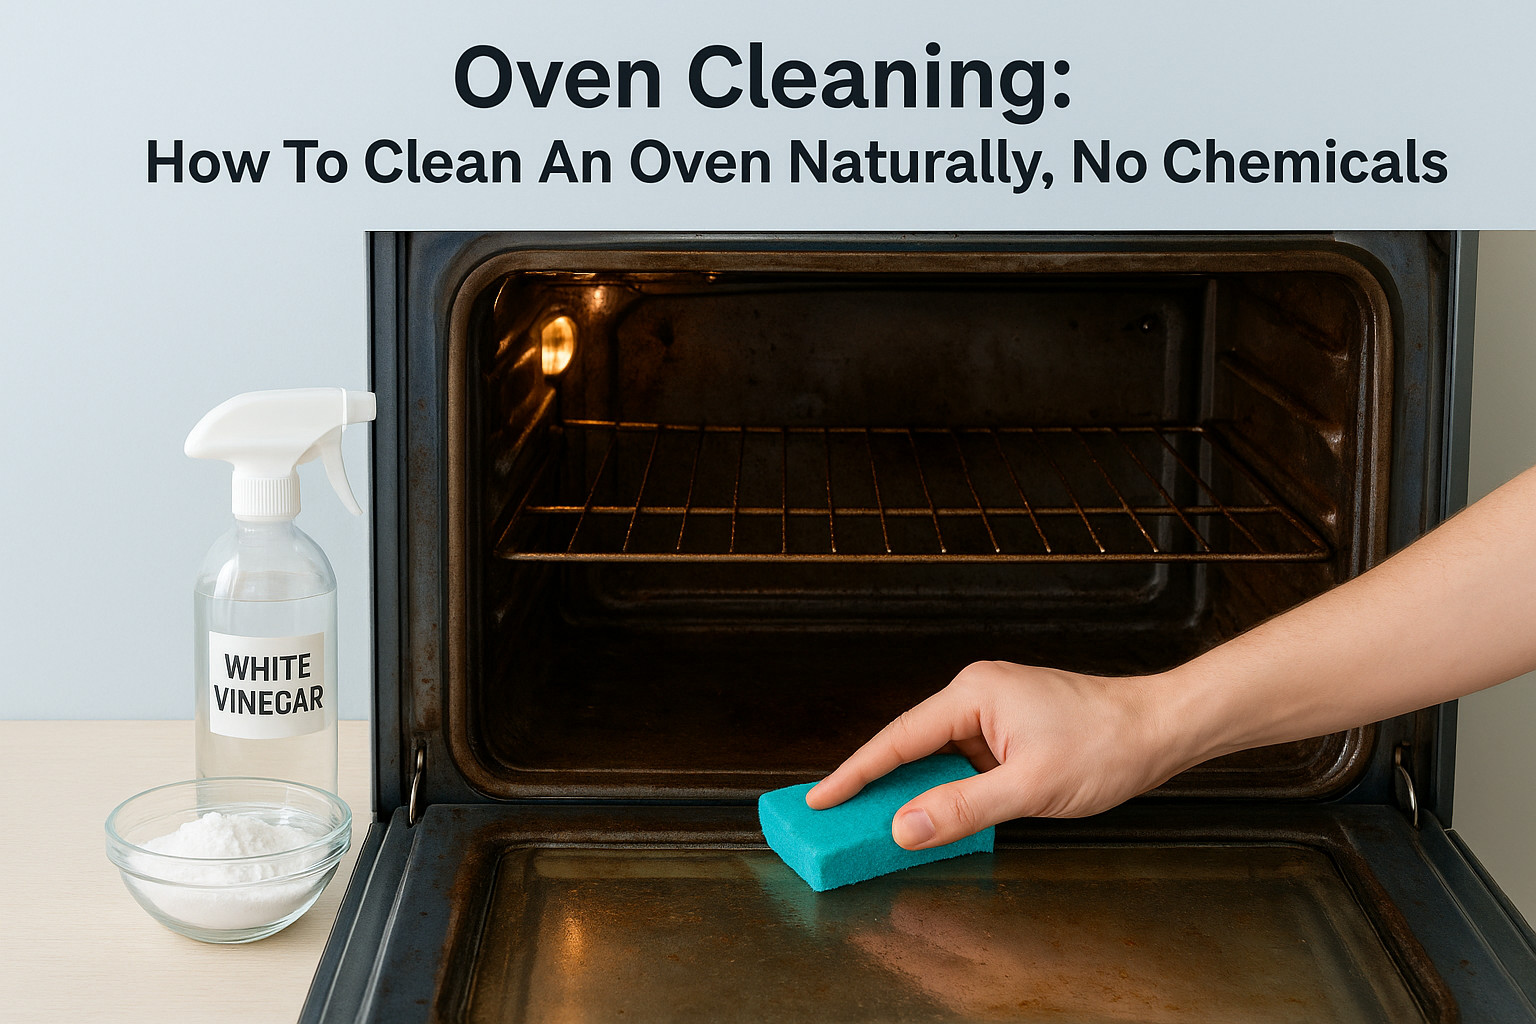
Oven, stovetop, and range hood
Remove your oven racks and soak them in hot soapy water in your bathtub or a large basin while you clean the oven interior. Spray the inside with oven cleaner following the product instructions, let it sit for the recommended time, then scrub away baked-on residue with a non-scratch sponge. For your stovetop, remove burner grates and drip pans to soak and scrub separately. Clean your range hood by removing and soaking the filter in degreasing solution, then wiping down the hood exterior and underside to remove grease buildup.
Professional cleaners know that appliance filters and removable parts need soaking time to break down stubborn grease, making scrubbing much easier.
Microwave, dishwasher, and small appliances
Heat a bowl of water with lemon slices in your microwave for three minutes to loosen dried food, then wipe the interior clean. Run your dishwasher empty with a cup of white vinegar on the top rack to remove buildup and odors. Wipe down all small appliances like your toaster, coffee maker, and blender, cleaning crumb trays and unplugging them to access all sides.
Step 3. Deep clean cabinets, drawers, and pantry
This step in your kitchen deep cleaning checklist addresses storage areas that collect dust, crumbs, and sticky residue over time. You’ll empty each space completely to access every corner and shelf, checking for expired items and food spills as you go. Working systematically from top to bottom prevents debris from falling onto areas you’ve already cleaned. Expect to spend 45 to 60 minutes on this section, depending on how much you have stored.
Work shelf by shelf through upper cabinets
Start at one end of your kitchen and remove everything from your upper cabinets one shelf at a time. Place items on your cleared countertop or dining table, grouping similar items together as you go. Wipe down each empty shelf with warm soapy water or all-purpose cleaner, paying attention to corners where crumbs accumulate. Don’t forget to clean the cabinet doors inside and out, including the handles where oils from your hands create sticky buildup. Let shelves dry completely before replacing items in an organized manner, discarding anything you no longer use.
Empty and organize drawers and lower cabinets
Pull out each drawer completely to vacuum or wipe away crumbs from the tracks and interior corners. Wash drawer organizers and dividers separately in your sink, then dry them thoroughly. For lower cabinets, remove all pots, pans, and stored items to access the bottom and back surfaces. Scrub away any spills or sticky spots that have accumulated under containers. Check under your sink for leaks or moisture that might indicate plumbing issues, and wipe down all cleaning supply bottles before putting them back.
Deep cleaning storage spaces now prevents grime buildup from spreading to your clean dishes and food items later.
Pantry organization and expiration check
Empty your pantry shelf by shelf, checking expiration dates on all packaged foods, spices, and condiments. Throw away anything expired, stale, or no longer edible. Wipe down each shelf and the pantry walls, addressing any sticky spots from spills. Group items by category as you return them, placing older products in front so you use them first. Consider adding shelf liners for easier future cleaning.

Step 4. Finish surfaces, sink, trash, and floors
This final step in your kitchen deep cleaning checklist addresses the surfaces you use most, your countertops, sink, and floors. These areas need attention last because you’ve been using them throughout your deep clean as work surfaces and cleaning stations. Now you’ll tackle them properly without worrying about making them dirty again during other tasks. This section takes about 30 to 45 minutes and leaves your kitchen looking completely refreshed.
Countertops and backsplash
Spray your entire countertop with appropriate cleaner for your surface type (granite, quartz, laminate, or butcher block each require different products). Wipe from back to front, pushing crumbs toward the edge where you can collect them. Pay special attention to corners, edges, and the space where your countertop meets the wall where grime collects. For your backsplash, spray tile or whatever material you have and scrub grout lines with a small brush to remove stains and buildup. Rinse your cloth frequently and wipe everything dry to prevent streaks and water spots.
Deep clean your sink and faucet
Scrub your entire sink basin with baking soda and a sponge to remove stains and buildup, including the drain area and the underside of the faucet where water deposits accumulate. Clean your faucet thoroughly, wiping down the handle, spout, and base where soap scum collects. For stainless steel sinks, wipe in the direction of the grain to avoid scratches. Disinfect your sink by spraying it with cleaner and letting it sit for a few minutes before rinsing completely.
A spotless sink signals the completion of your deep clean and prevents bacteria from spreading to clean dishes and food prep surfaces.
Trash area and floors last
Wash your trash can inside and out with soapy water, then spray with disinfectant and let it dry completely. Replace the liner with a fresh bag. Sweep or vacuum your entire floor, moving from the farthest corner toward your kitchen exit. Mop using hot water and floor cleaner appropriate for your flooring type, working backward toward the doorway so you don’t step on wet areas. Let floors dry completely before replacing any appliances or rugs.
Next steps
Your kitchen deep cleaning checklist is now complete, and you’ve tackled every surface, appliance, and storage area that collects grime over time. Schedule these deep cleaning sessions every three to six months to maintain this level of cleanliness and prevent buildup from becoming overwhelming. Between deep cleans, your regular maintenance routine will be much easier because you’ve eliminated the hidden sources of dirt and grease that make kitchens feel perpetually messy. Mark your calendar now for your next deep clean so it doesn’t slip your mind.
Not everyone has the time or energy to spend several hours on a thorough kitchen deep clean. Professional cleaners bring the expertise, supplies, and efficiency to complete the job faster while you focus on other priorities. If you’d rather hand this task to trained professionals who clean kitchens across New York, AlphaLux Cleaning provides thorough deep cleaning services that address every detail on this checklist.