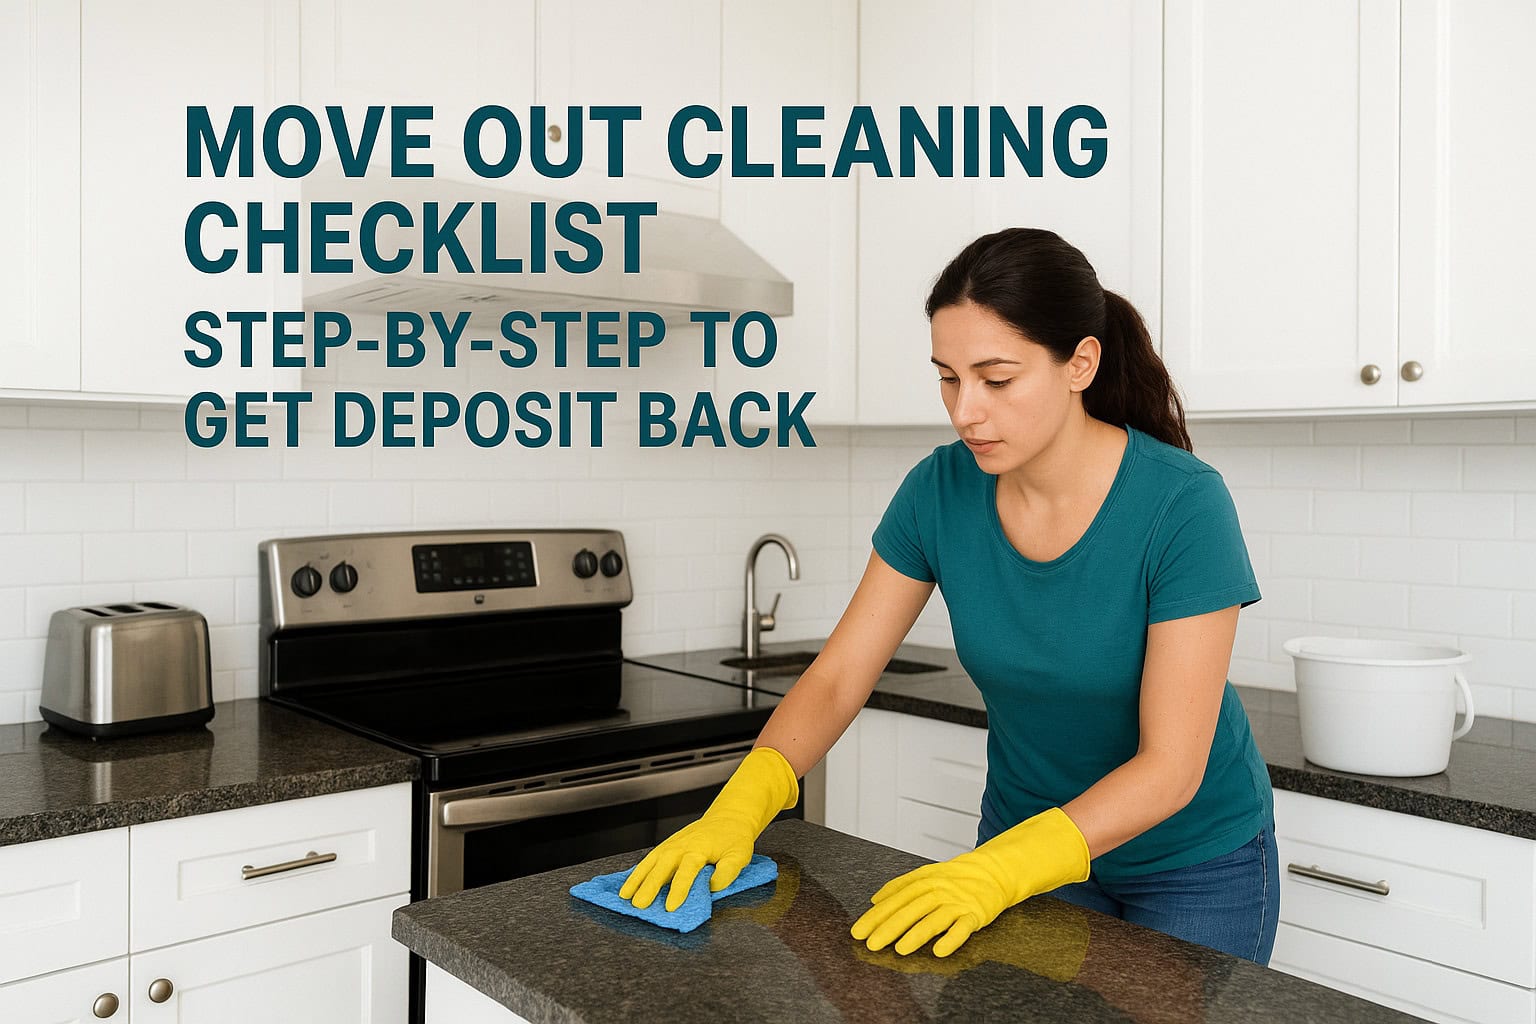
You’ve packed the boxes, scheduled the movers, and signed the lease on your new place. Now comes the part most people dread: the move out cleaning checklist that stands between you and your full security deposit. Skip it or cut corners, and your landlord has every reason to withhold hundreds, sometimes thousands, of dollars.
The truth is, most deposit deductions come down to cleaning issues that are completely avoidable. Missed baseboards, greasy stovetops, soap scum in the tub, landlords and property managers notice all of it. A thorough, room-by-room approach is the single best way to protect your money and leave on good terms.
At AlphaLux Cleaning, we handle move out cleans across New York State, so we know exactly what landlords and inspection teams look for. We built this checklist from that hands-on experience, every task, every room, in the order that actually makes sense. Whether you’re tackling the job yourself or deciding to bring in a professional crew, this guide gives you a clear path from start to finish.
1. Hire AlphaLux Cleaning for a move-out clean
If the idea of spending a weekend scrubbing a place you’re already walking away from sounds like too much, hiring a professional move-out cleaning service is worth serious consideration. AlphaLux Cleaning serves homes and businesses across New York State, bringing trained crews, professional-grade equipment, and eco-friendly products to every single job.
A professional move-out clean is often the fastest way to protect your full security deposit without piling more stress onto an already demanding moving process.
What to clean
AlphaLux handles every area your landlord will inspect, working from a detailed move out cleaning checklist built around what property managers and inspectors actually look for. The crew covers:
- Kitchen appliances, cabinets, and countertops
- All bathrooms including fixtures, grout, and hidden corners
- Bedrooms, closets, and living areas
- Hallways, entryways, windows, and all floors
Step-by-step checklist
When you book AlphaLux, you don’t need to organize the order of tasks yourself. The crew follows a proven top-to-bottom sequence to avoid recontaminating surfaces that are already clean, and every step gets verified before the team leaves. Here’s what a typical job looks like:
- Walkthrough to document the property’s starting condition
- Dust and wipe all high surfaces, ceiling fans, and light fixtures
- Deep clean all kitchen appliances inside and out
- Scrub bathrooms from top to bottom, including behind fixtures
- Wipe all cabinets, drawers, and shelving inside and out
- Clean window sills, tracks, and interior glass
- Vacuum and mop every floor
- Final walkthrough inspection
Common spots people miss
Landlords consistently check areas that most renters never touch, including the tops of refrigerators, inside oven drawers, dishwasher filters, and the space behind the toilet. AlphaLux crews know exactly where inspectors look and clean every one of those spots without you needing to point them out.
- Refrigerator coils and drip trays
- Range hood filters
- Bathroom exhaust fan covers
- Inside window tracks
Time, tools, and add-ons
A typical move-out clean for an average apartment takes three to six hours, depending on the size and condition of the property. AlphaLux brings all equipment and cleaning supplies, so you don’t need to provide a thing. You can also add carpet cleaning or interior window washing if your lease requires it.
2. Prep before you start cleaning
Before you touch a single surface, taking 30 to 45 minutes to prepare saves you hours of backtracking later. If you jump straight into scrubbing without clearing the space first, you’ll waste time moving around remaining furniture and clutter and risk re-contaminating areas you’ve already cleaned.
What to clean
Prep work focuses on clearing every room so all surfaces, floors, and storage areas are fully accessible. You need empty cabinets, open closets, and clear floors before any real cleaning begins.
Step-by-step checklist
Working through prep in the right order sets your entire move out cleaning checklist up for success. Run through these steps before you pick up a single sponge:
- Remove all furniture, boxes, and personal items from every room
- Take down wall hangings and fill nail holes with spackle
- Collect all remaining trash and take it outside
- Open windows for ventilation where possible
- Stage all your cleaning supplies in one central spot
Common spots people miss
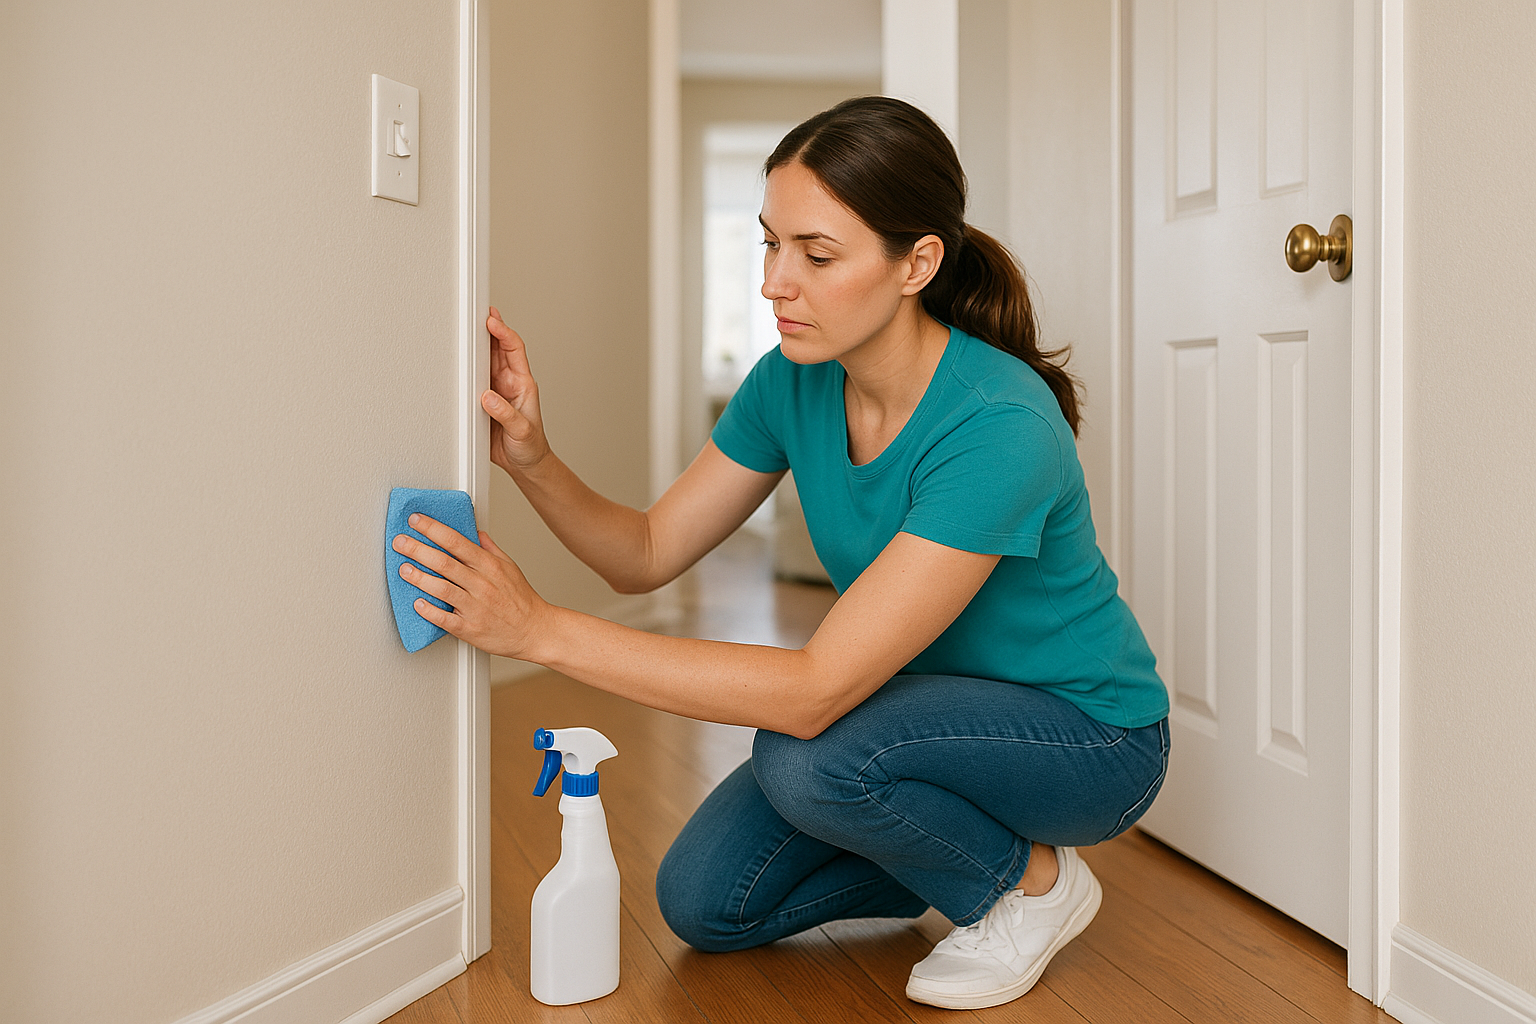
Wall damage and unfilled nail holes are two of the most common reasons landlords take deductions, and both are prep issues rather than cleaning ones. Check every wall under good natural or bright artificial lighting and patch any marks before you start on the actual cleaning.
Fixing wall damage yourself before the inspection is far cheaper than letting your landlord hire someone and bill it back to your deposit.
Time, tools, and add-ons
Budget 30 to 60 minutes for the prep phase depending on your unit’s size. You’ll need spackle, a putty knife, and heavy-duty trash bags to get through this stage properly.
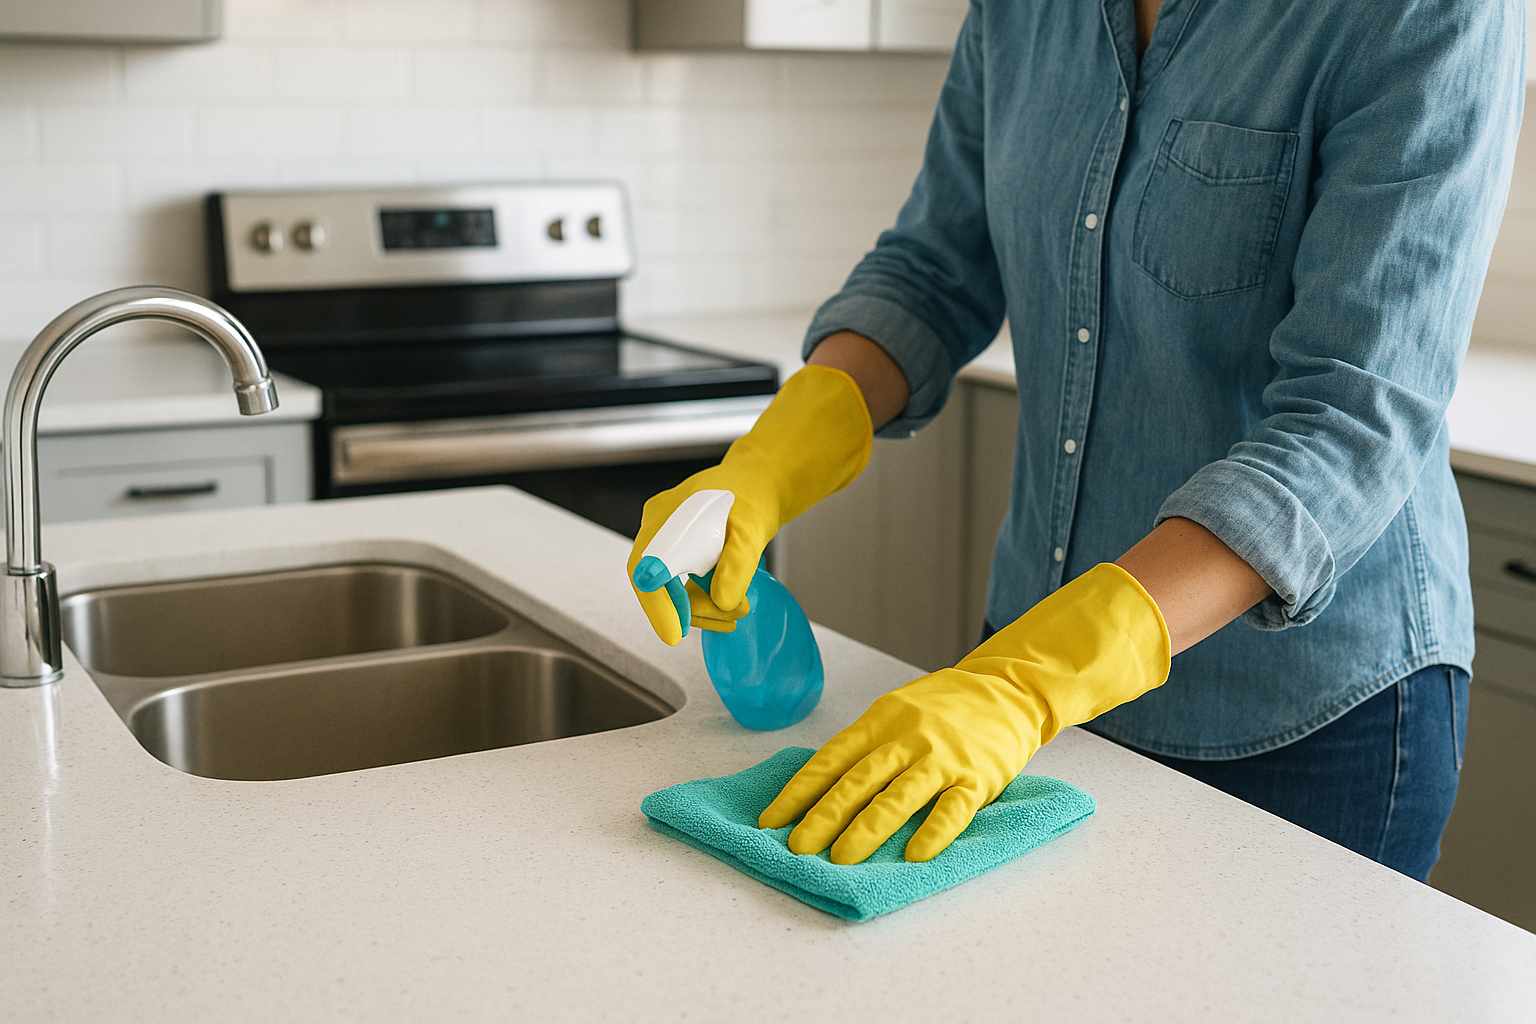
3. Kitchen move-out cleaning checklist
The kitchen takes the longest to clean and gets the most scrutiny during a landlord inspection. Grease buildup, food residue, and stained surfaces all get flagged, so your kitchen move out cleaning checklist needs to cover every surface without shortcuts.
What to clean
Your kitchen has more surfaces than any other room, and every single one needs attention before you leave. Think beyond the countertops and sink – cabinets, appliances, and the areas behind and beneath each one all require cleaning before you hand over the keys.
Step-by-step checklist
Work top to bottom and inside to outside on appliances to avoid recontaminating surfaces you’ve already finished. Follow this order:
- Clean inside the oven, including racks and the broiler drawer
- Degrease the stovetop, burners, and range hood filters
- Wipe the refrigerator inside and out, including door seals
- Clean the dishwasher filter, spray arms, and interior walls
- Wipe all cabinet fronts, handles, and shelving inside and out
- Scrub the sink and faucet thoroughly
- Clean countertops and the backsplash
Common spots people miss
Range hood filters and the tops of cabinets collect grease and dust but rarely get cleaned during routine maintenance. Landlords know this and check both spots every time.
Leaving grease on the range hood filter is one of the most common reasons tenants lose a portion of their deposit.
Time, tools, and add-ons
The kitchen typically takes one to two hours on its own. Bring degreaser, oven cleaner, a scrub brush, and microfiber cloths to handle every surface properly.
4. Bathroom move-out cleaning checklist
Bathrooms rank second only to kitchens when it comes to landlord scrutiny during move-out inspections. Soap scum, hard water stains, and mildew build up fast, and inspectors check every fixture, surface, and corner before signing off on your deposit return.
What to clean
Your bathroom move out cleaning checklist needs to cover every surface that gets regular moisture exposure, including the toilet base, grout lines, and the inside of cabinet doors. Inspectors rarely miss these spots, so you shouldn’t either.
Step-by-step checklist
Work top to bottom so dust and debris fall onto surfaces you haven’t cleaned yet. Follow this order:
- Wipe light fixtures, exhaust vents, and the top edge of the mirror
- Clean the inside and outside of the medicine cabinet
- Scrub the sink, faucet, and drain
- Clean the toilet bowl, tank, seat, and base
- Scrub the shower or tub, including tiles and grout lines
- Wipe down all cabinet interiors and shelving
Common spots people miss
Grout lines and the caulk around the tub collect mildew that won’t come off with a standard wipe-down. Use a grout brush and a targeted mildew remover to get those areas fully clean before the inspection.
Visible mildew on grout or caulk is one of the fastest ways to lose money from your deposit.
Time, tools, and add-ons
Budget 45 to 90 minutes per bathroom. Bring a grout brush, mildew remover, and a non-abrasive scrubber to handle tile, fixtures, and grout without scratching surfaces. If your shower door has heavy mineral buildup, a dedicated hard water stain remover will save you significant scrubbing time.
5. Bedrooms and closets move-out checklist
Bedrooms often feel straightforward, but they hold more deposit-threatening details than most renters expect. Your bedroom and closet areas still need a full pass covering walls, fixtures, and every surface inside the storage spaces before inspection day.
What to clean
Every bedroom requires attention beyond just the floor and surfaces. Closet interiors, shelving, and the ceiling light fixtures all get checked, and so do the walls around light switches and door frames.
Step-by-step checklist
Work through each bedroom from ceiling to floor and finish one room completely before moving to the next. This keeps your move out cleaning checklist organized and prevents you from missing areas when you jump between rooms.
- Dust ceiling fan blades and light fixtures
- Wipe all window sills and interior window glass
- Clean light switch plates and door handles
- Wipe down closet shelving, rods, and interior walls
- Remove any scuff marks from baseboards and walls
- Vacuum carpet or sweep and mop hard floors
Common spots people miss
Closet floors and the top shelf collect dust and debris that renters forget to address because those areas stay out of sight during daily use.
Inspectors open every closet door and check the interior floor and shelving, so treat those spaces with the same attention you give the main room.
Time, tools, and add-ons
Plan 20 to 40 minutes per bedroom. You need a microfiber duster, all-purpose cleaner, and a vacuum to finish each room properly.
6. Living areas, halls, and entry checklist
Living rooms, hallways, and entryways take constant foot traffic, which means scuffs, dust, and grime build up in ways that are easy to overlook when you’re focused on the kitchen and bathrooms. Inspectors check these spaces just as closely as any other room in your unit.
What to clean
Your living areas and entryways include more surfaces than most renters account for. Baseboards, light switches, and door frames all collect marks and dirt that need attention before your inspection day.
Step-by-step checklist
Work top to bottom through each space to avoid dropping dust onto surfaces you’ve already cleaned. Follow this order:
- Dust ceiling fixtures, fans, and crown molding
- Wipe light switch plates, outlet covers, and door handles
- Clean window sills and wipe interior glass
- Remove scuff marks from walls, baseboards, and door frames
- Wipe down any built-in shelving or entertainment units
- Sweep and mop or vacuum all floors
Common spots people miss
Door frames and the space around light switches collect fingerprints and smudges that blend into daily life and rarely get cleaned during a normal routine. These are exactly the spots your landlord checks when reviewing your move out cleaning checklist at inspection.
Scuff marks along hallway walls and near the front door are among the most cited reasons for deposit deductions tied to living spaces.
Time, tools, and add-ons
Budget 30 to 60 minutes for living areas and hallways combined. You’ll need an all-purpose cleaner, a magic eraser for scuffs, and microfiber cloths to handle walls, fixtures, and surfaces without leaving streaks behind.
7. Floors, windows, and final walkthrough checks
Floors and windows are the last major cleaning tasks before you do your final walkthrough of the property. Getting both right matters because landlords assess these surfaces as part of their first impressions, and any streaks, dust, or residue left behind can flag your unit as insufficiently cleaned.
What to clean
This final stage of your move out cleaning checklist covers every floor surface, all interior window glass, and the property as a whole. Hard floors, carpets, window tracks, and glass all need full attention before you hand over the keys.
Step-by-step checklist
Work top to bottom and save the floors for last so you don’t track dirt across surfaces you’ve already mopped.
- Clean window sills, tracks, and interior glass on every window
- Wipe door thresholds and entryway floor edges
- Sweep or vacuum all hard floors, then mop thoroughly
- Vacuum all carpeted areas, including along the baseboards
- Do a full room-by-room walkthrough to catch anything missed
Common spots people miss
Window tracks and sliding door rails collect dirt and debris that standard glass cleaning misses entirely. Run a damp cloth or old toothbrush through every track before you consider the job finished.
Leaving window tracks dirty is one of the small details that signals to a landlord the unit was not cleaned thoroughly.
Time, tools, and add-ons
Budget 45 to 90 minutes for floors, windows, and the final walkthrough combined. Bring a mop, microfiber cloths, glass cleaner, and a vacuum to finish this stage without leaving streaks or debris behind.
Next steps before you hand over the keys
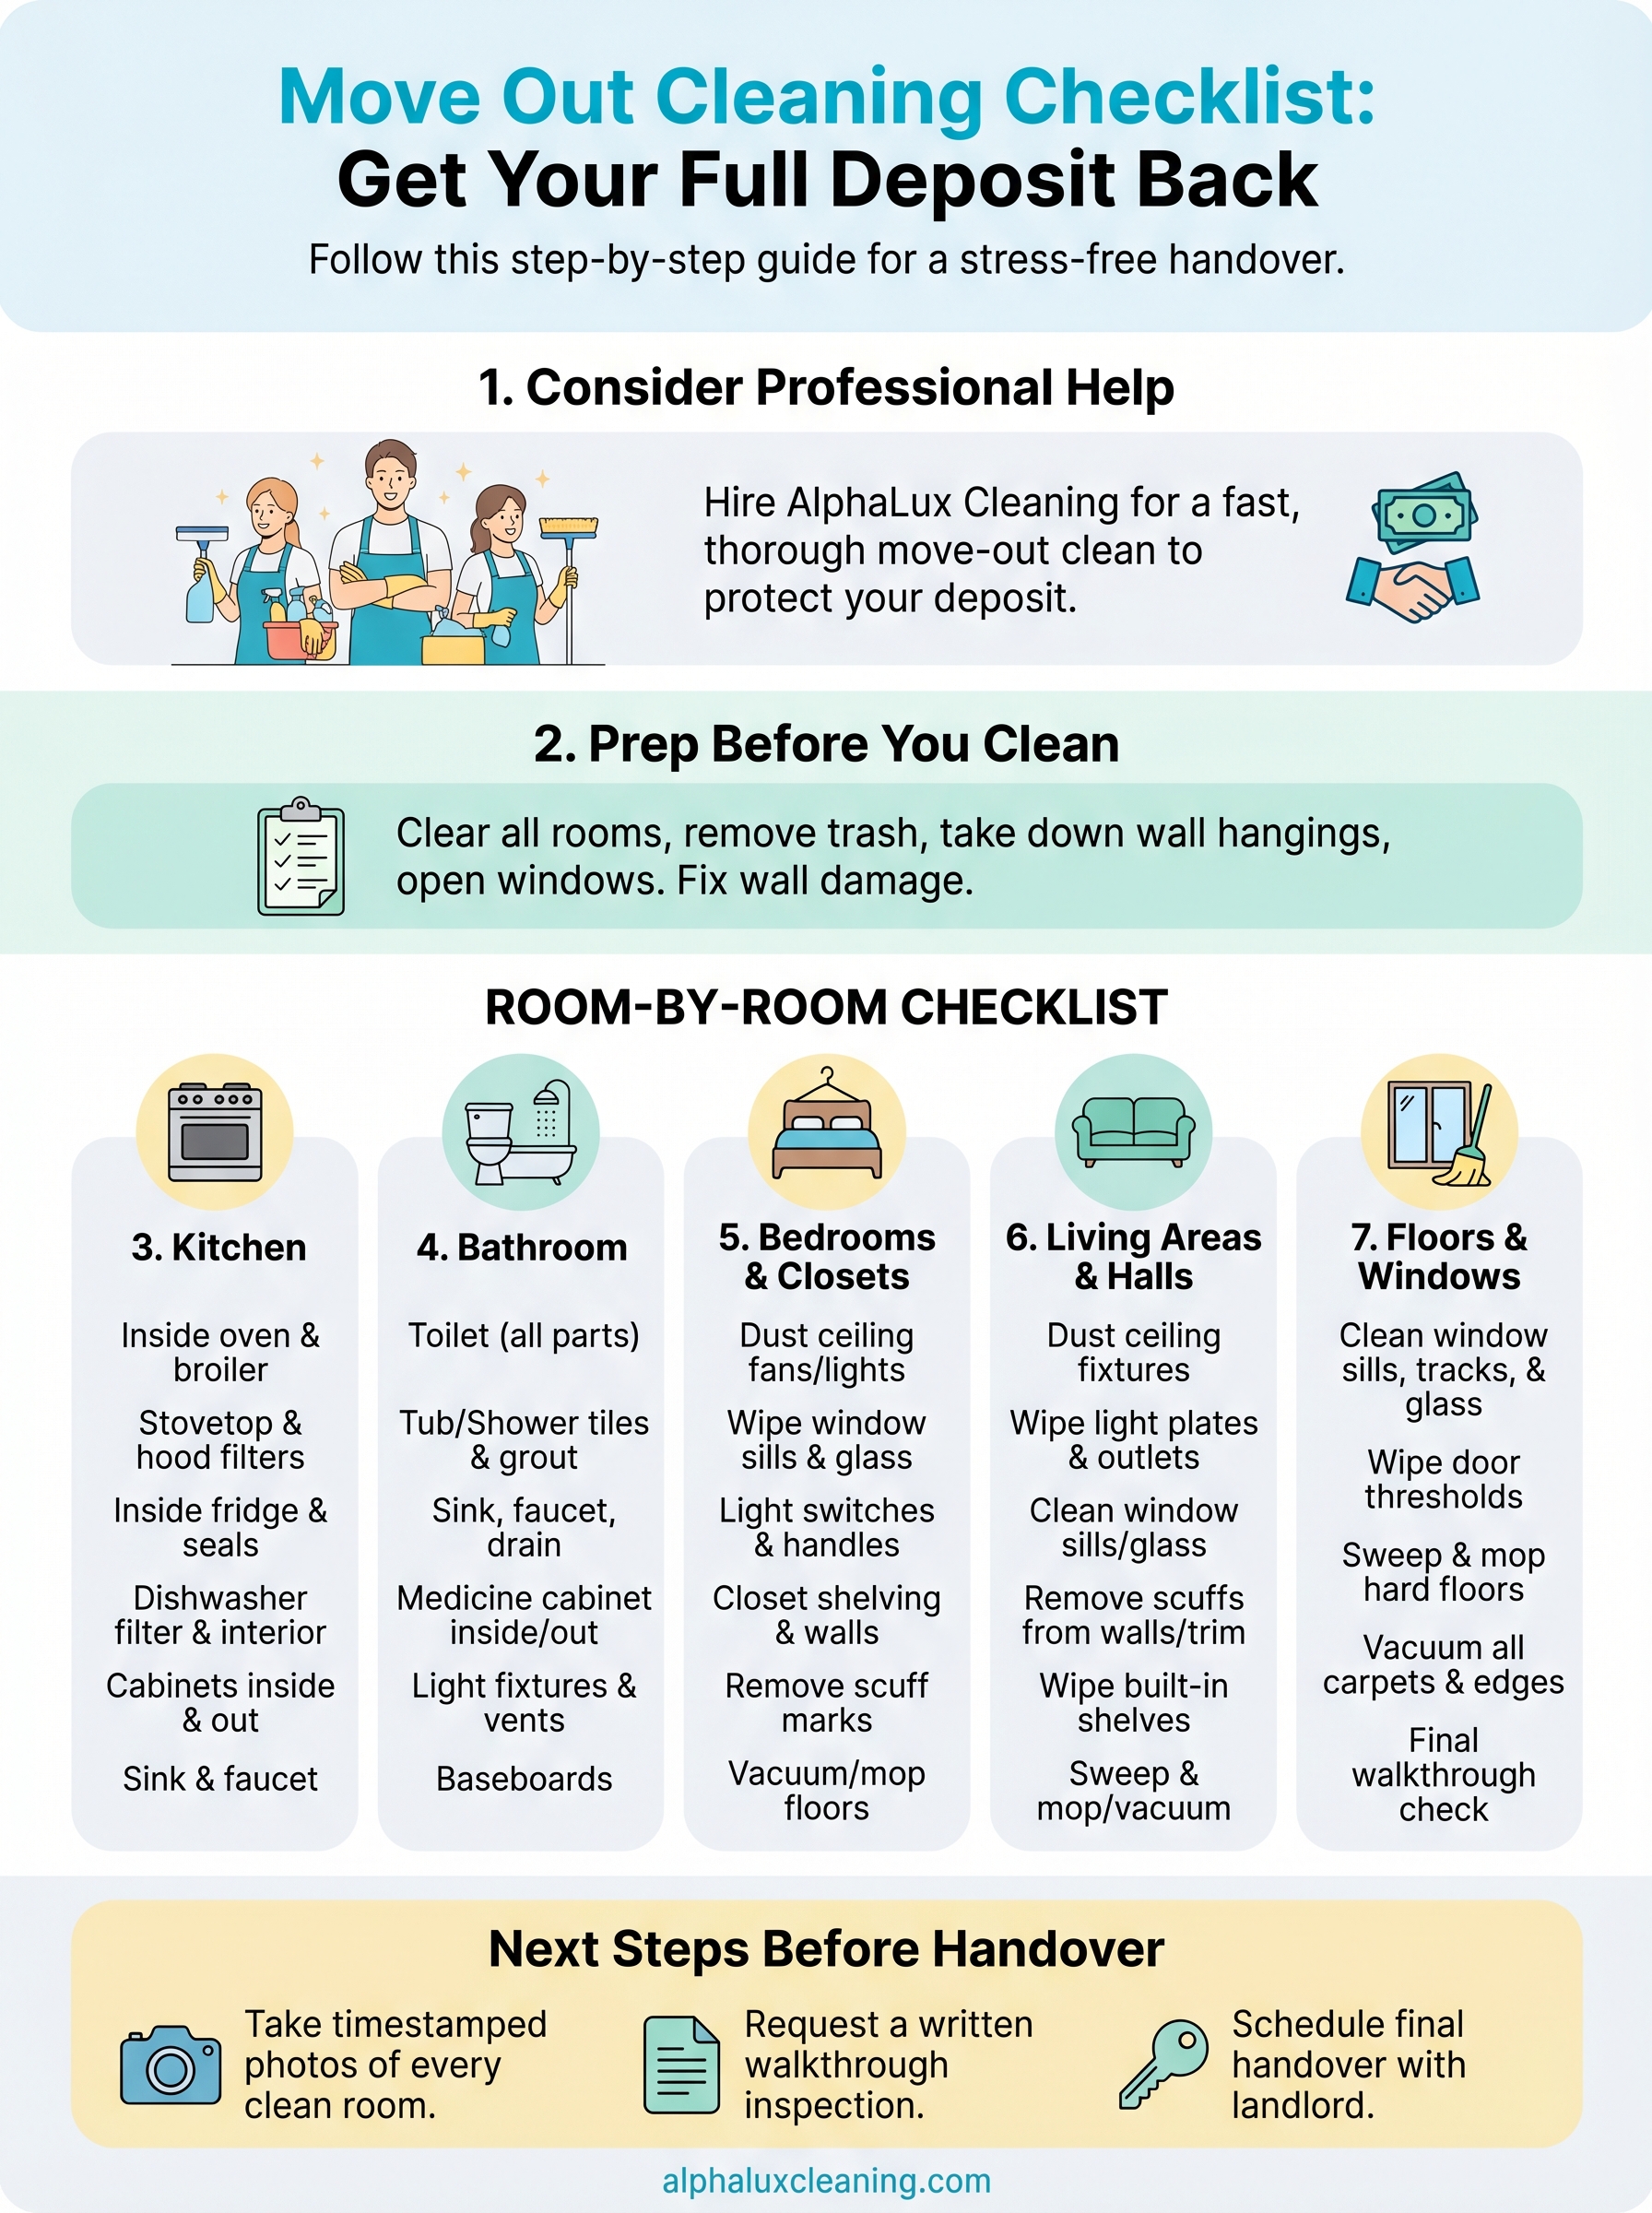
You’ve worked through every room on this move out cleaning checklist, but a few steps remain before you schedule the final inspection. Take photos of every room once the cleaning is complete, documenting each surface with timestamps so you have clear proof of the property’s condition when you left it. Give your landlord or property manager a heads-up that the unit is ready, and request a walk-through inspection in writing so both parties agree on the outcome before you hand over the keys.
If you’d rather skip the scrubbing entirely and hand over a spotless unit without the stress, professional help is a phone call away. AlphaLux Cleaning handles move-out cleans across New York State, bringing trained crews and eco-friendly products to every job so your deposit stays where it belongs – in your pocket. Book a move-out clean with AlphaLux and cross this task off your list for good.