Commercial Cleaning Service Pricing: Rates Per Sq Ft & Hour
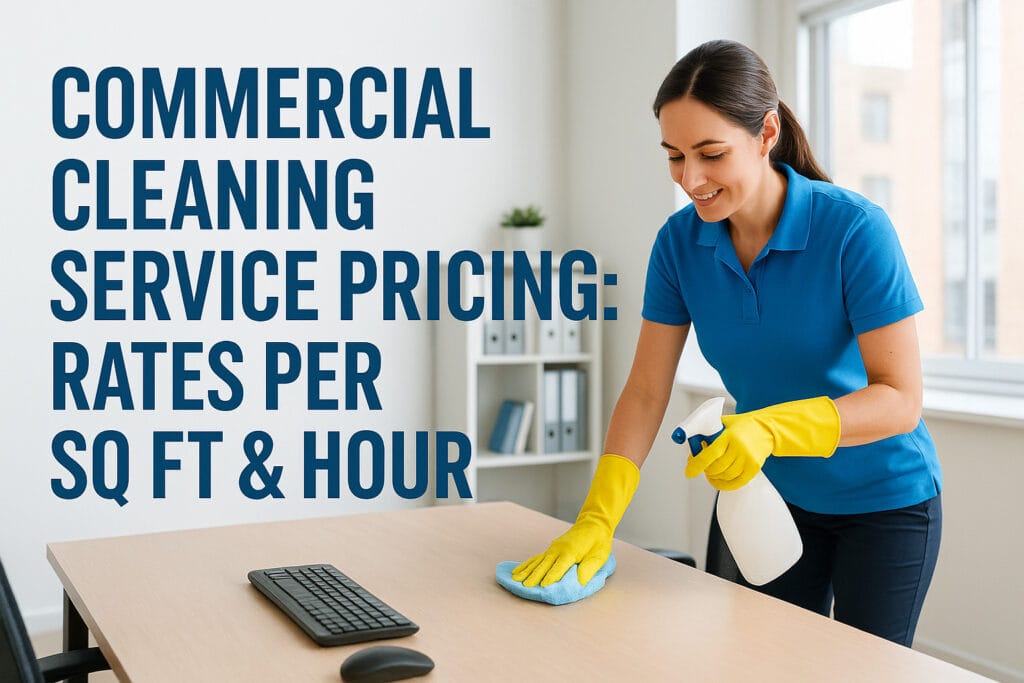
Whether you’re budgeting for your office, retail space, or warehouse, understanding commercial cleaning service pricing is one of the first steps toward making a smart hiring decision. But rates vary widely depending on square footage, service frequency, location, and scope of work, which makes it hard to know if a quote you’ve received is fair or inflated. Without reliable pricing benchmarks, you’re essentially negotiating in the dark. At AlphaLux Cleaning, we provide commercial cleaning services across New York State, so we work with these numbers every day. We’ve put together this guide to give you a clear, honest breakdown of current market rates, both per square foot and per hour, along with the factors that actually move the needle on cost. No vague ranges, no fluff, just real data you can use to compare quotes, set a budget, or price your own services competitively. Below, you’ll find rate tables, cost calculators, and a walkthrough of what drives pricing differences so you can approach your next cleaning contract with confidence and clarity on what you should expect to pay. Why commercial cleaning pricing varies so much Commercial cleaning service pricing doesn’t follow a single formula because no two facilities are the same. A medical office requires different protocols than a retail store, and a one-time deep clean costs far more per visit than a recurring weekly service. Understanding the core factors that drive these differences helps you evaluate quotes accurately and avoid overpaying, or under-budgeting, for what your space actually needs. Building type and service scope The type of building you operate is one of the biggest cost drivers in commercial cleaning. Medical facilities, food service kitchens, and industrial spaces require specialized products, higher-grade equipment, and stricter compliance standards, all of which push labor time and material costs up. A standard open-plan office with light foot traffic costs significantly less to clean than a restaurant kitchen with grease accumulation and health code requirements. Scope also matters beyond just the building category. If you need restroom sanitation, floor waxing, window cleaning, or trash removal included in the same contract, expect the price to reflect each of those added tasks. Cleaners price based on what they physically do during each visit, not on square footage alone. Frequency, location, and contract terms How often you schedule service directly affects your per-visit rate. Weekly or bi-weekly contracts typically come with a lower per-visit cost because cleaners can maintain the space with less effort each time. One-time or sporadic cleans require more labor per visit, so the flat or hourly rate rises to account for that extra work. Your location within New York State also plays a direct role in what you pay. Labor costs in New York City run higher than in suburban or rural parts of the state, which is why a Manhattan office often costs more per square foot than a comparable space on Long Island. The more consistently you schedule cleaning, the lower your per-visit cost tends to be, because regular maintenance prevents the kind of buildup that requires intensive, time-consuming work to correct. Commercial cleaning price benchmarks for 2026 Knowing where market rates currently sit gives you a reliable starting point for evaluating quotes. Commercial cleaning service pricing in 2026 generally falls within predictable ranges depending on your chosen pricing model, though local labor costs and service complexity will shift your actual number within those ranges. Per square foot rates Most commercial facilities are priced per square foot when the space is large or the scope is consistent across visits. Standard office cleaning typically runs between $0.07 and $0.15 per square foot. Higher-complexity spaces like medical offices or food service facilities can reach $0.20 or more per square foot. Facility Type Rate Per Sq Ft Standard office $0.07 – $0.15 Medical/dental office $0.15 – $0.25 Retail space $0.10 – $0.17 Industrial/warehouse $0.05 – $0.10 Per hour rates Hourly pricing applies more often to smaller spaces or one-time jobs where measuring square footage does not make practical sense. In New York State, commercial cleaning crews typically charge between $50 and $100 per hour per cleaner, with specialty services like floor stripping or post-construction cleanup pushing that rate higher. Always confirm whether a quoted hourly rate covers one cleaner or an entire crew, since that distinction changes your total cost significantly. Common pricing models and when each fits best Commercial cleaning service pricing uses three primary models: per square foot, hourly, and flat rate. Each model fits different situations, and choosing the right one affects both predictability and total cost over time. Knowing which model applies to your job helps you compare quotes on equal footing. Per square foot model This model works best for large, consistent spaces like offices, retail floors, or warehouses where the cleaning scope stays the same each visit. Cleaners calculate the total area, apply their rate, and give you a fixed recurring cost that is easy to budget around. If your space rarely changes in layout or use, per square foot pricing gives you the most stable long-term rate. The per square foot model rewards facilities with open floor plans and low complexity, since those spaces take less time relative to their size. Hourly and flat rate models Hourly pricing suits smaller spaces, irregular schedules, or one-time cleans where the scope is harder to predict in advance. You pay for actual time worked, which is fair when the job varies significantly between visits. Flat rate pricing works well for move-in or move-out cleans and post-event cleanups. The cleaner assesses the job, sets a single fixed price, and completes all agreed tasks within that amount, giving you cost certainty regardless of how long the job takes. How to price a commercial cleaning job step by step Accurate commercial cleaning service pricing starts with three core inputs: the size of the space, the time required to clean it, and the costs you need to cover. Whether you’re hiring a service or setting your own rates, following a clear process
The Ultimate Vacation Rental Cleaning Checklist PDF: A Host’s Guide to 5-Star Reviews in 2026

In 2026, cleanliness is no longer a back-of-house utility; it’s a luxury lifestyle product that defines your brand’s reputation. You understand the…
What Is Post-Construction Cleaning? Phases Checklist & Tips
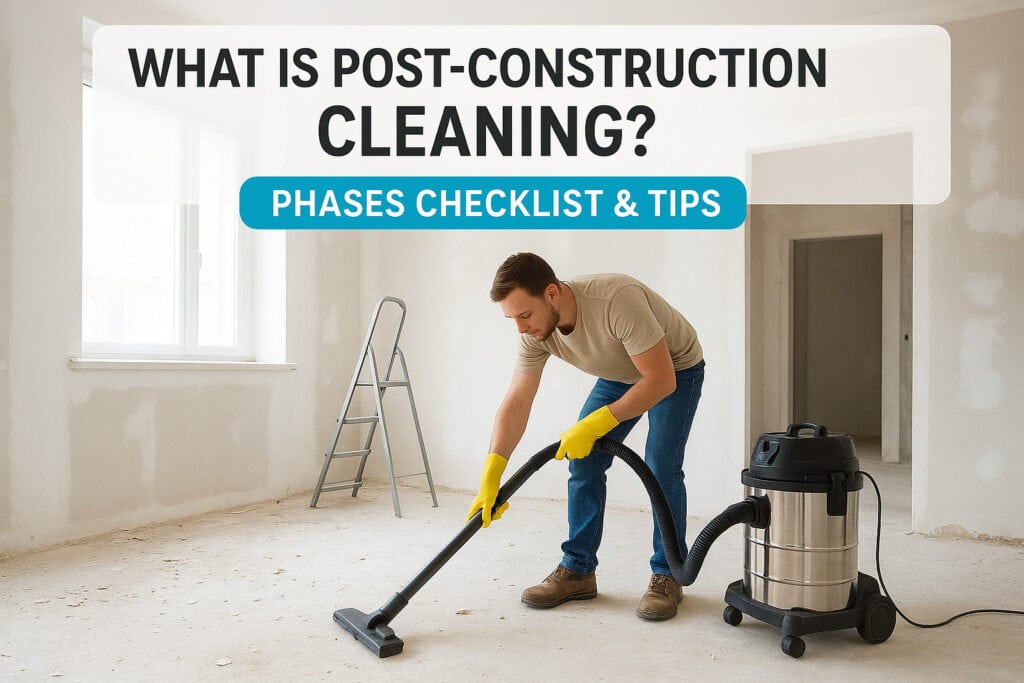
You just wrapped up a renovation or new build, and the space looks almost ready, except for the layers of dust, adhesive residue, and debris covering every surface. That’s where post-construction cleaning comes in. It’s the critical final step that transforms a construction site into a space that’s actually safe, polished, and ready for people to use. But it’s not just one quick sweep. Post-construction cleaning is a structured, multi-phase process with specific tasks at each stage, from rough cleans during the build to a detailed final pass before move-in. Knowing what’s involved helps you plan better, avoid costly delays, and get the results you expect, whether you’re a homeowner finishing a kitchen remodel or a business opening a new office. At AlphaLux Cleaning, we handle post-construction cleanups across New York, bringing the same attention to detail and eco-friendly approach we apply to every job. Below, we’ll break down each phase of the process, walk through a practical checklist, and share tips for hiring the right team. Why post-construction cleaning matters After a build or renovation, the visible mess is only part of the problem. Construction projects leave behind fine particles of drywall dust, silica, and wood shavings that settle into vents, cabinets, and every flat surface in the space. These particles aren’t just unsightly; they can trigger respiratory issues and eye irritation, and create real safety hazards for anyone who enters before the space is properly cleaned. Health and safety risks from construction debris Construction dust is not ordinary household dust. Silica dust from cutting concrete or drywall is classified as a serious respiratory hazard by OSHA, and it can linger in a space long after workers have left. When you dig into what is post construction cleaning and why it requires a structured approach, you see that skipping it isn’t just an inconvenience. It’s a genuine health decision. Skipping a thorough clean before move-in can expose occupants to months of contamination from dust and chemical residues that settle into flooring, HVAC systems, and soft surfaces. Leftover nails, glass fragments, and sharp debris also pose immediate physical risks to anyone entering the space. A professional clean addresses both the invisible and the obvious hazards before anyone occupies the area. The cost of skipping a proper clean A rushed or skipped clean creates problems that compound over time. Dust that settles into HVAC systems forces those systems to work harder, shortens their lifespan, and circulates contaminants through the air for weeks. You also risk damaging finished surfaces when adhesive residue on windows or floors hardens and becomes far more difficult to remove. Protecting your investment means treating post-construction cleaning as part of the project budget, not an afterthought. The cost of professional cleaning is far lower than repairing surfaces damaged by neglect or replacing a prematurely failed HVAC filter. What post-construction cleaning includes When people ask what is post construction cleaning, the answer goes well beyond what you might expect from a standard deep clean. A complete job covers every surface in the space, from the ceiling down to the baseboards, and targets residue and contamination that routine cleaning never touches. The scope is significantly larger than any regular maintenance clean. Debris removal and rough cleaning This first layer of work focuses on [removing bulk waste](https://alphaluxcleaning.com/post-construction-cleaning-company/): broken materials, packaging, leftover lumber, and heavy dust buildup across all surfaces. Workers clear all floors, wipe down walls, and tackle construction adhesive and paint splatter before any detail work begins. The goal is to make your space safe to move through without physical hazard. Detail cleaning of surfaces and fixtures Once bulk debris is cleared, the real work starts. A professional team scrubs grout lines, window tracks, light fixtures, and hardware that collected fine dust during the build. They also clean interior glass, remove protective film from appliances and surfaces, and wipe down every cabinet interior and shelf. The detail phase is where most DIY attempts fall short, because it requires the right tools and cleaning agents to remove cured adhesives and fine particulate without scratching finished surfaces. The three phases of post-construction cleaning Understanding what is post construction cleaning means recognizing that it doesn’t happen all at once. Most professional crews divide the work into three distinct phases, each building on the last to bring the space from a raw construction site to move-in condition. Phase 1: Rough clean The rough clean happens during or immediately after construction ends. Workers remove large debris, sweep all surfaces, and clear out leftover building materials. The focus is on bulk waste removal, not detail work. Phase 2: Light clean Once debris is cleared, the light clean addresses dust and surface grime that the rough clean missed. Your crew wipes down walls, cleans windows, and tackles fixtures throughout the space. This phase requires more time and precision than most property owners expect. Skipping phase two before the final clean leaves fine dust embedded in surfaces, which shows up clearly once lighting is installed and the space fills with natural light. Phase 3: Final clean Your final clean is a thorough, [inspection-ready pass](https://alphaluxcleaning.com/final-construction-cleaning-services-the-professional-guide-to-a-move-in-ready-space/) completed just before occupancy. This phase covers every detail, from polishing hardware and glass to cleaning inside cabinets and removing any remaining protective films from appliances or floors. Post-construction cleaning checklist by area Understanding what is post construction cleaning becomes more concrete when you break it down room by room. Each area of a building collects different types of residue and requires specific tasks to reach a truly move-in-ready standard. Use the lists below to set expectations with your cleaning crew or to verify their work before sign-off. Kitchen and bathrooms These rooms take the heaviest beating during construction and require the most intensive detail work. Focus on removing grout haze, caulk residue, and adhesive film before polishing fixtures and surfaces. Scrub grout lines and tile surfaces Remove protective film from appliances and fixtures Clean inside cabinets, drawers, and under-sink areas Polish faucets, handles, and all hardware Windows, doors, and floors A smudged
Office Cleaning Service for Businesses in Long Island: The AlphaLux Standard

Does your current office cleaning service for businesses long island leave your workspace feeling truly restored, or are you simply trading dust for…
A Greener Workspace: The Link Between Eco-Friendly Office Cleaning and Employee Productivity

Apartment Move Out Cleaning Service: Costs, Checklist, FAQs
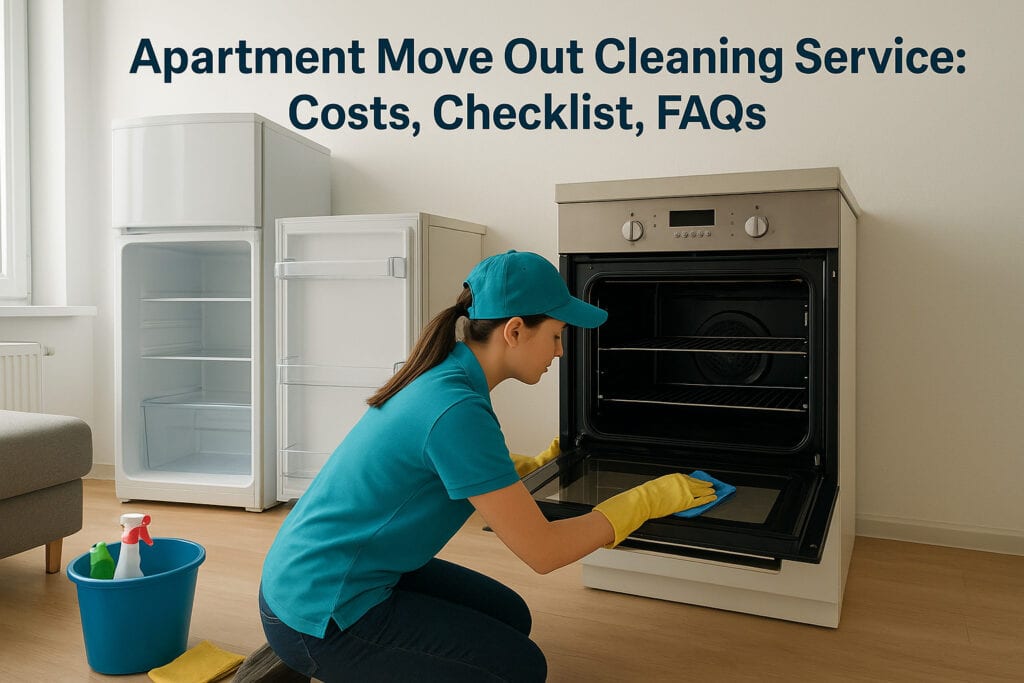
Moving out of an apartment comes with a long to-do list, and cleaning usually lands right at the bottom, even though it’s one of the things most likely to affect your security deposit. Hiring an apartment move out cleaning service takes that burden off your plate and gives you a real shot at getting your full deposit back. But what does a move-out clean actually include? How much should you expect to pay? And is it worth the cost compared to doing it yourself? These are the questions most renters ask when hundreds or thousands of dollars in deposit money are on the line and lease deadlines are closing in fast. At AlphaLux Cleaning, we handle move-out cleans for apartments across New York state, and we’ve seen firsthand what landlords and property managers look for during final walkthroughs. This guide covers costs, a detailed cleaning checklist, and answers to frequently asked questions, so you can make a confident decision before handing over your keys. What an apartment move-out cleaning service is An apartment move out cleaning service is a professional cleaning performed specifically when a tenant vacates a rental unit. Unlike a routine maintenance clean, this type of service is designed to restore the apartment to the condition it was in when you first moved in, meeting the standards that landlords and property managers expect during a final walkthrough. You hire a team of trained cleaners who work through the entire unit from top to bottom, addressing areas that rarely get touched during normal day-to-day upkeep, from inside the oven to the inside of closets and every surface in between. The goal is straightforward: leave the apartment clean enough that your landlord has no grounds to deduct cleaning costs from your security deposit. Most lease agreements require tenants to return the unit in the same condition they received it, and a professional cleaning gives you documented, thorough work that meets or exceeds that standard. Trying to match that level of quality on your own, while also packing, coordinating a truck, and managing a dozen other tasks, is harder than most renters expect. A professional move-out clean addresses the exact areas landlords inspect most closely, which reduces your risk of losing deposit money to cleaning deductions. How it differs from regular cleaning A standard cleaning visit maintains a space that people are actively using. Move-out cleaning is a different level of work entirely. Cleaners tackle built-up grime, grease, soap scum, and residue that accumulates over months or even years, covering areas like the inside of kitchen appliances, baseboards, window tracks, cabinet interiors, bathroom tile grout, and behind fixtures. You are not simply tidying up, you are preparing an empty unit for its next occupant and doing it to a standard a landlord will accept on inspection. The scope also matters significantly. Because the apartment is vacant when the cleaning takes place, every surface is fully accessible and the team can reach spots that are impossible to properly address when furniture and belongings are in the way. That makes move-out cleaning a far more intensive, time-consuming process than any regular appointment, and it is priced accordingly. Who performs the work A reputable cleaning service employs trained, background-checked professionals who understand rental standards and what property managers actually inspect during walkthroughs. These cleaners follow structured checklists, use commercial-grade products, and know which areas most frequently trigger landlord deductions when overlooked. You are not guessing whether the job was done right, you can see the results before you hand over your keys. Booking with a professional service also gives you insurance coverage and accountability. If something goes wrong during the cleaning, a properly insured company handles the liability rather than leaving the cost on you. That matters when you are already managing the moving process and cannot afford unexpected complications on top of everything else. Why renters hire a service rather than doing it themselves Most renters underestimate how long a thorough move-out clean actually takes. A one-bedroom apartment can take four to six hours when cleaned to landlord standards, and larger units can easily stretch beyond a full day of work. Hiring a professional service frees up that time while ensuring the work meets the bar your lease requires. Beyond the time savings, professional cleaners bring the right tools and products for the job, including degreasers strong enough to handle years of baked-on oven residue and equipment that reaches ceiling corners and vents most people skip entirely. The difference in results between a DIY clean and a professional one is visible, and more importantly, it is visible to your landlord. What a move-out cleaning usually includes Most apartment move out cleaning service providers follow a structured checklist that covers every room in the unit. The exact scope can vary by company and apartment size, but there are core areas that every professional team addresses during a move-out clean. Knowing what is included helps you verify that the service you book covers the same spots your landlord will inspect during the final walkthrough. Kitchen and appliances The kitchen typically takes the most time during a move-out clean because of the grease, grime, and residue that builds up over a full tenancy. Cleaners work through every surface and appliance in a methodical order, covering: Inside and outside of the oven, including racks and broiler drawer Refrigerator and freezer interior and exterior Microwave interior and exterior Cabinet faces and interiors Countertops, sink, and backsplash Range hood and stovetop burners The inside of the oven and refrigerator are two of the most frequent reasons landlords withhold cleaning fees, so confirm your service explicitly includes both before you book. Bathrooms Bathrooms receive thorough attention from top to bottom during a move-out clean. Tile grout gets scrubbed, the toilet is cleaned inside and out, soap scum is removed from the shower and tub, and all fixtures get polished. Cleaners also wipe down the vanity, sink, and the inside of any bathroom storage cabinets. Mirrors, exhaust vents, and baseboards
Cleaning Services for New Parents in NYC: The Ultimate Guide to a Safe, Non-Toxic Home

What if the “clean” scent you’ve always associated with a fresh home is actually a cocktail of volatile organic compounds that shouldn’t be anywhere…
Commercial Cleaning Services You Can Trust

Best Way To Clean Kitchen Cabinets: Step-By-Step Guide
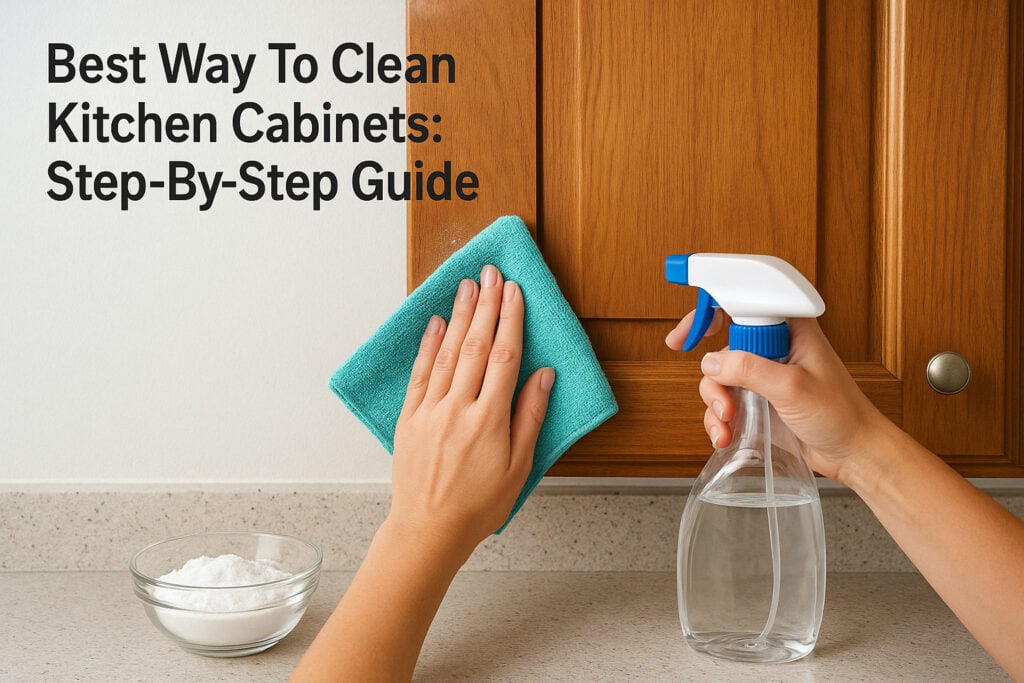
Kitchen cabinets take a beating. Cooking grease, fingerprints, food splashes, and everyday dust build up slowly, until one day you notice your cabinets look dull and grimy. Knowing the best way to clean kitchen cabinets matters because the wrong product or technique can strip finishes, warp wood, or leave behind a sticky residue that attracts even more grime. At AlphaLux Cleaning, we clean kitchens across New York state every single day. Our crews have scrubbed down everything from painted MDF cabinets in studio apartments to custom hardwood cabinetry in commercial kitchens. That hands-on experience has taught us exactly what works, what doesn’t, and what most people get wrong when they tackle this job on their own. We’re sharing that knowledge here so you can get real results at home. This guide walks you through a clear, step-by-step process for removing grease and buildup from your kitchen cabinets, safely and effectively. You’ll learn which cleaning solutions are gentle enough to protect your cabinet finish, how to handle stubborn grease spots, and how to keep your cabinets looking fresh between deep cleans. Whether your cabinets are wood, laminate, or painted, you’ll find a method that fits. What you need and what to avoid Before you grab a sponge and start scrubbing, take two minutes to set yourself up correctly. Having the right supplies on hand and knowing which products to stay away from will save you from accidental damage and wasted effort. This holds true for a quick surface wipe or a thorough deep clean. The best way to clean kitchen cabinets always starts with preparation, not scrubbing, because using the wrong tool or product on the wrong surface can leave you with more damage than grime. What to gather before you start A successful cabinet cleaning job doesn’t require a cart full of specialty products. The supplies that work best are simple, inexpensive, and available at any grocery or hardware store. Here’s exactly what our cleaning crews bring to every kitchen job: Dish soap (mild, unscented, like Dawn): cuts through grease without stripping finishes; a few drops per bowl of warm water is enough Warm water: loosens buildup without harsh chemicals Microfiber cloths (at least three): one for applying the solution, one for rinsing, and one for drying Soft-bristle toothbrush or small scrub brush: gets into corners, carved details, and around hinges where grease collects Baking soda: a mild abrasive that lifts stubborn spots without scratching most finishes White vinegar (diluted, not straight): useful on laminate and painted surfaces for cutting grease and odor Spray bottle: lets you apply cleaning solution in a controlled way instead of flooding the surface Dry towel or clean cloth: non-negotiable for the final drying step Most of these items are already sitting in your kitchen or bathroom cabinet. If you need a reliable microfiber cloth set, browse options on Amazon and sort by customer reviews to find something durable. Having all your tools lined up before you start means you won’t leave wet cabinet surfaces sitting unattended while you dig through a closet for a dry rag. What to keep away from your cabinets Choosing the wrong cleaner is the most common mistake people make when tackling this job. Some products feel powerful and effective, but they can strip the protective finish, bleach the color, or cause wood to swell when used on cabinetry. The finish on your cabinets is what protects the material underneath. Once it’s damaged, you’re looking at refinishing or replacement, not just a re-clean. Avoid these products and materials entirely: Bleach or bleach-based cleaners: too harsh for most cabinet finishes and can cause permanent discoloration Abrasive scrubbing pads (steel wool or rough scouring pads): scratch and permanently dull the surface Ammonia-based cleaners (many window and glass cleaners contain ammonia): strips protective coatings with repeated use Undiluted white vinegar: fine when diluted to a 1:1 ratio with water, but straight vinegar is acidic enough to dull certain finishes over time Excess water or soaking-wet cloths: wood and standing moisture don’t mix; too much water causes warping and swelling at joints and edges All-purpose spray degreasers not rated for wood: most commercial degreasers are formulated for tile, metal, or glass, not wood cabinet materials Keeping these products off your cabinets protects your investment and keeps the job simple. With the right tools gathered and the wrong products identified, you’re ready to move into the actual cleaning steps. Step 1. Identify your cabinet material and finish Before you apply any cleaner, you need to know what your cabinets are made of and what kind of finish sits on the surface. This single step is what separates a safe clean from one that strips color, dulls the sheen, or causes swelling. Two minutes of identification tells you exactly which method to use in the steps ahead, and it’s why the best way to clean kitchen cabinets always starts with looking before scrubbing. The most common cabinet materials Kitchen cabinets come in a short list of standard materials, and each one responds to moisture and cleaners differently. Solid wood is the most sensitive, absorbing water quickly when the finish is thin or worn. Painted MDF (medium-density fiberboard) looks similar to painted wood but swells faster at joints and edges when it gets too wet. Laminate and thermofoil surfaces handle moisture better overall but can peel or lift near seams with repeated exposure. Here’s a quick reference to help you identify what you’re working with: Material Key characteristic Cleaning sensitivity Solid wood Visible grain, dense feel High: minimize water, avoid harsh cleaners Painted MDF Smooth, uniform painted surface Medium: keep edges dry Laminate Plastic-like texture, consistent color Low to medium: no abrasive pads Thermofoil Slightly glossy, seamless appearance Medium: avoid heat and excess moisture near seams How to check your cabinet’s finish Run a clean, slightly damp cloth over a hidden spot, such as the inside of a door panel, and watch what happens after it dries. If the area darkens or feels slightly rough, your
Airbnb Cleaning Automation: The 2026 Guide to Hands-Off Turnovers

Have you ever sat through a 3:00 PM check-in window with your heart racing because your cleaner stopped responding to your texts? It’s a common…