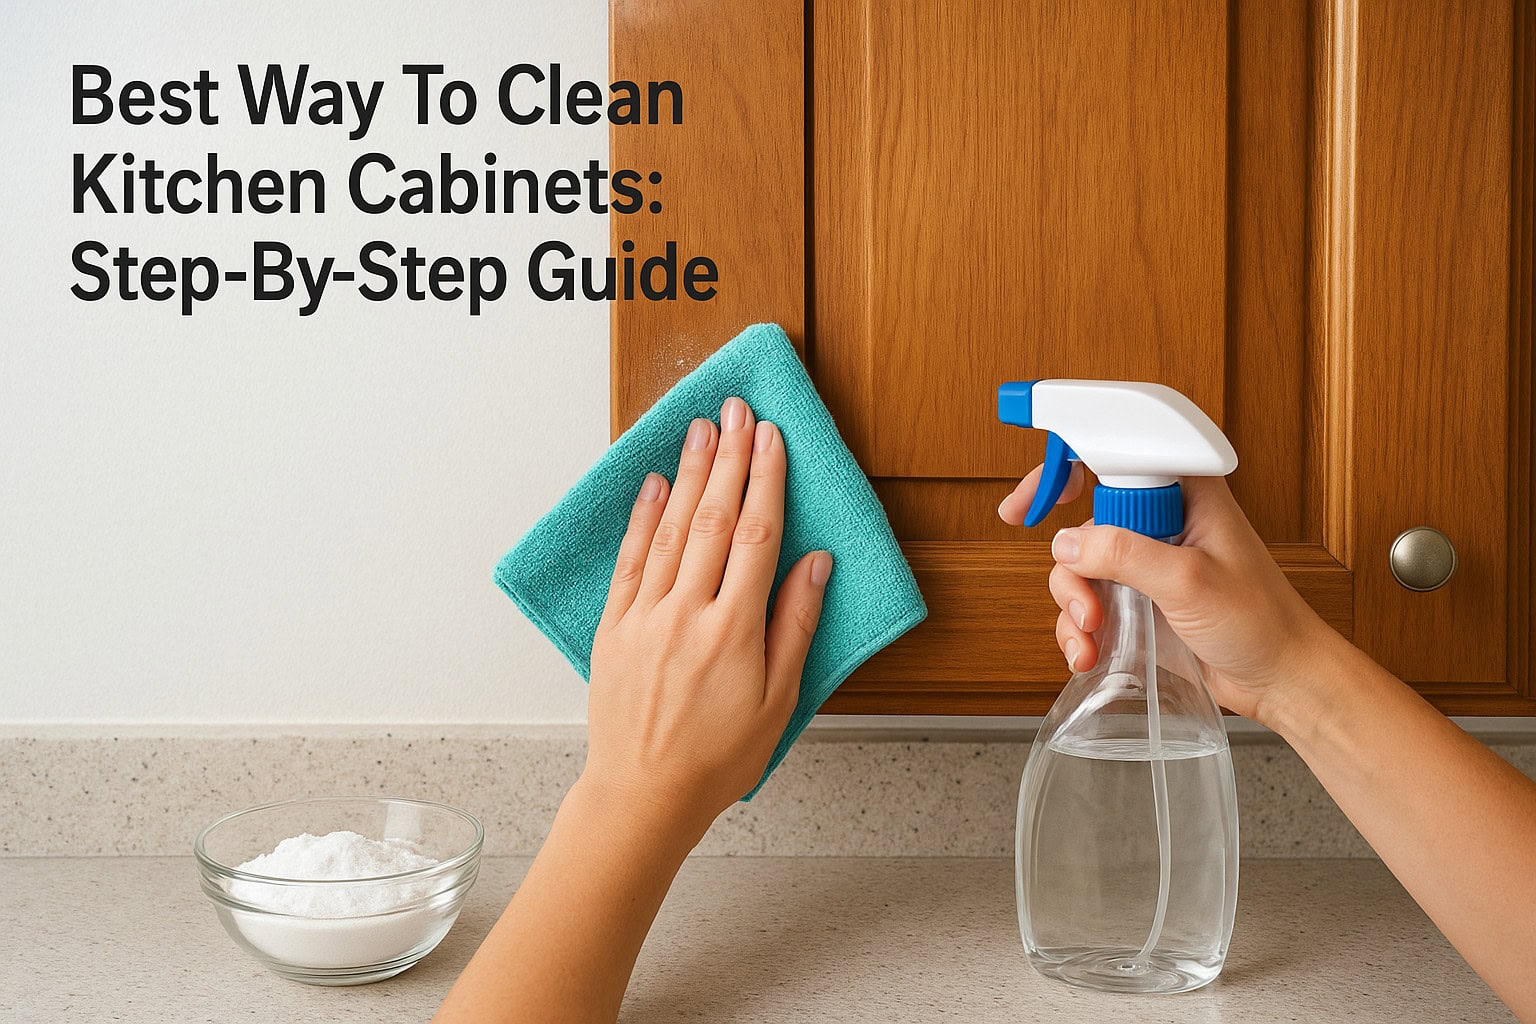
Kitchen cabinets take a beating. Cooking grease, fingerprints, food splashes, and everyday dust build up slowly, until one day you notice your cabinets look dull and grimy. Knowing the best way to clean kitchen cabinets matters because the wrong product or technique can strip finishes, warp wood, or leave behind a sticky residue that attracts even more grime.
At AlphaLux Cleaning, we clean kitchens across New York state every single day. Our crews have scrubbed down everything from painted MDF cabinets in studio apartments to custom hardwood cabinetry in commercial kitchens. That hands-on experience has taught us exactly what works, what doesn’t, and what most people get wrong when they tackle this job on their own. We’re sharing that knowledge here so you can get real results at home.
This guide walks you through a clear, step-by-step process for removing grease and buildup from your kitchen cabinets, safely and effectively. You’ll learn which cleaning solutions are gentle enough to protect your cabinet finish, how to handle stubborn grease spots, and how to keep your cabinets looking fresh between deep cleans. Whether your cabinets are wood, laminate, or painted, you’ll find a method that fits.
What you need and what to avoid
Before you grab a sponge and start scrubbing, take two minutes to set yourself up correctly. Having the right supplies on hand and knowing which products to stay away from will save you from accidental damage and wasted effort. This holds true for a quick surface wipe or a thorough deep clean. The best way to clean kitchen cabinets always starts with preparation, not scrubbing, because using the wrong tool or product on the wrong surface can leave you with more damage than grime.
What to gather before you start
A successful cabinet cleaning job doesn’t require a cart full of specialty products. The supplies that work best are simple, inexpensive, and available at any grocery or hardware store. Here’s exactly what our cleaning crews bring to every kitchen job:
- Dish soap (mild, unscented, like Dawn): cuts through grease without stripping finishes; a few drops per bowl of warm water is enough
- Warm water: loosens buildup without harsh chemicals
- Microfiber cloths (at least three): one for applying the solution, one for rinsing, and one for drying
- Soft-bristle toothbrush or small scrub brush: gets into corners, carved details, and around hinges where grease collects
- Baking soda: a mild abrasive that lifts stubborn spots without scratching most finishes
- White vinegar (diluted, not straight): useful on laminate and painted surfaces for cutting grease and odor
- Spray bottle: lets you apply cleaning solution in a controlled way instead of flooding the surface
- Dry towel or clean cloth: non-negotiable for the final drying step
Most of these items are already sitting in your kitchen or bathroom cabinet. If you need a reliable microfiber cloth set, browse options on Amazon and sort by customer reviews to find something durable. Having all your tools lined up before you start means you won’t leave wet cabinet surfaces sitting unattended while you dig through a closet for a dry rag.
What to keep away from your cabinets
Choosing the wrong cleaner is the most common mistake people make when tackling this job. Some products feel powerful and effective, but they can strip the protective finish, bleach the color, or cause wood to swell when used on cabinetry.
The finish on your cabinets is what protects the material underneath. Once it’s damaged, you’re looking at refinishing or replacement, not just a re-clean.
Avoid these products and materials entirely:
- Bleach or bleach-based cleaners: too harsh for most cabinet finishes and can cause permanent discoloration
- Abrasive scrubbing pads (steel wool or rough scouring pads): scratch and permanently dull the surface
- Ammonia-based cleaners (many window and glass cleaners contain ammonia): strips protective coatings with repeated use
- Undiluted white vinegar: fine when diluted to a 1:1 ratio with water, but straight vinegar is acidic enough to dull certain finishes over time
- Excess water or soaking-wet cloths: wood and standing moisture don’t mix; too much water causes warping and swelling at joints and edges
- All-purpose spray degreasers not rated for wood: most commercial degreasers are formulated for tile, metal, or glass, not wood cabinet materials
Keeping these products off your cabinets protects your investment and keeps the job simple. With the right tools gathered and the wrong products identified, you’re ready to move into the actual cleaning steps.
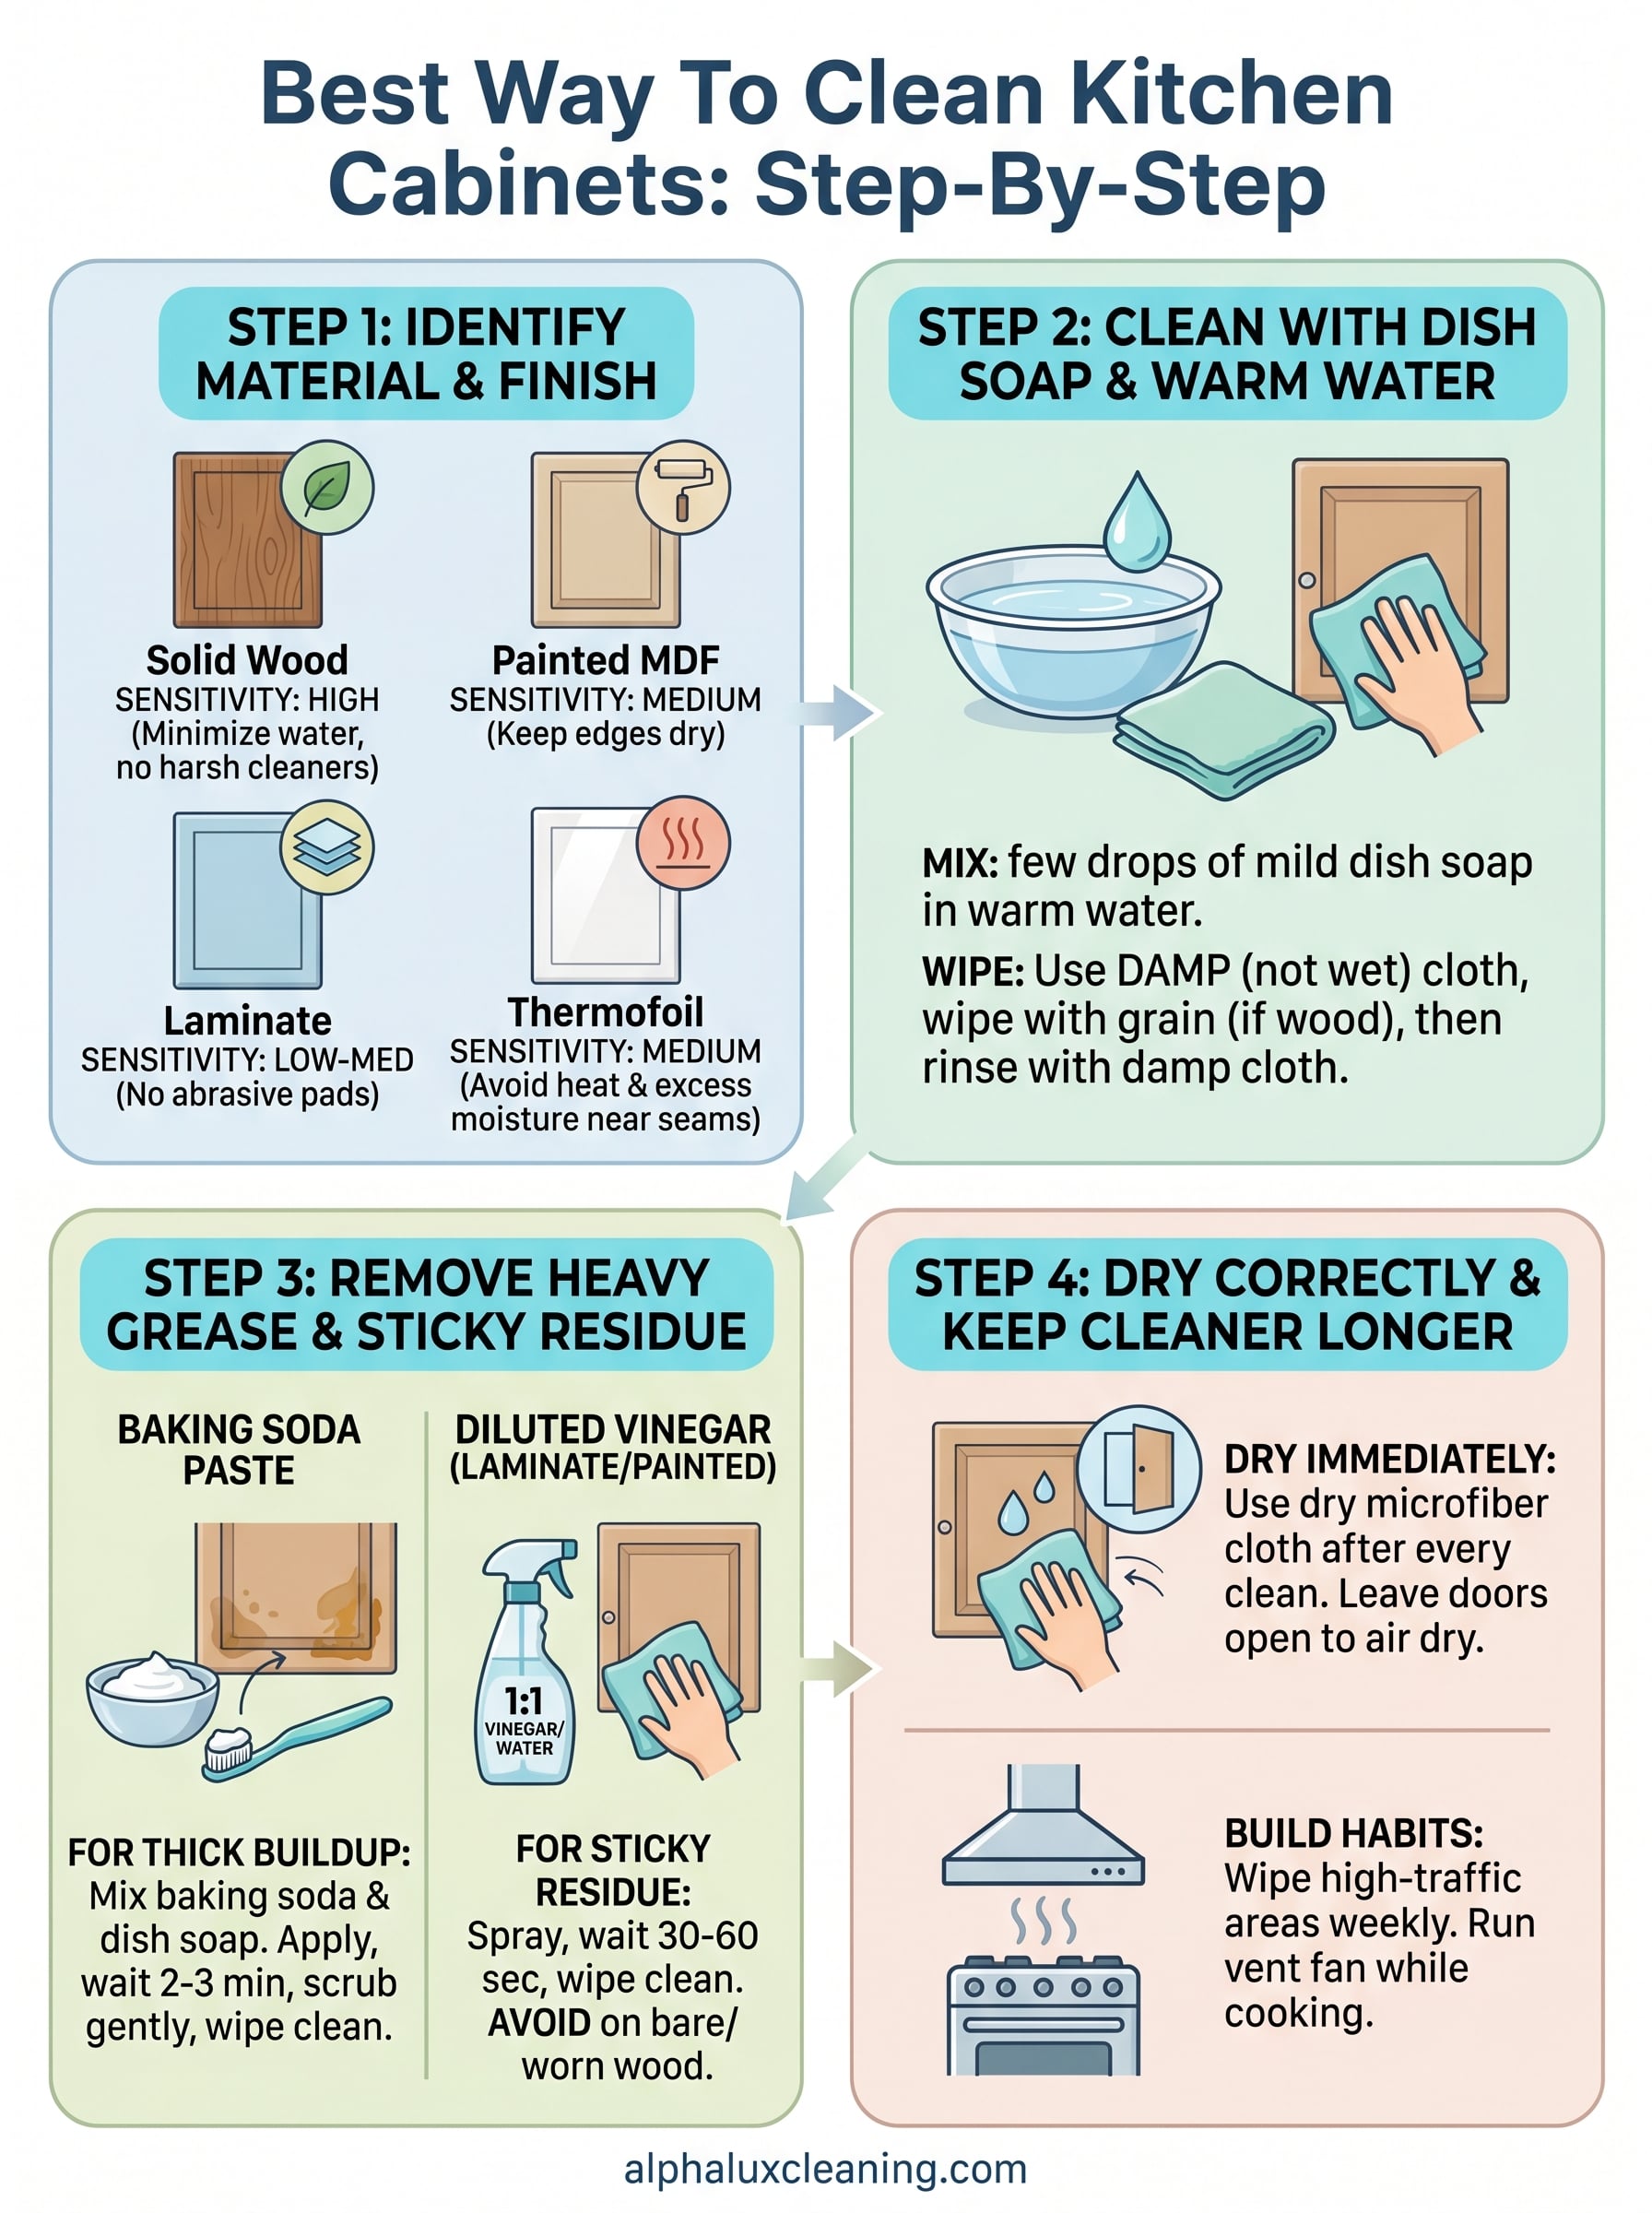
Step 1. Identify your cabinet material and finish
Before you apply any cleaner, you need to know what your cabinets are made of and what kind of finish sits on the surface. This single step is what separates a safe clean from one that strips color, dulls the sheen, or causes swelling. Two minutes of identification tells you exactly which method to use in the steps ahead, and it’s why the best way to clean kitchen cabinets always starts with looking before scrubbing.
The most common cabinet materials
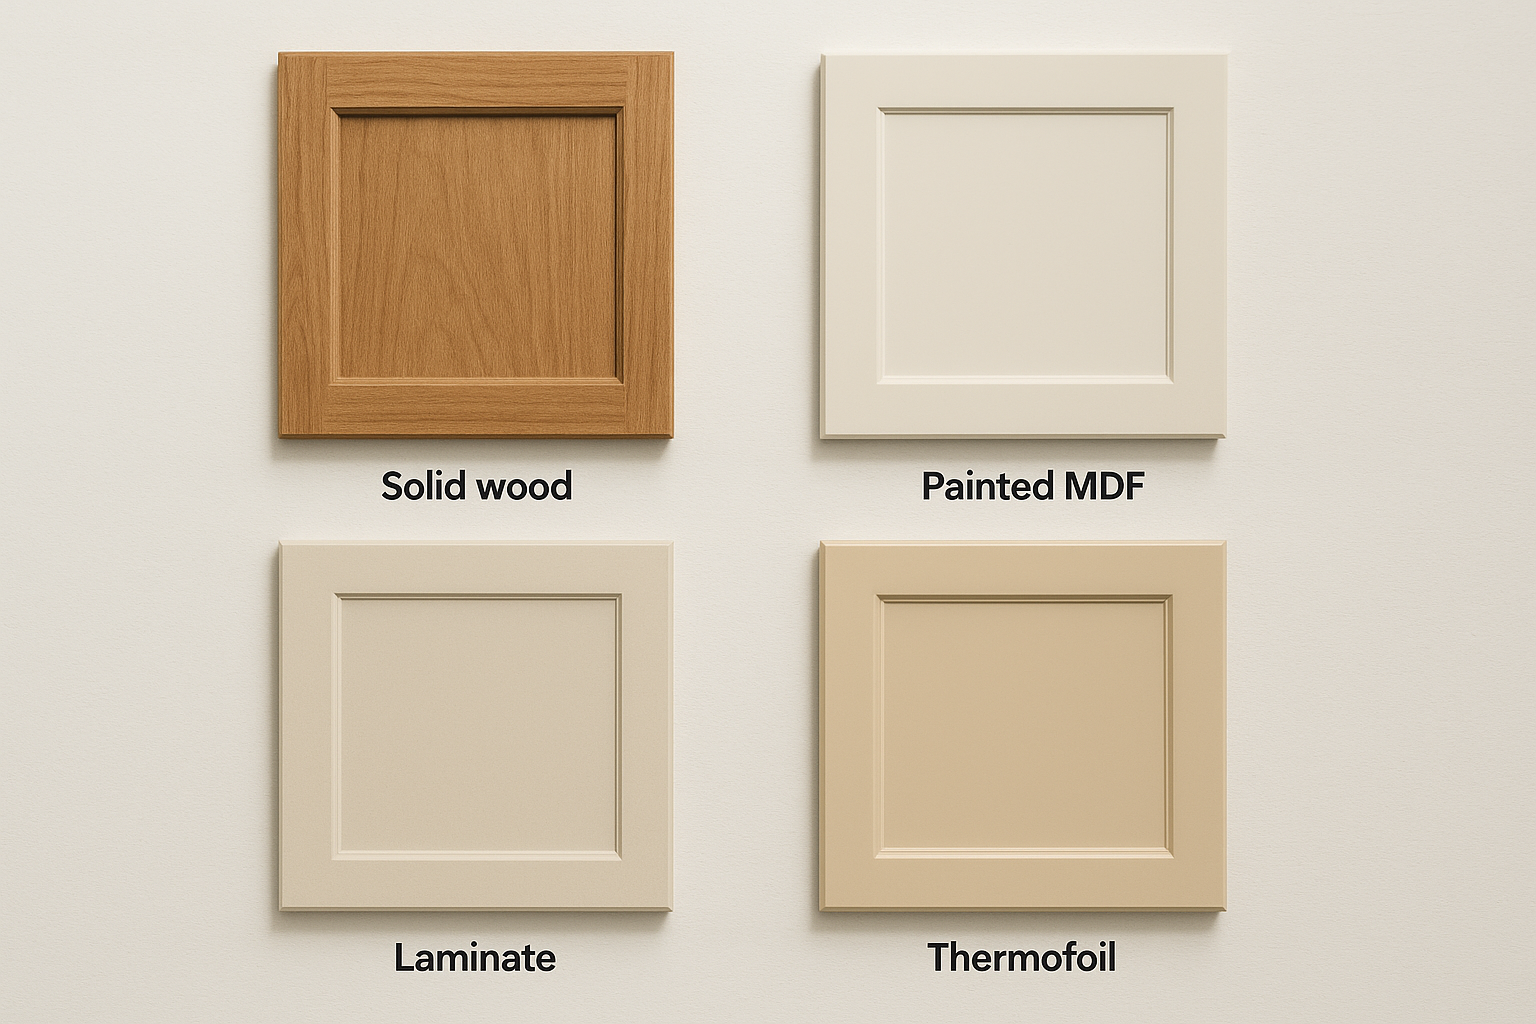
Kitchen cabinets come in a short list of standard materials, and each one responds to moisture and cleaners differently. Solid wood is the most sensitive, absorbing water quickly when the finish is thin or worn. Painted MDF (medium-density fiberboard) looks similar to painted wood but swells faster at joints and edges when it gets too wet. Laminate and thermofoil surfaces handle moisture better overall but can peel or lift near seams with repeated exposure. Here’s a quick reference to help you identify what you’re working with:
| Material | Key characteristic | Cleaning sensitivity |
|---|---|---|
| Solid wood | Visible grain, dense feel | High: minimize water, avoid harsh cleaners |
| Painted MDF | Smooth, uniform painted surface | Medium: keep edges dry |
| Laminate | Plastic-like texture, consistent color | Low to medium: no abrasive pads |
| Thermofoil | Slightly glossy, seamless appearance | Medium: avoid heat and excess moisture near seams |
How to check your cabinet’s finish
Run a clean, slightly damp cloth over a hidden spot, such as the inside of a door panel, and watch what happens after it dries. If the area darkens or feels slightly rough, your finish is thin or worn, and you’ll need to use a gentler touch throughout the entire process. Cabinets with a thick polyurethane or lacquer coat will feel smooth after drying and may bead water slightly on the surface.
Identifying your finish before you start protects the material underneath and prevents damage that would require sanding, repainting, or full door replacement.
If you’re unsure about your cabinet’s material or finish, check the manufacturer’s care documentation or look up the brand through their official website.
Step 2. Clean with dish soap and warm water
Dish soap and warm water is the most reliable starting point for the best way to clean kitchen cabinets. This combination cuts through everyday grease and cooking film without putting your finish at risk. Most cabinets, regardless of material, respond well to this method when you apply it correctly. The key is controlling how much moisture you use rather than how hard you scrub.
Mix your solution correctly
Getting the ratio right makes a noticeable difference in how your cabinets look after the first pass. Add three to four drops of mild dish soap to a bowl of warm water, roughly two cups. Stir it lightly until the soap disperses. You want the water to feel slightly slippery, not foamy. If you see a thick layer of bubbles, you’ve added too much soap, and excess soap leaves a dull film on cabinet surfaces that attracts dust once it dries.
Wringing your cloth until it’s just barely damp before touching any cabinet surface is the single most important habit to build in this step.
Work one section at a time
Dip your microfiber cloth into the solution, then wring it out firmly. The cloth should feel damp, not wet. Start at the top of one cabinet door and wipe in long, controlled strokes following the direction of the grain if you have wood cabinets, or in a consistent direction on painted and laminate surfaces. Move from top to bottom so any drips land on areas you haven’t cleaned yet.
After wiping each door or panel with the soapy cloth, follow immediately with a second clean cloth rinsed in plain warm water to lift any soap residue. Then dry the surface right away with a dry microfiber cloth. Leaving moisture on the surface, even briefly, can dull the finish or cause swelling near edges. Work through one door or drawer front at a time before moving to the next section.
Step 3. Remove heavy grease and sticky residue
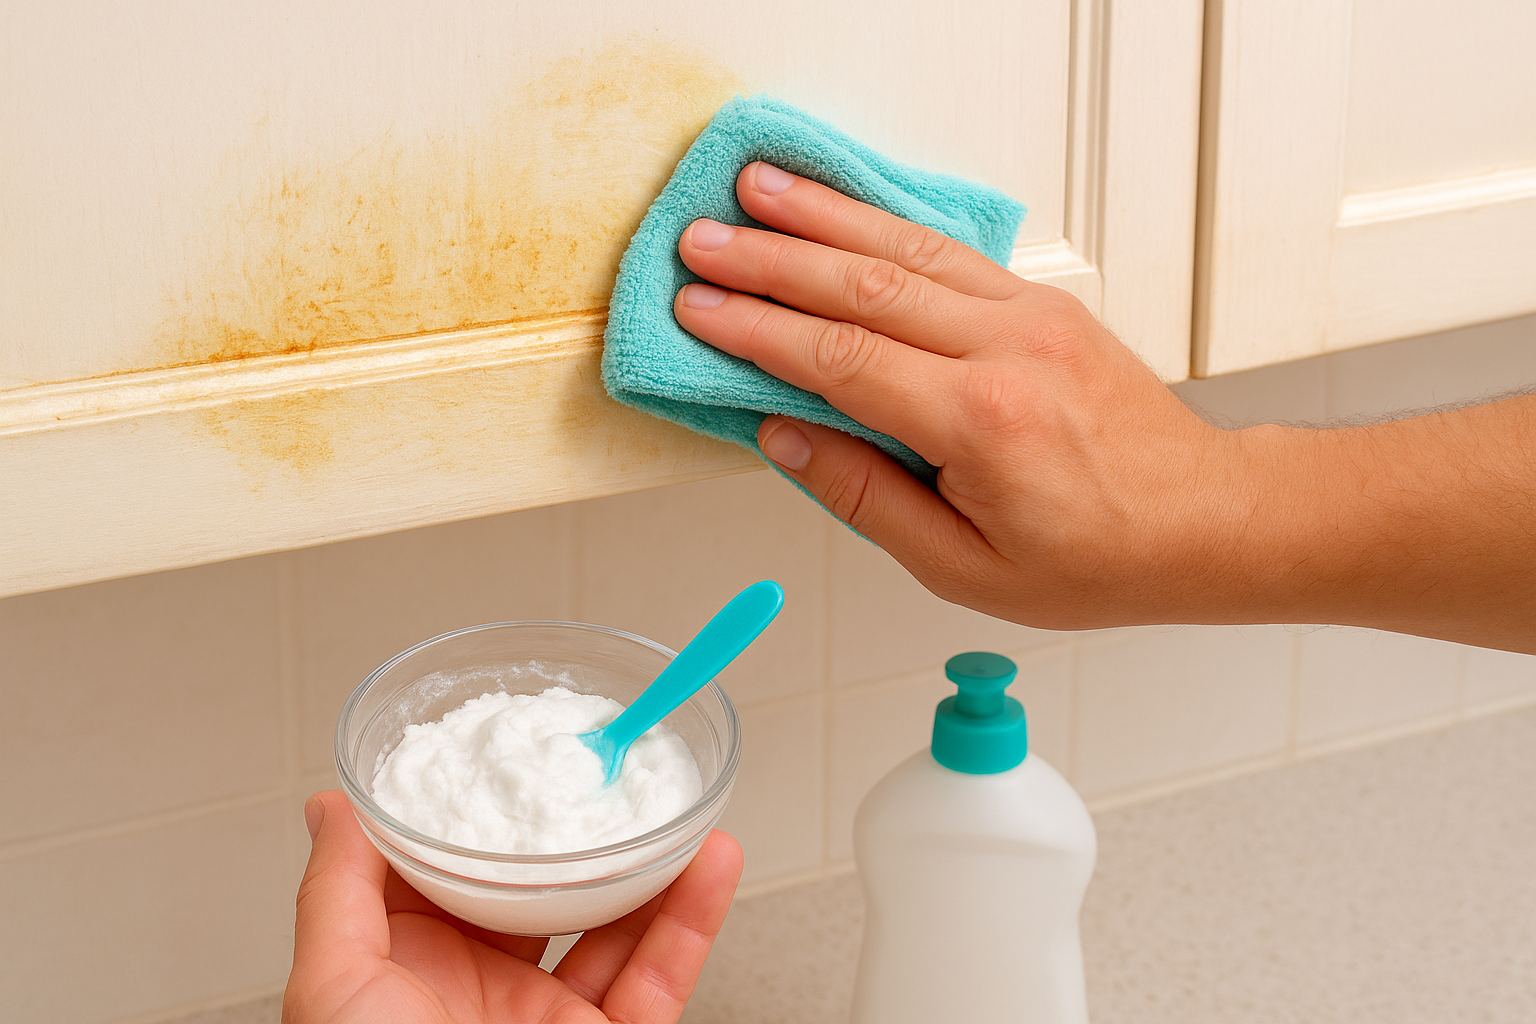
When dish soap and water aren’t cutting through the buildup, you’re dealing with polymerized grease, which is layers of cooking fat that have bonded to the surface through repeated heat exposure. This type of residue feels tacky or thick when you run your finger across it and won’t lift with a standard wipe. At this stage, the best way to clean kitchen cabinets is to step up to a targeted solution that breaks down the grease without attacking your cabinet finish.
Use a baking soda paste for thick buildup
Baking soda is a mild abrasive that lifts heavy grease without scratching most cabinet finishes. Mix one tablespoon of baking soda with just enough dish soap to form a thick paste, roughly the consistency of toothpaste. Apply the paste directly to the greasy area with your fingers or a soft cloth, then let it sit for two to three minutes so it can loosen the residue before you scrub.
Letting the paste sit does most of the work for you; scrubbing immediately after applying it reduces its effectiveness significantly.
Use a soft-bristle toothbrush to work the paste into the grease using small circular motions. Focus on areas around the stove, near handles, and along the top edges of lower cabinets where grease accumulates the most. Wipe the paste away with a damp microfiber cloth, then rinse the area with plain warm water and dry immediately.
Apply diluted vinegar on laminate and painted surfaces
On laminate or painted cabinet surfaces, a 1:1 mixture of white vinegar and warm water in a spray bottle handles sticky residue effectively. Spray the solution onto the affected area and let it sit for thirty to sixty seconds, then wipe clean with a microfiber cloth. Vinegar cuts through grease without leaving a soapy film behind.
Avoid using vinegar on bare wood or heavily worn finishes, as the acidity can dull the surface over time. Stick to baking soda paste for those materials and reserve the vinegar spray for tougher, sealed surfaces only.
Step 4. Dry correctly and keep cabinets cleaner longer
Drying is not an optional finishing touch; it is a critical part of the process. Water left on cabinet surfaces, even for a few minutes, can dull a finish, cause swelling at seams and edges, and create conditions that attract more grime faster. The best way to clean kitchen cabinets always includes a deliberate drying step, and skipping it undoes much of the work you just put in. Treat drying as seriously as the cleaning itself, and your cabinets will hold up far better over time.
Dry surfaces immediately after every clean
Use a clean, dry microfiber cloth immediately after the rinse step to remove all surface moisture from each door, drawer front, and frame. Wipe in long, even strokes following the grain on wood cabinets or in a consistent direction on painted and laminate surfaces. Pay close attention to corners, edges, and areas around hinges, where water tends to pool and sit longer than on flat panels. If those spots stay damp, swelling and finish damage follow quickly, and neither is easy to reverse without refinishing.
One pass with a damp cloth is never enough; always follow immediately with a dry cloth before moving to the next section.
After drying, leave the cabinet doors open for fifteen to twenty minutes so any remaining moisture near hinges or inside edges can fully evaporate. This step matters most for painted MDF or thermofoil cabinets, which swell faster than solid wood when moisture gets trapped inside joints or along seams.
Build habits that slow down future buildup
Keeping your cabinets cleaner between deep cleans comes down to a few consistent, low-effort habits. Wipe down high-traffic cabinet fronts, especially those near the stove, with a barely damp cloth once a week. Doing this removes the thin layer of cooking grease before it bonds to the surface and becomes the thick, tacky residue that requires a baking soda paste to lift.
Running a ventilation fan while you cook pulls grease-laden air out of the kitchen before it settles on cabinet surfaces. This single habit alone noticeably extends the time between full cleaning sessions and keeps your cabinets looking clean with far less effort overall.
Quick recap and when to call for help
The best way to clean kitchen cabinets follows a clear sequence: identify your material and finish, start with dish soap and warm water, step up to baking soda paste or diluted vinegar for heavy grease, and always dry surfaces immediately after cleaning. Each step builds on the last, and skipping any one of them leads to the buildup or damage that makes future cleaning harder.
Some situations go beyond what a standard wipe-down can fix. Deeply stained interiors, peeling finishes, or grease that has built up over several years often need professional attention to restore properly. If your cabinets still look grimy after following this guide, or if you simply want the job done right without spending your weekend on it, AlphaLux Cleaning handles kitchen deep cleans across New York state with trained, vetted professionals who know exactly what your cabinets need.