That crusty, splattered mess coating the inside of your microwave didn’t happen overnight, and it’s not going to wipe away with a dry paper towel. If you’ve been wondering how to clean a microwave inside without spending twenty minutes scrubbing hardened tomato sauce off the ceiling, you’re in the right place. The good news: you probably already have everything you need in your kitchen pantry.
At AlphaLux Cleaning, we handle deep cleaning for homes and businesses across New York State, and microwaves are one of those spots we see neglected constantly. Our team knows firsthand that stuck-on grease and food splatters come off far easier when you use the right method, not more elbow grease. That’s exactly what we’re sharing here: the same practical approach our professionals rely on, adapted so you can do it yourself between cleanings.
Below, you’ll find fast, no-scrub steps using common household items like vinegar, lemon, and baking soda. We’ll walk you through removing caked-on grime, cutting through grease, and getting rid of those lingering odors that hit you every time you open the door. Each method takes just a few minutes of actual hands-on effort, steam does the heavy lifting for you.
Before you start: supplies, safety, and what to avoid
Running through your supplies and a few safety basics before you start will save you time and prevent damage. Knowing what actually works and what can ruin your microwave takes about sixty seconds to learn and protects an appliance you likely use every single day.
What you’ll need
You don’t need specialty products to clean a microwave effectively. Most of what you need is already sitting in your kitchen, and the rest costs next to nothing at any grocery store. Here’s a straightforward list of supplies that cover every method in this guide:
- White distilled vinegar
- Fresh lemon (or bottled lemon juice)
- Baking soda
- Dish soap
- A microwave-safe bowl or measuring cup
- Water
- Microfiber cloths or clean, non-abrasive sponges
- A soft brush or wooden toothpick for vents
- Paper towels for quick wipe-downs
Microfiber cloths outperform paper towels on the interior walls because they grab grease instead of just pushing it around. If you only stock up on one item, make it white distilled vinegar. It’s the most versatile cleaner in this whole process and pulls double duty as a deodorizer.
Safety steps before you begin
Before you figure out how to clean a microwave inside, run through a few non-negotiable basics. Never run your microwave empty during the steam step, and always confirm that the bowl or container you plan to use is labeled microwave-safe. Glass and ceramic work well; thin plastic containers can warp or release unwanted chemicals when heated.
Always unplug the microwave or let it cool for at least two minutes before you put your hands inside and start wiping.
Keep the door open while you work so steam can escape and the cavity cools down faster. If your unit has a built-in exhaust fan, this is also a smart moment to wipe down the filter housing with a damp cloth before it gets overlooked again.
What to avoid
Some cleaning products people instinctively grab will damage the interior coating or leave behind residue that’s unsafe to heat near food later. Bleach-based sprays can corrode the microwave walls and leave a chemical odor that transfers directly to whatever you cook next. Steel wool and rough scrubbing pads scratch the interior lining and create tiny grooves where bacteria can build up over time.
Avoid spraying any liquid directly onto the walls of the microwave. Instead, apply your cleaning solution to a cloth first, then wipe. This keeps moisture away from the vents, control buttons, and door seal, all of which can deteriorate quickly if soaked repeatedly.
Step 1. Steam-loosen the mess with water, vinegar, or lemon
Steam is the core technique behind how to clean a microwave inside without scrubbing. You heat liquid inside the microwave to generate steam that softens hardened food and grease, so everything lifts off with almost no effort when you go in with a cloth. This single step cuts your cleaning time dramatically compared to attacking a cold, dry interior with force.
Choose your method
All three options below work well. Your choice comes down to what you have on hand and whether odor removal is a priority for you right now.
| Method | What you need | Best for |
|---|---|---|
| Water only | 1 cup of water | Light splatters, quick refresh |
| Vinegar | 1/2 cup water + 1/2 cup white vinegar | Heavy grease, strong odors |
| Lemon | 1/2 lemon squeezed into 1 cup water | Mild grime, fresh scent |
Vinegar is the strongest deodorizer of the three, so if your microwave smells stale or burnt, the vinegar method gives you the best results.
Run the steam step
Pour your chosen liquid into a microwave-safe bowl and place it in the center of the turntable. Set the microwave to high power for three to five minutes, long enough for the liquid to boil and coat the walls with steam. For the lemon method, drop the squeezed half directly into the bowl before heating, which releases more citrus oil into the steam.
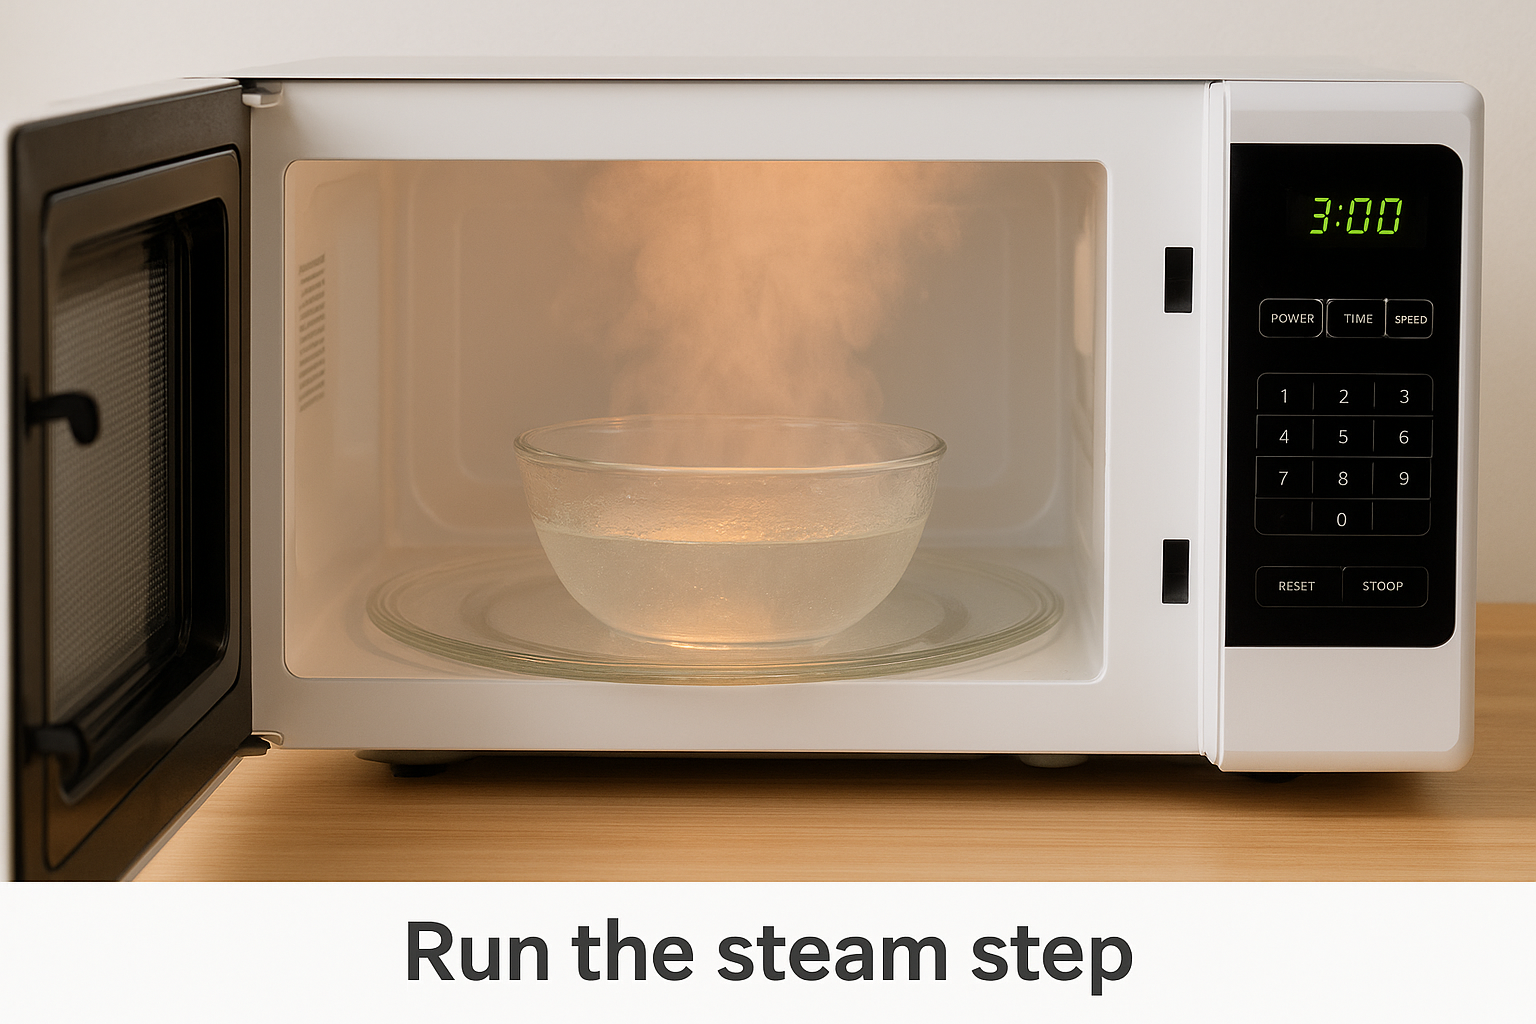
Once the timer goes off, leave the door shut for an additional three minutes. That trapped steam keeps working on stubborn residue while you wait. Skipping this rest period is the most common mistake people make, and it forces them into unnecessary scrubbing later.
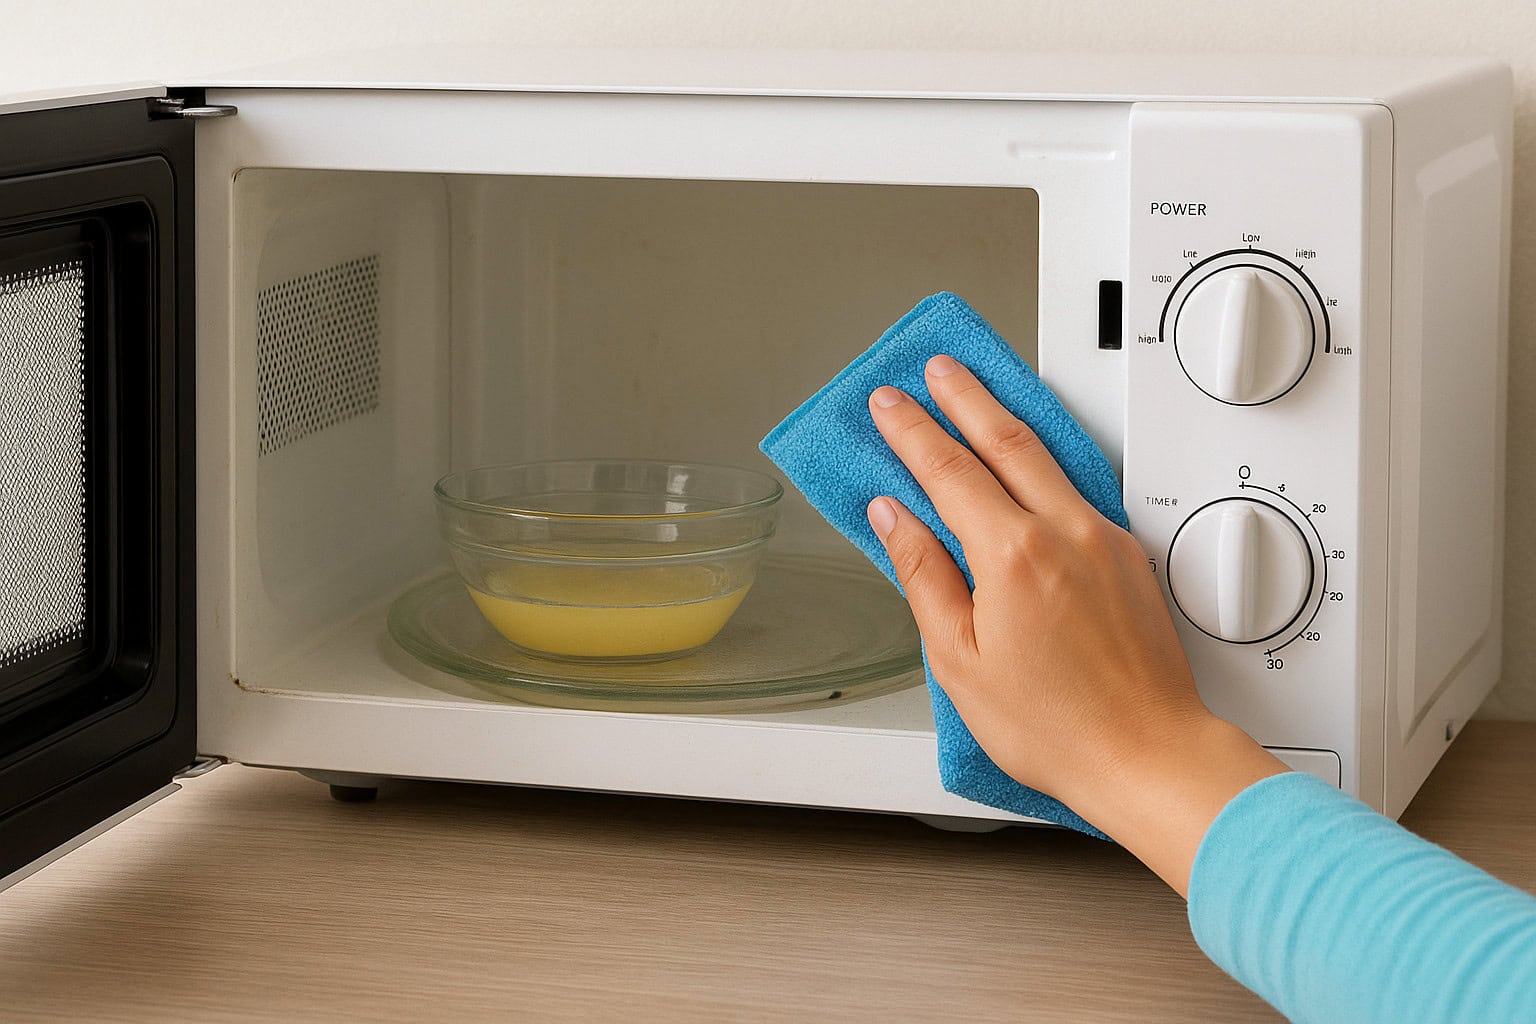
Step 2. Wipe the interior clean the right way
Once the steam has done its job, open the door and remove the bowl carefully using oven mitts or a towel since it will still be hot. The walls should look wet and the grime should appear soft. Take your damp microfiber cloth and start wiping immediately while the interior is still warm, because the residue hardens again as the temperature drops.
Work in the right order
Most people wipe randomly and end up redistributing grease instead of removing it. A top-to-bottom, side-to-side sequence keeps you from re-dirtying surfaces you’ve already cleaned and helps you track exactly where the mess was concentrated.
Follow this order for the most efficient clean:
- Ceiling of the microwave interior
- Left wall, then right wall
- Back wall
- Floor of the cavity
Rinse your cloth in clean water between passes or flip to a fresh section so you’re not smearing old grease across a clean surface. For any spots that didn’t fully release during steaming, apply a small drop of dish soap directly to your cloth and work it into the stain with light circular pressure before wiping again.
If a spot still won’t budge at this stage, don’t force it. Move on and address it in Step 4, which covers stubborn stains specifically.
Handle the door and seal separately
The door interior and the rubber door seal are two spots people often miss entirely when figuring out how to clean a microwave inside. Food residue collects along the seal and can start to smell or affect how well the door closes over time.
Wipe the inner door surface with your damp cloth, then run a folded edge of the cloth carefully along the rubber gasket to pull out any trapped debris without stretching or tearing the seal.
Step 3. Clean the turntable and removable parts
The turntable and roller ring collect just as much grease and debris as the walls, yet most people skip them entirely when figuring out how to clean a microwave inside. Pulling these parts out and washing them separately takes only a few minutes and makes a real difference in how clean the whole unit feels, and how evenly your food heats going forward.
Remove and soak the turntable
Lift the glass turntable plate straight out of the microwave and carry it to your sink. If it has caked-on food or heavy grease, let it soak in warm, soapy water for five to ten minutes before washing. That short soak does the same job as the steam method did for the interior walls: it loosens the debris so you spend almost no effort scrubbing.
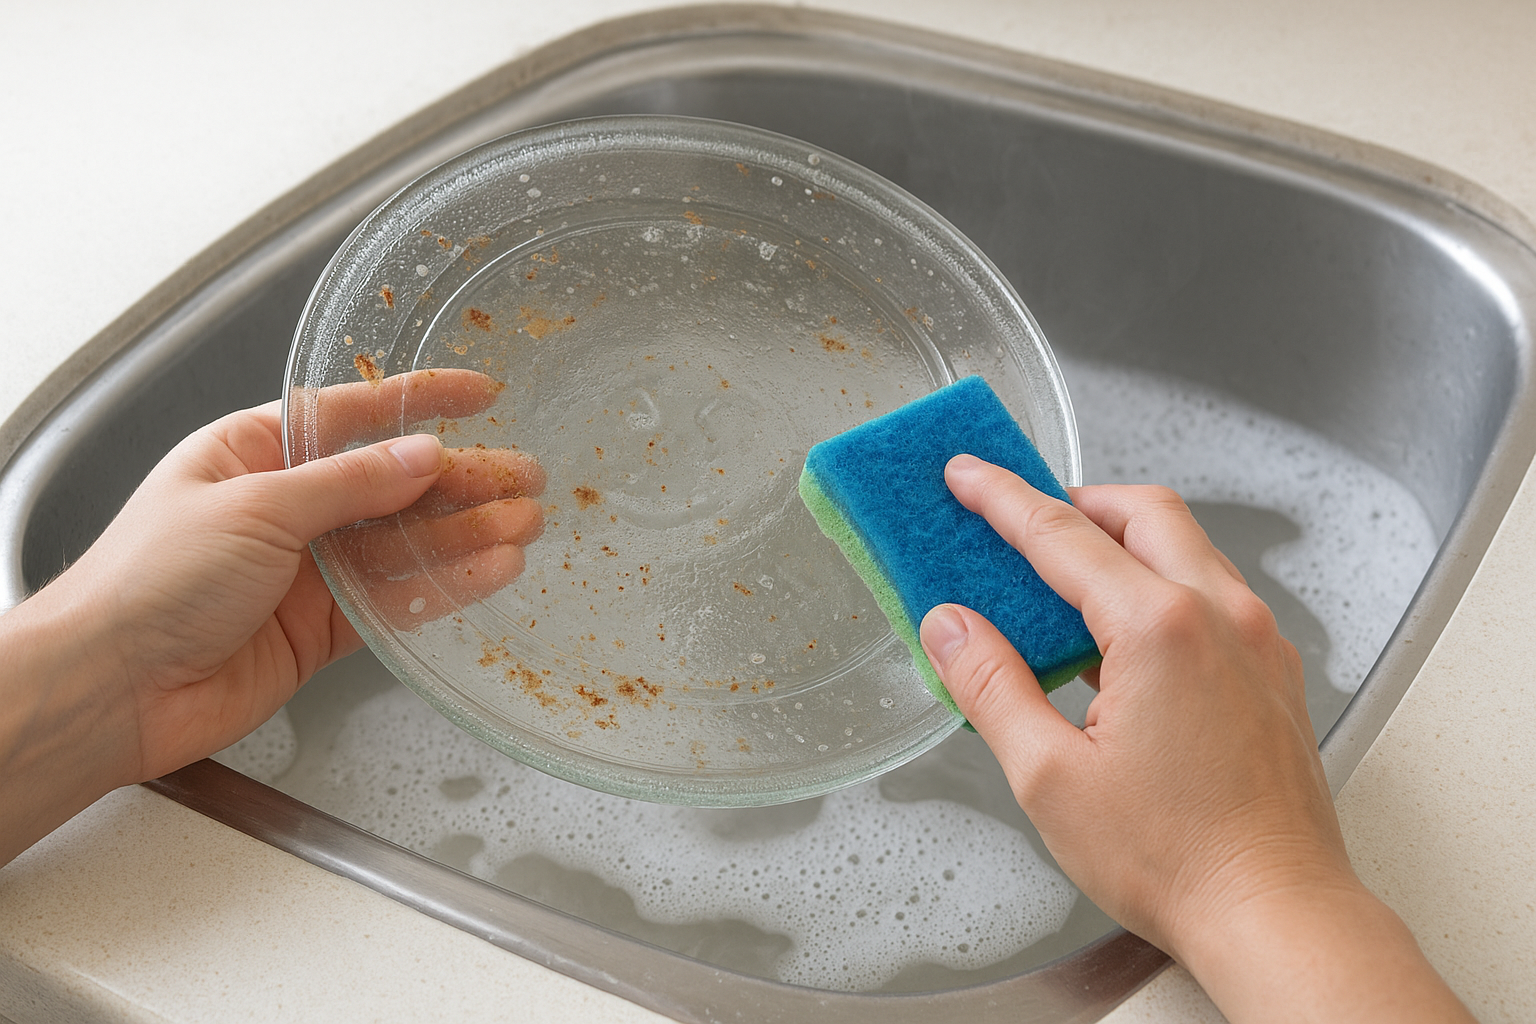
For light buildup, washing the turntable with dish soap and a non-abrasive sponge immediately under running water is usually enough.
After soaking, wash both sides of the plate with dish soap, rinse thoroughly, and dry it with a clean towel before putting it back in. Placing a wet turntable back into the microwave traps moisture and can cause odors to return faster.
Clean the roller ring
The roller ring sits underneath the turntable and rarely gets cleaned. Grease and food particles drop through the turntable and settle directly onto it and onto the floor of the cavity below. Remove the roller ring the same way you removed the turntable, then wash it in warm, soapy water.
Use a small soft brush or an old toothbrush to scrub the wheels and the ring itself, where grime hides in the tight curves. Rinse, dry, and set it back in place before reinstalling the turntable.
Step 4. Remove stubborn stains and lingering odors
Steam clears most of the mess, but some stains survived the steam step and stayed put. That’s normal, especially in a microwave that hasn’t been cleaned in a while. These set-in spots and persistent smells need a slightly different approach, and you still don’t need any harsh chemical products to deal with them.
Tackle stubborn stains with baking soda paste
Baking soda is your go-to solution for dried-on food or discolored spots that didn’t fully release during steaming. Mix two tablespoons of baking soda with one tablespoon of water to form a thick paste. Apply it directly to the stained area with your finger or a soft cloth, then let it sit for three to five minutes before wiping it away with a damp microfiber cloth.
Baking soda is mildly abrasive enough to lift stains without scratching the interior coating, which makes it one of the safest options you can use when learning how to clean a microwave inside.
For burnt-on residue that resists the paste, apply a small amount of dish soap on top of the paste before wiping. Work in small, tight circles and reapply if needed rather than scrubbing hard in a single pass.
Eliminate lingering odors
Odors that stick around after cleaning usually come from grease absorbed into the interior walls or residue trapped near the vents. Place a small bowl of baking soda inside the microwave and leave it overnight with the door slightly ajar. The baking soda absorbs the smell passively without you having to do anything else. If the odor is strong, swap in a fresh bowl after 24 hours and repeat.
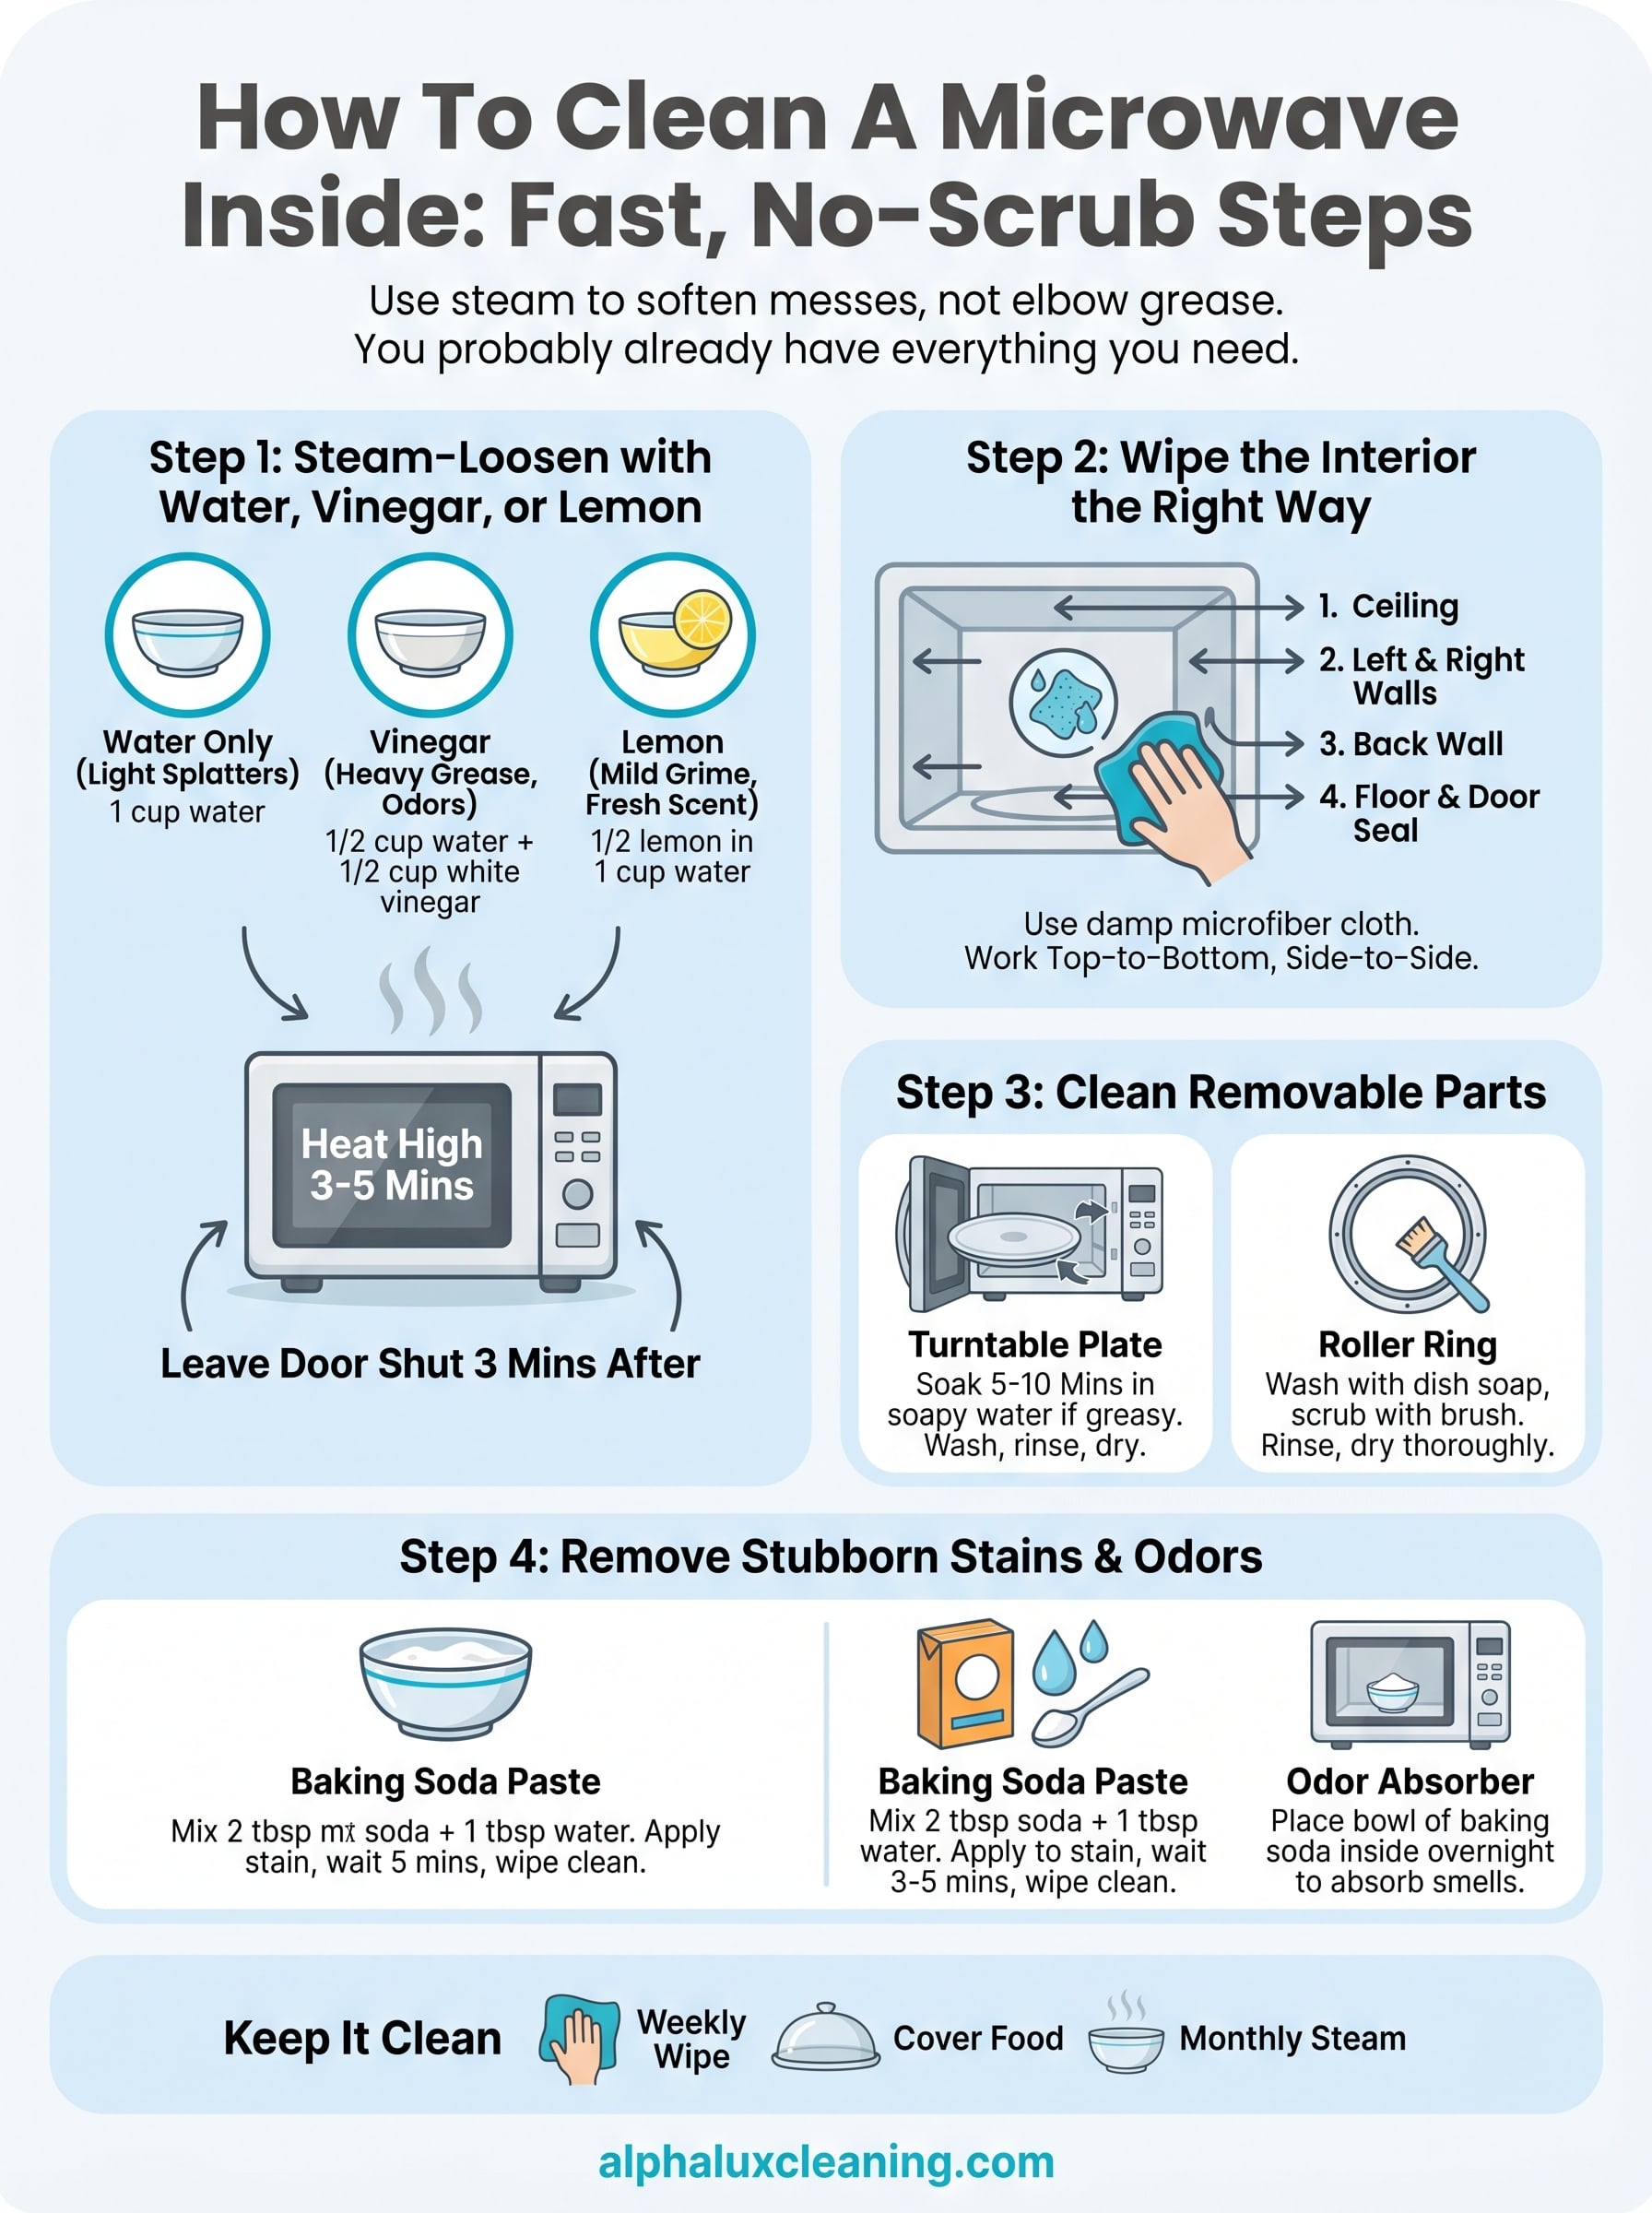
Keep it clean from here
Now that you know how to clean a microwave inside without heavy scrubbing, the key is staying ahead of the buildup before it hardens again. Wiping the interior with a damp cloth once a week takes less than two minutes and prevents the kind of caked-on mess that required a full steam session. Cover food with a microwave-safe lid or a damp paper towel every time you heat something, and you cut down on splatters at the source.
Set a recurring reminder to run the vinegar steam method once a month as a maintenance clean, not a rescue operation. Keeping the turntable washed every week alongside your regular dishes adds almost no extra effort. Small habits like these protect your appliance and keep odors from developing in the first place. If your home needs a deeper level of clean beyond what you can tackle yourself, AlphaLux Cleaning is ready to help.