Soap scum on the shower walls, dingy grout lines, and dark mold spots in the corners, bathroom tile takes a beating. If you’ve been searching for how to clean bathroom tile effectively, you’re not alone. It’s one of the most common cleaning challenges homeowners face, and the wrong approach can waste your time or even damage your surfaces. Knowing what actually works saves you both effort and frustration.
At AlphaLux Cleaning, we clean bathrooms across New York every day, from quick weekly maintenance to deep cleans that tackle months of buildup. We’ve tested countless methods and products on every type of tile and grout you can imagine. That hands-on experience is exactly what shaped this guide. We’re sharing what we know works, not recycled advice from the back of a product label.
Below, you’ll find step-by-step instructions for cleaning bathroom wall and floor tiles, simple DIY recipes using ingredients you probably already have (like vinegar, baking soda, and dish soap), and our go-to product picks. We’ll also cover how to whiten stained grout and remove mold so your bathroom looks and feels genuinely clean, not just surface-level clean.
What to know before you start
Before you grab a sponge and start scrubbing, spend a few minutes understanding what you’re working with. Different tile materials react very differently to common cleaners, and using the wrong product can lead to etched surfaces, stripped grout sealant, or permanent discoloration. Taking a moment to identify your tile type and gather your supplies upfront is what separates a good clean from a costly mistake. Knowing this also shapes how you approach each step in learning how to clean bathroom tile correctly, especially when you’re dealing with buildup from months of use.
Know your tile type
Ceramic and porcelain tiles are the most forgiving options found in most bathrooms. They hold up well against vinegar-based solutions, baking soda pastes, and most commercial bathroom cleaners without any surface damage. Natural stone tiles, such as marble, travertine, and slate, require much more care. Acid-based products like white vinegar will etch the surface and leave it dull and damaged, so always use pH-neutral or stone-specific cleaners on these materials.
If you’re not sure what type of tile you have, check with whoever installed it, or look for any leftover tiles from the original installation since they often carry a label on the back identifying the material.
Grout is almost always cement-based, which means it’s porous. It absorbs stains, moisture, and mold spores easily over time. Sealed grout resists staining better than unsealed grout, but both types need consistent cleaning to stay in good shape.
| Tile Type | Safe Cleaners | What to Avoid |
|---|---|---|
| Ceramic / Porcelain | Vinegar, baking soda, dish soap | Steel wool or abrasive pads on glazed surfaces |
| Natural Stone | pH-neutral cleaners, stone-specific products | Vinegar, bleach, citrus-based cleaners |
| Cement-based grout | Baking soda paste, oxygen bleach | Undiluted bleach used repeatedly |
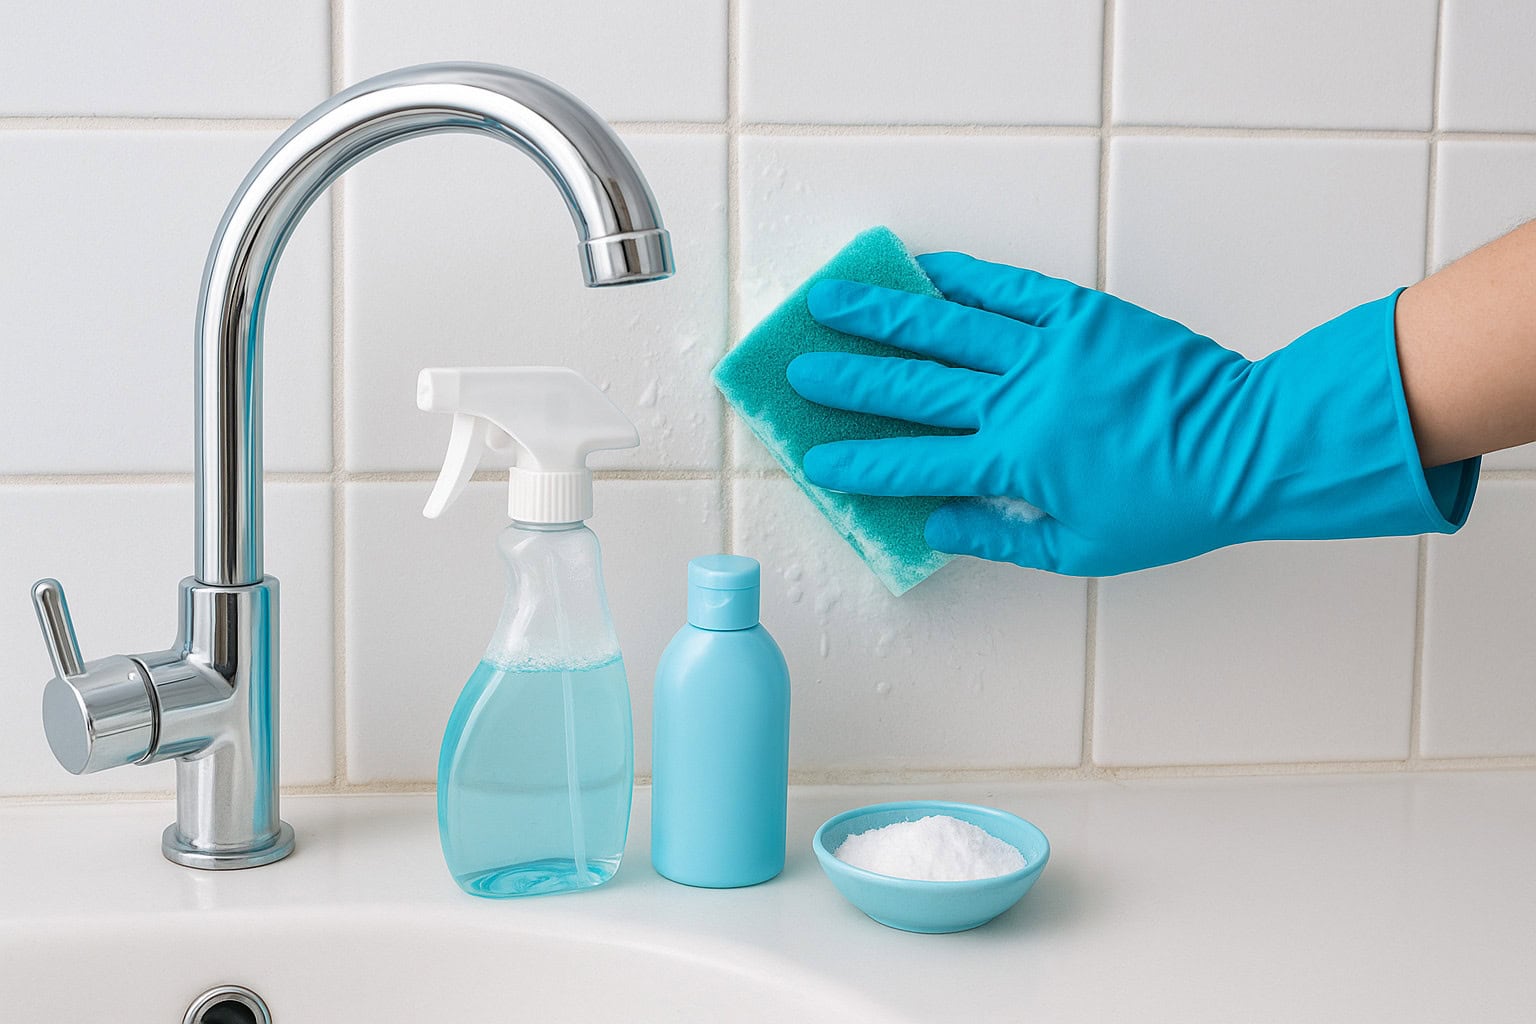
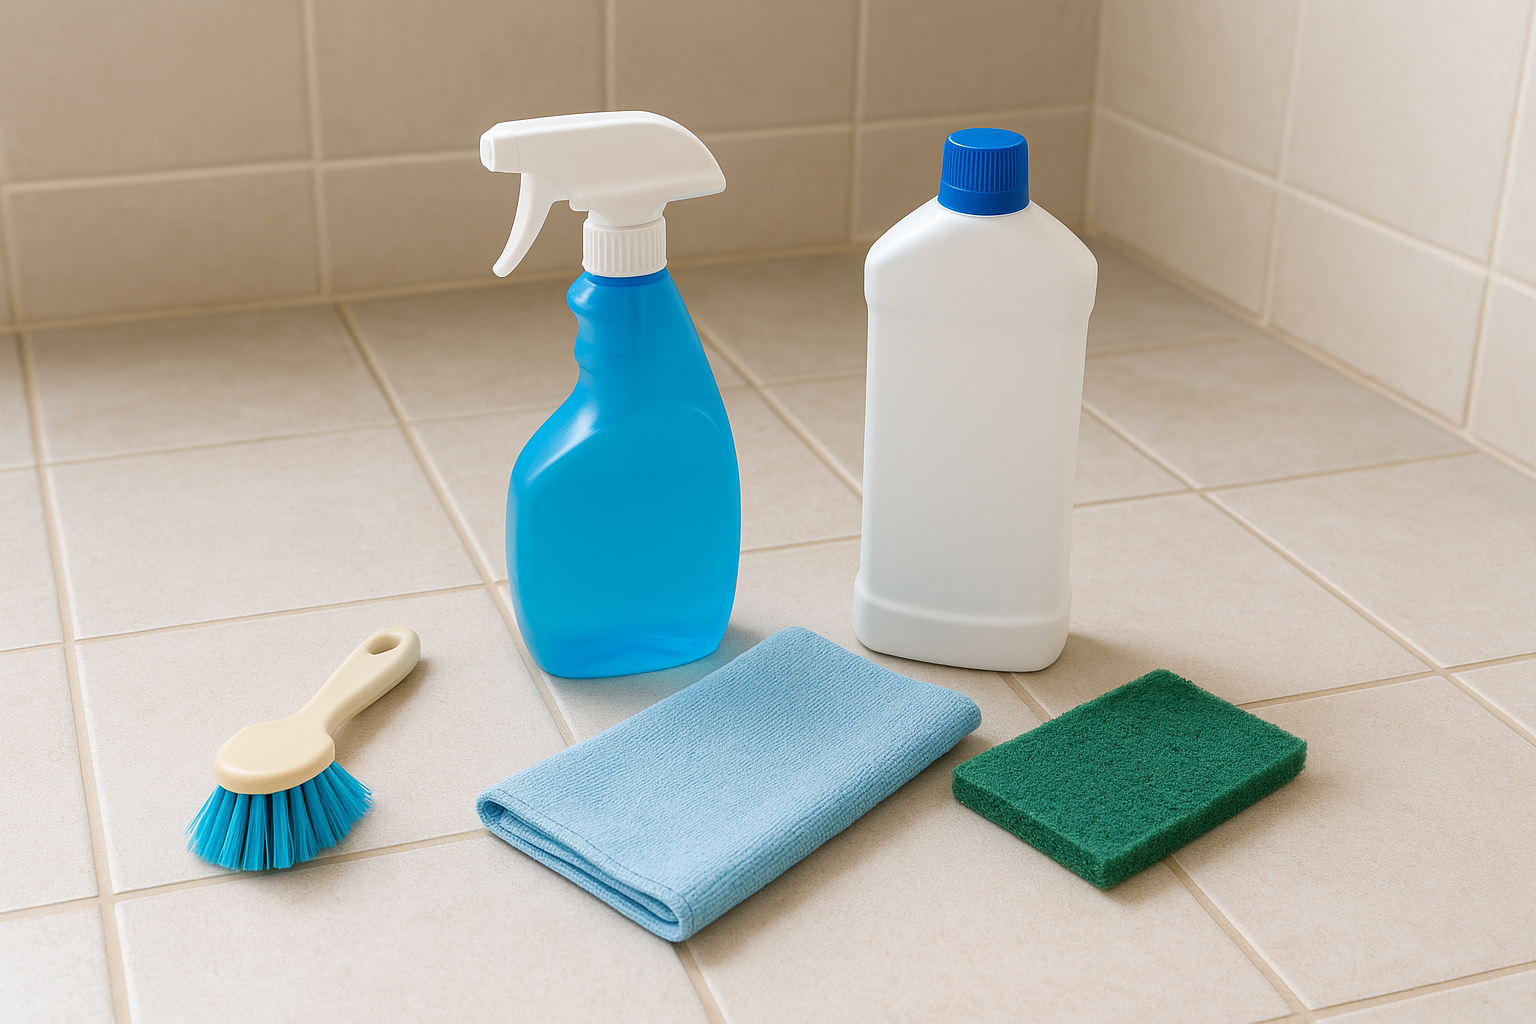
Gather the right tools
Having the right tools ready before you start makes every step faster and more thorough. You don’t need specialized equipment, but a few specific items will get you significantly better results than a standard sponge alone.
Here’s what to gather before you begin:
- Stiff-bristle grout brush (an old toothbrush works well for tight corners and short grout lines)
- Spray bottle for applying DIY cleaning solutions evenly
- Microfiber cloths and a non-abrasive scrub pad for tile surfaces
- Bucket and warm water for rinsing
- Rubber gloves, particularly when using bleach-based products
- Old towels or a microfiber mop for floor tile areas
Step 1. Prep the bathroom and remove loose debris
Preparation makes the actual cleaning faster and more effective. Before you apply any solution, clear out everything that doesn’t belong on your tile surfaces: shampoo bottles, soap dishes, razors, bath mats, and anything sitting on the floor. Working around clutter slows you down and means you’ll miss spots along the tile edges where buildup tends to concentrate. If you’re learning how to clean bathroom tile properly, treating this first step seriously sets you up for better results across every step that follows.
Open the bathroom up
Ventilation matters more than most people realize. Open a window or turn on the exhaust fan before you start, especially if you plan to use any bleach-based products later in the process. Fumes build up fast in small, enclosed bathrooms. Running the fan also helps the bathroom dry more evenly after rinsing, which reduces the chance of mildew returning quickly after you finish.
A well-ventilated bathroom doesn’t just protect you from fumes; it also speeds up drying time after you clean, which directly cuts down on mold regrowth.
Dry-remove loose dirt and debris
Before adding any liquid, use a dry microfiber cloth or a soft-bristle brush to wipe down the tile walls and sweep or vacuum the floor tiles. This step removes hair, dust, and loose grime that would otherwise turn into a muddy mess once you apply a cleaner. Pay close attention to corners and the floor edges near the base of the wall, where debris collects most and where cleaners tend to pool rather than penetrate if the surface isn’t cleared first.
Step 2. Clean the tile surface without damaging it
With the surface prepped and dry debris cleared, you’re ready to apply a cleaning solution directly to the tile. This step is where most people either get great results or inadvertently damage their surfaces. Matching your cleaner to your tile type (from the table in the first section) is the most important decision you’ll make in the entire process of learning how to clean bathroom tile.
Mix a simple DIY tile cleaner
You don’t need expensive specialty products for ceramic or porcelain tile. A basic two-ingredient solution handles most everyday grime, soap film, and surface buildup without any risk to your tile’s finish. Mix the following in a spray bottle:
- 1 cup warm water
- 1 cup white vinegar
- 1 tablespoon dish soap
Shake gently to combine, then spray directly onto the tile surface. Let it sit for 3 to 5 minutes before scrubbing. That dwell time breaks down grease and surface grime so the scrubbing requires less effort and causes less friction against the tile face.
For natural stone tile, skip the vinegar entirely and use a pH-neutral cleaner like Method Daily Shower Spray or a stone-specific product to avoid etching.
Scrub and rinse the right way
Work in small sections, moving from top to bottom on wall tiles so loosened grime runs down instead of re-depositing on areas you’ve already cleaned. Use a non-abrasive scrub pad in circular motions on tile faces. Rinse each section thoroughly with warm water before moving to the next to prevent cleaner residue from drying onto the surface and leaving streaks.
Step 3. Remove soap scum and hard water stains
Soap scum and hard water stains are two different problems that need two different approaches. Soap scum forms when the fatty acids in bar soap bind with minerals in water and stick to your tile surface. Hard water stains are left behind when mineral-rich water evaporates and deposits calcium and magnesium onto the tile. Knowing the difference is part of understanding how to clean bathroom tile effectively, because the wrong method on the wrong stain will just push it around rather than remove it.
Target soap scum with dish soap and heat
Soap scum responds well to grease-cutting cleaners combined with a little warmth. Run your shower on hot for two minutes before applying any solution. The steam softens the scum and makes it much easier to lift without aggressive scrubbing. Apply a generous amount of undiluted dish soap directly to the affected tiles, let it sit for five minutes, then scrub with a non-abrasive pad in circular motions and rinse thoroughly.
For thick soap scum buildup, mix equal parts dish soap and warm white vinegar in a spray bottle, apply, wait ten minutes, then scrub.
Break down hard water stains with acid
Hard water deposits are alkaline in nature, which means an acidic cleaner dissolves them efficiently. On ceramic or porcelain tile, spray undiluted white vinegar directly onto the stained area and let it sit for five to ten minutes before scrubbing with a stiff brush and rinsing.
For stubborn mineral buildup that vinegar alone cannot shift, mix cream of tartar with a small amount of hydrogen peroxide into a thick paste. Apply it to the stain, let it sit for fifteen minutes, then scrub with your grout brush and rinse the area completely clean with warm water.
Step 4. Clean grout, whiten lines, and treat mold
Grout is the hardest part of learning how to clean bathroom tile, mainly because it’s porous and sits slightly lower than the tile face, which means grime, moisture, and mold all collect and settle into it rather than running off. Before you apply any whitening or mold treatment, scrub the grout lines with your stiff-bristle brush using plain warm water first to loosen surface dirt. This step gives your cleaning solution direct contact with the actual stain instead of a layer of loose grime.
Whiten grout with a baking soda paste
Baking soda is the most reliable safe option for whitening yellowed or discolored grout without stripping the sealant. Mix three parts baking soda with one part water to form a thick paste, spread it along the grout lines, and let it sit for ten minutes. Then spray white vinegar directly over the paste so it fizzes, which lifts staining from within the pores. Scrub with your grout brush in short back-and-forth strokes and rinse thoroughly with warm water.
For epoxy grout, skip the vinegar since repeated acid exposure can break down the surface over time. Use the baking soda paste alone.
Treat mold directly and completely
Mold in grout lines needs a targeted treatment rather than a general surface cleaner. Apply a hydrogen peroxide solution (3%) directly to the affected lines, let it sit for fifteen minutes, then scrub and rinse. For persistent black mold, use a diluted bleach solution to eliminate it at the root level.
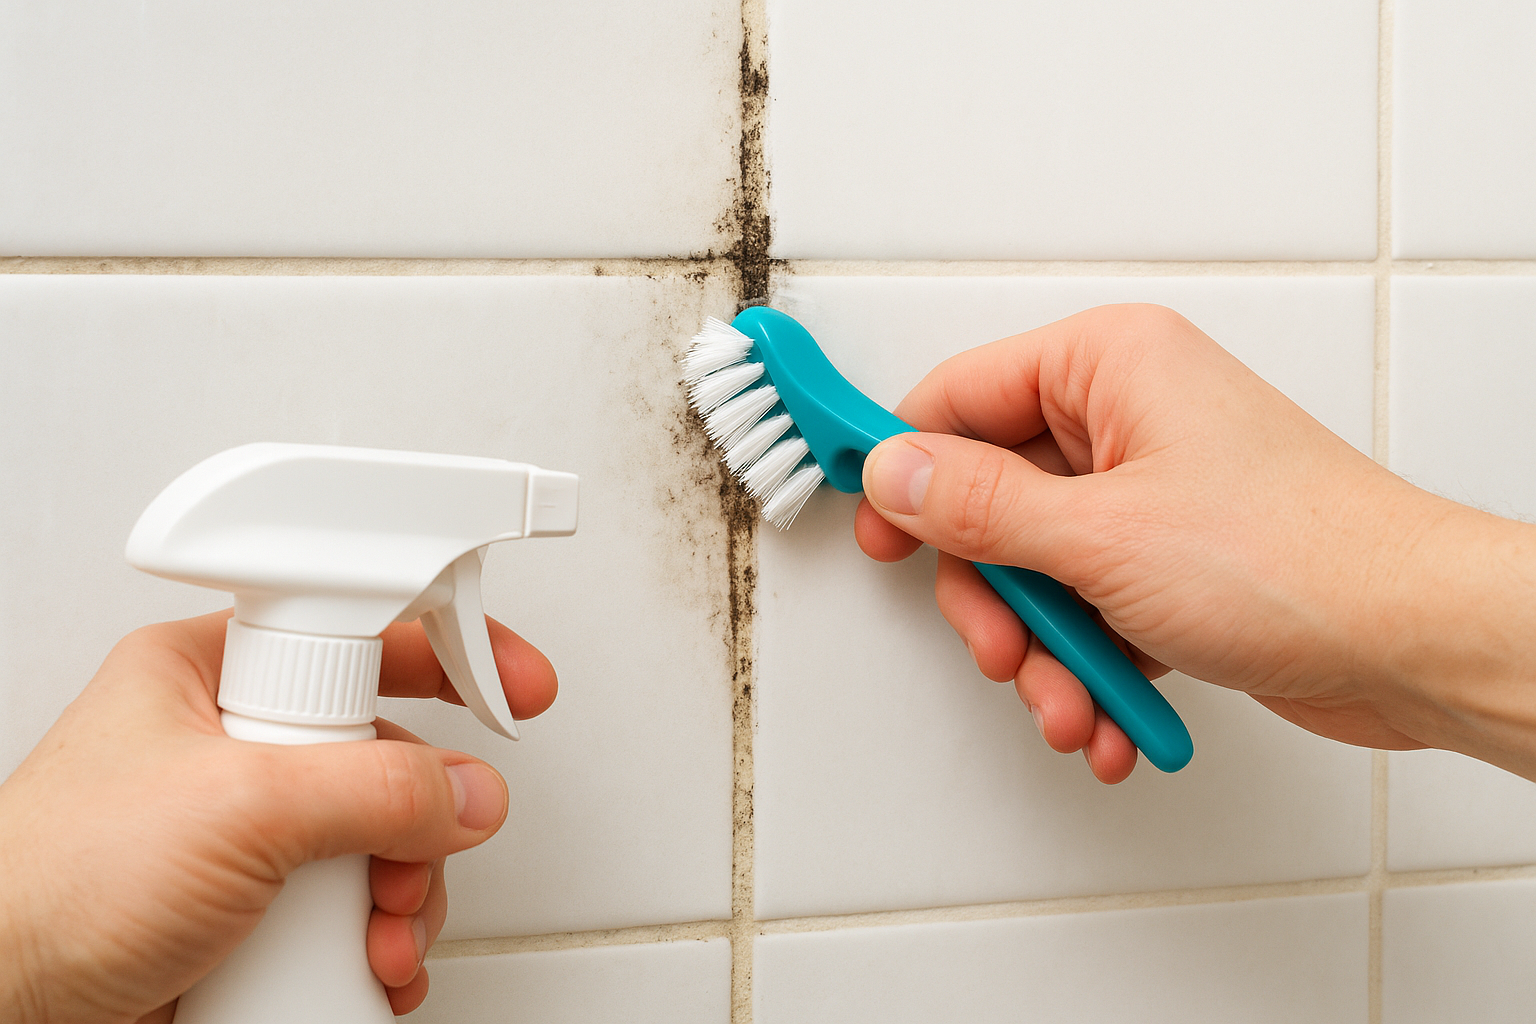
Follow these steps for black mold:
- Mix one part bleach with ten parts water
- Apply with a small brush directly onto the mold
- Wait five minutes, then scrub with your grout brush
- Rinse the area completely with warm water

Keep tile clean longer
The real payoff from knowing how to clean bathroom tile comes from not having to do it as often. A quick two-minute wipe-down of your tile walls after each shower removes soap film before it hardens into scum. Running the exhaust fan for at least fifteen minutes after showering pulls moisture out of the air and slows mold growth significantly in grout lines.
Sealing your grout once a year makes a noticeable difference. A quality grout sealer fills the pores in cement-based grout so stains and moisture cannot penetrate as deeply, which means your weekly cleaning takes far less effort to maintain results. Apply it with a small brush after the grout is fully dry and clean.
If the buildup has gotten ahead of you, or you simply want a thorough professional clean to reset your bathroom, the team at AlphaLux Cleaning is ready to help across New York.