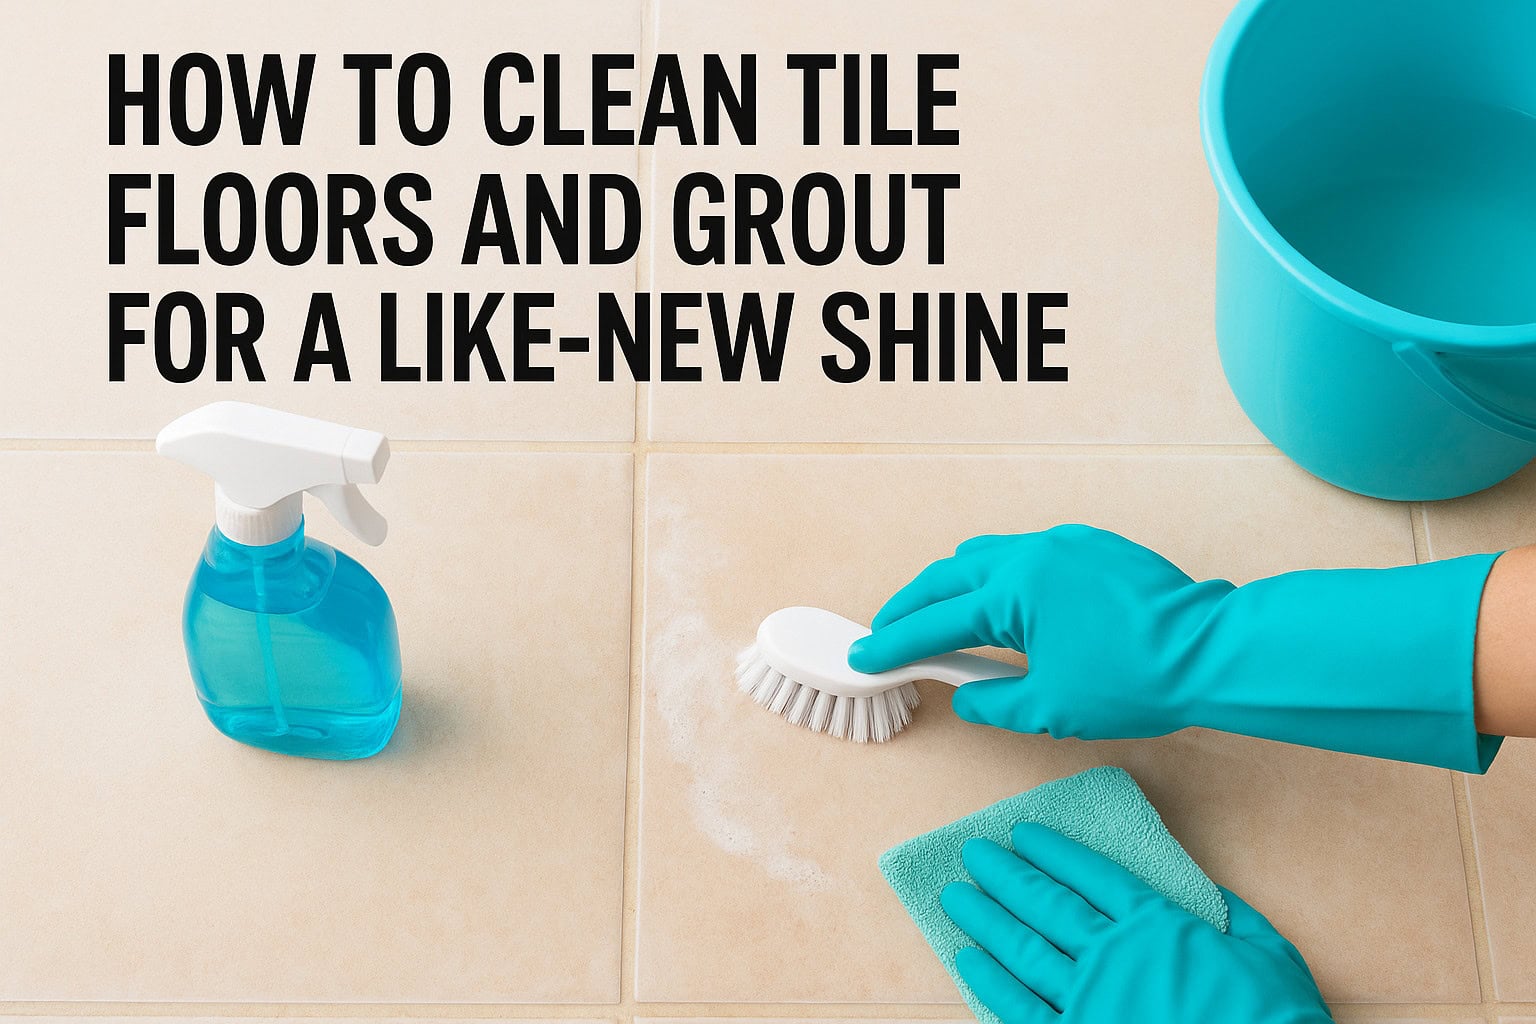
Tile floors look incredible when they’re clean, but grimy grout lines can make even the nicest tile look neglected. Over time, dirt, soap residue, and moisture settle into those porous grout channels, turning bright white lines into dingy gray streaks. If you’ve been searching for how to clean tile floors and grout, you’re probably staring at floors that don’t match the effort you put into the rest of your home or office.
The good news? You likely already have what you need in your kitchen pantry. Baking soda, vinegar, and hydrogen peroxide are surprisingly effective at breaking down buildup and restoring grout to its original color. With the right technique, you can bring back that like-new shine without harsh chemicals or expensive equipment.
At AlphaLux Cleaning, we handle tile and grout restoration across New York as part of our professional deep cleaning services, so we know what actually works. Below, we’re sharing the same methods and principles our trained team relies on, broken down into clear steps you can follow at home. Whether you’re tackling a bathroom floor, a kitchen backsplash, or prepping a space before a move, this guide covers the products, tools, and techniques to get the job done right.
What to know before you start
Before you learn how to clean tile floors and grout, you need to understand that not all tiles respond the same way to the same cleaners. Using the wrong product on the wrong surface can etch, discolor, or permanently damage your floor. Natural stone tiles like marble and travertine are acid-sensitive, meaning vinegar and lemon juice will pit the surface over time. Ceramic and porcelain tiles are more forgiving, but they still need the right approach to protect the grout from breaking down.
Applying an acidic cleaner like vinegar to natural stone causes permanent etching that no amount of scrubbing will fix.
Know your tile type before picking a cleaner
Your tile type determines which cleaning solutions are actually safe to use on it. Ceramic and porcelain tiles handle most DIY cleaners well, including baking soda, diluted vinegar, and dish soap. Natural stone, on the other hand, requires pH-neutral cleaners only. Check the back of a spare tile or look up the brand name online to confirm the material before you apply anything to the surface.
| Tile Type | Safe Cleaners | Avoid |
|---|---|---|
| Ceramic / Porcelain | Baking soda, diluted vinegar, dish soap | Undiluted bleach |
| Natural Stone (marble, travertine) | pH-neutral cleaner, warm water | Vinegar, lemon, acidic products |
| Glazed Tile | Mild dish soap, hydrogen peroxide | Abrasive scrubbers |
Gather your tools before you begin
Having everything within arm’s reach keeps the process moving and prevents you from dragging wet cleaning product across the floor mid-job. A stiff-bristle grout brush is the most critical tool you’ll need, since a standard mop won’t reach down into narrow grout channels. For tight corners and around fixtures, a small toothbrush is also worth having on hand.
Before you start, set out:
- Stiff-bristle grout brush
- Small toothbrush for corners
- Microfiber cloths
- Spray bottle
- Bucket and warm water
- Your chosen cleaning solution
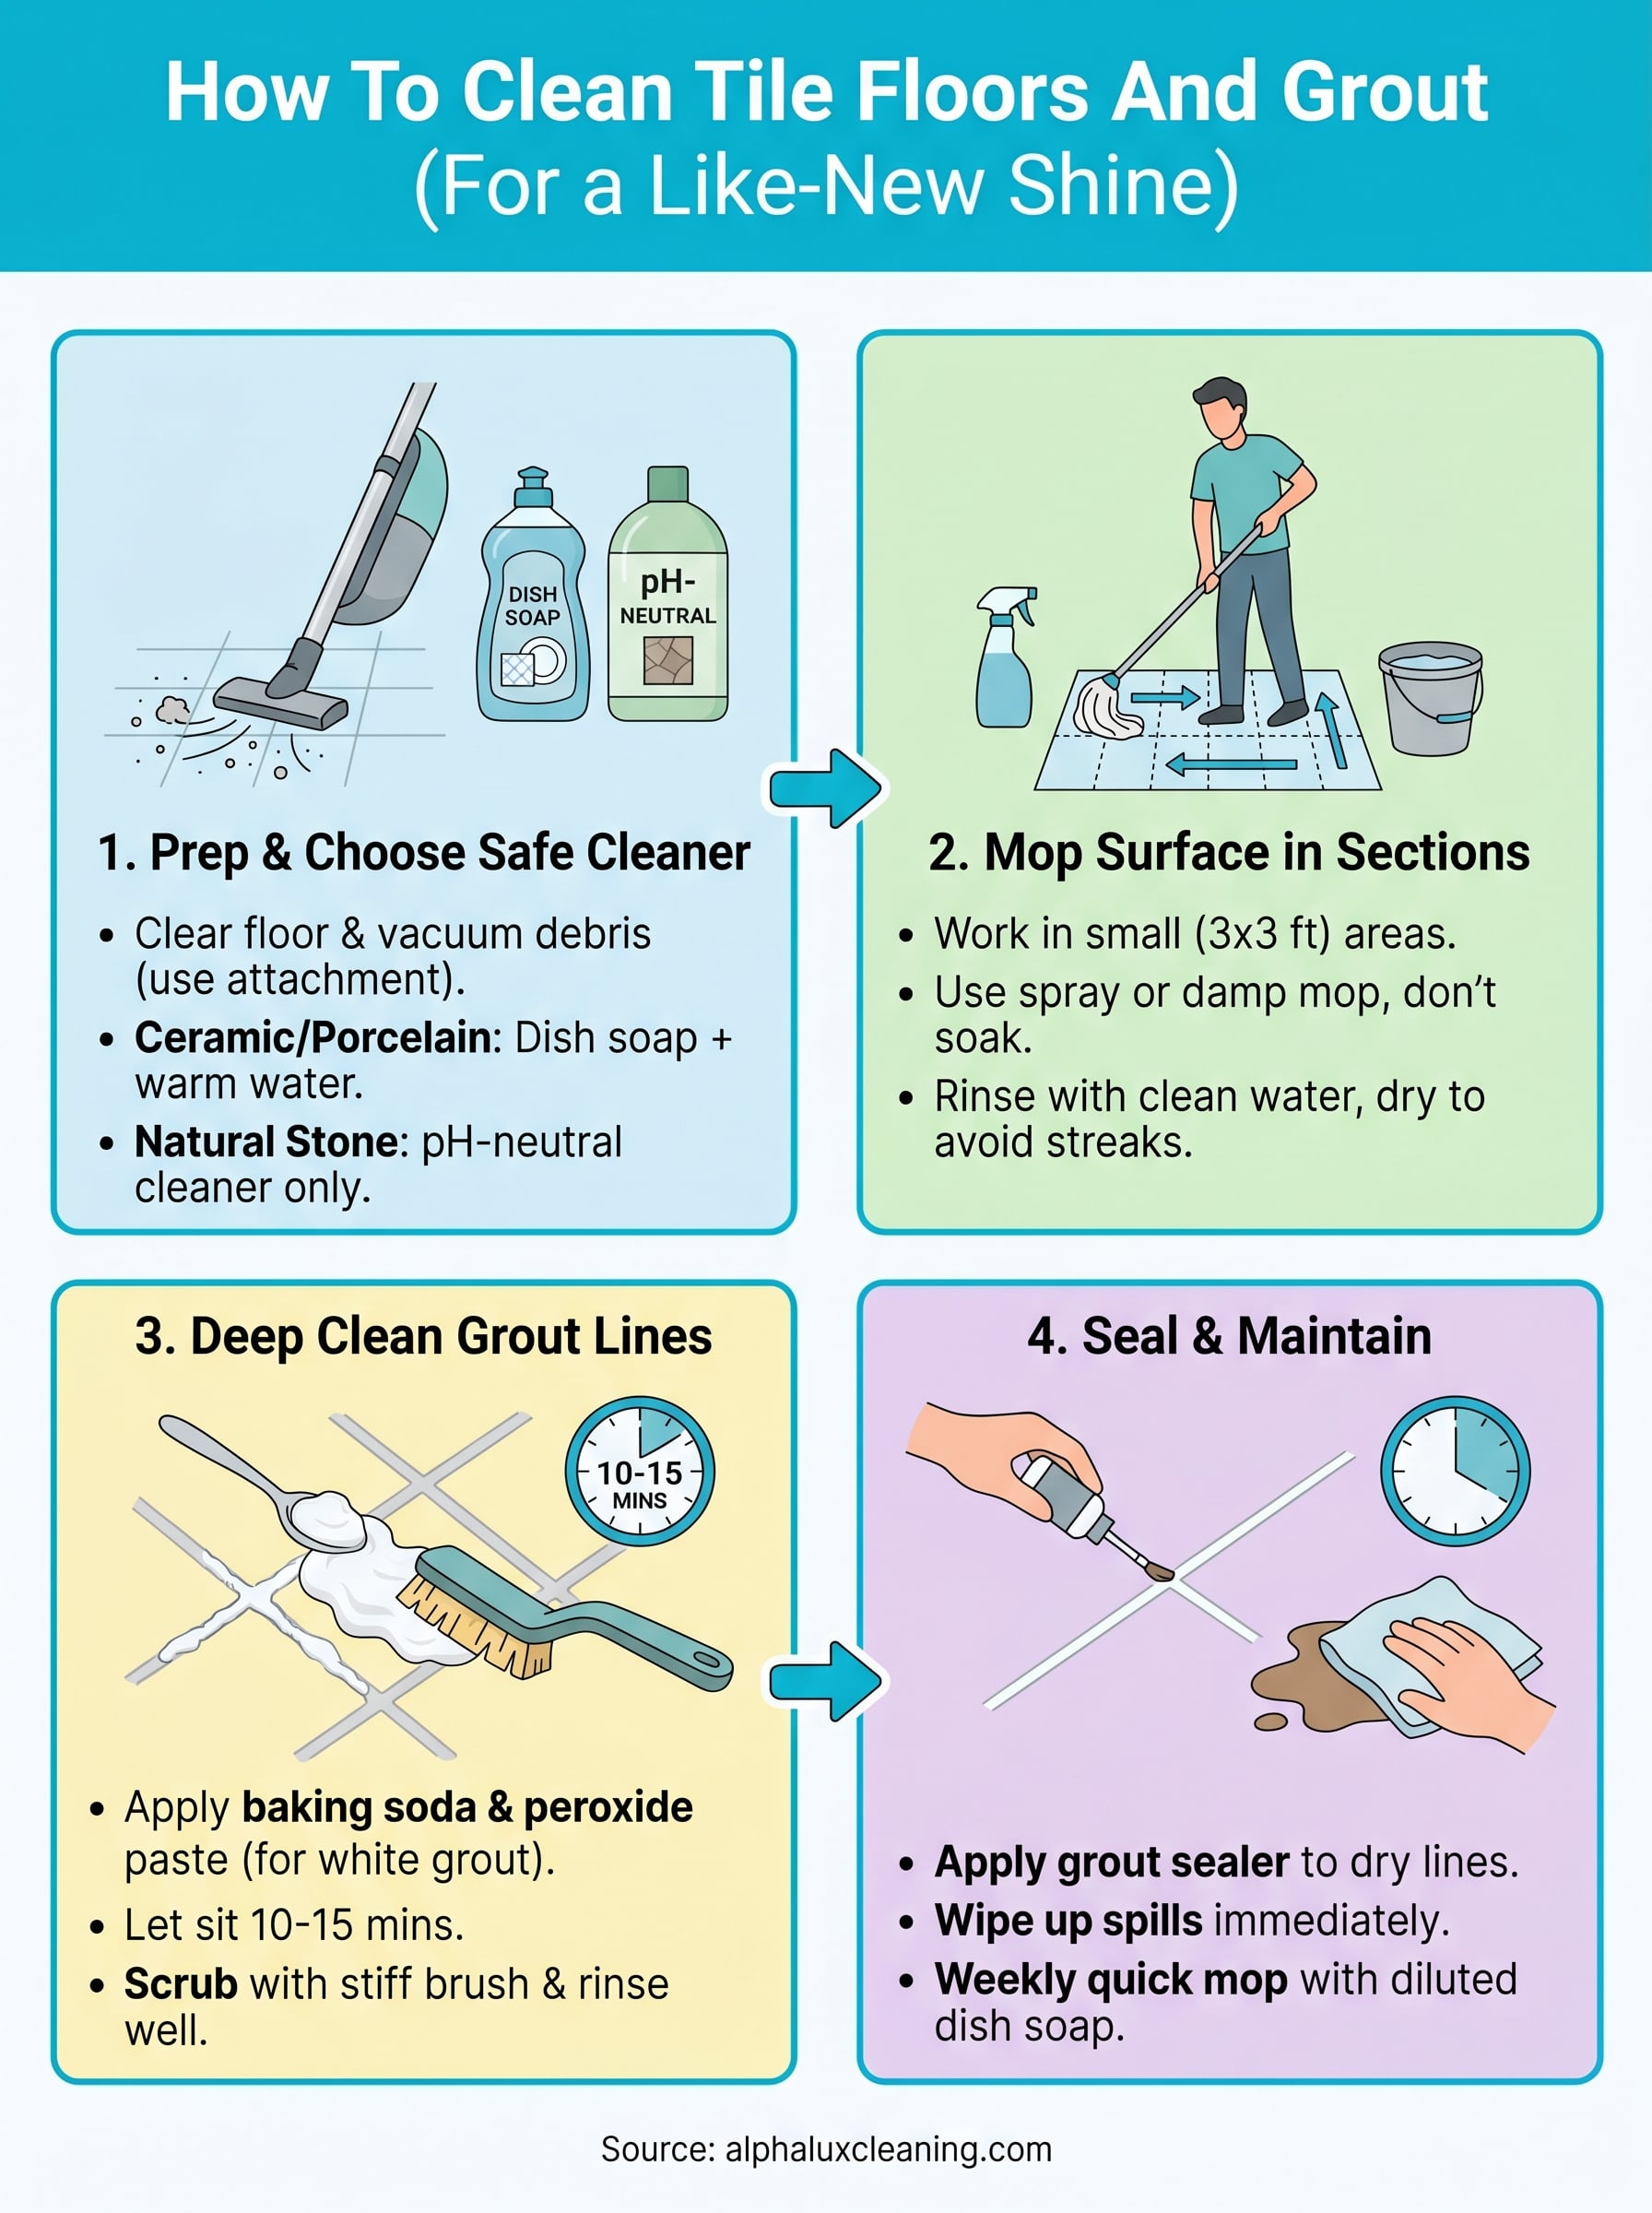
Step 1. Prep the floor and choose the right cleaner
Start by clearing the floor completely and removing rugs, furniture, and loose items from the tile surface. Sweep or vacuum the entire area to pull up loose dirt and debris before any liquid touches the floor. Skipping this step means you’ll push grit around with your mop, which scratches the tile and makes grout harder to clean.
Remove loose debris first
Before tackling how to clean tile floors and grout, the prep work determines how well the cleaner performs. Dry debris blocks your solution from reaching the tile surface directly. Use a vacuum with a hard floor attachment rather than a broom, since vacuuming pulls dirt out of grout channels instead of sweeping it back in.
Vacuum in multiple directions to capture debris sitting inside the grout lines. Pay extra attention to corners and edges where dust and crumbs collect most.
Mix the right cleaning solution
Your tile type determines which solution to use. For ceramic and porcelain, combine one tablespoon of dish soap with two cups of warm water in a spray bottle. For natural stone, use a pH-neutral cleaner diluted per the label instructions.
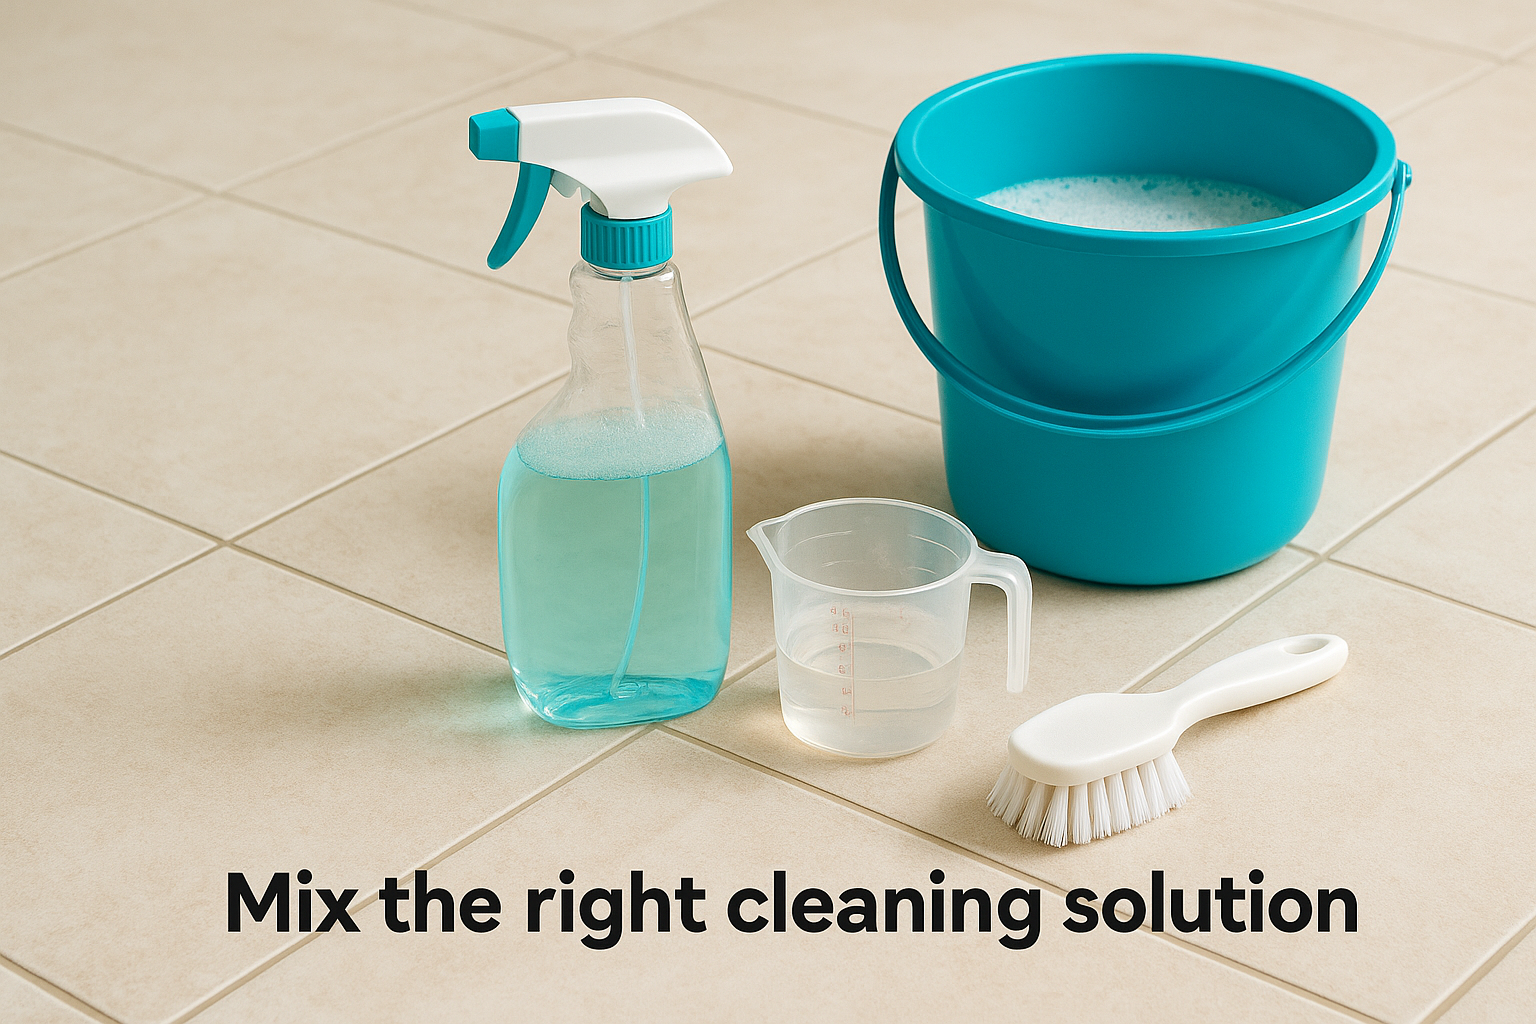
Always test your cleaning solution on a small, hidden patch before applying it to the full floor.
Quick-mix ratios:
- Ceramic/Porcelain: 1 tbsp dish soap + 2 cups warm water
- Natural stone: pH-neutral cleaner + water (per label)
- Glazed tile: A few drops of dish soap in a bucket of warm water
Step 2. Clean tile floors the safe, no-streak way
With your floor prepped and your solution mixed, you’re ready to clean. The biggest mistake people make here is soaking the floor with too much liquid. Excess water seeps into grout lines and weakens them over time. Work in small sections so you can control the moisture and wipe the surface before it dries with residue still on top.
Mop in sections, not all at once
Apply your cleaning solution to a 3-by-3-foot section at a time using a spray bottle or a lightly wrung mop. Let the solution sit for about 60 seconds before scrubbing. This short dwell time loosens surface grime and soap residue without requiring you to scrub aggressively. Use a microfiber mop or cloth to wipe in straight back-and-forth strokes rather than circular motions, which spread dirt instead of lifting it.
Working in small sections is the single most effective way to prevent streaks when learning how to clean tile floors and grout.
Rinse and dry to avoid streaks
Once you finish a section, go back over it with clean, plain water using a fresh mop head or cloth. Leaving cleaner residue on the tile is what causes that dull, streaky film you see after mopping. After rinsing, run a dry microfiber cloth over the surface to absorb leftover moisture before moving to the next section.
Step 3. Deep clean grout lines and lift stains
This is where the real restoration happens. Surface mopping never reaches down into grout channels, which is why grout stays discolored even after a thorough floor cleaning. To learn how to clean tile floors and grout properly, you need a targeted method that works directly on the grout itself rather than just the tile surface around it.
Make a baking soda and hydrogen peroxide paste
Mix two parts baking soda with one part hydrogen peroxide to form a thick paste. Apply it directly onto the grout lines using a spoon or your finger, pressing it into the channel so it makes full contact with the stained surface. Let it sit for 10 to 15 minutes before scrubbing. For stubborn, set-in stains, you can leave it on for up to 30 minutes.
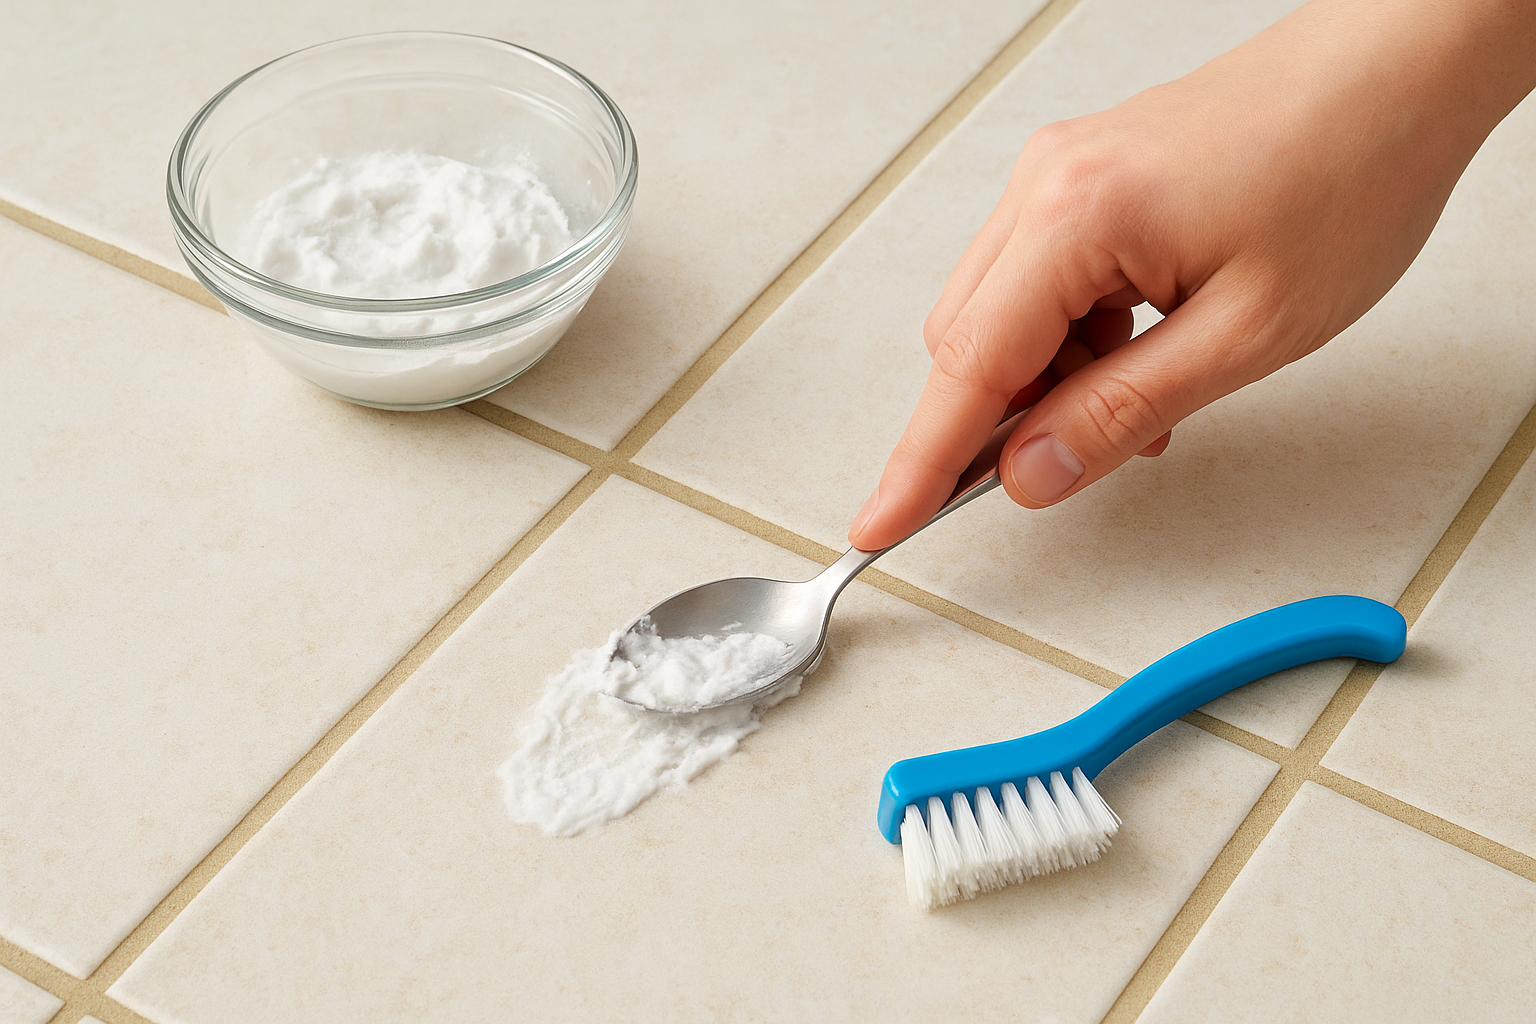
Do not use hydrogen peroxide on colored or dark grout, as it can strip the pigment and leave uneven patches that are difficult to reverse.
Scrub, rinse, and check your results
Using your stiff-bristle grout brush, scrub each line in short back-and-forth strokes with firm, consistent pressure. Work in one direction so you push loosened grime out of the channel rather than packing it back in. Once you finish a section, rinse thoroughly with clean water and a damp cloth to remove all paste residue before it dries and leaves a film.
Step 4. Prevent future grime with sealing and habits
Cleaning your grout is only half the solution. Once you’ve done the work of learning how to clean tile floors and grout, keeping it that way comes down to sealing the grout and making a few simple changes to your routine.
Seal your grout after deep cleaning
Grout is porous by nature, which means it absorbs moisture, oils, and dirt the moment they make contact with the surface. Applying a grout sealer after your deep clean creates a protective barrier that slows down future staining considerably.
Seal grout every 6 to 12 months in high-traffic areas like kitchens and bathrooms to maintain full protection.
Apply the sealer with a small brush or applicator bottle, working along each grout line and wiping any excess off the tile surface before it dries and leaves a hazy film.
Build habits that keep grout clean longer
Small daily actions reduce buildup between deep cleans significantly. Wiping up spills immediately, running a bathroom fan to cut moisture, and doing a quick weekly mop with diluted dish soap prevents grime from setting into the grout in the first place.
Placing mats at entry points also cuts down on the tracked-in dirt that settles into grout channels during regular foot traffic.
Keep your floors bright
Now you know how to clean tile floors and grout from prep to protection. The process works best when you follow the steps in order: vacuum first, clean tile surfaces in small sections, attack grout lines with a baking soda and hydrogen peroxide paste, and seal when you’re done. Skipping any step, especially sealing, leaves your grout exposed and sets you up to repeat the deep clean far sooner than necessary.
Consistency is what keeps results lasting. A quick weekly mop with diluted dish soap and prompt spill cleanup does more for your floors than one heavy cleaning every few months. Small habits compound into noticeably cleaner tile over time.
If the grime is too set-in, or you simply don’t have the time to do it yourself, professional deep cleaning gets the job done faster and with lasting results. Book a cleaning service with AlphaLux Cleaning and let our trained team handle the hard work for you.