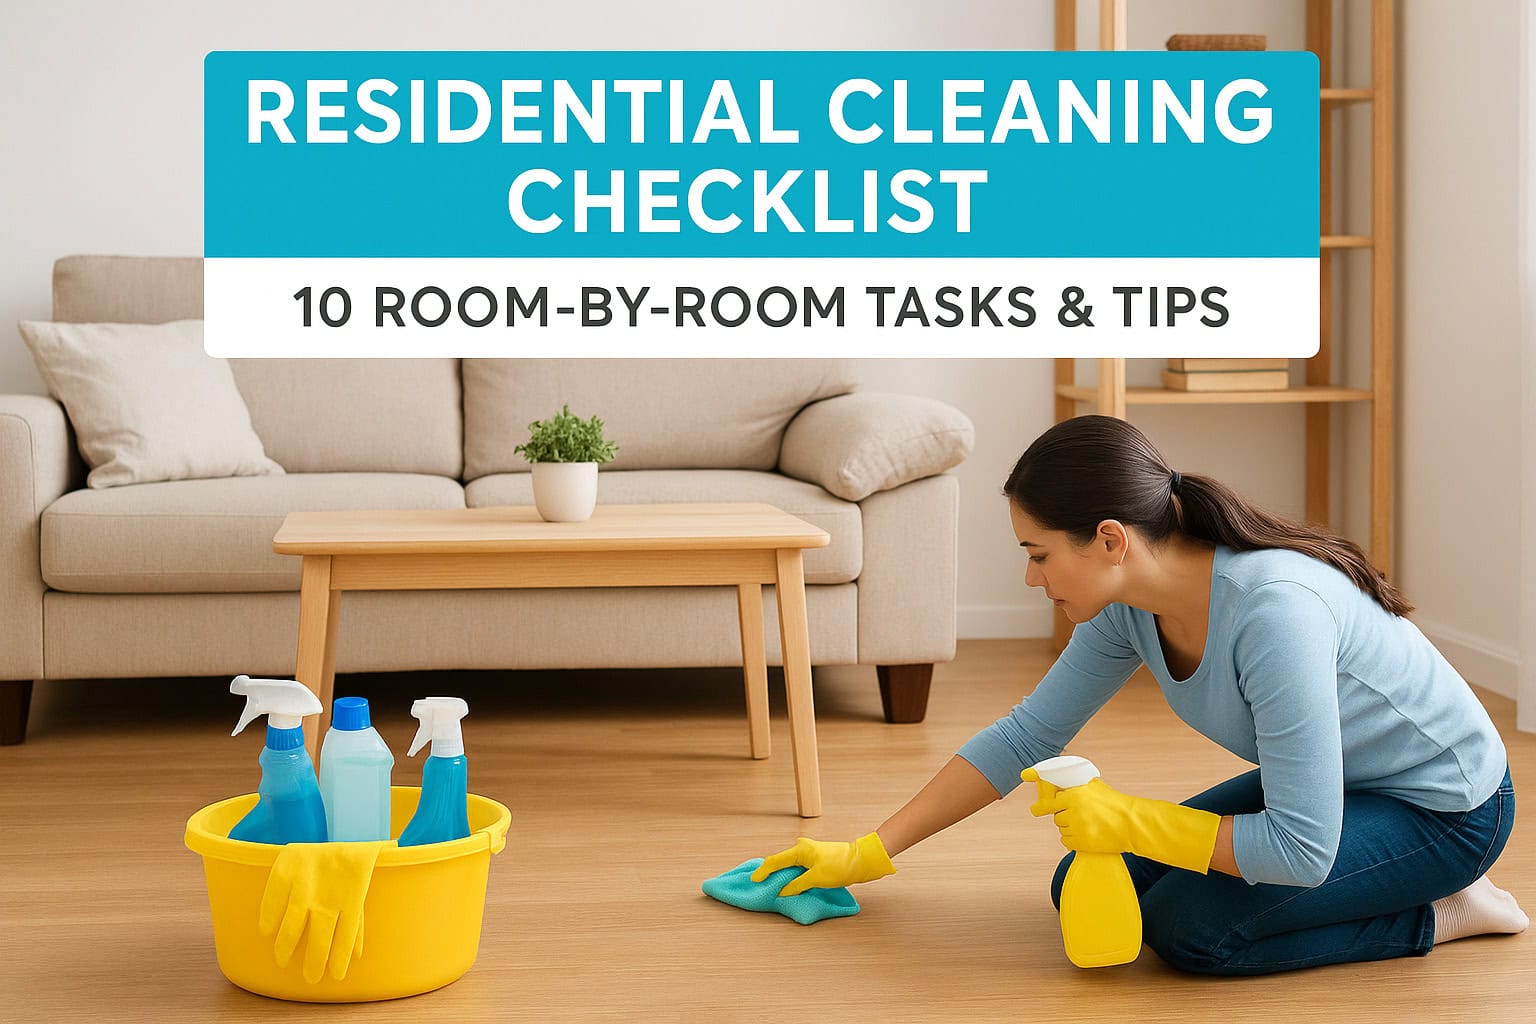
A spotless home doesn’t happen by accident, it takes a system. Whether you’re tackling weekly upkeep or preparing for a deep clean, having a solid residential cleaning checklist keeps you organized and ensures nothing gets overlooked. At AlphaLux Cleaning, we’ve cleaned thousands of homes across New York, and we know exactly what separates a quick tidy-up from a truly thorough clean.
The problem most people run into? They start cleaning without a clear plan, bounce from room to room, and still miss spots that collect dust and grime over time. A structured checklist eliminates the guesswork. It helps you work efficiently, maintain consistency, and actually see results that last beyond a single afternoon.
This guide breaks down cleaning tasks room by room, covering everything from daily maintenance to move-out level deep cleans. You’ll find practical tips we use with our own clients, plus a clear framework you can adapt to your home’s specific needs. Let’s get into it.
1. Whole-home reset with AlphaLux Cleaning
Before you dive into individual rooms, understanding the complete scope of a residential cleaning checklist helps you set realistic expectations and block out proper time. A whole-home reset covers every surface, every corner, and every frequently overlooked area that accumulates dust, grime, and allergens. At AlphaLux Cleaning, we approach each home systematically, working through spaces in a logical order that prevents cross-contamination and maximizes efficiency.
What to clean
Your whole-home reset should include all high-touch surfaces like doorknobs, light switches, and handrails. You need to dust ceiling fans, baseboards, window sills, and vents throughout every room. Vacuum and mop all floors, paying attention to corners where debris collects. Wipe down kitchen appliances inside and out, scrub bathroom fixtures, and clean mirrors and glass surfaces. Don’t forget window tracks, door frames, and the tops of cabinets that collect hidden grime.
How often to do it
A complete whole-home deep clean makes sense every three to six months for most households. Weekly or bi-weekly maintenance cleans keep surfaces tidy between these deeper sessions. Homes with pets, children, or allergies benefit from more frequent deep cleans, typically every two to three months. If you’re preparing for guests or a seasonal refresh, schedule this type of thorough cleaning at least one week in advance.
Pro tips for faster results
Work from top to bottom in each room so dust and debris fall onto surfaces you haven’t cleaned yet. Gather all your supplies in a cleaning caddy before you start to avoid wasting time running back and forth. Tackle one room completely before moving to the next, which helps you maintain focus and see tangible progress. Use microfiber cloths instead of paper towels to cut down on waste and improve cleaning efficiency.
A systematic approach cuts your cleaning time in half while delivering better results than random spot-cleaning ever could.
Common spots people miss
Most people overlook the tops of door frames, refrigerator coils, and the space behind toilets. Light fixtures collect dust but rarely get wiped down during routine cleaning. Dishwasher seals, washing machine drums, and range hood filters accumulate grease and residue that affect performance. Check under furniture, inside closets, and behind appliances where dust bunnies multiply unnoticed.
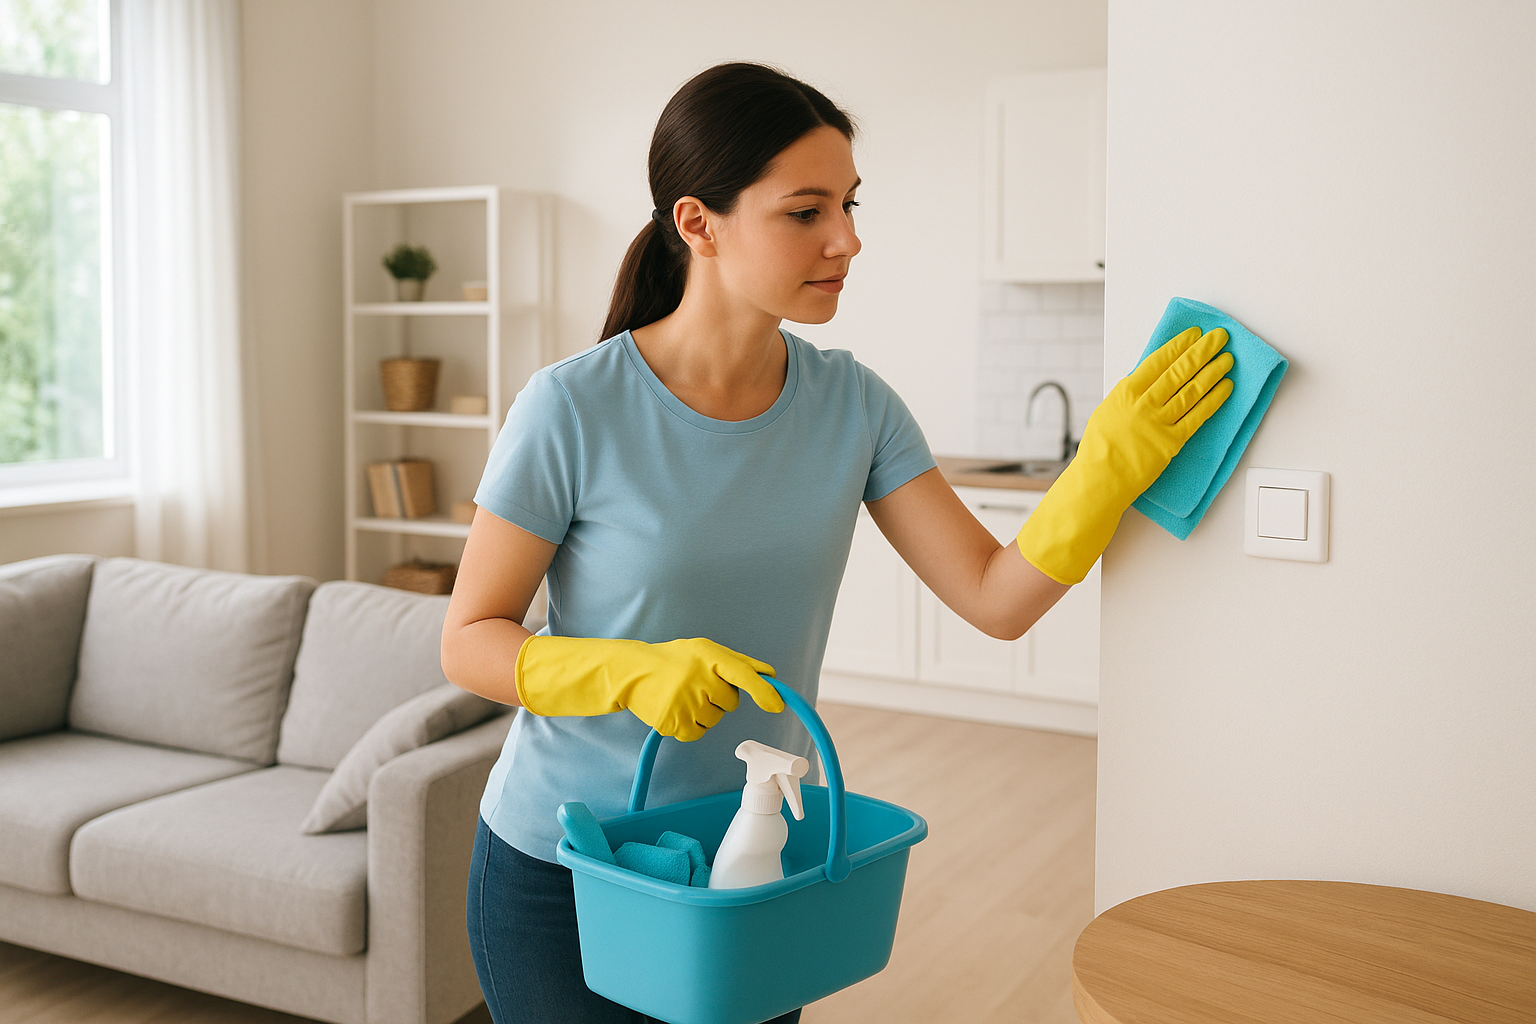
2. Entryway and hallways
Your entryway sets the tone for your entire home and acts as the primary defense against outdoor dirt, allergens, and debris. These high-traffic zones need consistent attention because they collect more grime per square foot than almost any other space. A solid residential cleaning checklist for these areas prevents buildup that spreads throughout your home and keeps these transition spaces welcoming.
What to clean
Start with all floor surfaces, including tile, hardwood, or carpet near doorways where dirt accumulates fastest. Wipe down door handles, light switches, and any coat hooks or hangers that get touched daily. Clean mirrors, dust picture frames, and wipe baseboards along the entire length of hallways. Vacuum or sweep corners where pet hair and dust collect, then mop hard surfaces with appropriate cleaners for your flooring type.
How often to do it
Entryways need daily attention during muddy or snowy seasons, with a quick sweep or vacuum to prevent tracking throughout your home. Plan a thorough cleaning of these spaces once per week under normal conditions. Deep clean baseboards, light fixtures, and door frames monthly to maintain a polished appearance and prevent grime buildup.
Pro tips for faster results
Place a heavy-duty doormat both outside and inside your entry door to trap dirt before it spreads. Keep a small basket near the door for quick pickup of shoes, keys, and mail that creates visual clutter. Spot-clean scuff marks on walls immediately with a magic eraser rather than waiting for your scheduled cleaning day.
Preventing dirt at the entry point cuts your overall cleaning time across the entire home by up to thirty percent.
Common spots people miss
The top of your entry door frame collects surprising amounts of dust that rarely gets noticed. Door hinges and the weather stripping around doors trap dirt and need occasional wiping. Check coat closet floors and the underside of hall tables where dust and cobwebs gather unnoticed.
3. Kitchen
Kitchens demand more attention than any other room in your residential cleaning checklist because they combine food preparation, high traffic, and moisture in one space. Grease, food particles, and bacteria accumulate quickly on surfaces you touch multiple times daily. A clean kitchen protects your family’s health while making meal prep more enjoyable and efficient. You need a methodical approach that addresses both visible messes and hidden grime that builds up over time.
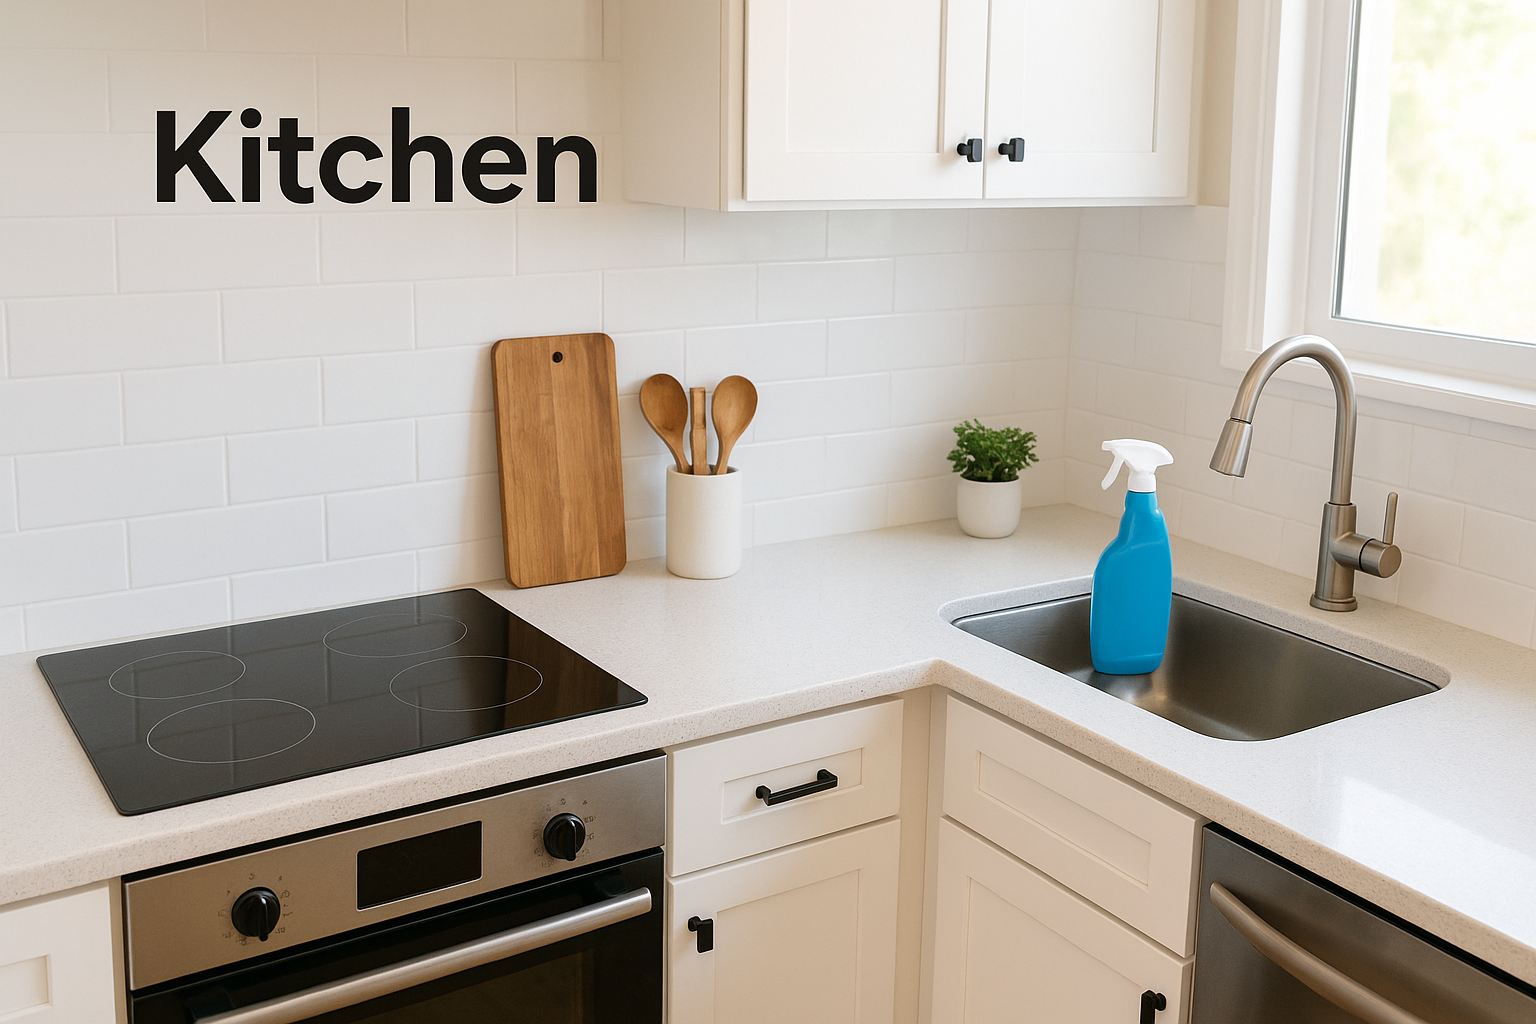
What to clean
Wipe down all countertops and backsplashes with appropriate cleaners that cut through grease and food residue. Clean your stovetop, oven interior, and microwave, paying attention to burned-on food and splatters. Sanitize the sink, faucet, and drain area where bacteria multiply fastest. Empty and wipe out your refrigerator, removing expired items and cleaning shelves and drawers. Don’t forget cabinet fronts, appliance exteriors, and the dishwasher door that shows fingerprints and spills.
How often to do it
Countertops and sinks need daily cleaning after food preparation to prevent bacterial growth. Deep clean your oven, refrigerator, and microwave monthly to maintain performance and food safety. Plan a complete kitchen reset, including cabinet interiors and behind appliances, every three months to address hidden grime buildup.
Pro tips for faster results
Clean spills immediately rather than letting them harden and require scrubbing later. Keep a spray bottle of all-purpose cleaner within arm’s reach for quick wipedowns. Run your dishwasher at night so you can unload it first thing in the morning and maintain clear counters throughout the day.
Maintaining a clean kitchen daily takes ten minutes but prevents hours of deep cleaning later.
Common spots people miss
The top of your refrigerator collects a sticky layer of dust and grease that most people overlook. Grease builds up on range hood filters and the wall behind your stove. Check under your sink, inside the microwave door seal, and the rubber gasket around your refrigerator door where mold can develop.
4. Bathrooms
Bathrooms require the most intensive sanitization on your residential cleaning checklist because moisture, bacteria, and mildew thrive in these spaces. Every surface from the toilet to the shower walls needs regular disinfection to protect your family’s health. You’re dealing with high humidity, soap scum, hard water deposits, and germs that multiply quickly. A systematic bathroom cleaning routine prevents buildup that becomes exponentially harder to remove over time.
What to clean
Scrub your toilet bowl, seat, lid, and base with a disinfectant cleaner that kills bacteria and eliminates odors. Clean the shower and tub, tackling soap scum, mildew, and grout lines with appropriate products. Wipe down sinks, faucets, and countertops, then polish mirrors and any glass shower doors. Sweep and mop floors, paying attention to corners and the area around the toilet base. Wash bath mats, replace towels, and empty trash bins.
How often to do it
Toilet bowls and sinks need daily or every-other-day cleaning to prevent bacteria growth and maintain a fresh appearance. Deep clean showers, tubs, and floors weekly to stay ahead of soap scum and mildew. Sanitize all surfaces, clean grout, and wash bathroom linens every one to two weeks depending on usage.
Pro tips for faster results
Keep a spray bottle of daily shower cleaner in your bathroom for quick post-shower spritzes that prevent buildup. Use a squeegee on glass doors after each shower to reduce water spots and mildew. Turn on your exhaust fan during and after showers to minimize moisture that creates cleaning problems.
Regular ventilation cuts mildew growth by more than half and makes your weekly cleaning significantly easier.
Common spots people miss
Most people skip the toilet base bolts where grime accumulates around the floor seal. Exhaust fan covers collect dust and reduce ventilation efficiency. Check behind the toilet tank, inside cabinet drawers, and the shower curtain liner where mold develops unnoticed.
5. Bedrooms
Bedrooms require a different approach on your residential cleaning checklist because they directly impact sleep quality and respiratory health. Dust mites, allergens, and dead skin cells accumulate in these spaces where you spend roughly eight hours per night. You need consistent maintenance that addresses both visible clutter and microscopic particles that affect air quality. A clean bedroom promotes better sleep, reduces allergy symptoms, and creates a peaceful retreat from daily stress.
What to clean
Strip and wash all bedding including sheets, pillowcases, and mattress protectors to eliminate dust mites and body oils. Dust all furniture surfaces, including nightstands, dressers, and the tops of headboards and bed frames. Vacuum under the bed and in closets where dust bunnies multiply quickly. Wipe down mirrors, lamps, and picture frames that collect fingerprints and dust. Clean windows, window sills, and any ceiling fans or light fixtures that distribute dust throughout the room.
How often to do it
Change and wash your bedding weekly to maintain hygiene and reduce allergen exposure. Dust furniture and vacuum floors once per week under normal conditions. Rotate or flip your mattress and deep clean under the bed monthly to address hidden dust accumulation. Plan a complete bedroom reset, including closet organization and baseboard cleaning, every three months.
Pro tips for faster results
Make your bed immediately after waking to prevent the temptation to toss clothes or clutter onto it later. Keep a small basket in your bedroom for items that belong elsewhere, then empty it during your daily routine. Use mattress and pillow protectors that you can wash along with your sheets to reduce deep cleaning requirements.
Clean bedding and dust-free surfaces can reduce nighttime allergy symptoms by up to forty percent.
Common spots people miss
Most people neglect the top of ceiling fan blades where thick dust layers form and circulate when you turn them on. Dust collects behind headboards, under bed skirts, and on the upper shelves of closets. Check inside dresser drawers, lamp shades, and air vents that distribute allergens throughout your sleeping space.
6. Living room and common areas
Living rooms serve as the heart of your home where families gather, guests visit, and daily life unfolds. These high-traffic spaces accumulate dust, pet hair, and everyday clutter faster than you might realize. Your residential cleaning checklist for these areas needs to balance daily maintenance with deeper cleaning that addresses upholstery, electronics, and decorative items. Consistent attention to these shared spaces prevents grime buildup and maintains the welcoming atmosphere your family deserves.
What to clean
Dust all furniture surfaces including coffee tables, end tables, and entertainment centers where electronics sit. Vacuum upholstered furniture, removing cushions to clean beneath and in crevices where crumbs and debris collect. Wipe down TV screens, remote controls, and any gaming equipment that gets handled regularly. Clean mirrors, picture frames, and decorative objects that gather dust. Vacuum or sweep floors thoroughly, then mop hard surfaces. Don’t forget window treatments, throw pillows, and blankets that trap allergens.
How often to do it
Vacuum floors and dust visible surfaces twice per week in high-traffic living areas to maintain cleanliness. Deep clean upholstery and wash throw blankets monthly to eliminate embedded dirt and allergens. Plan a complete living room refresh, including baseboards and ceiling fans, every two to three months depending on household activity.
Pro tips for faster results
Keep a lint roller handy for quick furniture touch-ups between vacuum sessions. Designate a basket for remote controls and small items to reduce visual clutter. Rotate and flip couch cushions weekly to distribute wear and prevent permanent indentations.
Regular vacuuming of upholstered furniture removes up to eighty percent of allergens that accumulate in fabric fibers.
Common spots people miss
Most people overlook the backs of picture frames and the wall space behind sofas where dust accumulates. Electronics and cable boxes collect thick dust layers that affect performance. Check under furniture, inside magazine racks, and the tops of curtain rods that rarely receive attention.
7. Dining room
Your dining room brings family and guests together for meals, celebrations, and conversations, which means crumbs, spills, and fingerprints appear constantly on every surface. This space requires specific attention in your residential cleaning checklist because food particles attract pests, sticky residue builds up on furniture, and dust settles on decorative items that rarely get moved. Regular maintenance prevents stains from setting into your table and keeps chairs looking fresh despite daily use.
What to clean
Wipe down your dining table and chairs, paying attention to legs and rungs where dust and grime accumulate. Clean light fixtures, especially chandeliers or pendant lights that hang directly above the table and collect cooking grease from nearby kitchen activities. Dust buffets, hutches, and any display shelving where decorative items sit. Vacuum or sweep floors thoroughly under the table and around chair legs where crumbs collect. Polish any mirrors, picture frames, or glass cabinet doors that show fingerprints and smudges.
How often to do it
Clean your table and chairs after every meal to prevent food residue from hardening or staining surfaces. Vacuum or sweep floors daily if you use the dining room regularly, or at least three times per week. Deep clean light fixtures, dust decorative items, and polish furniture monthly to maintain their appearance and prevent buildup.
Pro tips for faster results
Use placemats or a table runner to protect your dining table surface and simplify cleanup after meals. Keep a small handheld vacuum nearby for quick crumb removal between deeper cleaning sessions. Rotate chair positions weekly to distribute wear evenly across all seating.
Immediate cleanup after meals takes two minutes but prevents fifteen-minute scrubbing sessions later.
Common spots people miss
Most people forget the underside of the dining table where sticky fingerprints accumulate from children. Chair cushion ties and the crevices between seat cushions trap crumbs and dust. Check baseboards under buffets and the tops of china cabinets that rarely receive attention during routine cleaning.
8. Laundry room
Laundry rooms work harder than almost any space in your home, constantly exposed to moisture, lint, and detergent residue that create cleaning challenges. These utility areas often get overlooked on your residential cleaning checklist because they’re functional rather than decorative, but neglecting them leads to reduced appliance efficiency, mold growth, and unpleasant odors. Proper maintenance protects your investment in expensive machines while preventing issues that affect your entire home’s cleanliness.
What to clean
Wipe down your washer and dryer exteriors, removing dust and detergent drips from control panels and doors. Clean the washing machine drum by running an empty cycle with white vinegar or specialized cleaner to eliminate odors and residue. Empty and clean your dryer’s lint trap after every load, then vacuum the exhaust vent and hose. Scrub the utility sink if you have one, along with any countertops or folding surfaces. Sweep and mop floors to remove lint and spilled detergent.
How often to do it
Clean lint traps after every single dryer load to maintain efficiency and prevent fire hazards. Wipe down machine exteriors and sweep floors weekly to control lint accumulation. Deep clean your washing machine drum and dryer vent monthly to prevent performance issues.
Pro tips for faster results
Keep cleaning supplies stored directly in the laundry room for quick access during routine maintenance. Run your washer’s self-clean cycle on the same day each month to establish a consistent habit.
Regular dryer vent cleaning reduces fire risk by seventy percent and cuts drying time significantly.
Common spots people miss
Most people forget the rubber gasket around front-loading washer doors where mold develops in hidden folds. Detergent dispensers and fabric softener compartments accumulate sticky residue. Check behind and under machines where lint, dust, and lost items collect.
9. Home office
Home offices accumulate dust, paper clutter, and tech debris faster than most rooms because you spend concentrated hours in this workspace daily. Your residential cleaning checklist needs to address the unique challenges of cleaning around electronics, paperwork, and equipment that can’t simply get wiped down like other surfaces. Keyboards trap crumbs and bacteria, monitors collect fingerprints and dust, and desk surfaces become cluttered with supplies that make thorough cleaning difficult. Regular attention to this space protects your equipment, improves productivity, and maintains a professional environment whether you work from home full-time or occasionally.
What to clean
Dust your desk surface, shelves, and filing cabinets where paper dust and general debris settle constantly. Clean your keyboard, mouse, and phone with electronics-safe wipes that remove germs without damaging sensitive components. Wipe down your computer monitor, printer, and any other equipment you touch regularly. Vacuum your desk chair, paying attention to crevices and the base where dust collects. Organize cables and clean behind your desk where dust bunnies multiply. Empty trash bins and recycle accumulated paper.
How often to do it
Wipe down your desk and equipment daily or every other day to prevent dust buildup on surfaces you touch constantly. Vacuum floors and deep clean your chair weekly to maintain a fresh workspace. Organize paperwork and sanitize keyboards monthly to stay ahead of clutter and germ accumulation.
Pro tips for faster results
Use compressed air cans to blast dust from keyboard crevices and computer vents without time-consuming disassembly. Keep disinfecting wipes in your desk drawer for quick equipment cleanups during work breaks.
Clean tech surfaces improve equipment performance and can extend device lifespan by reducing heat-trapping dust.
Common spots people miss
Most people forget the top of their computer monitor and the backs of picture frames on desk surfaces. Dust accumulates inside desk drawers, on cable management clips, and around power strips hidden under desks.
10. Kids rooms and playrooms
Kids rooms and playrooms present unique cleaning challenges that deserve special attention on your residential cleaning checklist because toys, art supplies, and daily activities create constant messes. These spaces accumulate everything from sticky fingerprints to scattered game pieces, plus the dust and allergens that affect children more severely than adults. You need a system that addresses both safety concerns and the reality that clutter regenerates within hours of cleaning.
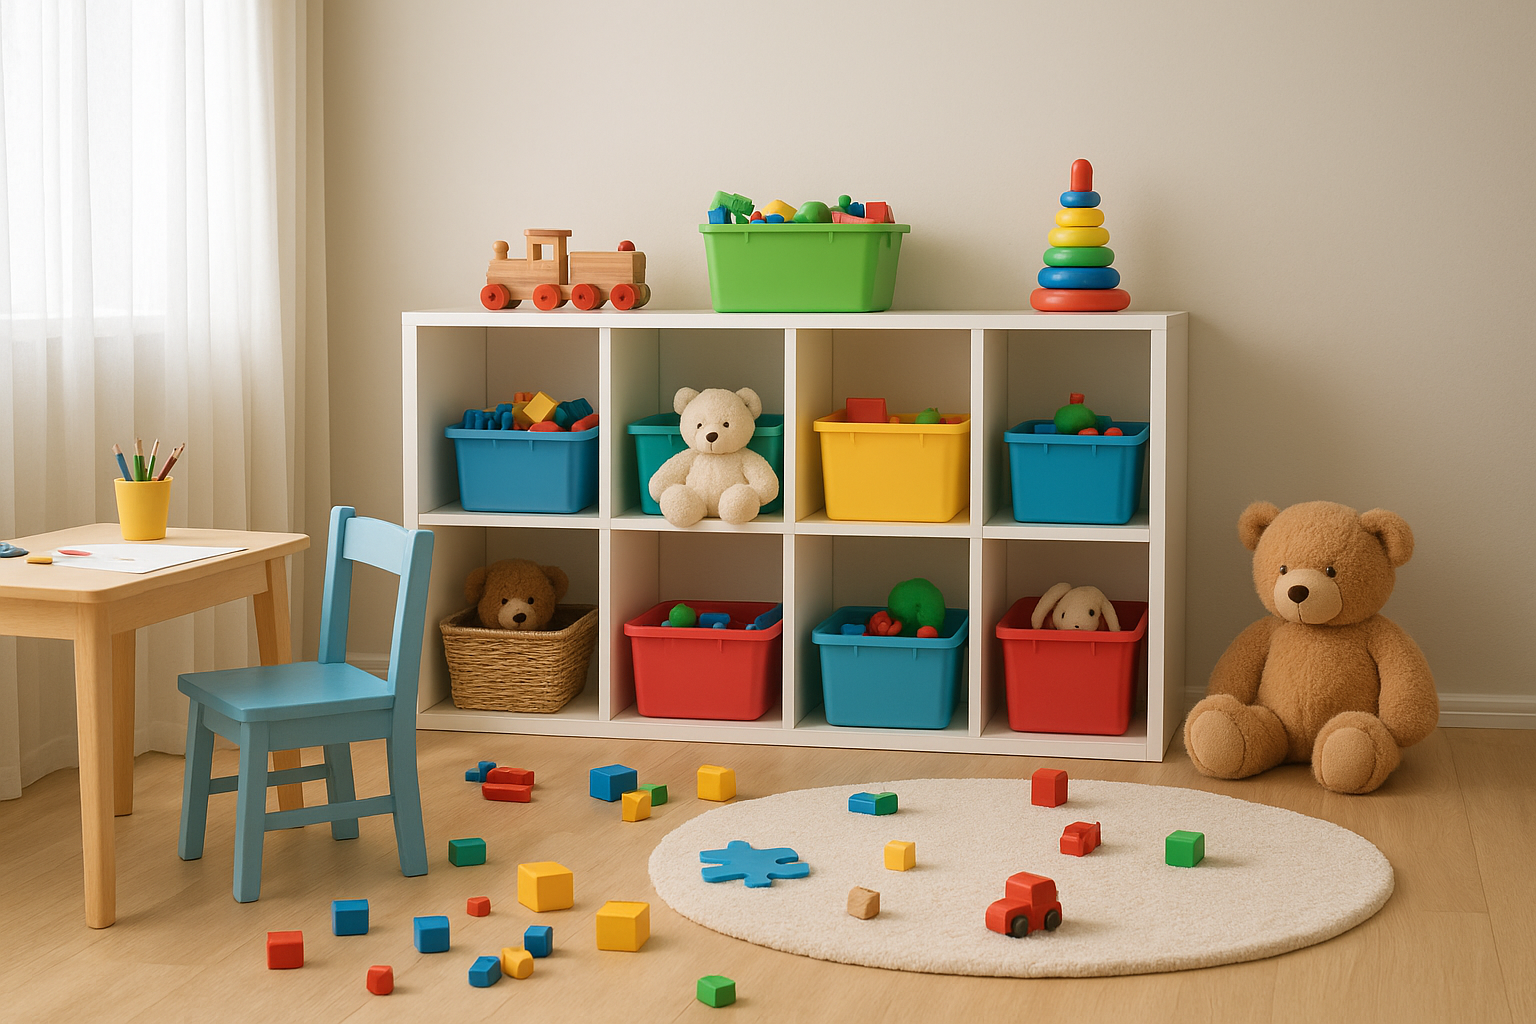
What to clean
Wipe down all toy bins, shelves, and storage containers that children touch constantly throughout the day. Vacuum or sweep floors thoroughly, checking under furniture and in corners where small toys and debris hide. Clean windows, mirrors, and any craft tables or desks where art supplies leave residue. Sanitize frequently handled items like doorknobs, light switches, and toy surfaces that pass between multiple children. Wash bedding, stuffed animals, and any fabric items that collect dust and germs.
How often to do it
Pick up toys and spot-clean spills daily to prevent overwhelming mess accumulation. Vacuum floors and dust surfaces twice per week to control allergens in spaces where children play on the ground. Deep clean toys, organize storage areas, and wash soft items monthly to maintain hygiene and order.
Pro tips for faster results
Label storage bins with pictures and words so children can help maintain organization between cleaning sessions. Rotate toys monthly, keeping some stored away to reduce clutter and make cleanup faster.
Teaching children to clean up before bed takes ten minutes but prevents hour-long weekend organizing sessions.
Common spots people miss
Most people overlook the tops of bookshelves and toy organizers where dust accumulates out of children’s reach. Crayon marks appear behind doors and on baseboards. Check under beds, inside toy boxes, and the backs of bedroom doors where stickers and tape residue collect.
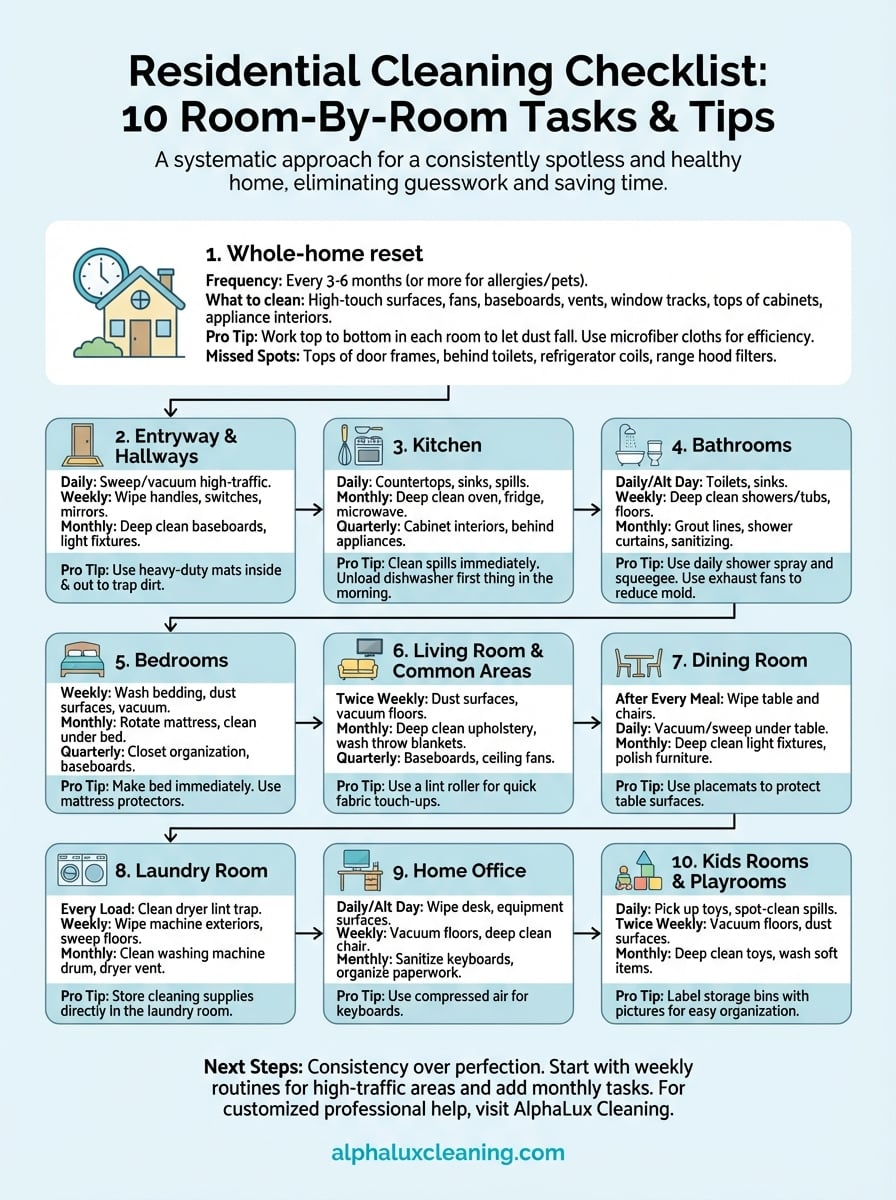
Next steps for a cleaner home
A comprehensive residential cleaning checklist transforms overwhelming tasks into manageable routines that actually stick. You now have a room-by-room system that addresses every surface in your home, from daily maintenance to deep cleaning projects that protect your investment. The key to lasting results lies in consistency rather than perfection. Pick one or two rooms to focus on each day instead of attempting everything at once.
Start by implementing weekly routines for high-traffic areas like kitchens and bathrooms, then add monthly tasks as these habits become automatic. Track your progress with a simple calendar or checklist app that sends reminders before spaces need attention. If maintaining this schedule feels impossible with your current workload, professional help makes sense. AlphaLux Cleaning handles the heavy lifting so you can spend time on what matters most. We customize cleaning plans to your specific needs, using eco-friendly products and trained professionals who understand exactly how to maintain every room in your home.