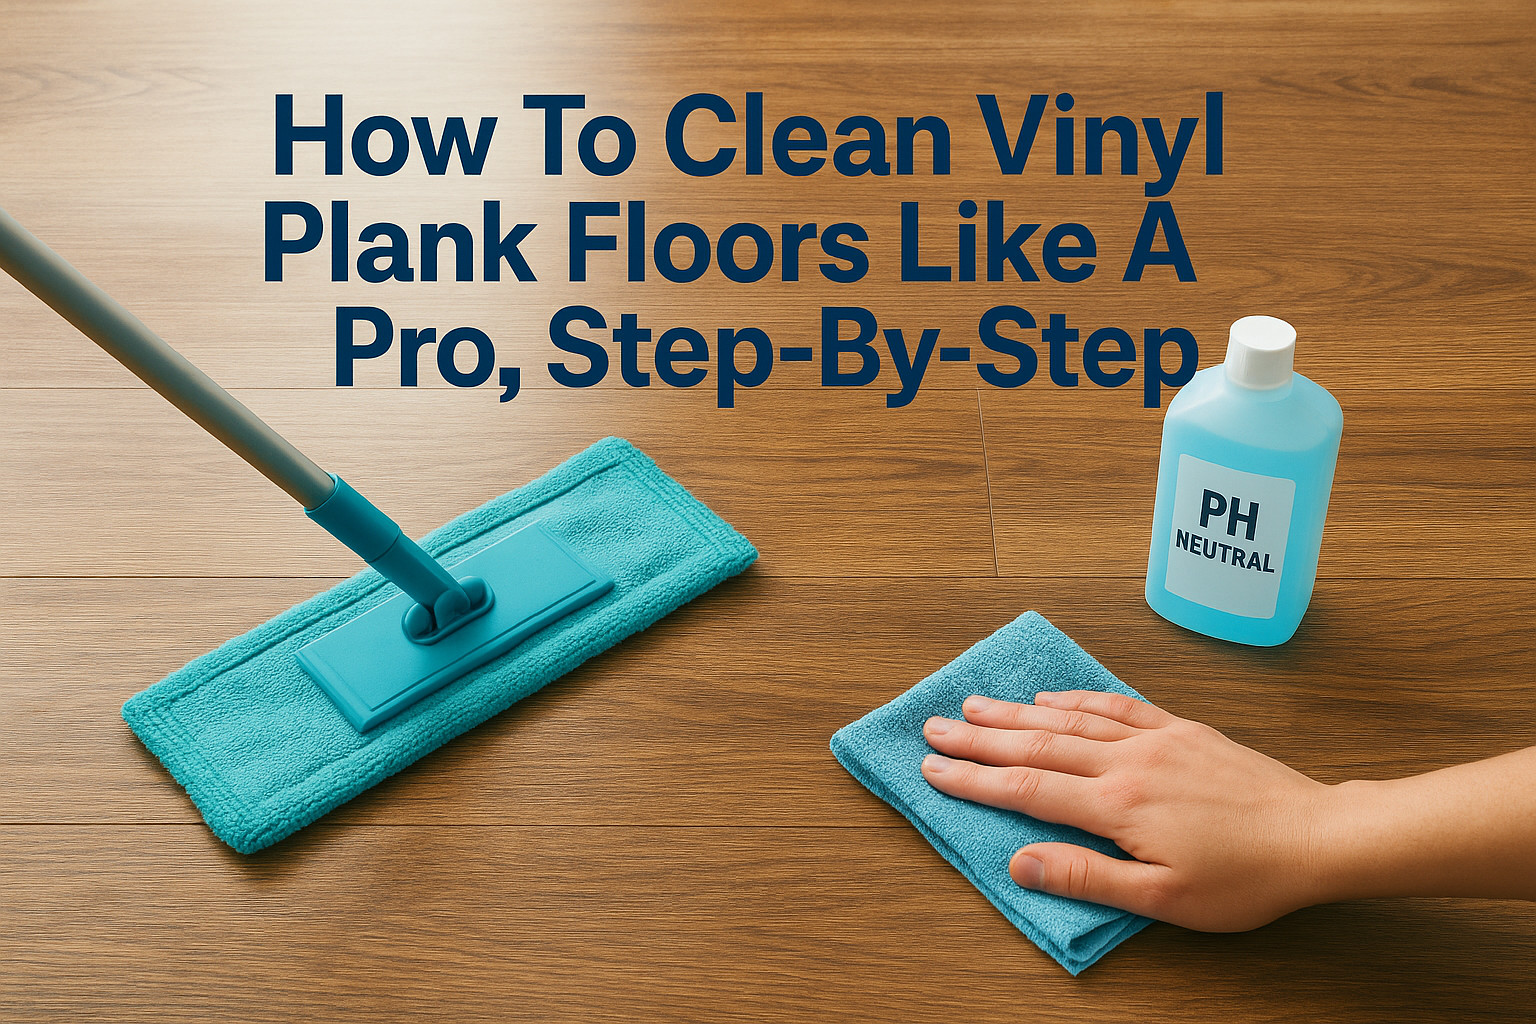
Vinyl plank flooring is one of the most popular choices in New York homes and businesses, and for good reason. It’s durable, water-resistant, and looks great. But even the toughest floors lose their shine without proper care. Knowing how to clean vinyl plank floors the right way keeps them looking new and prevents the kind of damage that shortens their lifespan significantly.
The problem is, a lot of common cleaning habits actually do more harm than good. Using the wrong mop, the wrong cleaner, or even too much water can warp planks, dull the finish, or leave behind a sticky residue that attracts dirt. The right approach matters, and it’s simpler than most people think, you just need to know what works and what to skip.
At AlphaLux Cleaning, our teams clean vinyl plank floors in homes and offices across New York every single day. We’ve put together this step-by-step guide based on what we actually use and recommend on the job. Below, you’ll find the exact process, tools, cleaning solutions, and mistakes to avoid so you can maintain your floors like a professional between service visits.
What to know before you start
Before you grab a mop or any cleaning product, you need to understand a few things about vinyl plank flooring specifically. Not all hard floors clean the same way, and the approach that works on hardwood or tile can seriously damage vinyl. Taking two minutes to understand your floor type and gather the right tools will save you from costly, sometimes irreversible mistakes and make the entire process faster and safer.
What type of vinyl plank floor do you have?
Vinyl plank flooring comes in two main formats, and knowing which one you have changes how carefully you need to work. Luxury vinyl plank (LVP) is thicker and more rigid, while standard vinyl plank tends to be thinner and more sensitive to moisture at the edges and seams. Check your floor’s documentation or look up the brand if you’re unsure. Most modern floors installed in New York homes and offices over the past five years are LVP, but older installations may not be.
The key difference that matters for cleaning is the wear layer thickness. LVP with a thicker wear layer (12 mil or above) tolerates scrubbing better than thinner options. Thinner wear layers scratch and dull faster, so you’ll want to use gentler tools and solutions regardless of how dirty the floor looks.
Tools and cleaners to have ready
Having the right gear assembled before you start makes the whole job straightforward and keeps you from improvising with the wrong products mid-clean. Here’s what you need:
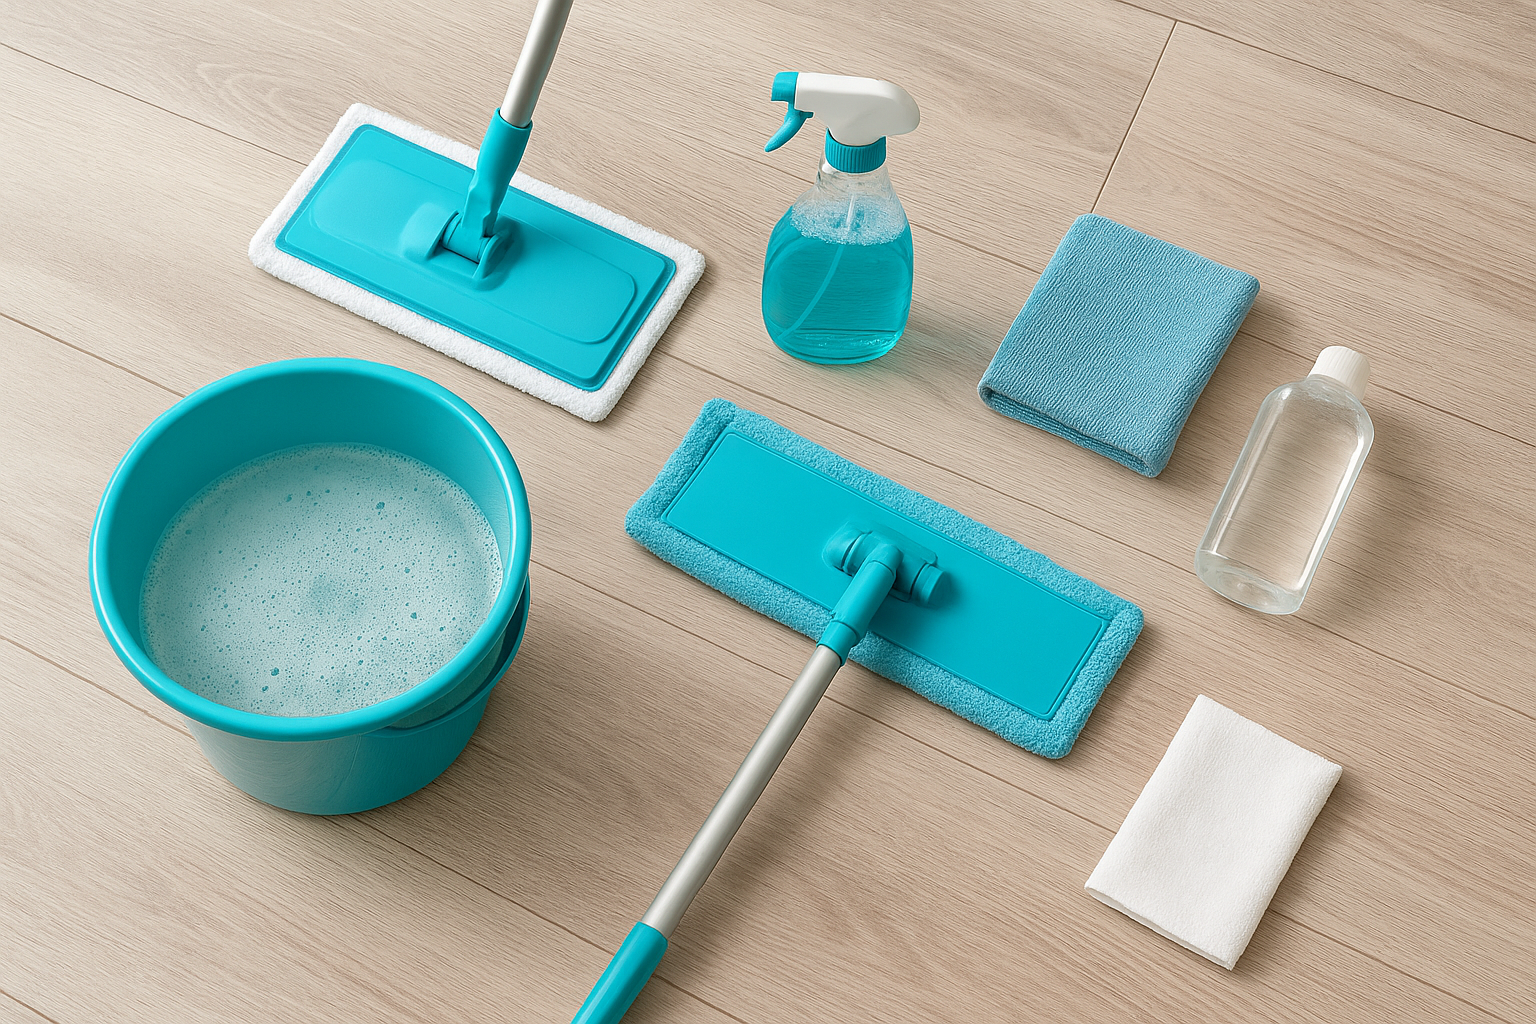
- Microfiber dust mop or dry mop (not a broom with stiff bristles)
- Soft-bristle vacuum attachment (no beater bar)
- Spray mop or flat mop with a microfiber pad
- pH-neutral floor cleaner labeled safe for vinyl
- Warm water in a bucket or spray bottle
- Microfiber cloths for spot treatment
- Rubbing alcohol for scuff marks
Avoid anything abrasive, including steel wool, scrub brushes, or scouring pads. These scratch through the protective wear layer and leave marks you can’t buff out. Keep your kit simple and specifically matched to vinyl, and you’ll avoid most of the common damage people accidentally cause during routine cleaning.
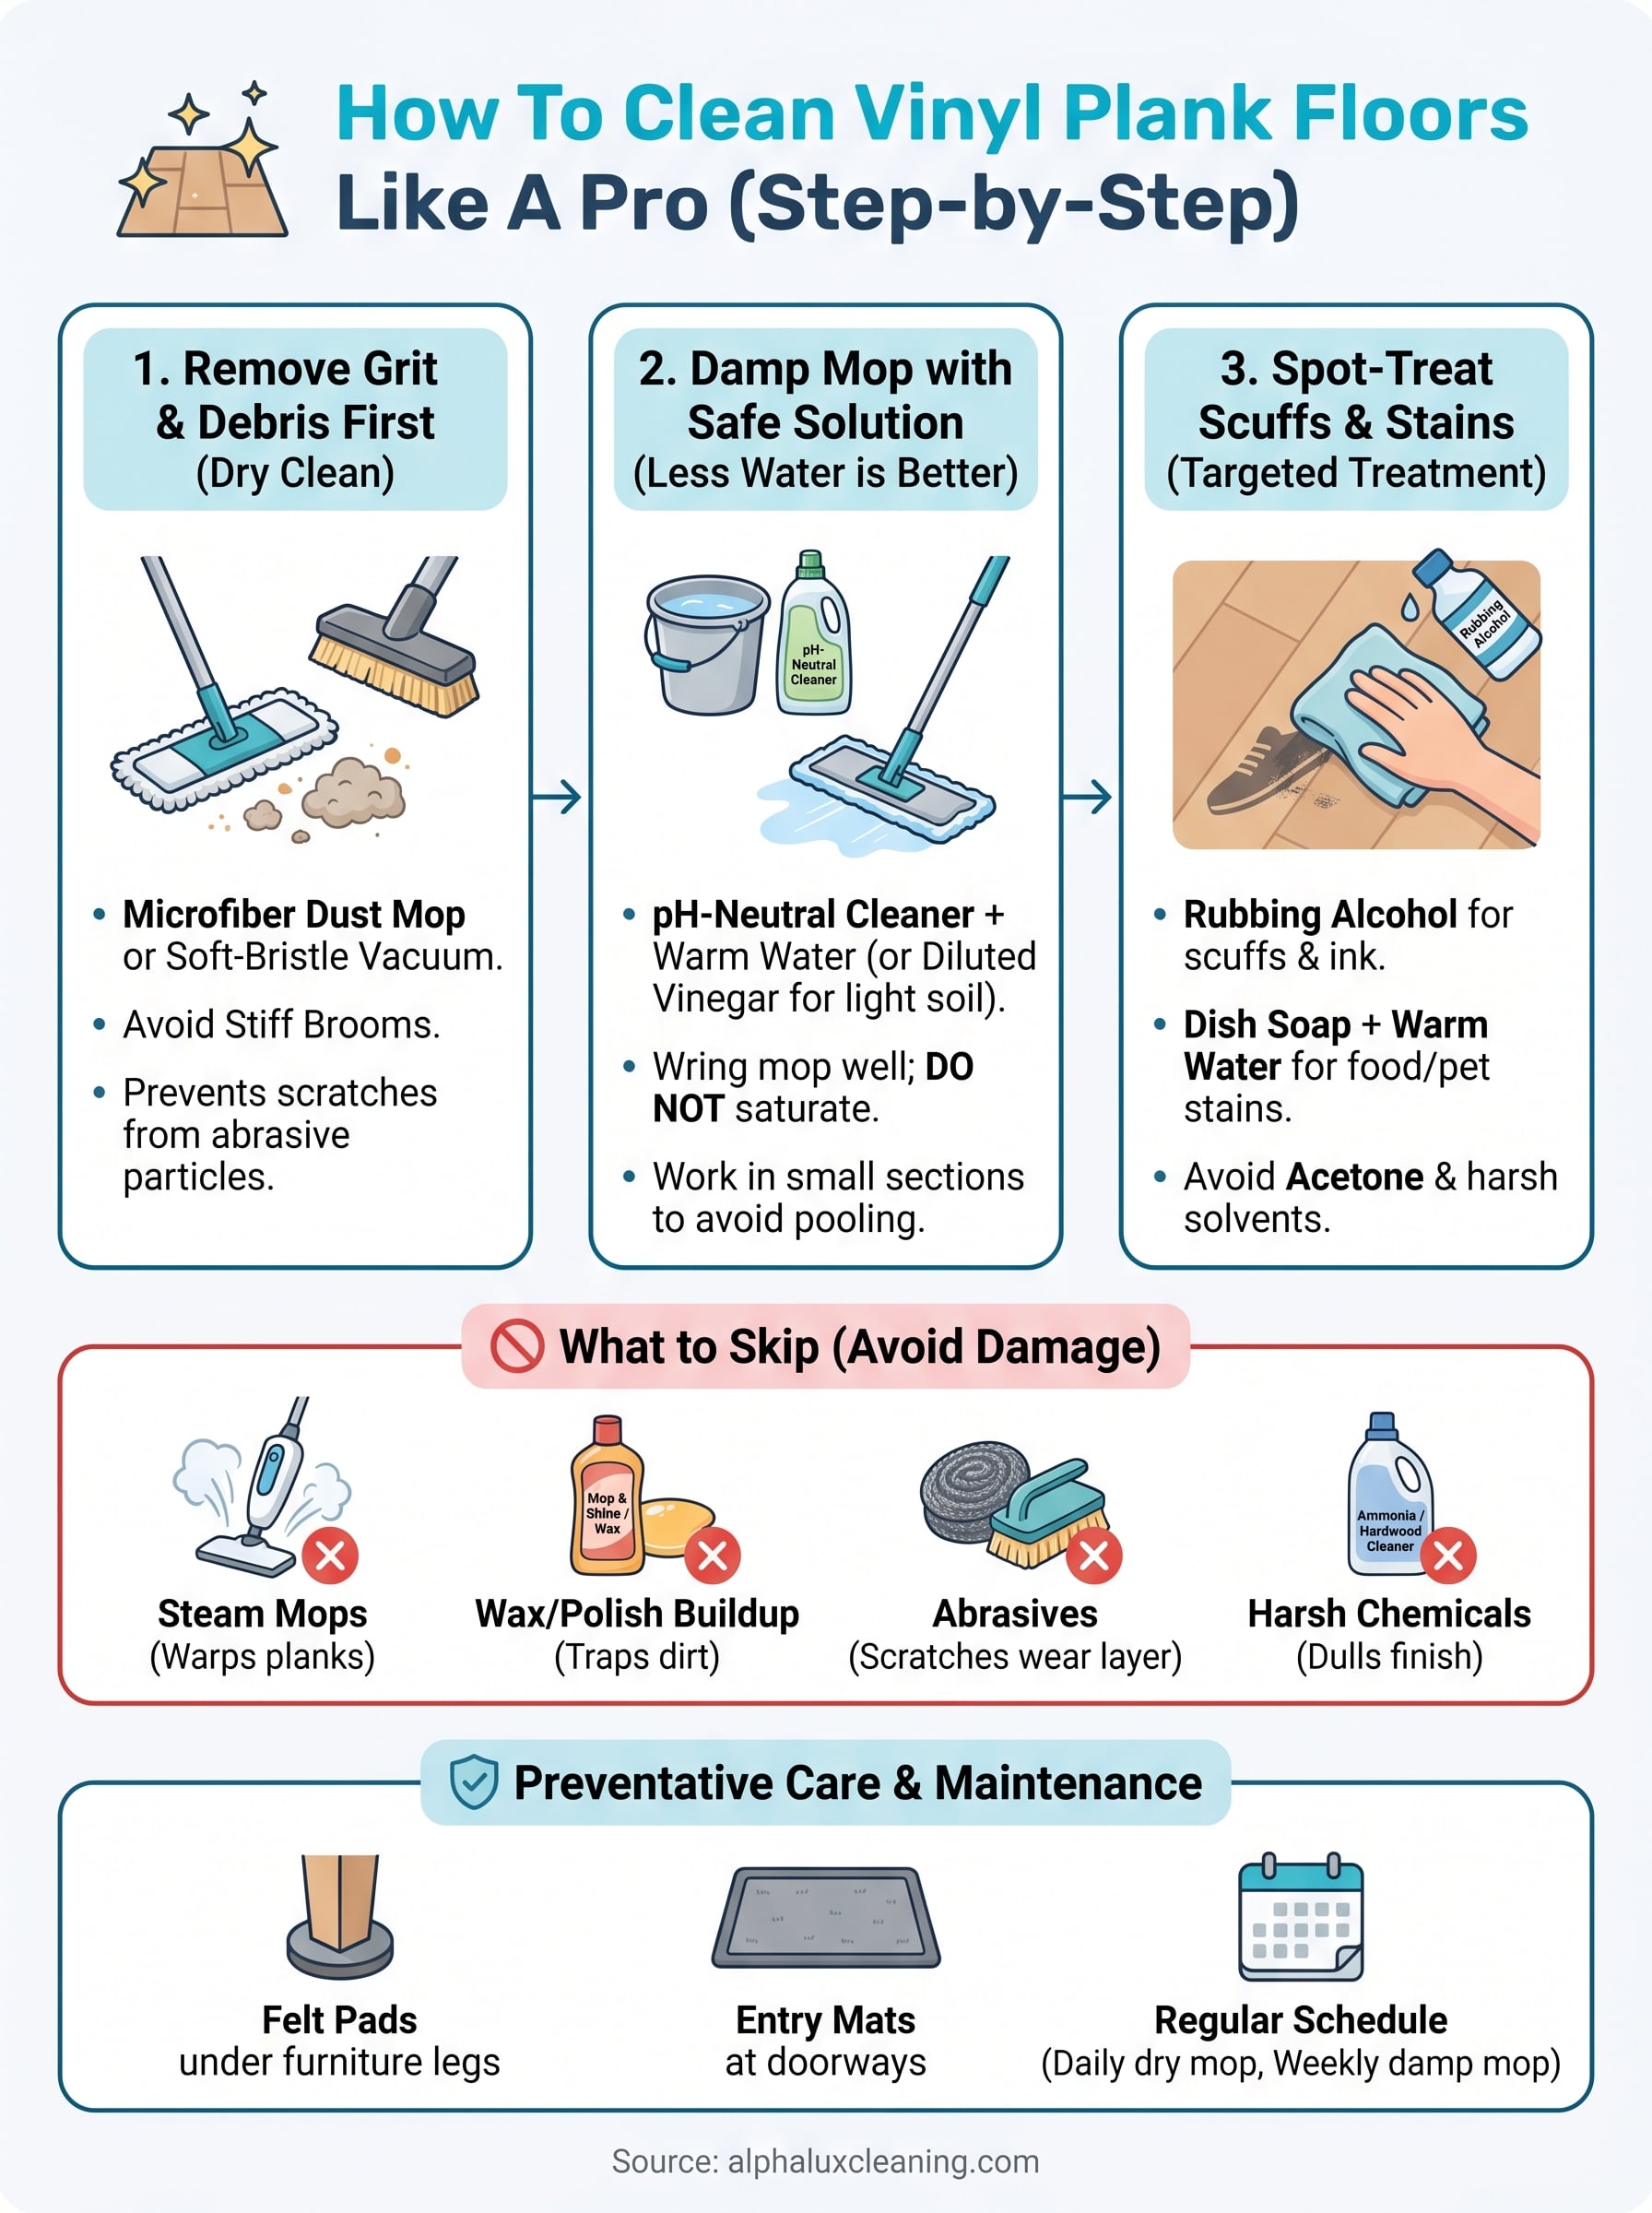
What to avoid entirely
One of the most common questions people ask when learning how to clean vinyl plank floors is whether they can use the same products they use on other surfaces. The short answer is no. Steam mops, for example, force heat and moisture directly into the seams of the planks, which causes warping and bubbling over time. Even floors labeled as "waterproof" are not designed to handle the sustained heat and pressure that a steam mop delivers.
Never use ammonia-based cleaners, wax-based products, or anything marketed for hardwood floors. These strip the protective layer, leave residue, or build up a film that dulls your floor’s finish permanently.
"Mop and shine" style products are another frequent mistake. They promise a glossy result but leave behind a waxy buildup that traps dirt and becomes harder to clean with every application. Stick to pH-neutral cleaners and plain warm water, and your floors will stay clear and clean without any residue accumulating over time.
Step 1. Remove grit and debris first
Dry cleaning your floors before any moisture touches them is the most important step most people skip. When you wet mop over grit, sand, or crumbs, you are essentially dragging abrasive particles across your wear layer with every stroke. Over time, this creates tiny scratches that dull the finish and are impossible to reverse without replacing planks entirely.
Always remove loose debris before any wet cleaning, no matter how clean the floor looks at first glance.
Why this step protects your floor
Vinyl plank flooring has a clear protective wear layer on top that shields the printed design underneath. That layer handles everyday foot traffic well, but it is not immune to fine particles like sand, salt, or gravel tracked in from outside. In New York homes, where sidewalk grit and winter salt get walked in regularly, skipping this step is what separates floors that look great after 15 years from floors that look worn out in five.
The damage from grit-under-mop scenarios builds gradually, so you will not notice it after one cleaning. After dozens of cleanings, though, the surface dulls noticeably and no amount of mopping will restore the original finish. This step takes three minutes and prevents a problem you cannot undo.
The right way to clear debris
You have two reliable options: a microfiber dust mop or a vacuum with a hard floor setting. Both work well, and knowing when to use each one makes a real difference in how to clean vinyl plank floors effectively without causing any wear in the process.
- Use a microfiber dust mop for quick daily passes. It traps fine dust and pet hair without scratching and takes under three minutes for most rooms.
- Use a vacuum with a soft brush attachment (beater bar switched off) for heavier debris or entryway areas where tracked-in grit builds up fast.
- Work from the far corners inward toward a doorway so you are not stepping over areas you have already cleared.
- Pay extra attention to seams between planks, where fine particles settle and are easy to overlook.
Avoid using a standard broom with stiff bristles for this step. The bristles scratch the surface, especially on floors with a thinner wear layer, and a microfiber mop takes exactly the same effort without the risk.
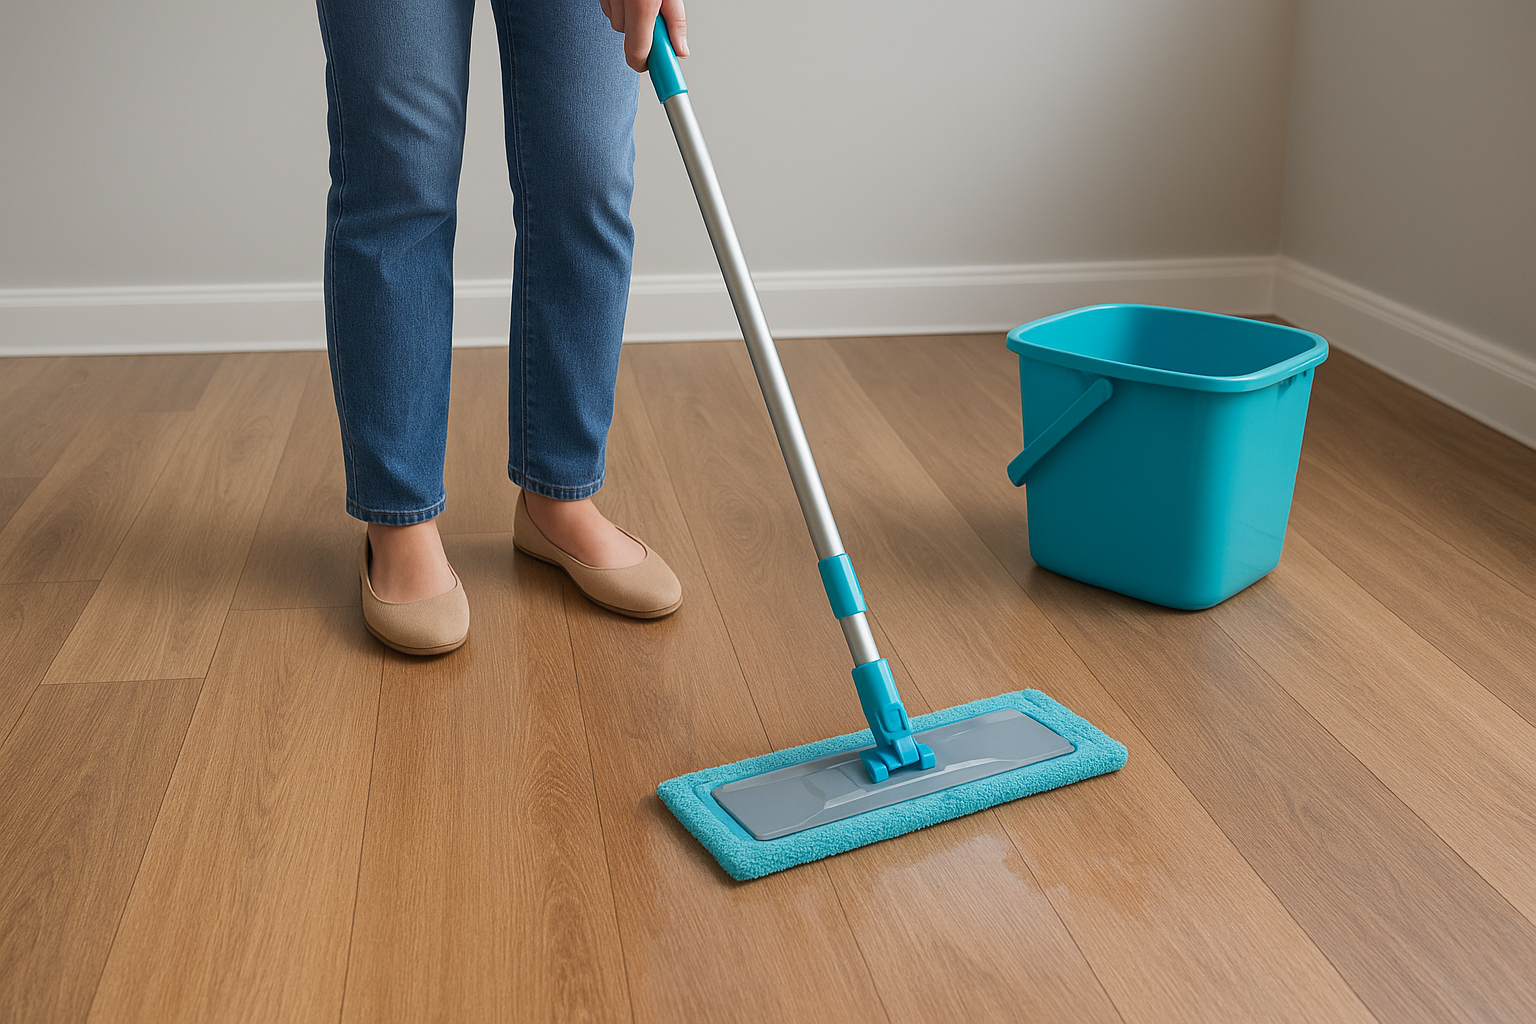
Step 2. Mop with a vinyl-safe solution
Once the floor is clear of debris, you are ready to mop. The key to this step is using the right amount of liquid with the right type of cleaner, because vinyl plank floors do not need heavy saturation to get clean. A slightly damp mop is all it takes, and going beyond that pushes moisture into the seams where it causes long-term warping.
Less water is always better on vinyl plank floors. If your mop leaves visible wet streaks, wring it out more before the next pass.
Mix your cleaning solution correctly
Your cleaning solution does not need to be complicated. A pH-neutral cleaner diluted in warm water is the standard approach most professionals use when learning how to clean vinyl plank floors at scale. You can find pH-neutral floor cleaners at most hardware or grocery stores, and you want ones that specifically say "safe for vinyl or LVP" on the label.
Here is a simple mixing guide based on floor area:
| Floor Area | Water | pH-neutral cleaner |
|---|---|---|
| Small room (under 200 sq ft) | 1 gallon | 1-2 teaspoons |
| Medium room (200-500 sq ft) | 2 gallons | 2-4 teaspoons |
| Large room (500+ sq ft) | 3 gallons | 1-2 tablespoons |
If you prefer a DIY option, a solution of one cup of white vinegar per gallon of warm water works well on lightly soiled floors. Avoid using vinegar more than once a week, though, as repeated acidic exposure can gradually dull the wear layer over time.
How to mop without over-wetting the floor
Technique matters as much as your solution. Wring your flat microfiber mop until it feels barely damp to the touch, not wet. Work in small sections, moving backward toward a doorway so you never step on a freshly mopped area.
- Overlap each mop stroke slightly to avoid leaving dry strips between passes.
- Rinse the mop pad in your bucket after every two to three passes.
- Let each section air dry for two to three minutes before walking on it.
- If you see water pooling in the seams, wipe it up immediately with a dry microfiber cloth.
Step 3. Spot-treat scuffs and stains
Regular mopping handles general dirt, but scuffs and stains need targeted treatment before or after your main cleaning pass. Trying to scrub them out with your mop spreads the stain, works the residue deeper into the seam edges, and risks scratching the wear layer you worked to protect in the previous steps. Spot treatment takes under a minute per area when you know which product to reach for.
How to remove scuff marks
Scuff marks are one of the most common complaints from people figuring out how to clean vinyl plank floors, and they look worse than they are. Most scuffs sit on top of the wear layer rather than in it, which means a small amount of rubbing alcohol on a microfiber cloth removes them without any real effort. Apply the alcohol directly to the cloth, not the floor, and rub the scuff in a circular motion using light pressure until it lifts.
Do not use nail polish remover or acetone on vinyl plank floors. These solvents dissolve the protective coating and leave a permanent dull spot.
For shoe scuffs specifically, a small amount of WD-40 on a soft cloth also works well and does not damage the finish. Wipe away any oily residue immediately with a clean damp cloth and dry the area completely before walking on it.
How to treat common stains
Different stains respond to different treatments, so matching your approach to the stain type gets faster results without risking the floor. Here is a quick reference for the most common stains found on vinyl plank floors:
| Stain Type | Treatment | What to Avoid |
|---|---|---|
| Food and beverage | Warm water with a few drops of dish soap on a cloth | Scrubbing pads |
| Grease or oil | Rubbing alcohol on a microfiber cloth | Excessive water |
| Ink or marker | Small amount of rubbing alcohol | Nail polish remover |
| Dried mud | Let it dry fully, then sweep and damp mop | Scraping with metal tools |
| Pet stains | Warm water with a drop of dish soap, then rinse | Bleach or ammonia cleaners |
Work each treatment by blotting, not rubbing, to avoid spreading the stain outward. Once the stain lifts, rinse the spot with a barely damp cloth and dry it completely before foot traffic returns to that area.
Step 4. Prevent buildup, streaks, and wear
Cleaning your floors well once only matters if you maintain them between sessions. Buildup and surface wear both develop gradually, and small habits done consistently make a bigger difference than any single deep clean. The goal here is to keep your floors in a state where routine mopping stays easy and nothing accumulates to the point where you need to scrub or use stronger products.
Set a simple maintenance schedule
Following a regular schedule is the most reliable way to keep vinyl plank floors looking clean without extra effort each time. High-traffic areas like entryways, kitchens, and hallways collect grit and residue faster than other rooms, so they need attention more often.
Consistency in your cleaning schedule prevents the kind of buildup that requires aggressive products, which are the exact products that damage vinyl over time.
Here is a straightforward schedule you can follow:
| Frequency | Task |
|---|---|
| Daily or every other day | Dry mop or dust mop high-traffic areas |
| Weekly | Full damp mop with pH-neutral solution |
| Monthly | Check seams for moisture damage or lifting edges |
| Seasonally | Deep clean with targeted spot treatments as needed |
Sticking to this routine reduces the time each cleaning takes because grit and residue never build up enough to require extra passes or stronger products.
Protect against long-term wear
Even with the right technique for how to clean vinyl plank floors, physical wear from foot traffic and furniture causes gradual damage that no cleaning product can reverse. Place felt pads under all furniture legs to prevent scratching when chairs or tables shift, and use entry mats at every exterior doorway to catch the grit, salt, and moisture that cause the most damage at the source.
Avoid dragging furniture across the floor during rearranging. Lift it completely or use furniture sliders designed for hard surfaces. For rooms with high foot traffic, area rugs over the vinyl add another protective layer without trapping moisture underneath, as long as you choose rugs with breathable, non-rubber backings that allow airflow between the rug and the floor.
Quick wrap-up
Knowing how to clean vinyl plank floors the right way comes down to a few consistent habits: dry mop before you wet mop, use a pH-neutral cleaner with minimal water, treat scuffs and stains with the right products, and protect your floor from the physical wear that builds up daily. None of these steps are complicated, but doing them in order and on a regular schedule makes the difference between floors that last and floors that look tired within a few years.
Your floors handle a lot every day, and the right maintenance routine keeps them looking clean without requiring heavy scrubbing or expensive products. If you would rather hand the job to professionals who already know exactly what your floors need, AlphaLux Cleaning serves homes and businesses across New York with reliable, detail-oriented cleaning you can count on. Get a free estimate and see what a professional clean actually looks like.