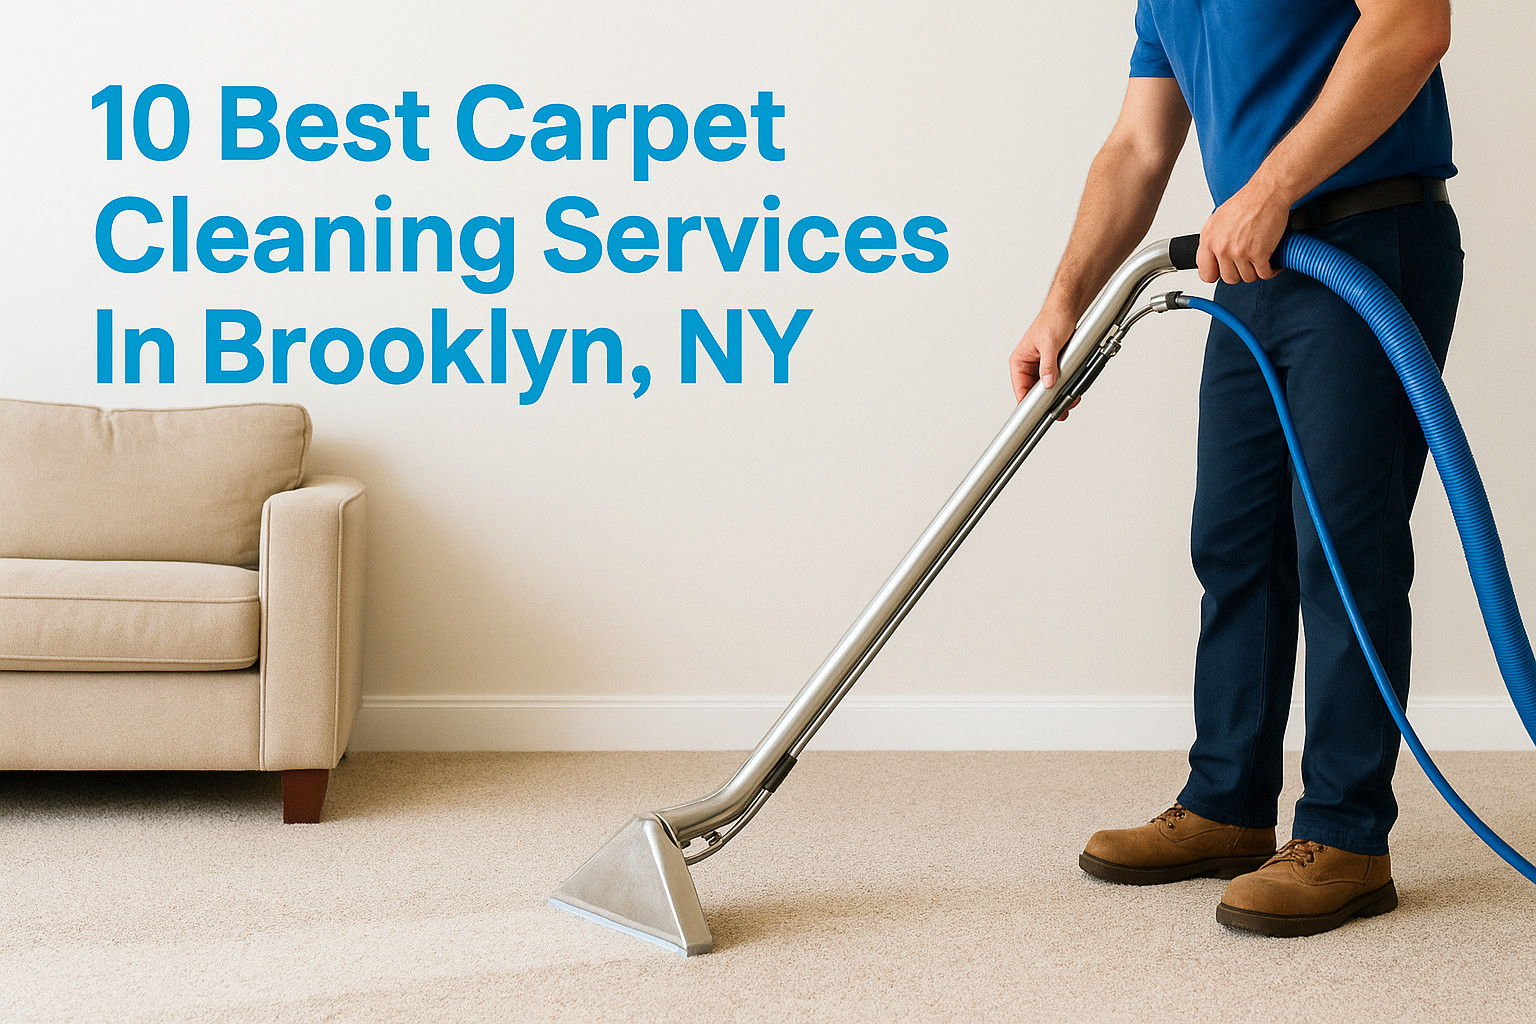
Porcelain tile is one of the most durable flooring options you can install, but even the toughest surfaces lose their luster without proper care. If you’ve noticed dull spots, sticky residue, or streaks that won’t quit, learning how to clean porcelain tile floors the right way makes all the difference. The good news? You don’t need expensive specialty products or hours of scrubbing to get them looking like new. A few simple techniques and the right cleaning solutions can restore that original shine.
At AlphaLux Cleaning, we clean porcelain tile floors in homes and businesses across New York every day. Our team knows exactly what works, and what causes more harm than good. We put together this guide to share the same methods our professionals use on the job, so you can maintain your floors between professional cleanings or tackle the task yourself with confidence.
Below, you’ll find step-by-step instructions for routine cleaning, deep cleaning, and stain removal, plus tips for achieving a streak-free finish every time. Whether you’re dealing with kitchen grease, bathroom grime, or just everyday foot traffic, this guide has you covered with both DIY and store-bought solutions that actually deliver results.
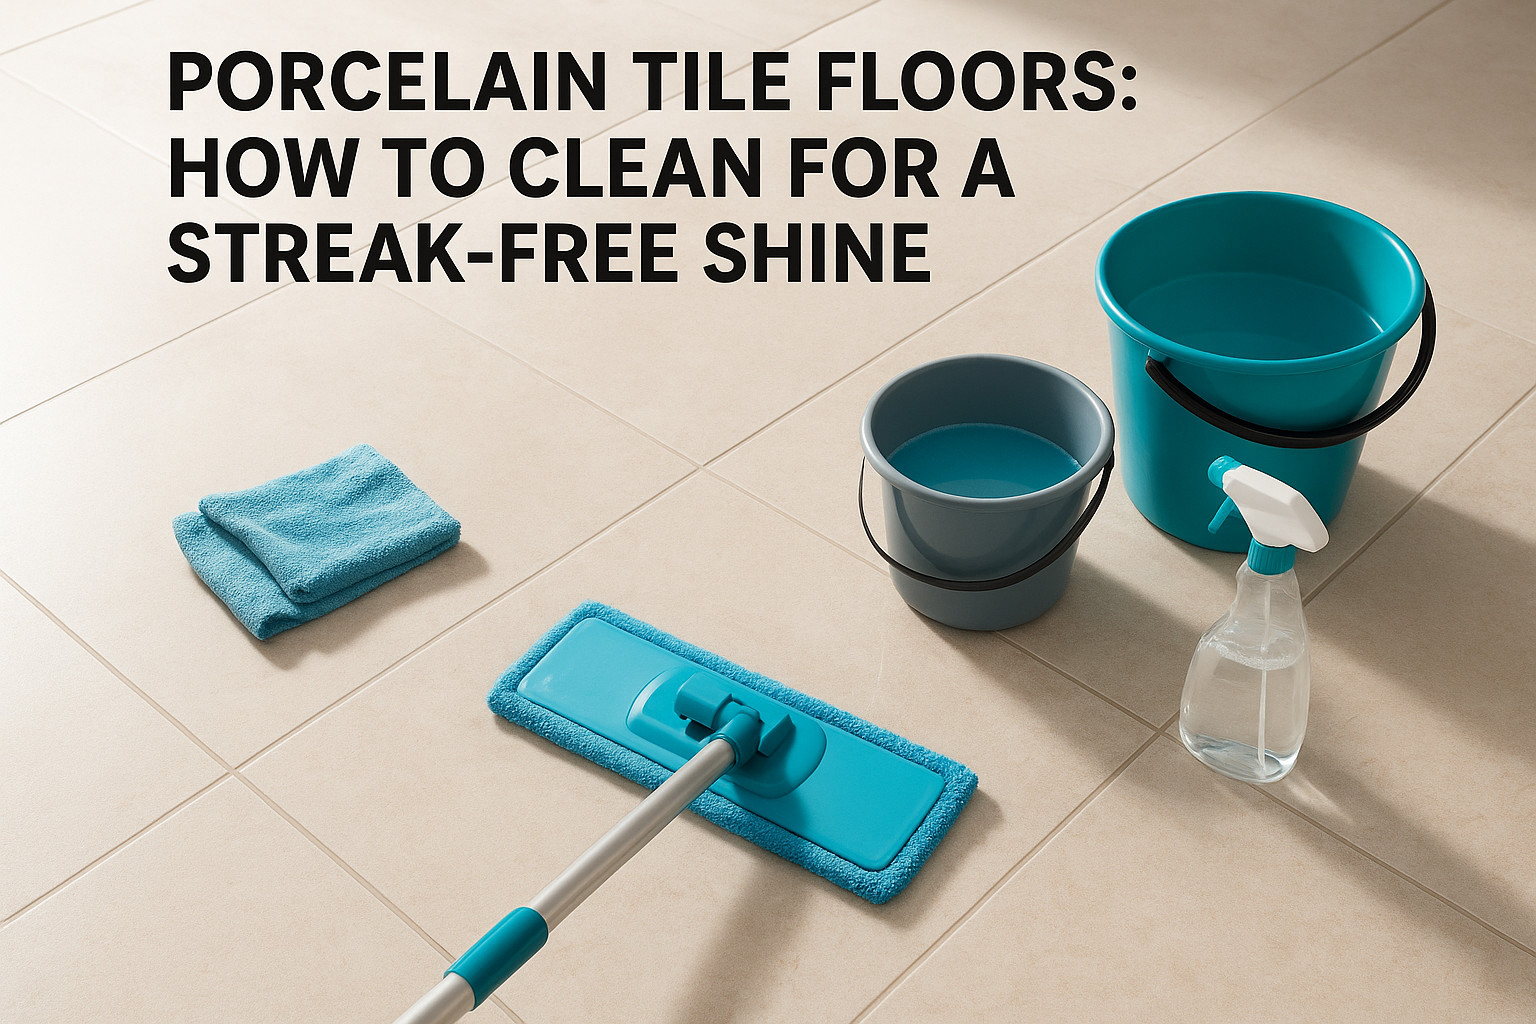
What you need before you start
Having the right supplies on hand before you begin makes the entire process faster and more effective. Porcelain tile is dense and non-porous, which means it handles most cleaners well, but the wrong tools (think rough scrubbing pads or steel wool) can scratch the surface and leave permanent marks. Pulling everything together in one spot before you start means you won’t have to stop mid-clean to track down what you’re missing.
Cleaning tools
The tools you choose directly affect your results when you learn how to clean porcelain tile floors properly. A soft-bristle broom or dry dust mop is your first essential, since loose dirt and grit need to come up before any wet cleaning starts. For mopping, a flat microfiber mop outperforms a traditional string mop because it picks up residue instead of pushing it around, and it leaves far less moisture sitting on the floor.
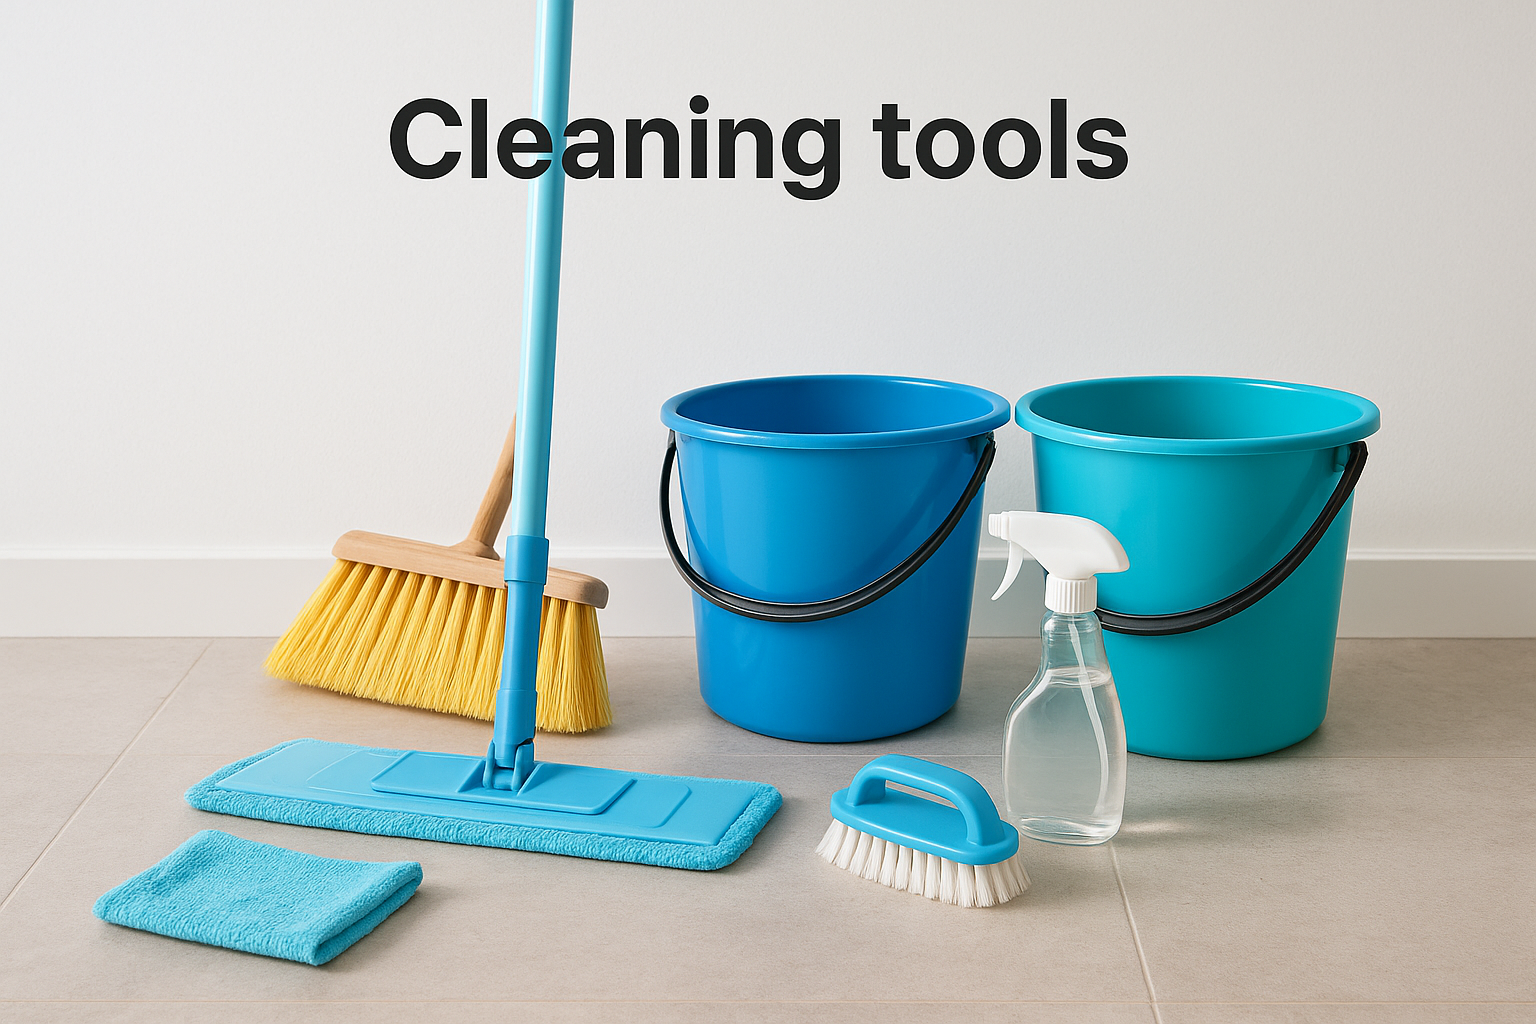
Here’s what to have ready before you start:
- Soft-bristle broom or dry dust mop
- Flat microfiber mop with washable pads
- Two buckets (one for clean solution, one for rinse water)
- Soft-bristle scrub brush or old toothbrush (for grout lines)
- Microfiber cloths for drying and spot buffing
- Spray bottle for targeted stain treatment
Cleaning solutions
The type of cleaner you use matters just as much as your technique. Harsh chemicals like bleach-based products or highly acidic cleaners can strip grout and dull the tile’s finish over time. For routine cleaning, a pH-neutral floor cleaner is your safest and most effective option, available at most hardware or grocery stores.
Avoid using vinegar on porcelain tile on a regular basis. While it cuts through grease, its acidity gradually breaks down grout and can dull polished tile surfaces with repeated use.
You can also mix a simple DIY solution using a few drops of dish soap with a gallon of warm water. For isolated tough spots, a paste made from baking soda and water treats stains without damaging the surrounding tile or grout. Keep your chosen solution in a spray bottle or bucket so it’s ready the moment you pick up the mop.
Step 1. Dry prep and spot-check the floor
Before any water or cleaner touches your floor, dry prep removes the loose debris that would otherwise turn into muddy streaks the moment your mop hits the surface. This first step is the one most people skip when figuring out how to clean porcelain tile floors, and it’s exactly why streaks happen. Spending two to three minutes on dry prep protects your wet cleaning results from start to finish.
Sweep or dust mop the entire surface
Start at the far end of the room and work toward the door so you’re never walking over areas you’ve already cleared. Use a soft-bristle broom or a dry microfiber dust mop and move in overlapping strokes to capture dust, hair, and grit along the edges and in corners. Grout lines trap fine particles, so run your broom at a slight angle across the floor to dislodge what’s sitting in the gaps before it mixes with your cleaning solution.
Skipping this step means dragging grit across wet tile, which can leave micro-scratches on polished porcelain surfaces over time.
Spot-check for sticky or dried-on residue
After sweeping, walk the floor and look for hardened spills, dried food, or sticky patches that won’t lift with a mop alone. Use a plastic scraper or the edge of a credit card to loosen dried material without scratching the tile. Mark those spots mentally so you can pre-treat them before mopping.
- Dried food or grease: pre-treat with diluted dish soap
- Scuff marks: rub with a damp microfiber cloth
- Sticky residue: apply a small amount of baking soda paste
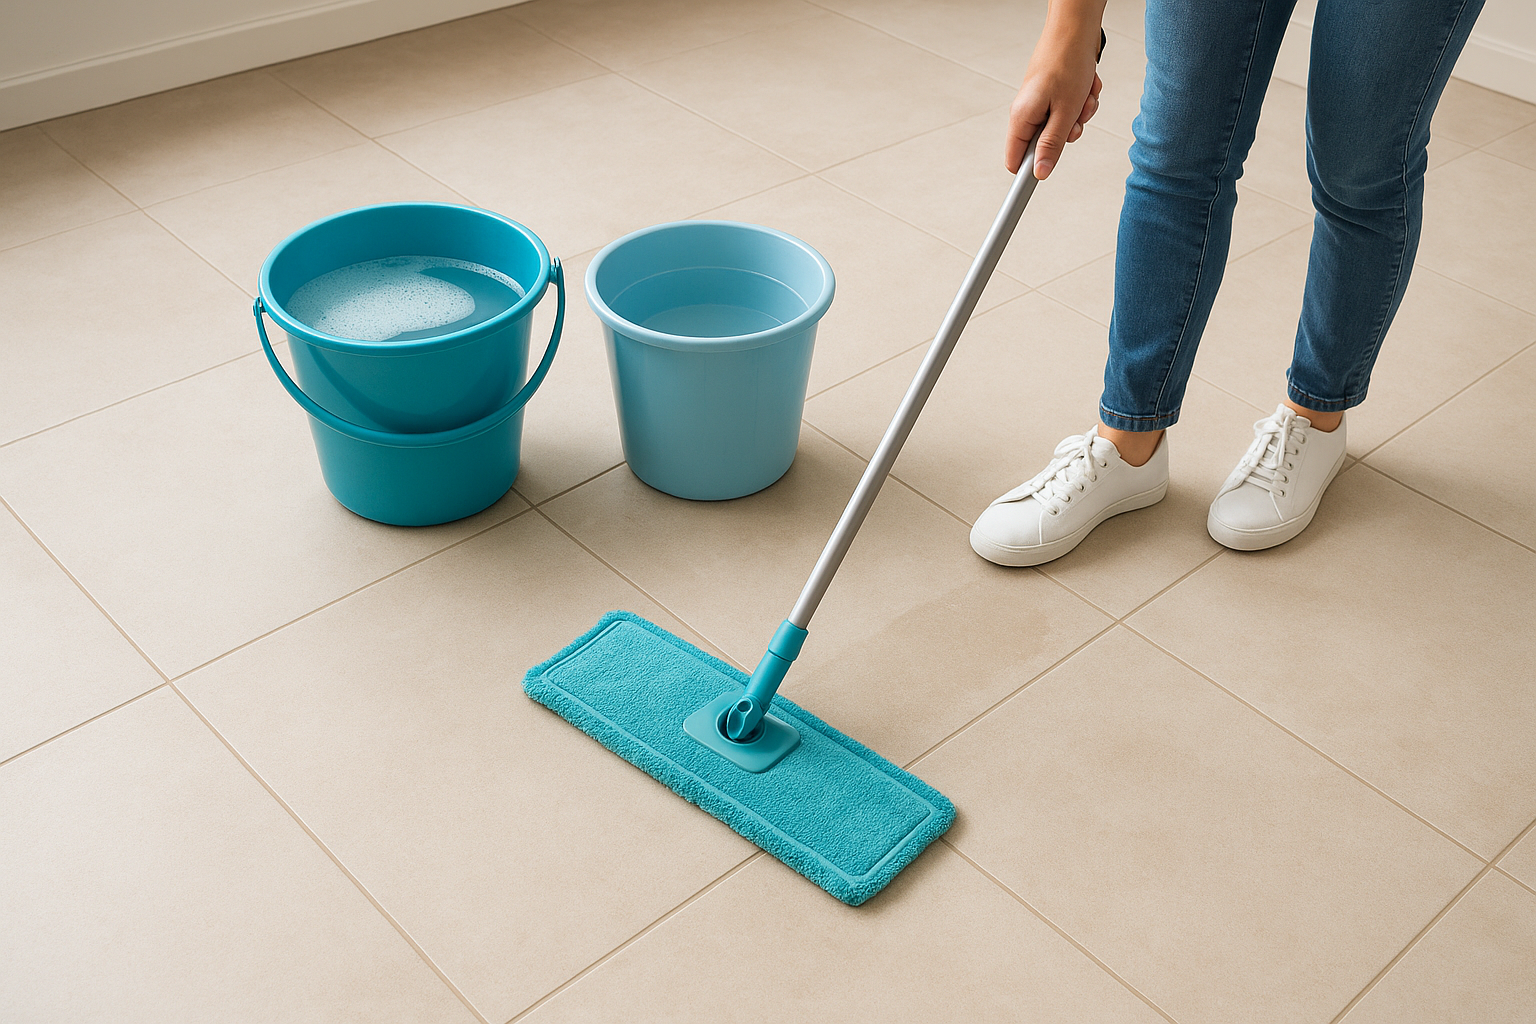
Step 2. Mop for a streak-free everyday clean
Once your floor is prepped and dry, wet mopping removes the remaining film of dust, oils, and everyday residue that dry cleaning leaves behind. The technique matters here just as much as the cleaner. Rushing through this step or using too much water is the most common reason people end up with streaks even after a full clean.
Mix your solution and prep your mop
Fill one bucket with warm water and your chosen pH-neutral cleaner mixed according to the package directions, and keep the second bucket filled with plain clean water for rinsing your mop pad between passes. Wring your microfiber mop pad until it’s damp but not dripping, since excess water pools in grout lines and leaves behind a hazy residue once it dries.
A mop that’s too wet is the single biggest cause of streaks when learning how to clean porcelain tile floors.
Mop in sections using the two-bucket method
Work in small sections of about four to six square feet, moving the mop in a figure-eight or overlapping S-pattern to lift dirt rather than push it forward. After each section, rinse the mop pad in your second bucket, wring it out again, and reload it with fresh solution before moving on.
Follow this order for consistent results every time:
- Start at the far corner and work toward the door
- Overlap each pass by a few inches to avoid missed strips
- Rinse your pad every one to two sections
- Do a final pass with a clean damp pad to pull up any remaining cleaner residue
- Dry the floor with a microfiber cloth if streaks appear after drying
Step 3. Deep clean grime and remove common stains
Routine mopping handles daily dirt, but grease buildup, dried spills, and embedded grime require more direct treatment. This is where knowing how to clean porcelain tile floors goes beyond basic maintenance. A targeted deep clean every two to four weeks keeps residue from accumulating in layers that routine mopping can’t touch.
Remove heavy buildup with a stronger solution
When standard mopping leaves a visible film or sticky patches behind, increase your cleaning concentration slightly and let the solution sit on the surface for three to five minutes before scrubbing. Apply the cleaner directly to the affected area, then work it in with a soft-bristle scrub brush using small circular motions. Rinse thoroughly with clean water and dry the area to check your results before moving on.
Letting your cleaner dwell on stubborn grime is more effective than scrubbing harder, and it protects the tile surface from damage.
Match your treatment to the stain type
Different stains respond to different treatments, so matching your approach to the specific stain gets faster results without damaging the tile or surrounding grout. Use the table below as a quick reference for the most common porcelain tile stains:
| Stain type | Treatment | Method |
|---|---|---|
| Grease or cooking oil | Dish soap + warm water | Apply, let sit 5 minutes, scrub gently |
| Dried paint | Plastic scraper + warm water | Lift carefully, then wipe clean |
| Rust marks | Baking soda paste | Apply, wait 10 minutes, scrub with soft brush |
| Soap scum | pH-neutral cleaner | Spray, scrub, rinse thoroughly |
Step 4. Clean grout and bring back the shine
Grout lines are the most overlooked part of a tile floor, and they’re also the fastest to show buildup. Even when the tile itself looks clean, dirty or discolored grout makes the entire floor appear dull and dingy. Addressing grout is the final piece of knowing how to clean porcelain tile floors properly, and it’s what separates a passable floor from one that genuinely shines.
Scrub and brighten grout lines
Your grout is porous, which means it absorbs oils, moisture, and dirt over time. Apply a baking soda paste directly to the grout lines, let it sit for five to ten minutes, then scrub with a soft-bristle grout brush or an old toothbrush using short back-and-forth strokes. Rinse the lines thoroughly with clean water and wipe dry.
For grout that hasn’t been cleaned in a while, two rounds of scrubbing will lift more buildup than one long session.
For heavily stained grout, use a commercial grout cleaner formulated for porcelain tile. Follow the product instructions carefully and avoid leaving the cleaner on longer than directed, since extended contact can weaken the grout over time.
Buff the tile for a streak-free finish
Once the grout is clean and the floor is dry, buff the tile surface with a clean, dry microfiber cloth using small circular motions. Work from one end of the room toward the door, focusing on spots where dried water or haze is still visible after cleaning.
Use this checklist for the final buff step:
- Check the floor at a low angle against the light to spot remaining haze
- Re-buff any dull patches with a fresh section of your microfiber cloth
- Avoid walking on the floor until it’s fully dry and buffed
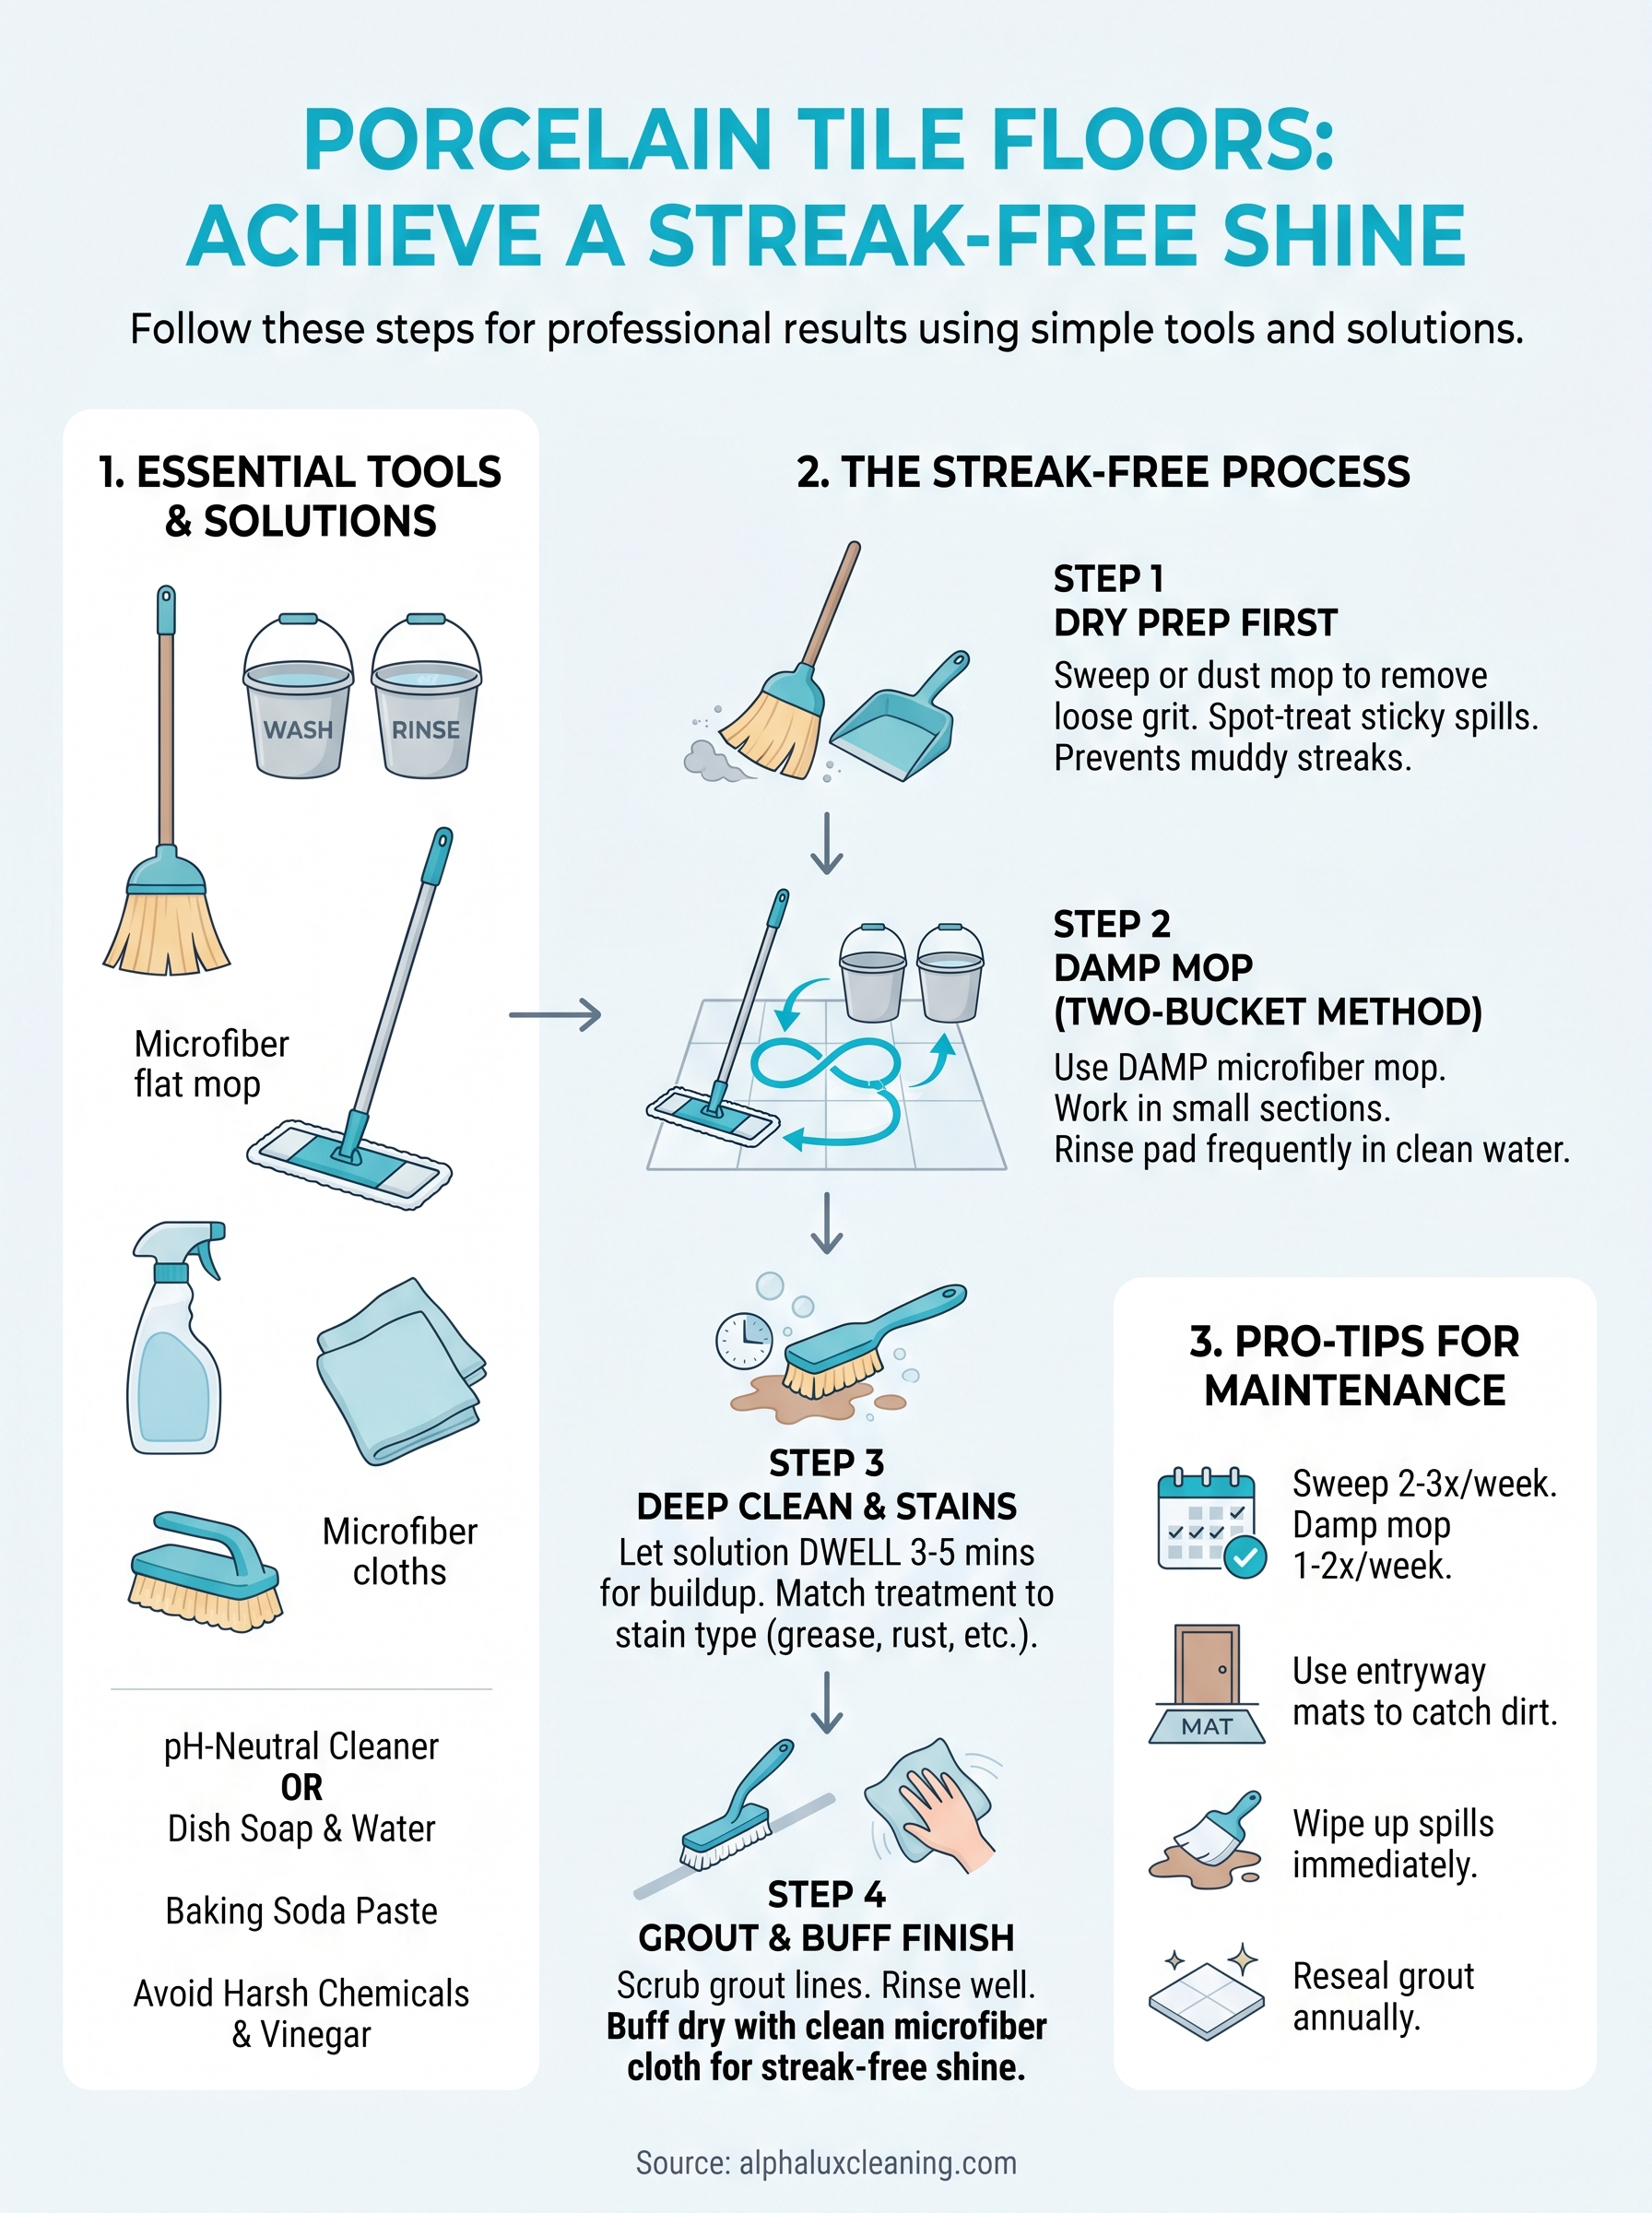
Keep porcelain looking new
Consistency is the easiest way to protect your investment. Sweeping or dry mopping two to three times per week keeps grit from grinding into the surface, and a quick damp mop every one to two weeks prevents film from building up between deeper cleans. Knowing how to clean porcelain tile floors at each level, from daily sweeping to monthly grout scrubbing, means you’re never facing a floor that needs hours of recovery work.
Protecting the floor between cleans matters too. Place mats at entryways to catch outside dirt before it spreads, and wipe up spills immediately rather than letting them dry into stains that require scrubbing. Resealing your grout once a year adds a layer of protection that makes every future clean faster.
If your floors need a professional reset or you’d rather leave the deep work to someone else, book a professional cleaning with AlphaLux and let our team handle it.