How to Find the Best Office Cleaning Company on Long Island, NY

Deep Carpet Cleaning Service: What It Includes And Costs
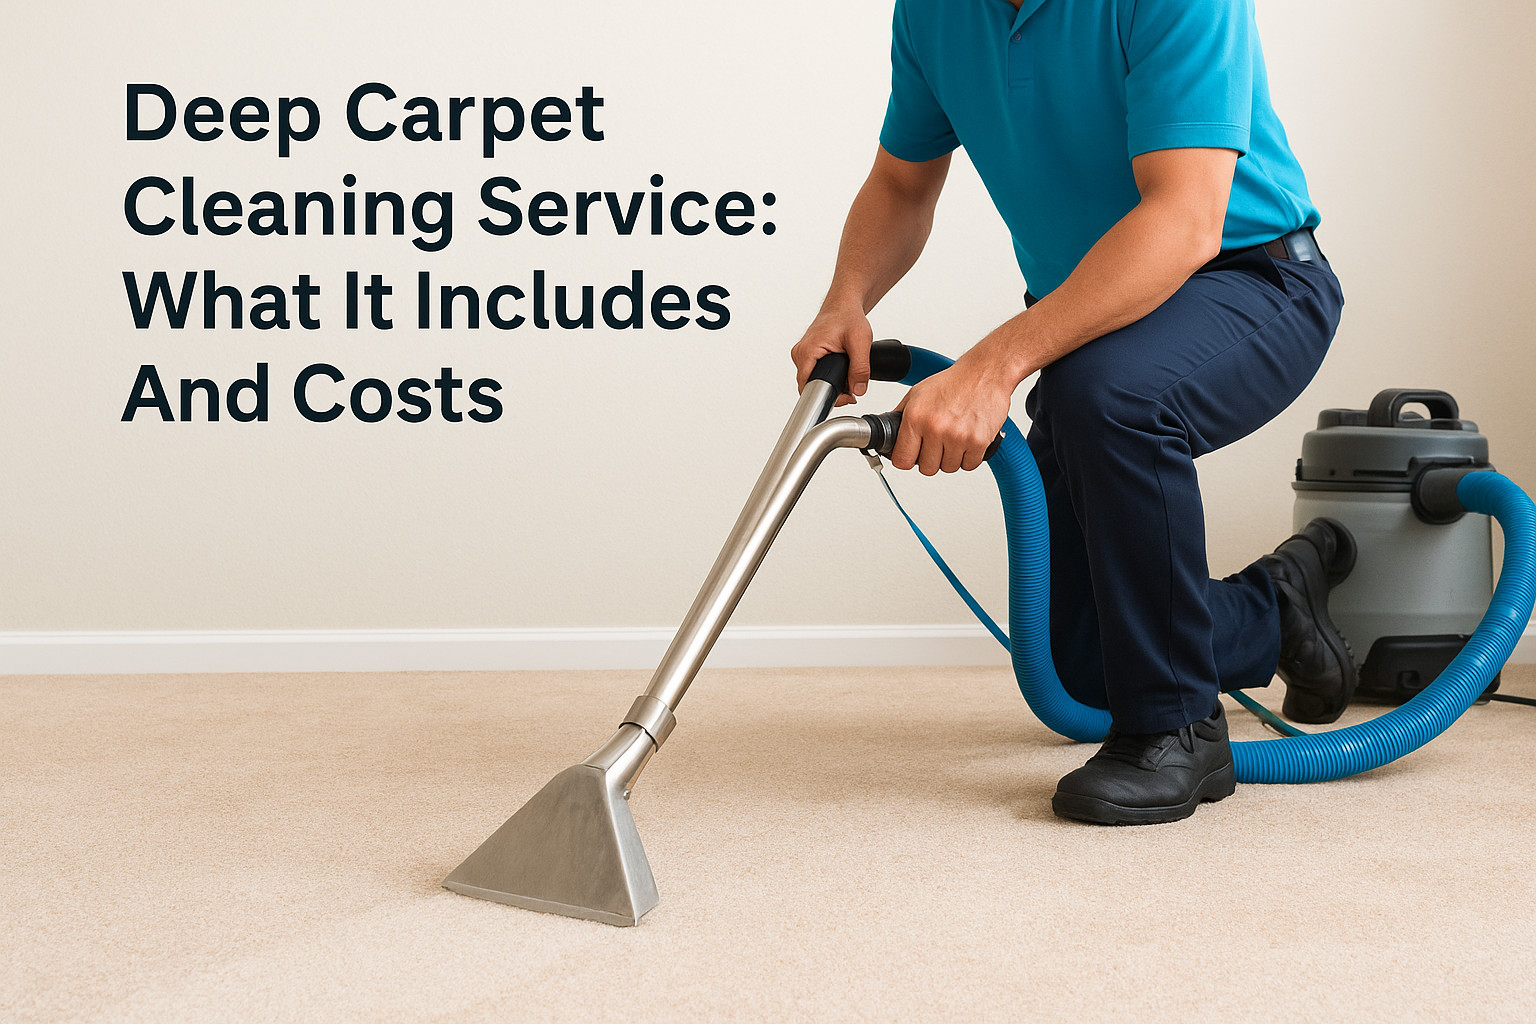
Your carpets look fine on the surface, but after a few years of foot traffic, spills, and pet dander, vacuuming alone stops cutting it. That’s where a deep carpet cleaning service comes in, reaching down into the fibers to pull out what a regular clean leaves behind. If you’re trying to figure out whether it’s worth the money and what you’re actually paying for, you’re in the right place. A real deep clean means hot water extraction, pre-treatment for stains, and enough dry time to matter, not a quick pass with a rented machine. Costs in New York typically run by room or square footage, and they shift based on carpet type, soil level, and whether you need add-ons like pet odor treatment or stain protection. Knowing these details upfront helps you spot a fair quote versus one padded with hidden fees. Below, we break down exactly what’s included in a professional deep clean, how pricing works room by room, and what separates a thorough job from a rushed one. Whether you’re maintaining a home or keeping an office presentable for clients, you’ll walk away knowing what to expect and how to budget for it. Why deep carpet cleaning matters for your home Carpet fibers act like a filter for everything that touches your floor. Dust, dead skin cells, pollen, and pet dander settle deep into the pile long before you notice a stain, and a standard vacuum only pulls out what’s sitting on top. Trapped allergens build up over months, and every footstep pushes them back into the air you breathe. If someone in your house deals with asthma or seasonal allergies, that buildup isn’t just unsightly, it’s actively working against them. What’s hiding in your carpet fibers Researchers at the EPA note that indoor air can carry pollutant levels several times higher than outdoor air, and carpet is one of the biggest reservoirs for that buildup, especially in homes with pets or high foot traffic. A single square yard of carpet can hold pounds of embedded soil that vacuuming never touches, because those particles wedge themselves around the fiber base, not just the visible surface. Soil buildup like this also breaks down the carpet backing over time, which is why carpets in high-traffic hallways tend to wear out years before carpets in a guest room. Here’s a quick look at what typically accumulates between deep cleans: Dust mites and their waste, a common trigger for allergic reactions Pet dander, hair, and dried urine that vacuuming can’t fully lift Mold spores in humid basements or homes near water damage Bacteria from shoes, spills, and everyday tracked-in debris Volatile compounds from old cleaning products that never fully rinsed out Health effects you might not connect to your carpet Many people don’t realize their stuffy nose or scratchy throat traces back to the carpet under their feet. Dust mites thrive in fiber environments and feed on skin cells shed by people and pets, and their waste is one of the most common indoor allergy triggers according to the American Lung Association. Indoor air quality drops noticeably in homes with heavily soiled carpet, and that matters even more if you have young kids who spend time playing on the floor or a family member managing respiratory issues. A carpet that looks clean can still be one of the dirtiest surfaces in your home. Offices see this too. Employees sitting near heavily trafficked carpet report more fatigue and irritation during allergy season, and a musty odor in a commercial space tends to scare off clients faster than almost anything else. Deep cleaning resets that environment instead of just masking it with air freshener. Why vacuuming isn’t enough Regular vacuuming does a good job with surface debris, but it was never designed to reach the base of the fiber where oils, allergens, and bacteria settle. A deep carpet cleaning service uses hot water extraction, which pushes heated water and cleaning solution into the pile under pressure, then pulls it back out along with everything it loosened. That combination of heat, agitation, and suction is what actually resets the carpet instead of just refreshing the surface. Think about the difference this way: Cleaning Method What It Removes What It Leaves Behind Regular vacuuming Loose surface dust and debris Embedded oils, allergens, deep stains Spot cleaning Visible surface stains Underlying residue, odor sources Deep hot water extraction Embedded soil, allergens, bacteria, most odors Minimal residue when done correctly Skipping deep cleaning doesn’t just shorten your carpet’s lifespan, it also lets everything trapped inside keep circulating through your home or office every time someone walks across the room. How professional deep carpet cleaning works Walking into a real deep clean, a technician doesn’t just plug in a machine and start scrubbing. Professional carpet cleaning follows a sequence designed to loosen soil first, then flush it out completely rather than pushing it around. Skipping steps is exactly how a $50 rental machine leaves carpets damp and dingy, while a trained crew leaves them dry, fresh, and free of residue. The walkthrough and pre-treatment Before any water touches the floor, a good technician inspects the carpet fiber, checks for existing stains, and identifies the traffic patterns that need extra attention. Pre-treatment solution gets sprayed on heavily soiled areas and left to sit for several minutes, breaking down oils and ground-in dirt so the extraction step can actually pull them free. Skipping this step is the most common shortcut cheap operators take, and it’s why their results fade within weeks. Hot water extraction step by step Once the pre-treatment has time to work, the crew runs a truck-mounted or portable extraction unit across the carpet. Here’s the typical sequence: Agitate the carpet with a brush or rotary tool to lift embedded debris. Inject hot water and cleaning solution deep into the pile under pressure. Extract the water immediately, pulling loosened soil, allergens, and residue with it. Spot-treat any remaining stains with a targeted solution. Apply a neutralizing rinse so
Restaurant Cleaning Services NYC: The 2026 Guide to 5-Star Hygiene Standards

With New York City now requiring health grades to be displayed on every delivery app and website, your reputation is only as strong as your last…
How To Clean Chrome Bathroom Fixtures: Step-By-Step Guide
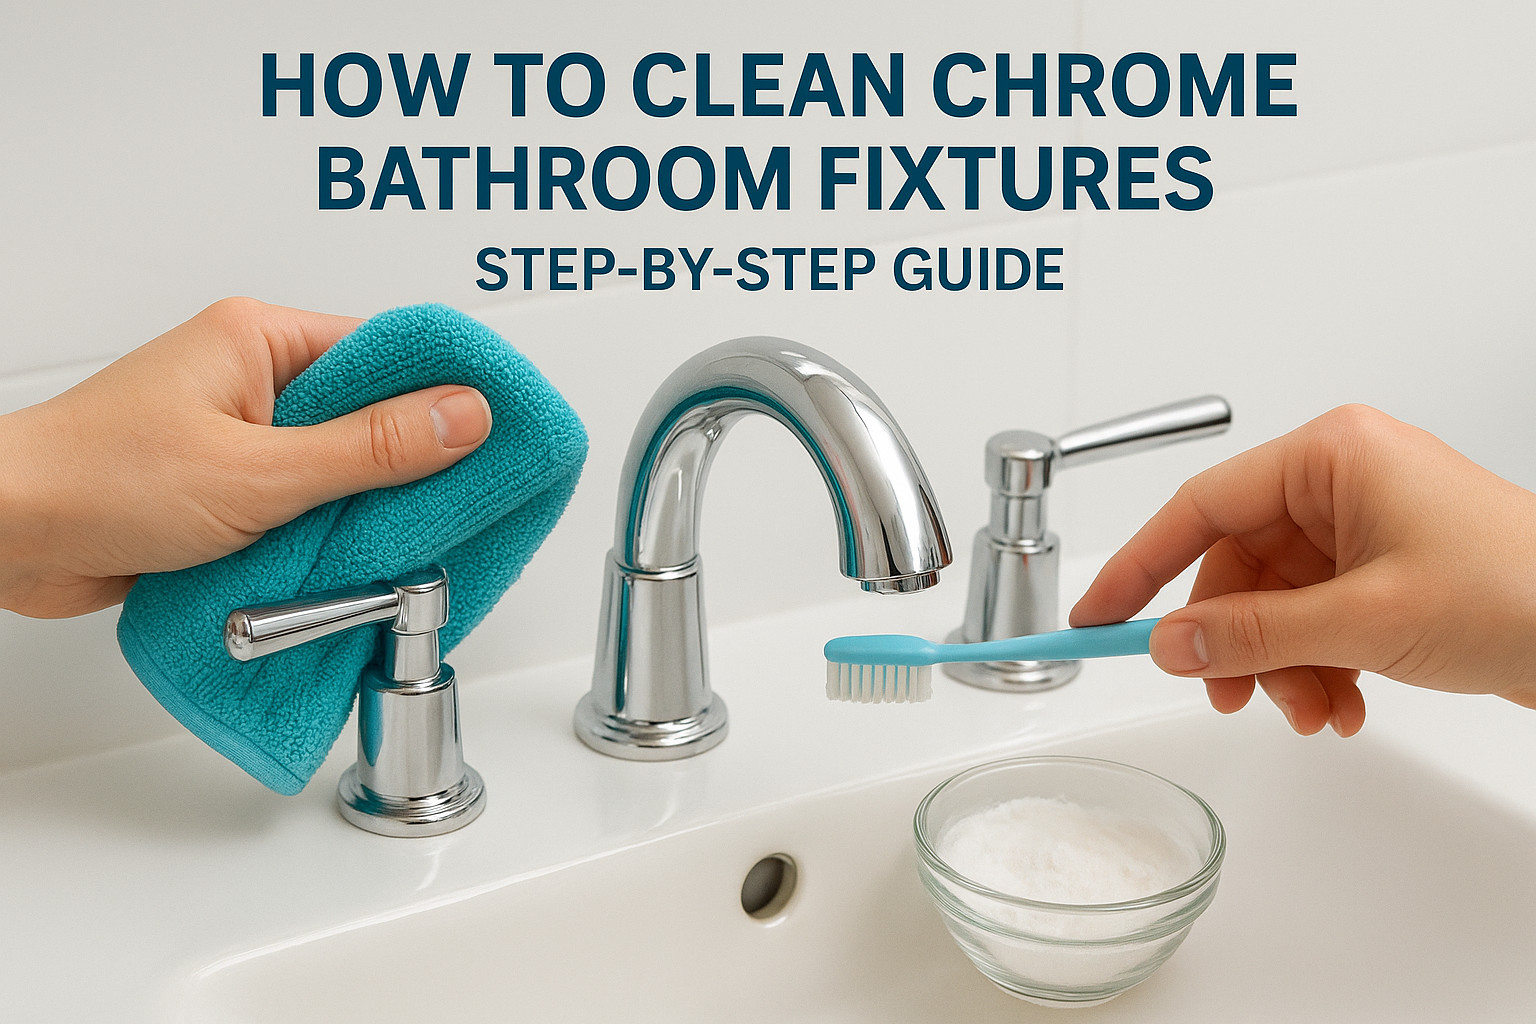
Water spots on your faucets and showerheads build up faster in New York than most people expect, especially with the hard water common across Long Island and the metro area. If you’re wondering how to clean chrome bathroom fixtures without scratching the finish or leaving streaks behind, you’re dealing with a problem we see in nearly every home we service. The short answer: chrome needs a soft cloth, the right cleaning solution, and a gentle touch, not abrasive scrubbers or harsh chemicals that dull the shine over time. Vinegar, dish soap, and microfiber cloths handle most jobs, while stubborn mineral deposits need a slightly different approach to lift them without damaging the plating underneath. Below, we walk through the exact steps our cleaning teams use on faucets, showerheads, and towel bars, plus the products that actually work and the ones to avoid. You’ll also find tips for keeping fixtures streak-free between deep cleans, so your bathroom keeps that just-cleaned shine longer. And if scrubbing grout and chrome isn’t how you want to spend your Saturday, AlphaLux Cleaning’s teams handle it for you, using eco-friendly products that are safe for your home and gentle on every surface. What you’ll need before you start Gathering everything beforehand keeps you from tracking dirty cleaning water across your bathroom mid-job. Microfiber cloths are non-negotiable here; paper towels and old rags leave lint and tiny scratches that dull chrome over time. Stock at least two cloths, one for washing and one for drying, plus a spray bottle to mix your solutions. Basic supplies list Most of what you need is already in your kitchen cabinet: White vinegar (distilled, not apple cider) Mild dish soap Two to three microfiber cloths A soft-bristled toothbrush for grooves and joints Baking soda for stubborn spots A spray bottle Rubber gloves if you have sensitive skin Products to avoid Some common household cleaners actually strip the chrome plating instead of restoring it. Steel wool, bleach-based sprays, and anything labeled "abrasive" will scratch the surface permanently, and once chrome is scratched, no amount of polishing brings back the shine. A single pass with steel wool can undo years of careful cleaning in seconds. Skip This Use Instead Steel wool or scouring pads Soft microfiber cloth Bleach-based bathroom sprays Diluted white vinegar Ammonia-based glass cleaners Mild dish soap and water Rough sponges Soft toothbrush for corners Once you’ve got these on hand, you’re ready to start on the fixtures themselves without stopping halfway through to hunt for supplies. Step 1. Clear the fixtures and do a first rinse Before you touch a cloth to chrome, clear the counter or shower shelf of bottles, soap dishes, and razors. Working around clutter is how you end up missing spots or knocking something into the sink, so give yourself a clean surface to work on. Take thirty seconds to remove anything sitting directly on or against the fixture itself. Next, run warm water over the faucet, showerhead, or towel bar for about 15 seconds. This first rinse loosens surface dust and loose grime before you introduce any cleaning solution, which means less scrubbing later. A quick rinse also helps you see what you’re actually dealing with, light dust versus caked-on soap scum versus mineral crust, so you know which steps below need extra attention. Skipping the rinse just means you’re scrubbing dirt into the chrome instead of off it. Don’t skip this step even if the fixture looks clean. Dry dust particles act like sandpaper once you start wiping, and that’s an easy way to introduce fine scratches you’ll notice later under bright light. Step 2. Wash away grime and soap scum Mix a few drops of mild dish soap into warm water, then dip your microfiber cloth and wipe the fixture in one direction rather than circular motions. Soap scum builds up fastest around faucet bases and where the showerhead meets the pipe, so focus there first. Wipe in straight lines, following the natural curve of the fixture, and rinse the cloth often so you’re not just smearing grime back onto the surface. For grooves, joints, and handle edges, switch to your soft-bristled toothbrush dipped in the same soapy water. Tight corners trap the most residue, and a toothbrush reaches spots a cloth physically can’t. Wiping in straight lines instead of circles keeps you from grinding grit into the chrome. Rinse the whole fixture with clean water once you’ve covered every surface, then check under direct light. If it still looks hazy or streaked, that’s usually mineral buildup, not soap scum, which is exactly what the next step tackles. Step 3. Dissolve hard water stains and mineral buildup Hard water leaves behind a white, chalky film that soap and water won’t budge, and this is where white vinegar earns its spot on your supply list. Soak a cloth in undiluted vinegar and wrap it directly around the faucet or showerhead for 10 to 15 minutes. The acid breaks down calcium deposits without touching the chrome plating underneath. For spots with heavier crust, mix vinegar with baking soda into a paste and apply it directly to the buildup. Let it sit for five minutes, then scrub gently with your toothbrush. Mineral buildup around showerhead nozzles often needs this paste treatment since plain vinegar can’t always reach into tiny holes. Vinegar dissolves mineral scale that no amount of scrubbing alone will remove. Rinse thoroughly afterward. Leftover vinegar residue dries cloudy, undoing the work you just did. Step 4. Dry and buff for a streak-free shine Drying matters just as much as washing when it comes to how to clean chrome bathroom fixtures. Grab a dry microfiber cloth and wipe the fixture immediately after rinsing, working top to bottom so water doesn’t drip back onto sections you’ve already dried. Any water left sitting on chrome evaporates and leaves new mineral spots, basically undoing everything you did in the last step. Once the surface feels completely dry, switch to a second clean cloth and buff in small
What is Included in a Deep House Cleaning? The Ultimate 2026 Checklist

Your home might look tidy on the surface, but it’s likely still harboring microscopic allergens and persistent dust that a standard weekly vacuuming…
Range Hood Cleaning Service: What It Includes And Costs
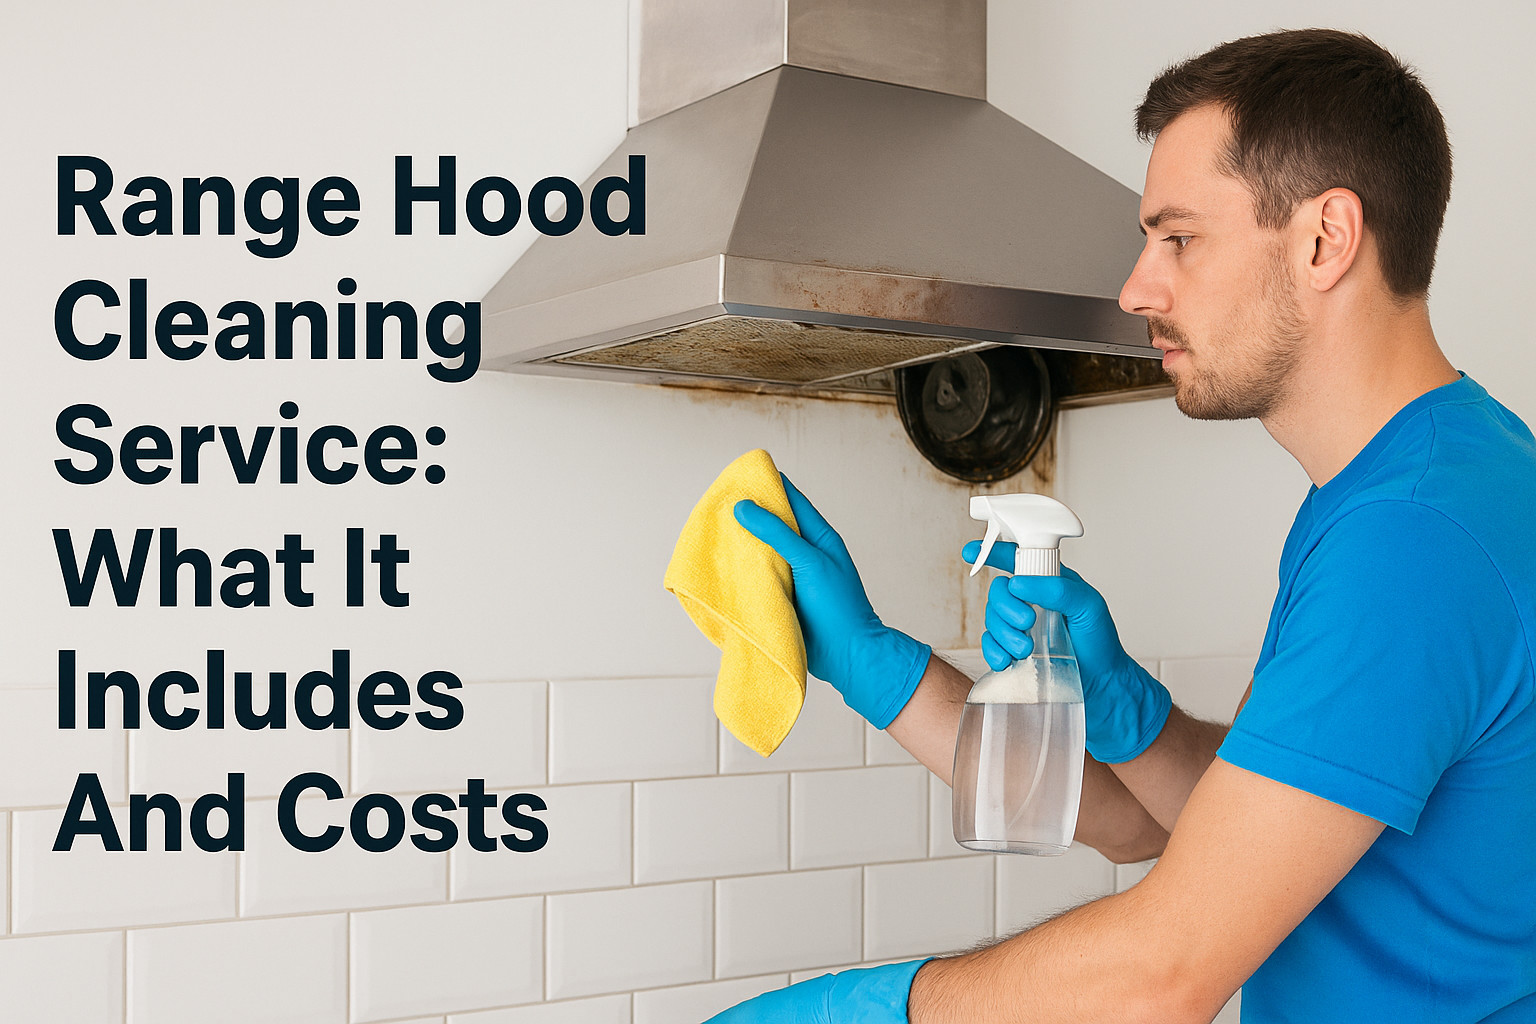
Grease builds up fast above a stove, and most homeowners don’t notice until the filter turns black and the fan starts humming louder than it should. That grime is a fire hazard, and it’s the reason a range hood cleaning service exists as its own specialty, separate from a regular house cleaning appointment. If you’re trying to figure out exactly what you’re paying for, this guide breaks it down. A proper job covers the exterior hood surface, the filters, the fan blades, and sometimes the ductwork, and pricing typically depends on hood type, how long it’s been neglected, and whether you’re in a home or commercial kitchen. You’ll see realistic price ranges and what separates a quick wipe-down from a thorough deep clean. We’ll walk through what’s included in a standard visit, how often you actually need one, and the questions worth asking before you hire someone local. AlphaLux Cleaning handles kitchen deep cleans across New York using eco-friendly products, so we know firsthand what a range hood looks like when it’s been ignored, and what it takes to get it back to spotless. Why regular range hood cleaning matters Grease doesn’t stay put once it hits your range hood. It vaporizes off the stove, floats up into the filter, and settles as a sticky film that thickens every time you cook. Within a few months, that film turns into a flammable coating that can ignite if it gets close to a flame or a stray spark from the burner. The National Fire Protection Association has tracked cooking equipment as the leading cause of home structure fires for years, and grease buildup in hoods and ducts is a recurring factor in how those fires spread. Skipping cleaning isn’t just a cosmetic shortcut, it’s a real safety gap. A greasy range hood isn’t just dirty, it’s a fire risk sitting quietly above your stove. Beyond fire risk, a clogged hood stops doing its job. The whole point of a range hood is to pull smoke, steam, and airborne grease out of your kitchen. Once the filter is caked, airflow drops, and your kitchen starts holding onto cooking odors, humidity, and fine grease particles that settle on cabinets and counters. You’ll notice the fan working harder and louder, and in commercial kitchens, that strain often leads to early motor failure and pricey repairs. There’s also an air quality angle homeowners tend to overlook. Trapped grease and food residue attract dust and bacteria, and a hood that can’t ventilate properly lets more of that stay in the air you’re breathing while you cook. For businesses, this matters even more. Most local health codes and fire inspections in New York require commercial kitchen exhaust systems to be cleaned on a set schedule, and failing an inspection over a dirty hood can shut down service until it’s fixed. Waiting too long also makes the job harder and more expensive. Grease that sits for a year hardens and bonds to metal surfaces, requiring stronger degreasers and more scrubbing time than a hood that’s cleaned every few months. Staying ahead of it with routine maintenance keeps the cost predictable and the risk low, instead of paying for an emergency deep clean after smoke alarms start going off for no clear reason. What a professional range hood cleaning service includes A real range hood cleaning service goes well beyond wiping down the metal you can see. Technicians break the unit down piece by piece, degrease every surface, and put it back together so it runs the way it did on day one. Here’s what a typical visit covers. The core scope of work Most appointments follow a similar sequence, whether it’s a home kitchen or a commercial line. Filter removal and soak: mesh or baffle filters go into a degreasing solution to break down hardened grease. Fan blade and motor housing wipe-down: grease inside the fan compartment gets scraped and wiped, since it’s often the thickest buildup. Exterior and interior surface cleaning: stainless steel, painted metal, or glass panels get polished with non-abrasive products. Grease trap and drip channel clearing: overlooked spots that collect runoff and can drip onto your stovetop. Inspection of ductwork access points: technicians check how far grease has migrated up the duct before recommending a deeper flush. A proper cleaning takes the hood apart, not just the visible surface. What separates a quick clean from a deep clean A basic maintenance visit handles filters and exterior surfaces. A full deep clean goes further, disassembling the fan housing and treating baked-on grease that’s been sitting for months. Commercial kitchens usually need the deeper version to pass fire and health inspections, while homeowners can often stick with lighter maintenance if they’re cleaning every few months instead of once a year. How much does range hood cleaning cost Pricing for a range hood cleaning service depends on hood size, grease buildup, and whether ductwork is involved. Homeowners typically pay less than commercial kitchens, since residential hoods are smaller and see lighter use between cleanings. Typical price ranges Here’s what you can expect to pay based on the type of job and property. Service Type Typical Price Range What’s Included Residential maintenance clean $75 to $150 Filters, exterior surfaces, light degreasing Residential deep clean $150 to $300 Fan housing, interior surfaces, heavy grease removal Commercial exhaust cleaning $200 to $600+ Full hood, ductwork inspection, fire code compliance Duct flush add-on $100 to $250 Grease removal beyond the hood into visible ducting Expect to pay more the longer grease has been left to harden, since extra scrubbing time drives the price up fast. What drives the price up or down Several factors push a quote higher or lower than the averages above. Neglected hoods with a year or more of buildup take longer to strip clean, which adds labor time. Commercial kitchens with high-volume cooking, like restaurants running fryers daily, need more frequent and more intensive cleaning than a home kitchen used a few times a week. Location
The Definitive Office Cleaning Scope of Work Template for 2026

With the janitorial industry facing a staggering 150% annual turnover rate in 2026, your facility’s cleanliness shouldn’t depend on the memory of a…
Maid Service Cost: Average Rates By Home Size And Frequency

You want a clean home, but you also want a real number before you pick up the phone. Maid service cost varies more than most people expect, and quotes that seem random usually follow a pattern once you know what drives the price. A studio apartment doesn’t cost the same as a five bedroom house, and a one time deep clean will always run higher than a maintenance visit. Most cleaning companies price by square footage, number of rooms, and how often you book. On average, homeowners in New York pay somewhere between $100 and $250 per visit, with hourly rates typically landing between $25 and $50 per cleaner. Frequency matters too: weekly or biweekly plans cost less per visit than a single deep clean, since crews aren’t tackling months of buildup each time. Below, we break down actual rates by home size, cleaning type, and schedule, so you can budget accurately before requesting a quote. We’ll also cover what typically drives prices up or down, including square footage, pets, and add on services like inside oven or fridge cleaning. Why maid service costs vary so much Every cleaning quote is really an estimate of time and labor. Companies aren’t guessing when they give you a number, they’re calculating how many hours a crew needs to finish your space and how many cleaners that requires. That’s why a 900 square foot apartment and a 3,500 square foot house never land on the same invoice, even from the same company. The price you’re quoted almost always reflects hours of labor, not a flat fee for "cleaning." Home size and layout Square footage is the biggest lever in any quote. A one bedroom condo takes a two person crew roughly an hour to an hour and a half, while a four bedroom colonial can take three to five hours. Layout matters too. Homes with lots of small rooms, multiple bathrooms, or finished basements take longer than open floor plans with the same square footage, because crews spend more time moving between spaces and cleaning fixtures. Condition and how often you book A home cleaned every other week stays in better shape than one cleaned once every few months, so maintenance visits cost less per trip than first time or occasional cleanings. If your last professional cleaning was six months ago, expect the initial visit to run 25% to 50% higher than a standard rate, since the crew has to work through buildup on baseboards, blinds, and bathroom grout before they can settle into a normal routine. After that first deep clean, recurring visits typically drop to your standard hourly or flat rate. Location and local labor costs Where you live changes the math too. Cleaning companies in Manhattan or Nassau County pay their staff more than companies in smaller upstate towns, and that difference shows up in your quote. According to the U.S. Bureau of Labor Statistics, wages for maids and housekeeping cleaners vary significantly by metro area, which explains why the same size home can cost noticeably more in one New York region than another. Type of service you’re booking Not all cleanings are priced the same, even for identical square footage. Here’s how the main service types typically compare: Service Type What It Covers Typical Price Difference Standard cleaning Kitchens, bathrooms, dusting, vacuuming, trash Baseline rate Deep cleaning Standard cleaning plus baseboards, inside appliances, detailed grout work 30% to 60% higher Move-in/move-out Empty home, inside cabinets, closets, appliances, all surfaces 40% to 70% higher Recurring maintenance Standard cleaning on a set schedule 10% to 20% lower per visit Move-out cleanings run higher because there’s no furniture blocking access, so crews clean every inch of every surface, including spots tenants rarely reach. Pets, clutter, and extra surfaces Finally, what’s inside the home affects the price as much as the home’s size. Pets add pet hair and dander that require extra vacuuming passes and sometimes specialized attention for allergens. Clutter slows crews down because they have to work around items instead of straight through a room. Homes with hardwood floors, lots of glass, or detailed woodwork also take longer to clean properly than a home with mostly carpet and simple surfaces. None of these factors are dealbreakers, but they’re worth mentioning upfront when you request a quote, since an honest estimate depends on an accurate picture of your home. How to estimate your maid service cost You don’t need a professional walkthrough to get a reasonable number before you call anyone. Most maid service cost estimates come down to three inputs you already know: square footage, number of bathrooms, and how often you want cleanings. Plug those into a simple formula and you’ll land within a realistic range of what a New York cleaning company will quote you. A rough estimate takes five minutes and gets you within striking distance of your real quote. Start with square footage and a base rate Multiply your home’s square footage by a per-square-foot rate, which typically runs $0.08 to $0.20 depending on your region and the service type. A 1,500 square foot home at $0.12 per square foot lands around $180 for a standard cleaning. This gives you a baseline before you factor in bathrooms, extras, or frequency discounts. Add time for bathrooms and kitchens Bathrooms and kitchens take longer than any other room per square foot, since they involve scrubbing fixtures, disinfecting surfaces, and detailed grout work. A good rule of thumb: add 15 to 20 minutes of labor per bathroom beyond the first, and factor that into an hourly rate of $25 to $50 per cleaner. A home with three bathrooms will always cost more than a similarly sized home with one and a half, even if the total square footage is identical. Use this quick math to sanity-check a quote Here’s a simple way to estimate before you request pricing: Take your home’s square footage and multiply by $0.10 to $0.15 for a mid-range base estimate. Add $10 to $15 for
Premium Office Cleaning Services Near Midtown Manhattan: Elevating Your Workplace in 2026

A workspace in the heart of New York City should be more than just a place to conduct business; it’s a physical manifestation of your brand’s…
How To Deep Clean A Kitchen: Step-By-Step Guide
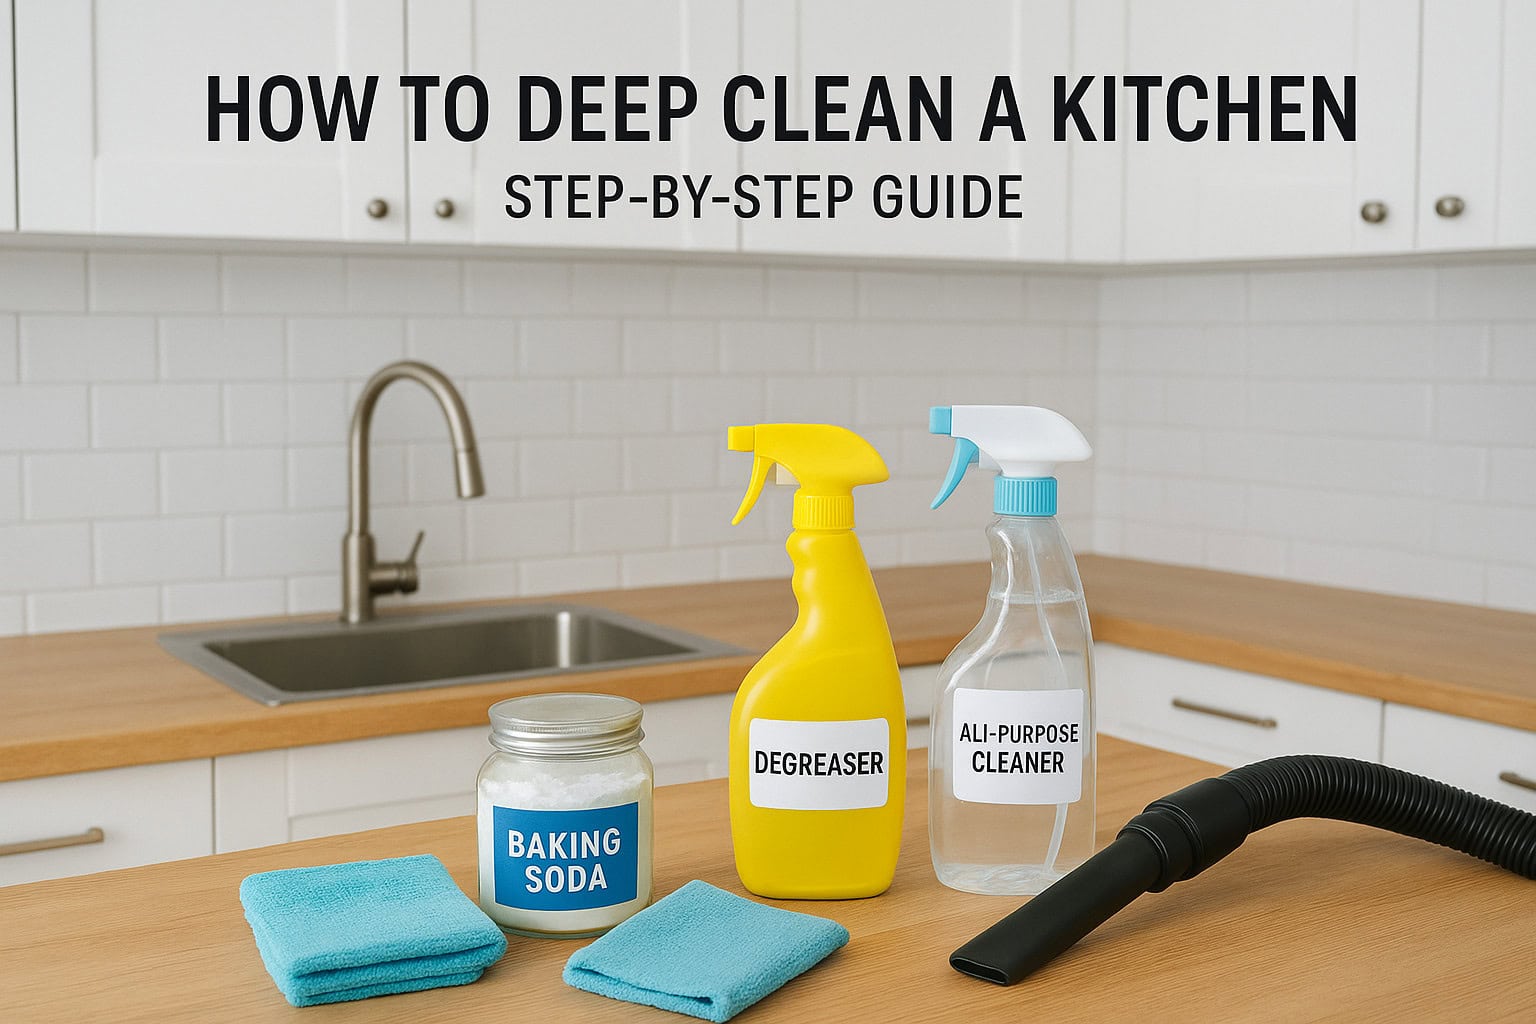
Your kitchen looks fine at a glance, but you know what’s hiding behind the toaster and inside the fridge seals. Regular wiping keeps things presentable, while learning how to deep clean a kitchen actually removes the grease buildup, crumbs, and grime that pile up in spots you skip every day. This guide gives you a room-by-room checklist that starts at the ceiling and works down to the baseboards, covering appliances, cabinets, countertops, and floors in the order that actually saves you time. You’ll get specific steps for degreasing your stove hood, descaling your coffee maker, and pulling out the fridge to clean underneath it, not just vague tips to What you need before you start Grabbing random sprays from under the sink halfway through the job wastes time and usually leaves streaks. Before you touch a single cabinet, gather your supplies and map out your time so you can move through the kitchen in one continuous pass instead of stopping every twenty minutes to hunt for a rag. Stock up on the right supplies You don’t need a cart full of specialty products to deep clean a kitchen well. A short list of multi-purpose cleaners and a few dedicated tools covers almost everything, from greasy stove hoods to sticky cabinet fronts. Supply What it’s for Degreaser (or dish soap + hot water) Stove, oven interior, range hood, cabinet fronts All-purpose cleaner Counters, sink, backsplash, appliance exteriors Baking soda Scrubbing burnt-on grime and deodorizing the fridge White vinegar Descaling the coffee maker and cutting through hard water spots Microfiber cloths (8-10) General wiping without scratching finishes Old toothbrush or grout brush Grease in corners, stove knobs, gasket seals Rubber gloves Protecting your hands from degreasers and hot water Vacuum with crevice attachment Crumbs in drawers, under appliances, behind the fridge Trash bags Sorting out expired pantry items and freezer food Eco-friendly options work just as well for most of this list. Plain white vinegar, baking soda, and a mild dish soap handle the majority of kitchen grime without leaving chemical residue on surfaces where you prepare food. Give yourself enough time Rushing is where deep cleans fall apart. A standard kitchen takes most people between three and five hours to deep clean properly, and that includes letting degreaser sit on the oven and stove for 15 to 20 minutes before you scrub. If you’re tackling a kitchen that hasn’t seen a deep clean in over a year, plan for closer to a full afternoon. A deep clean isn’t a faster version of your weekly wipe-down, it’s a slower, more deliberate pass through every surface you normally skip. Breaking the job into the four steps below, rather than trying to do everything at once, keeps the work manageable and stops you from burning out halfway through the cabinets. Set up basic safety first Open a window or turn on the range hood fan before you start mixing cleaning products. Never combine bleach with ammonia-based cleaners or vinegar, since the fumes are genuinely dangerous, not just unpleasant. If you’re unplugging the fridge or moving heavy appliances to clean behind them, have a second person around, or at minimum clear a path so you’re not straining your back. The Environmental Protection Agency notes that indoor air quality can suffer when cleaning chemicals mix improperly, so ventilation matters as much as the products themselves (source: EPA.gov). Once your supplies are staged and your window is cracked, you’re ready to start where the mess actually begins: the cabinets and pantry shelves you open every single day without really looking at. Step 1. Clear out and wipe down cabinets and pantry Start at the top of your cabinets and work your way down, since crumbs and dust from upper shelves will fall onto lower ones anyway. Pulling everything out at once forces you to actually look at what you’re storing instead of just wiping around it. Empty every shelf and sort as you go Take everything off one shelf at a time rather than dumping the whole cabinet onto your counter. Sorting as you empty keeps the job from turning into a bigger mess than the one you started with. Check expiration dates on canned goods, spices, and dry pantry items Toss anything with signs of pantry moths or stale smells Group items into keep, donate, and trash piles Wipe jars and containers before they go back in A deep clean of your cabinets isn’t complete until you’ve actually thrown something away, not just rearranged it. Wipe down shelves and interiors Once a shelf is empty, spray it with your all-purpose cleaner and wipe with a microfiber cloth, paying attention to the back corners where crumbs and spilled sugar tend to settle. For sticky residue from honey or syrup that’s hardened onto the shelf liner, a paste of baking soda and water loosens it without scratching the surface. Vacuum the shelf with your crevice attachment before wiping if you see visible crumbs, since wiping first just smears them into a paste. Clean cabinet fronts and handles Cabinet doors and handles collect a layer of grease from cooking splatter and hand contact that you barely notice day to day. Use your degreaser on the fronts, working in small sections, and go over handles and knobs with an old toothbrush since grime tends to build up in the grooves. Wood cabinets need a gentler touch, so stick to a diluted dish soap solution instead of a heavy degreaser that can strip the finish. Reload with purpose Before putting items back, line shelves with fresh paper if you use liners, and group similar items together so future spills and expired products are easier to spot. This is also the moment to decide if your current pantry organization is actually working, since you’re already handling every item anyway. A well-organized cabinet also makes your next deep clean faster, because you’ll spend less time sorting and more time wiping. Step 2. Deep clean the refrigerator and freezer Unplug the fridge, or