The Ultimate Post-Construction Cleaning Checklist for 2026
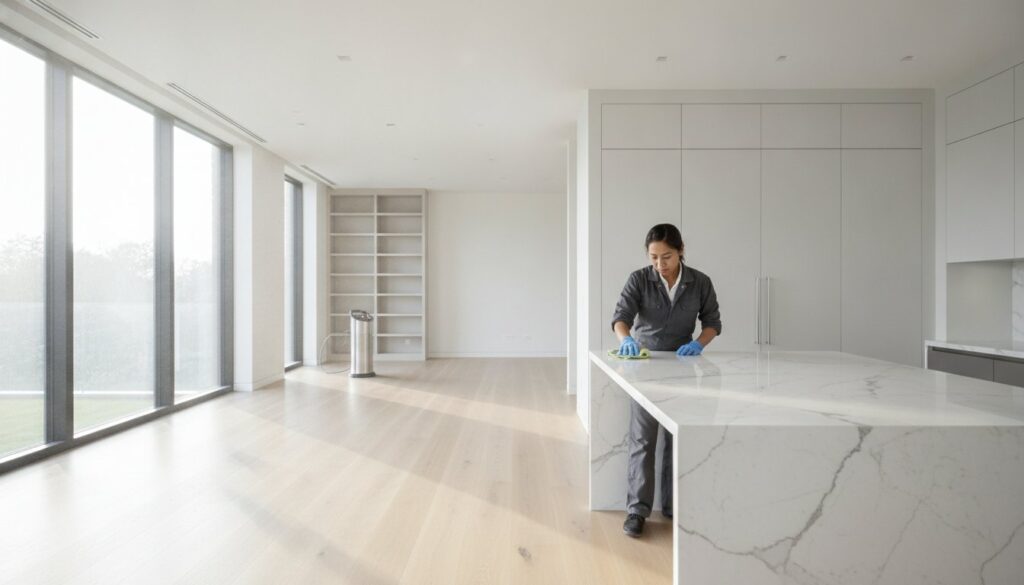
What if the most hidden risk to your renovation isn’t the structural work, but the microscopic particles left behind once the contractors depart?…
How To Clean A Toilet Properly: Step-By-Step Guide
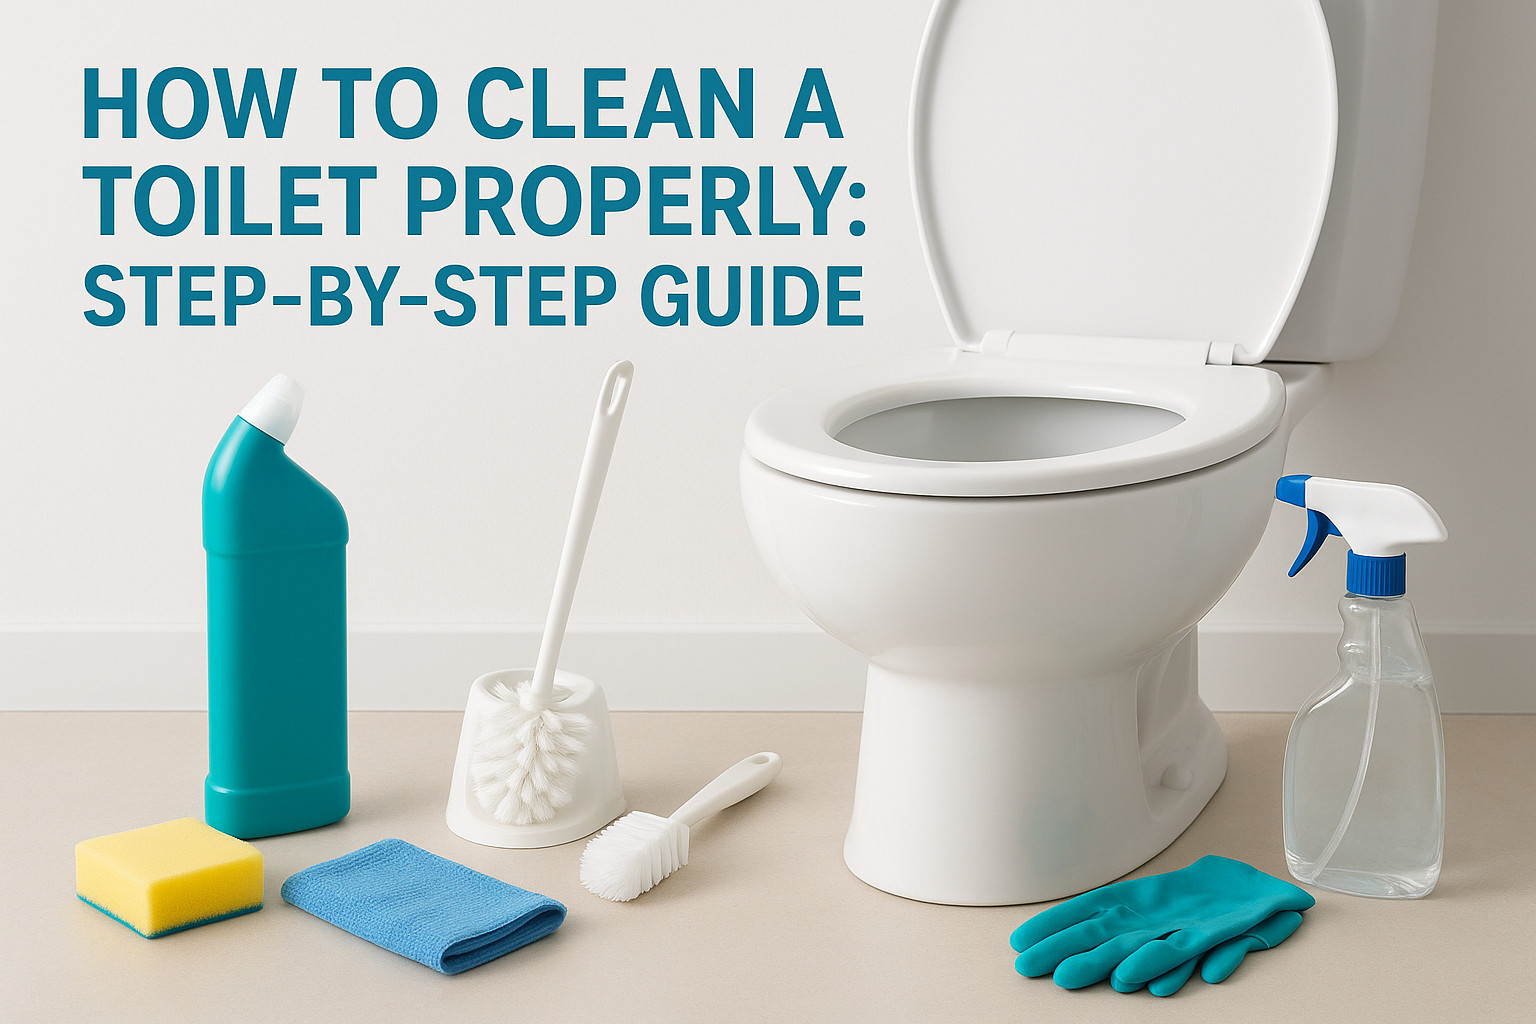
Most people scrub a toilet in under two minutes and call it done, then wonder why the bowl still smells or the ring keeps coming back. Learning how to clean a toilet properly takes more than a quick swipe with a brush. It means hitting the areas people skip, using the right products in the right order, and giving disinfectant enough contact time to actually kill bacteria instead of just moving it around. This guide walks you through the exact steps professional cleaners use, from the first application under the rim to the final wipe on the base and hinges, where grime and odor actually build up. You’ll learn which tools work best for tough stains, how to tackle hard water rings and mineral buildup, and how to sanitize the entire fixture, not just the bowl. We put this together from what our teams do on real jobs across New York homes and offices, where a fast wipe-down isn’t good enough for clients who expect a genuinely clean bathroom. Whether you’re cleaning your own home or trying to raise your standards before your next deep cleaning, this step-by-step method gets your toilet truly spotless, not just presentable. What you need before you clean your toilet properly Grabbing a random spray bottle and an old brush is how most people end up with a toilet that looks clean but isn’t. Proper toilet cleaning starts before you even touch the bowl, with the right supplies laid out and ready. Skipping this step means stopping mid-clean to hunt for gloves or a scrub brush, which breaks the contact time your disinfectant needs to actually work. Gather the right cleaning supplies You don’t need a cabinet full of specialty products. You need a short list of tools that each do a specific job, and you need them within arm’s reach before you start. Toilet bowl cleaner with a thick, clingy formula (bleach-based or an eco-friendly alternative) Disinfectant spray or wipes rated to kill bacteria and viruses on hard surfaces A toilet brush with stiff bristles, ideally one with an angled head to reach under the rim A separate scrub brush or old toothbrush for hinges, bolts, and tight seams Microfiber cloths, at least two, one for the tank and seat, one for the base and floor Rubber gloves to protect your hands from chemicals and bacteria White vinegar or a lime-scale remover for hard water stains and mineral buildup A small bucket or bin if you’re carrying supplies from room to room Keep the toilet brush and its holder as a dedicated tool. Never use it on sinks, tubs, or countertops, and never let a cloth touch both the toilet and the kitchen counter without a wash cycle in between. Choose eco-friendly products when it matters Harsh bleach works, but it isn’t the only option, and in homes with kids, pets, or septic systems it isn’t always the best one. Eco-friendly, non-toxic cleaners built around citric acid or hydrogen peroxide cut through grime and kill most common bacteria without leaving fumes behind. This is the standard our teams use on residential jobs across New York, where families want a bathroom that’s sanitized, not one that smells like a swimming pool for the rest of the day. If you’re set on a natural approach, look for an EPA Safer Choice label, which the Environmental Protection Agency awards to formulas that meet strict health and environmental criteria while still performing. A toilet that smells like bleach isn’t necessarily a toilet that’s actually disinfected. Contact time matters more than the product name on the bottle. Protect yourself and prep the space Gloves aren’t optional here. Toilet bowls harbor E. coli, salmonella, and norovirus, and even a small splash during scrubbing can transfer bacteria to your hands and then to every surface you touch next. Open a window or turn on the bathroom fan before you start, especially if you’re using a bleach-based product, since the fumes concentrate fast in a small, tiled room. Finally, clear the area around the toilet. Move the bath mat, trash can, and any decor out of the splash zone. Ventilation, clear space, and the right supplies within reach turn a rushed five-minute wipe-down into a proper clean that actually holds up between visits. Step 1. Flush and apply toilet bowl cleaner Start with a full flush, even if the bowl already looks empty. This clears loose debris and wets the porcelain, which helps the toilet bowl cleaner grip the surface instead of sliding straight down. A dry bowl causes the product to run off before it has a chance to work, especially on the sloped sides where most people skip entirely. Apply cleaner under the rim first Squeeze the cleaner directly under the rim, working the bottle all the way around the bowl in one continuous motion. This is the spot professional cleaners hit first because it’s the one homeowners consistently miss, and it’s where mineral deposits and bacteria build up fastest, hidden from view. Let gravity pull the product down the sides so it coats the water line, the bowl walls, and the base near the drain opening. The area under the rim causes more repeat odor complaints than any other spot in the bathroom, yet it’s the one step most people skip. Give the cleaner time to actually work Don’t scrub right away. Every disinfectant and bowl cleaner needs dwell time to break down grime and kill bacteria, and wiping it off too soon wastes the product entirely. Check the label on your specific cleaner, but as a general guide: Cleaner type Minimum contact time Bleach-based bowl cleaner 5-10 minutes Eco-friendly / citric acid formula 10-15 minutes Hydrogen peroxide-based cleaner 10 minutes Heavy-duty lime scale remover 15-20 minutes Use this waiting window productively instead of standing around. Wipe down the sink, restock toilet paper, or move on to prepping your disinfectant wipes for the tank and seat, which you’ll tackle in a later step. Just set a timer if
Get a Move Out Cleaning Quote Online: Your Guide to a Seamless NY Transition

What if the difference between reclaiming your full security deposit and losing hundreds of dollars came down to a single afternoon of professional…
How To Clean Kitchen Floors: Tile, Vinyl, Wood, And More
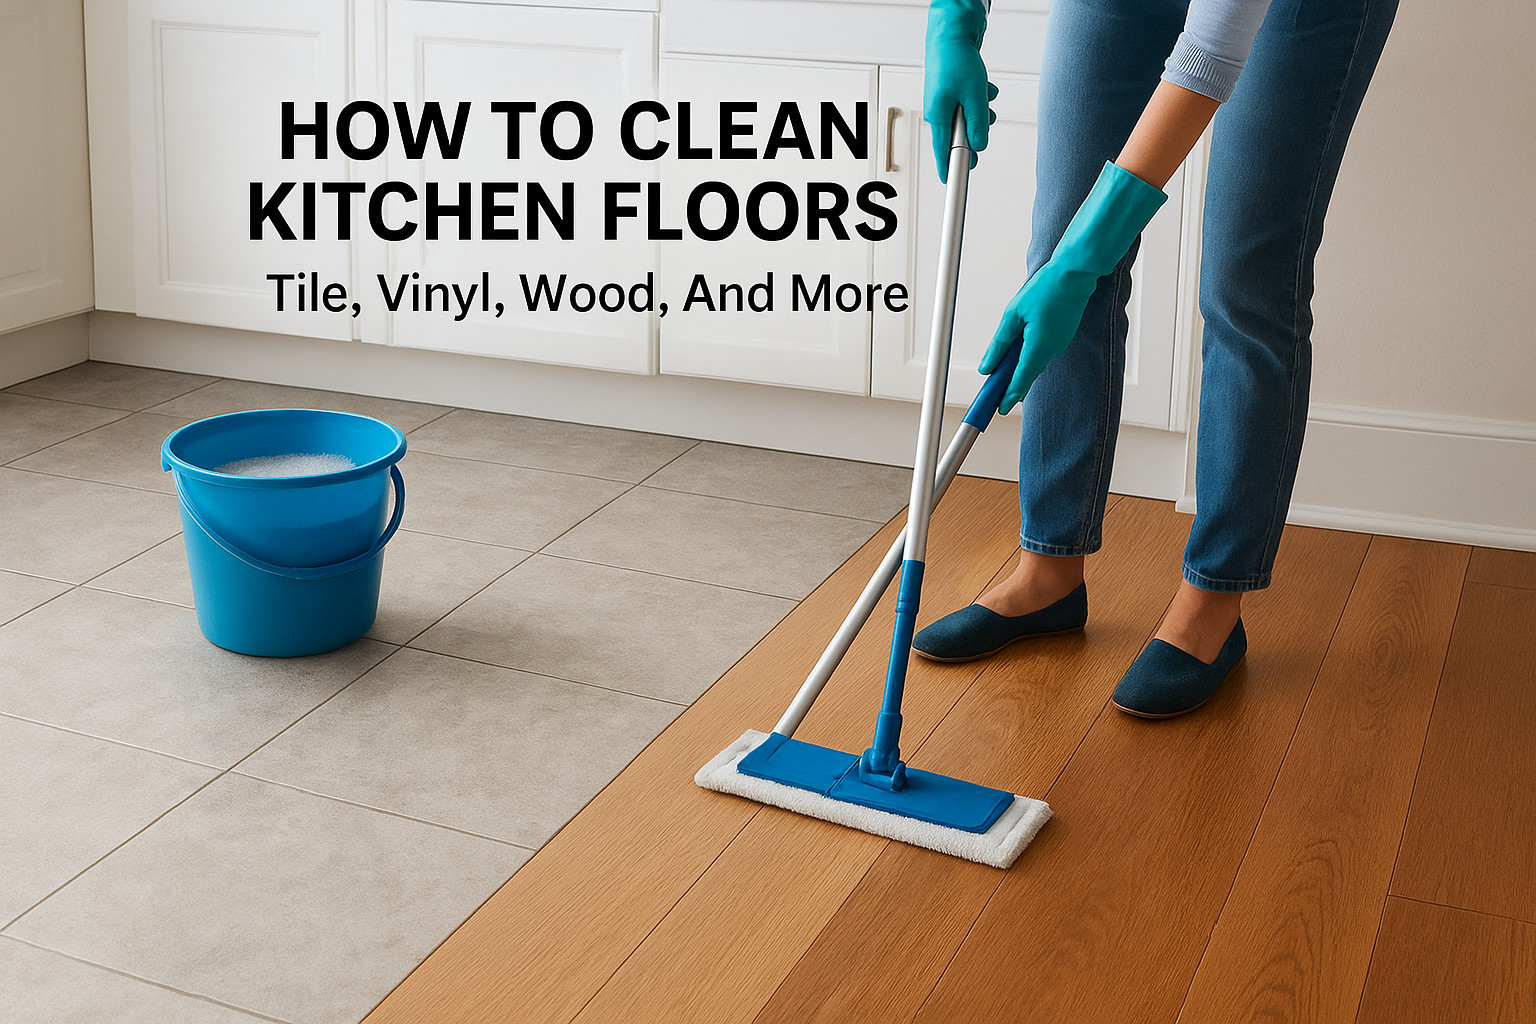
Kitchen floors take a beating. Between spills, foot traffic, crumbs, and grease splatters, they’re one of the hardest-working surfaces in your home. Knowing how to clean kitchen floors the right way matters because the wrong method or product can dull finishes, damage grout, or warp wood. The trick is matching your cleaning approach to your specific floor type, and that’s exactly what this guide covers. Below, you’ll find step-by-step instructions for cleaning tile, vinyl, hardwood, laminate, and stone kitchen floors. We’ll walk through effective DIY cleaning solutions (including simple mixes with vinegar and dish soap), explain what to avoid on each surface, and share maintenance tips that keep floors looking their best between deep cleans. At AlphaLux Cleaning, we clean every type of kitchen floor across New York homes and businesses, so these methods come from hands-on professional experience, not guesswork. Whether you’re tackling sticky buildup after a week of cooking or prepping floors before a move, this guide will help you get the job done right. What to do before you start Before you mop a single drop of water, a few quick prep steps will make a big difference in your results. Rushing straight into scrubbing often spreads grime around instead of removing it, and using the wrong cleaner on the wrong surface can cause permanent damage. Checking your floor type and gathering the right supplies beforehand saves you time and protects your floors. Know your floor type The single biggest factor in how to clean kitchen floors correctly is knowing what material you’re working with. Tile and grout handle moisture and most cleaners well, while hardwood and laminate can warp or swell if you use too much water or the wrong solution. Vinyl is durable but can degrade with harsh chemicals like undiluted bleach. If you’re unsure what type of floor you have, check your original flooring paperwork, look for a manufacturer’s label near a baseboard, or search online using any brand name stamped on a tile edge. Identifying your floor type before you start is the single step that prevents the most damage. Pull together your supplies Having everything ready before you start keeps the process moving without interruptions. Gathering supplies upfront also means you won’t need to walk back across a wet floor mid-clean. Here’s what you’ll need for most kitchen floor jobs: Broom, vacuum, or dust mop for dry debris removal Mop and bucket (flat microfiber mop for hardwood and vinyl; string mop for tile) Warm water as the base for almost every cleaning solution Dish soap (a few drops cuts grease effectively on most surfaces) White vinegar for tile and vinyl (diluted: 1/2 cup per gallon of water) pH-neutral floor cleaner for hardwood and natural stone Microfiber cloths for spot cleaning and drying Clear the floor Move chairs, trash cans, pet bowls, and any floor rugs out of the kitchen before you begin. Furniture legs and rug edges trap dirt underneath them and block the areas that need the most attention. Clearing the space completely also lets you work in a logical path from one end of the kitchen to the other, so you never step back onto an area you’ve already cleaned. Step 1. Remove crumbs and grit Dry debris removal is the most skipped step in kitchen floor cleaning, and skipping it always makes things worse. When you mop over loose crumbs, sand, or dried food particles, you push them around in the water and scratch the floor surface. Removing all dry grit first is what makes the mopping step actually effective. Sweep or vacuum first Start with a broom, dust mop, or vacuum to pull up everything loose before any liquid touches the floor. A microfiber dust mop works well on hardwood and vinyl because it captures fine particles without scratching the finish. On tile, a stiff-bristled broom or a vacuum with a hard floor setting both work well. Go over the entire floor in overlapping passes so you don’t leave strips of debris behind. A vacuum with a hard floor setting picks up more fine grit than a broom alone, especially inside textured tile grout lines. Pay attention to edges and corners Debris collects most heavily along baseboards, under appliance edges, and in tight corners where foot traffic pushes it throughout the day. Run your broom or vacuum attachment along every wall and under any appliances you can reach without straining. Pet hair, crumbs, and dust pile up in these spots fast. Spending an extra minute on these areas now prevents gritty residue from working back into the center of your floor during mopping. Step 2. Cut grease and mop the right way Grease is the defining challenge of kitchen floors. Cooking splatter, drips from stovetops, and oily foot traffic leave a film that traps dirt and makes floors look dull even after sweeping. The key to knowing how to clean kitchen floors effectively is breaking down grease before you mop, not just pushing wet water around. Mix the right cleaning solution Your cleaning solution does most of the work. For most kitchen floors, a few drops of dish soap in warm water cuts grease without leaving residue. For tile and vinyl, add half a cup of white vinegar per gallon of water to boost cleaning power. Avoid this on hardwood or stone since the acidity damages the finish. For hardwood and natural stone, stick to a pH-neutral cleaner specifically labeled for those surfaces. Here are the three most useful mixes: Tile and vinyl: 1/2 cup white vinegar + 1 tsp dish soap + 1 gallon warm water Hardwood and laminate: pH-neutral floor cleaner + warm water per label directions General grease buildup: 1 tsp dish soap + 1 gallon warm water Mop from the back wall to the door Always work from the farthest corner toward the exit so you never step onto a clean section. Wring your mop until it’s barely damp, especially on wood and laminate. Change your bucket water when it turns gray rather
Expert Spring Cleaning Services NYC: Your 2026 Guide to a Fresh Home

Did you know that 68% of people embarking on a seasonal refresh this year are doing it to improve their mental health rather than just for…
Stop Spending Your Weekends Scrubbing: Is Professional House Cleaning Worth It In Long Beach, Glen Cove, And Medford?

Does Your Home Actually “Feel” Clean? 5 Signs You Need a Deep Cleaning Service
Spotless Spaces: Why Our Maid Service is the Top Choice Across Long Island, NY

What Are Janitorial Services? What’s Included And What’s Not
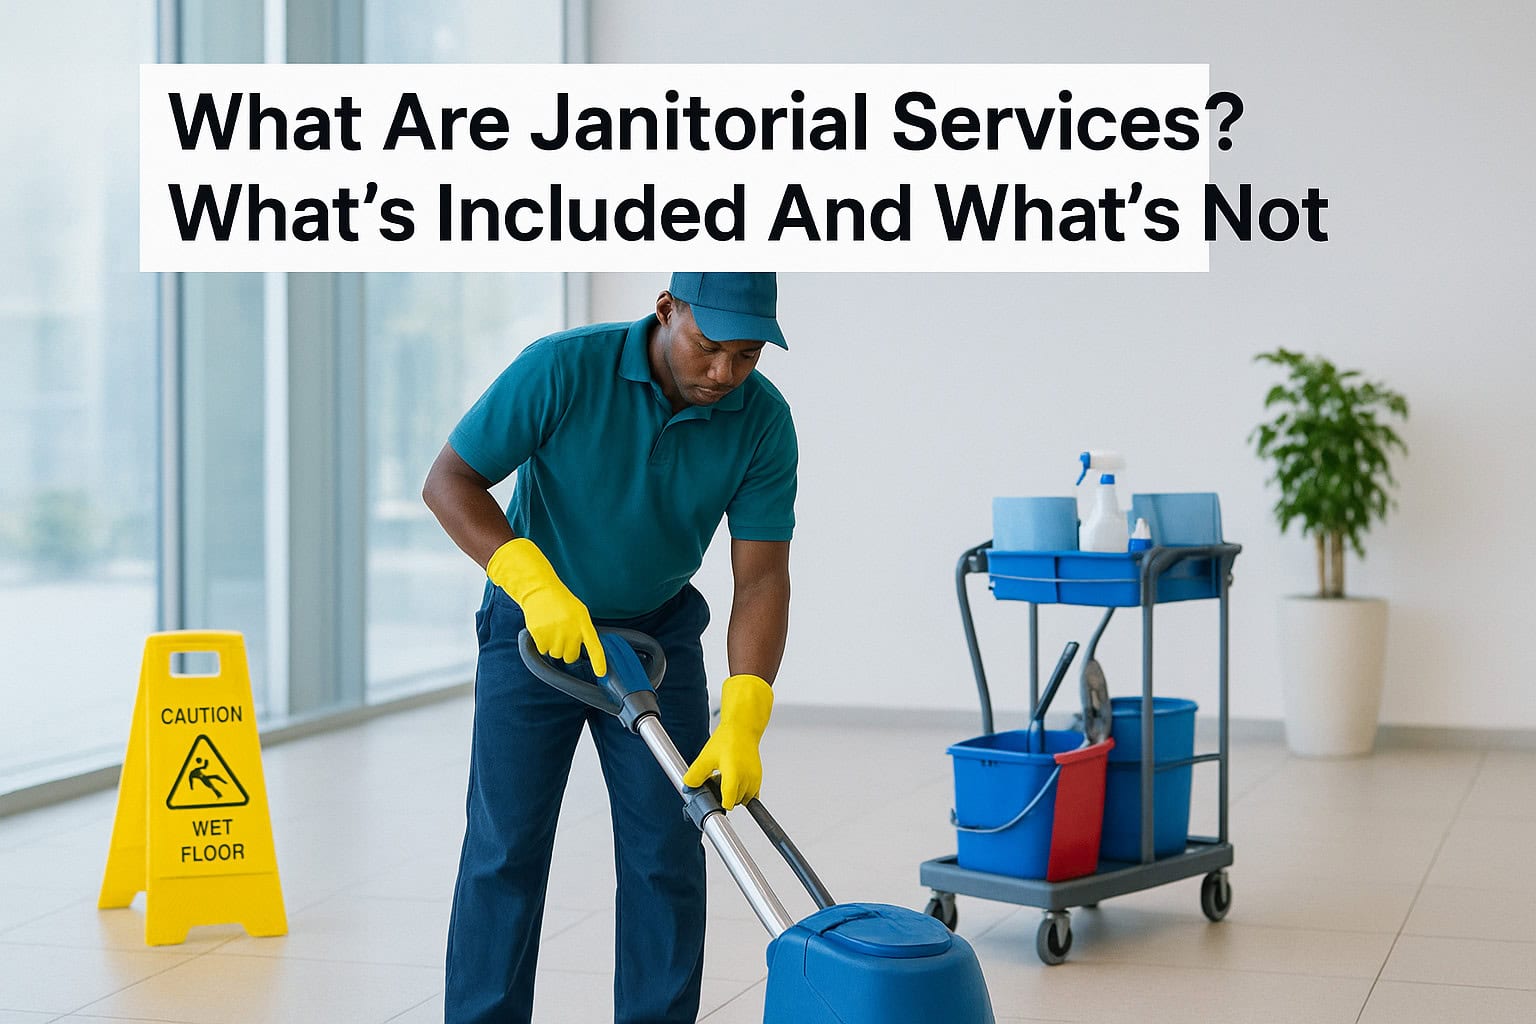
If you’ve ever searched for help keeping an office, building, or commercial space clean, you’ve probably come across the term "janitorial services", and wondered what exactly that covers. It’s a fair question. The term gets thrown around loosely, and it’s often confused with deep cleaning, commercial cleaning, or general maintenance. They’re not all the same thing. Janitorial services refer to the routine, recurring tasks that keep a space functional, sanitary, and presentable on a daily or weekly basis. Think trash removal, restroom sanitizing, floor care, and surface wiping, the work that prevents a building from falling into disrepair between deeper cleans. At AlphaLux Cleaning, we handle these tasks across New York State for both homes and businesses, so we know firsthand where janitorial work ends and other services begin. This article breaks down exactly what janitorial services include, what falls outside their scope, and how to tell whether they’re what your space actually needs. Why janitorial services matter for businesses A clean workspace isn’t just about appearances. Cleanliness directly affects employee health, productivity, and how clients perceive your business. When you understand what are janitorial services and how they function in a commercial setting, you start to see them less as an optional expense and more as a baseline operational requirement. A consistently maintained space tells clients and employees that you take your work, and their wellbeing, seriously. The health and productivity connection Poor cleaning practices lead to higher rates of illness and absenteeism among your staff. Shared surfaces like doorknobs, keyboards, and break room counters are breeding grounds for bacteria and viruses. Regular sanitizing and disinfecting, which janitorial crews handle on a scheduled basis, reduces the spread of germs and keeps your team at work instead of out sick. The CDC recognizes that workplace cleanliness plays a measurable role in reducing the transmission of common illnesses. A single sick day costs an employer more than most people expect, once you factor in lost output, coverage costs, and disruption to workflow. The impression your space makes Your space communicates before anyone says a word. Dirty floors, overflowing trash cans, and stained restrooms signal to clients that details don’t matter to you, and that’s a difficult impression to reverse once it’s formed. For businesses that rely on foot traffic or regular client meetings, the stakes are especially high. Consistent janitorial service ensures your space always looks controlled and professional, whether someone visits on Monday morning or Friday afternoon. That reliability isn’t a luxury for most businesses; it’s a basic competitive requirement that protects your reputation and keeps your environment functional for the people who use it every day. What janitorial services include When you break down what are janitorial services at their core, you find a set of recurring, scheduled tasks designed to keep a space clean and functional on a regular basis. These are not one-time projects. Janitorial work runs on a routine, whether that’s daily, several times a week, or weekly, depending on the size and traffic of your space. Daily and routine tasks Most janitorial contracts cover the work your building needs done consistently. Trash and recycling removal is almost always part of the package, along with restroom cleaning and restocking supplies like soap, paper towels, and toilet paper. Crews also handle floor care, including sweeping, mopping, and vacuuming common areas, hallways, and workspaces. Restrooms are often the clearest indicator of how seriously a building takes cleanliness, and janitors are responsible for keeping them sanitary every single day. Surface and common area upkeep Wiping down surfaces like desks, counters, and shared equipment is another standard janitorial task. Break rooms and kitchens typically get cleaned as part of a routine visit too, covering sinks, countertops, and appliances like microwaves. Lobby areas and entryways receive regular attention to ensure your building’s first impression stays clean and professional. What janitorial services usually do not include Understanding what are janitorial services also means knowing their limits. Janitorial work covers routine upkeep, but several tasks fall clearly outside that scope. Knowing the boundary upfront helps you avoid gaps in your cleaning plan and set accurate expectations with any provider you hire. Deep cleaning and specialty tasks Janitorial crews maintain surfaces; they don’t restore them. Carpet deep cleaning, tile and grout scrubbing, window washing, and pressure washing are typically separate services that require specialized equipment and more labor-intensive effort. Post-construction cleanup and move-out cleans also fall outside a standard janitorial contract, since they involve a level of detail that goes well beyond routine maintenance. If your space hasn’t had a deep clean in months, schedule one before starting a janitorial routine so your crew maintains a clean baseline rather than working around buildup. Repairs and building maintenance Janitors clean and maintain cleanliness; they do not fix things. Replacing burned-out light bulbs, repairing plumbing, patching walls, or servicing HVAC systems falls under building maintenance, not janitorial work. If you notice a leaking faucet or broken fixture during a janitorial visit, that issue needs to go to a maintenance team or property manager separately. Janitorial vs commercial cleaning and maintenance These three terms get used interchangeably, but they describe different scopes of work. Understanding the distinction helps you avoid coverage gaps and set the right expectations before you hire anyone. Janitorial vs commercial cleaning Janitorial service covers routine, recurring maintenance on a consistent schedule. Commercial cleaning refers to larger, project-based work like post-construction cleanup, deep carpet extraction, or full-building window washing. When people ask what are janitorial services versus commercial cleaning, the simplest answer is frequency: janitorial work happens regularly, while commercial cleaning tackles intensive jobs that restore a space to a higher baseline. Treat them as separate contracts, or clearly define each scope within a single agreement to avoid gaps in coverage. Janitorial vs building maintenance Building maintenance covers the physical systems of your property, including plumbing, electrical, HVAC, and structural repairs. Janitorial work focuses entirely on cleanliness, not on fixing broken systems or infrastructure. Confusing the two creates situations where neither team takes
Commercial Cleaning for Schools in Long Island: A Health-First Approach for 2026
What if the most effective tool for improving your school’s attendance rates isn’t a new curriculum, but a more meticulous approach to your…