Organic House Cleaning Services in Brooklyn: The Ultimate Guide for a Healthier Home

Your Brooklyn apartment might be harboring more than just memories. According to a 2023 report from the New York State Department of Health, indoor air in urban environments often contains pollutant levels two to five times higher than outdoor air. You likely already know that keeping a home spotless in NYC is a constant battle against soot and street dust. It’s frustrating when the very products you use to sanitize your space leave behind harsh chemical residues that trigger allergies or irritate your family’s skin. We understand that you want a home that doesn’t just look clean; it should feel truly safe. By choosing professional organic house cleaning services brooklyn families can eliminate these hidden toxins and create a sanctuary that supports their long-term well-being. This guide explores how non-toxic methods neutralize urban pollutants, explains why specialized green techniques can reduce indoor allergens by up to 90 percent, and shows you how to reclaim your weekend with total peace of mind. Discover how a meticulous, eco-friendly approach transforms your living space into a healthy haven where you can finally focus on what matters most. Key Takeaways Understand why Brooklyn’s urban density makes non-toxic, plant-based cleaning essential for maintaining superior indoor air quality and family health. Discover the science of organic ingredients and how natural surfactants like citric acid outperform harsh petroleum-based chemicals. Learn how specialized organic house cleaning services brooklyn residents trust can preserve historic architectural details like original woodwork and crown molding. Master our 5-point vetting checklist to ensure your cleaning partner provides full ingredient transparency and comprehensive insurance coverage. Explore the AlphaLux philosophy of creating a sanctuary that doesn’t just look spotless, but truly feels clean and restorative. Table of Contents Why Organic House Cleaning Services in Brooklyn are Essential in 2026 Decoding ‘Non-Toxic’ and ‘Organic’: What Actually Goes Into Your Home? The Organic Advantage for Brooklyn’s Unique Architecture Choosing Your Brooklyn Cleaning Partner: A 5-Point Vetting Checklist AlphaLux Cleaning: Brooklyn’s Trusted Choice for Organic Excellence Why Organic House Cleaning Services in Brooklyn are Essential in 2026 Organic house cleaning services brooklyn have evolved from a niche luxury into a fundamental health requirement. By 2026, the definition of a clean home has shifted significantly. It’s no longer just about a lack of visible clutter; it’s about a holistic environment maintained with plant-based, biodegradable ingredients. Green cleaning practices ensure that every surface is treated with precision and care, removing the risk of chemical residues that linger in your living space. This approach prioritizes the long-term well-being of your family over the temporary convenience of harsh chemicals. Brooklyn’s unique urban landscape demands this specialized approach. With a population density exceeding 36,000 residents per square mile, indoor air quality is a constant challenge for locals. Fine particulate matter, often called street soot, and dust from the 42 major construction projects currently active across the borough infiltrate even the most modern apartments. Traditional cleaning often just moves these pollutants around or masks them with artificial scents. AlphaLux focuses on health-focused sanitization that actually removes these irritants. With our service, your home doesn’t just look clean. It feels clean. The Health Impact of Traditional vs. Organic Products Standard household cleaners often contain Volatile Organic Compounds (VOCs) that degrade indoor air quality. In neighborhoods like Park Slope and Brooklyn Heights, where 2025 census data shows a 12% increase in households with young children, the move toward non-toxic alternatives is driven by a need to reduce respiratory irritation. Organic cleaning eliminates the harsh fumes that can trigger asthma or allergies. By choosing plant-based solutions, families see a measurable difference in their home environment, including: Reduced VOC Exposure: Eliminating synthetic fragrances that linger for days. Improved Respiratory Health: Lowering the presence of airborne irritants in confined urban spaces. Safe Surfaces: Ensuring floors and countertops are safe for pets and toddlers who spend time close to the ground. Sustainability in the Heart of Kings County Choosing organic services also protects the local ecosystem. Every gallon of chemical cleaner used eventually impacts the New York City water system and the surrounding harbor. AlphaLux utilizes concentrated formulas and biodegradable packaging to minimize this chemical footprint. Our commitment to environmental stewardship means providing a professional, reliable service that respects both your home and the heart of Kings County. We believe that a spotless home should not come at the cost of the planet. This dedication to sustainability provides our clients with the peace of mind that their lifestyle choices support a greener, healthier Brooklyn for everyone. Decoding ‘Non-Toxic’ and ‘Organic’: What Actually Goes Into Your Home? Labels in the cleaning industry are often intentionally vague, leaving homeowners to guess what remains on their surfaces after a service leaves. A true organic clean relies on transparent, food-grade ingredients like citric acid for mineral deposits, baking soda for gentle abrasion, and pure essential oils for natural antimicrobial properties. Unlike petroleum-based detergents that can linger in your indoor air and water systems, plant-based surfactants break down safely. These surfactants lower the surface tension of water, allowing it to lift dirt and oils without leaving a film of synthetic residue behind. Choosing these alternatives protects more than just your floors. Understanding the dangers of cleaning chemicals is vital for anyone spending time in a freshly scrubbed room, as traditional solvents can irritate the lungs and skin. Premium organic house cleaning services brooklyn prioritize your respiratory health by strictly avoiding “fragrance,” a catch-all term that often hides phthalates. We focus on fragrance-free options or scents derived strictly from plants to ensure sensitive Brooklyn households breathe easy. The hardware used during the process is just as important as the solutions. Professional services utilize HEPA (High-Efficiency Particulate Air) filtration vacuums that trap 99.97% of particles as small as 0.3 microns, including pollen and pet dander. When combined with split-fiber microfiber technology, which physically removes bacteria rather than just spreading it around, your home reaches a level of purity that traditional cotton mops simply cannot achieve. Standard Certifications to Look For Look for the Green Seal or
Zerorez Carpet Cleaning: Process, Cost, Reviews & Dry Time
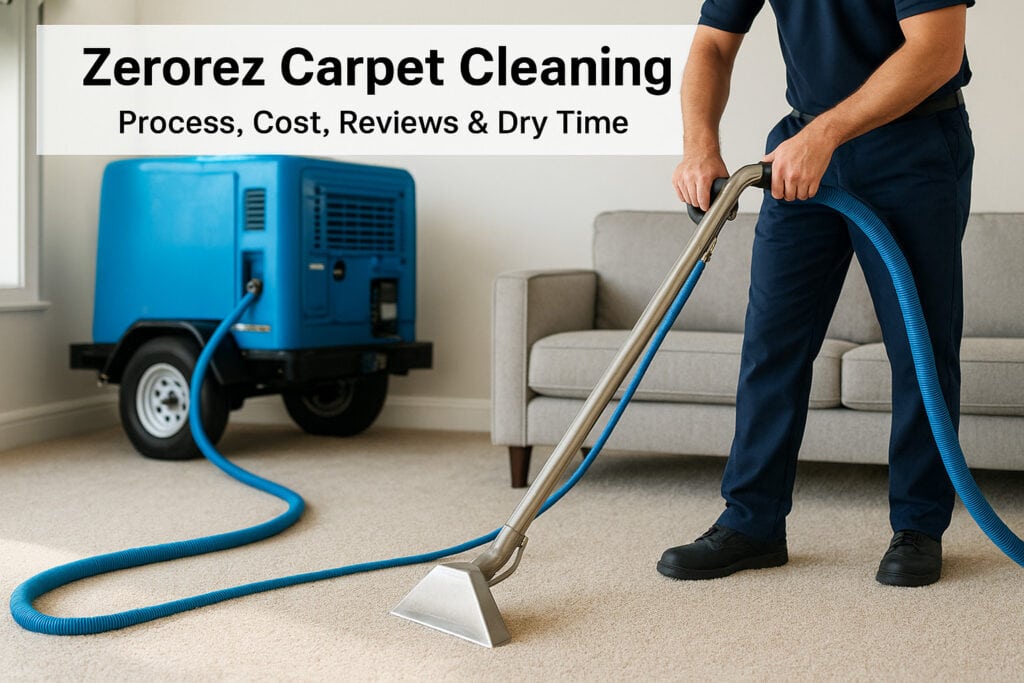
If you’ve been researching professional carpet care, there’s a good chance you’ve come across Zerorez carpet cleaning. Known for its patented water-based cleaning technology and "no residue" promise, Zerorez has built a reputation that gets homeowners talking, and Googling. But does the process actually live up to the hype, and is it worth the price tag? Those are fair questions, especially when you’re trusting someone to clean surfaces your family walks, sits, and plays on every day. At AlphaLux Cleaning, we provide professional cleaning services across New York State using eco-friendly, non-toxic products, so we understand firsthand why clients care deeply about what methods and chemicals touch their homes. That shared priority is exactly why we put this guide together. Whether you’re comparing Zerorez to other options or just trying to understand how their system works, you deserve clear, honest information before booking anything. Below, we’ll break down Zerorez’s cleaning process step by step, cover realistic pricing, look at what actual customers are saying in reviews, and answer one of the most common questions: how long does it take carpets to dry? By the end, you’ll have everything you need to decide whether Zerorez is the right fit, or whether a different professional cleaning approach might serve you better. What Zerorez carpet cleaning is Zerorez is a franchise-based professional carpet cleaning company that operates across the United States. Their flagship service uses a treated water solution instead of harsh detergents or soap-based chemicals. The core promise is straightforward: clean carpets without leaving behind residue that attracts more dirt over time, which is the main complaint people have with many traditional carpet cleaning methods. The technology behind Zr Water Their technology centers on a patented water treatment process that transforms regular tap water into an alkaline cleaning solution. The process uses electrolysis to raise the pH of the water, giving it enough cleaning power to break down oils, dirt, and organic matter in carpet fibers without any detergents. The result is what Zerorez calls Empowered Water, or "Zr Water," and it’s the foundation of their entire cleaning approach. What makes this worth understanding is that standard carpet cleaning shampoos often leave a soapy film behind in your carpet fibers after the job is done. That film acts like a magnet for dust and debris, meaning carpets can look dirty again faster than you’d expect. Zerorez’s argument is that by skipping the detergent entirely, your carpets stay cleaner longer because there’s nothing left in the fibers to trap new dirt. Using treated water instead of surfactant-heavy soaps is a genuinely different approach, and it’s one reason Zerorez has developed a loyal customer base over the years. What "no residue" actually means The "no residue" claim is central to how Zerorez positions itself. Traditional carpet cleaning methods, especially steam cleaning with chemical solutions, can leave behind soap residue or cleaning agents sitting in the fibers. Over weeks or months, that buildup leads to carpets that look dull or feel stiff in high-traffic areas, even after a professional clean. Zerorez positions its Zr Water as a solution that rinses away completely because it contains no soap compounds that bind to fibers. Independent testing has shown that low-residue or residue-free cleaning methods can help maintain carpet appearance longer between professional cleanings, though results vary depending on fiber type, carpet age, and the amount of daily foot traffic your space sees. Who Zerorez serves and where they operate The brand operates as a franchise system, meaning independently owned locations serve specific metro areas across the country. The quality and responsiveness of your experience can vary depending on which local franchise covers your area. Before booking, verify that a Zerorez location actually services your city or zip code, since not every part of the country is covered. Beyond carpets, many Zerorez franchise locations also offer tile and grout cleaning, upholstery cleaning, air duct cleaning, and area rug cleaning. So while carpet is the primary draw, some customers use the same provider for multiple surfaces in a single visit. Availability of those add-on services depends entirely on the local franchise and the equipment they have on hand. How the Zerorez carpet cleaning process works When a Zerorez technician arrives at your home, the job follows a structured sequence of steps rather than a one-size-fits-all spray-and-vacuum approach. Understanding each phase helps you know what to expect on the day of your appointment and ensures you can prepare your space properly ahead of time. Pre-inspection and pre-treatment The technician begins by walking through your space to assess carpet condition, identify high-traffic zones, and flag any stains that need special attention before the main cleaning starts. You should point out specific problem areas right away because doing so helps the tech target those spots with a pre-treatment solution before the Zr Water application begins. After the walkthrough, they apply a pre-spray to any heavily soiled areas or set-in stains. This loosens debris embedded deep in the carpet pile, giving the main extraction step a better chance of pulling that material fully out of the fibers rather than just agitating it on the surface. Zr Water application and extraction This is the core step where zerorez carpet cleaning actually separates itself from traditional methods. The technician uses a wand-style applicator connected to a truck-mounted system to push Zr Water into the carpet fibers under pressure, driving the treated water deep into the pile and breaking down oils and organic matter at the fiber base rather than just on the surface. The truck-mounted extraction system generates strong suction, pulling out both the loosened dirt and the majority of the moisture in a single pass. Because no soap compounds are involved, the water leaving the fibers takes the contaminants with it cleanly instead of leaving a soapy film behind. That difference is why Zerorez customers often report their carpets staying cleaner for longer between professional cleanings. Grooming and finishing Once extraction finishes, the technician runs a carpet rake or grooming tool through the
Airbnb Cleaning Fee Calculator: How to Set the Perfect Rate in 2026

What if the cleaning fee you charge is actually the reason your 2026 occupancy rates are dipping? It’s a delicate balance; set it too high and guests…
6 Tips For Finding Fast Post Construction Cleaning Near Me
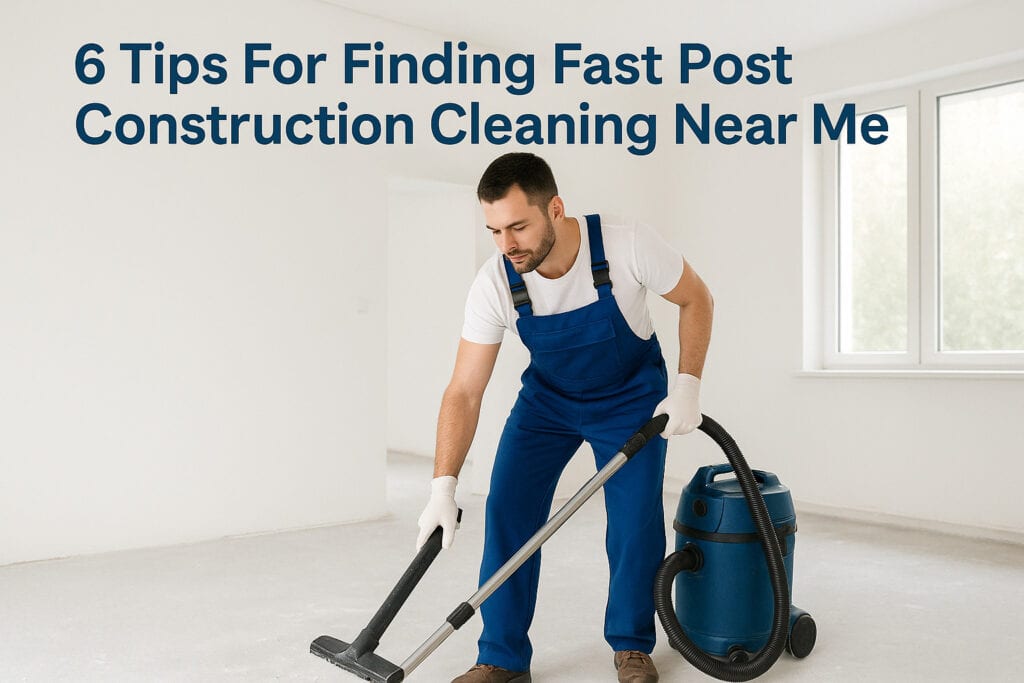
You’ve survived the renovation, the dust, the noise, the weeks of living around construction chaos. Now the work is done, but your space looks nothing like the finished result you pictured. Drywall dust coats every surface, paint splatters dot the floors, and there’s a fine layer of grit on things you didn’t even know could get dirty. That’s the moment most people grab their phone and search for post construction cleaning near me, hoping to find a crew that can handle the job quickly and thoroughly. The problem is, not every cleaning company is equipped for post-construction work. It’s a specialized type of deep clean that goes far beyond a standard wipe-down, requiring the right tools, products, and know-how to remove stubborn construction residue without damaging new finishes. At AlphaLux Cleaning, we help homeowners and businesses across New York get their newly built or renovated spaces move-in ready, using eco-friendly products and trained, vetted professionals who understand exactly what post-construction cleanup demands. We’ve seen firsthand what separates a great post-construction cleaning experience from a frustrating one. Below, we’re sharing six practical tips to help you find the right service fast, so you can finally enjoy your space the way it was meant to look. 1. Check AlphaLux Cleaning availability first When you’re searching for post construction cleaning near me, the fastest path to a clean space is contacting a service that already knows your area, understands the scope of construction cleanup, and can move quickly. AlphaLux Cleaning serves homeowners and businesses across New York, and checking our availability first saves you from the frustrating back-and-forth of vetting multiple companies from scratch, only to find out none of them can fit you in for two weeks. What to do Start by visiting alphaluxcleaning.com and using the online booking tool to check available time slots and request a free estimate. Describe the space, the type of construction completed, and how soon you need the job done. Getting this request in early, even before your contractor finishes the final walkthrough, means you won’t lose days waiting on scheduling while dust settles further into your floors and fixtures. What to ask When you reach out, ask AlphaLux specifically about post-construction availability in your part of New York and what the estimated turnaround looks like given your project size. Also ask whether the crew assigned to your job has direct experience with construction cleanup, not just standard residential or commercial cleaning. That distinction matters when dealing with drywall dust, adhesive residue, and fine debris that require a completely different approach than routine maintenance work. The sooner you contact your cleaning service, the more scheduling flexibility you’ll have, especially during busy renovation seasons when availability tightens fast. What to watch for Pay close attention to how quickly a company responds to your initial inquiry. Slow communication at the booking stage is a reliable signal of how the actual job will go. With AlphaLux, you should expect a prompt, clear response that confirms your service window, outlines what the crew will cover, and gives you a realistic picture of timing. If any company is vague about availability or delays your quote without explanation, that’s a sign to keep looking. 2. Confirm they handle true post-construction cleaning Not every cleaning company that shows up in a post construction cleaning near me search actually specializes in this type of work. Many general cleaning services offer it as an add-on without the proper training or equipment to do it well. Before you book anyone, confirm that post-construction cleaning is a core part of what they do, not just a checkbox on their service list. What to do Ask the company to walk you through their specific post-construction cleaning process before you commit. A crew experienced in construction cleanup should describe a multi-phase approach that includes removing bulk debris, addressing fine dust on every surface, cleaning inside cabinets and vents, and polishing new fixtures without scratching them. If their description sounds identical to a standard deep clean, they likely lack the specialized knowledge this job requires. Post-construction cleaning is a distinct service that involves techniques and tools you won’t find in routine residential or commercial cleaning work. What to ask Ask directly: "How many post-construction jobs have you completed in the past six months?" A company with real experience can answer quickly and give you a rough number. Also ask what products they use on new surfaces like fresh grout, painted walls, or sealed floors, since the wrong cleaner can permanently damage finishes. What to watch for Watch for vague language like "we handle all types of cleaning." That phrase tells you nothing. A qualified crew will speak specifically about construction dust containment, adhesive removal, and final polish procedures without prompting. 3. Lock in speed with scheduling and access details Even when you find a qualified crew for post construction cleaning near me, poor planning around scheduling and site access can delay your job by days. Confirming the logistics upfront is just as important as choosing the right company. What to do Coordinate with your contractor and cleaning crew at the same time so the handoff goes smoothly. Confirm the construction team has fully cleared the site before your cleaning crew arrives, since overlapping schedules create safety risks and slow everyone down. Before the cleaning day, have these access details ready: Entry codes or key drop location Parking instructions for the crew’s vehicle Elevator reservations for multi-floor properties What to ask Ask the cleaning company how much lead time they need to confirm a crew and bring the right equipment. A clear, specific answer tells you a lot about how organized they actually are. Also ask whether the site needs to be debris-free before they arrive, or if light debris removal is part of their scope. Confirming site access details before the scheduled day eliminates the most common cause of last-minute delays in post-construction cleaning jobs. What to watch for Watch for companies that are vague about the actual arrival
How Often to Get a Deep Clean: The 2026 Guide to a Pristine Home

What if the persistent allergies and that nagging feeling of a “never-quite-clean” home aren’t due to your daily chores, but to the 40 pounds of dust…
Window Screen Care: How To Clean Window Screens Like New
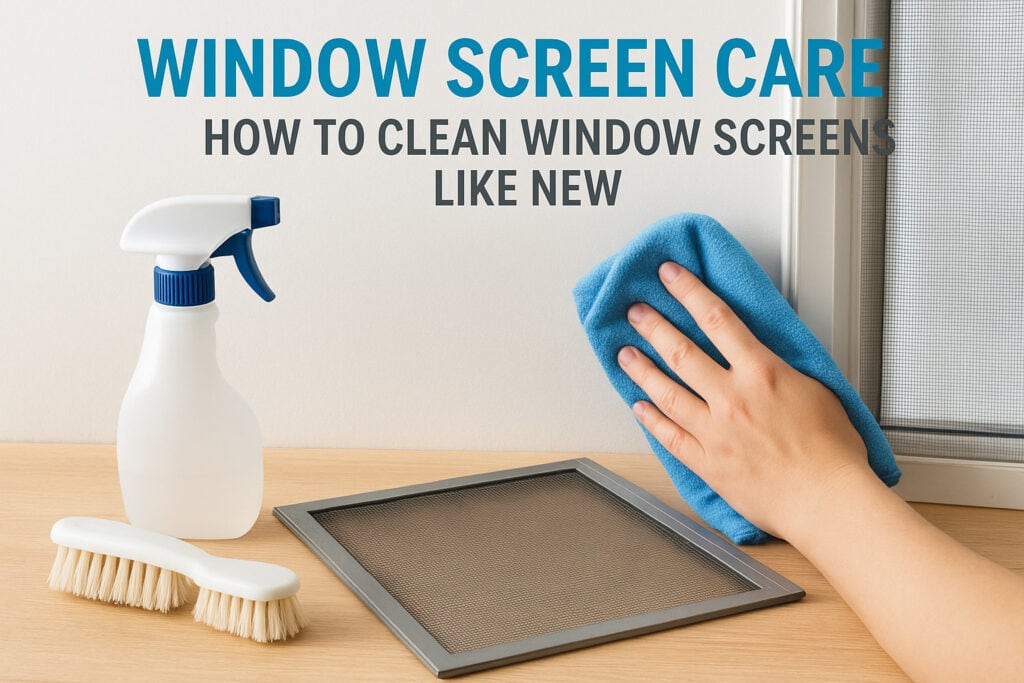
Dirty window screens do more than block your view, they trap dust, pollen, and grime that eventually circulate through your home every time a breeze passes through. Knowing how to clean window screens the right way keeps your indoor air cleaner and your windows looking sharp. Yet most people either skip this task entirely or approach it with methods that risk damaging the mesh. Whether you want to pull the screens out for a thorough scrub or need a quick method that works while they stay in place, this guide covers both approaches with clear, step-by-step instructions. At AlphaLux Cleaning, we handle window and deep-cleaning tasks like these across New York State every day, and our team knows exactly what works, and what doesn’t. Below, we’re sharing the same techniques our professionals rely on so you can get your screens looking like new on your own schedule. What to do before you start Rushing into the task without a plan wastes time and risks damaging your screens before you even get them clean. Taking five minutes to prepare sets you up so the whole process of how to clean window screens runs without interruptions or costly mistakes down the road. A torn or bent screen costs far more to replace than it ever costs to clean, so a little preparation goes a long way. Gather your supplies You likely have most of what you need at home already. Pull everything together before you start so you are not stopping mid-task to search for a missing brush or cloth. Here is what to collect: Soft-bristle brush or microfiber cloth for scrubbing without tearing the mesh Bucket or utility tub A few drops of mild dish soap Garden hose or shower attachment Dry microfiber towels Marker or masking tape for labeling each screen Pick the right conditions Warm, low-humidity days are ideal for this task because screens air-dry quickly and you have enough outdoor space to lay them flat. Avoid cleaning screens right before rain, since wet mesh that goes back into the frame can trap moisture and encourage mold growth along your window edges. Your indoor option is the bathtub or a utility sink, which works fine on rainy days. Just plan for longer drying time and run a fan or open nearby windows to speed things up before reinstalling each screen. Step 1. Prep, label, and inspect each screen Before you touch a single screen, take a moment to organize your approach. Most windows look similar, and mixing screens up during reinstallation leads to poor fits and gaps that let insects in. A quick prep routine also reveals any screens that need repair or replacement before you waste time cleaning them. Label each screen before removal Pull out a strip of masking tape and mark each screen with its window location, for example "kitchen left" or "bedroom south." Stick the tape to the frame edge, not the mesh, so it stays put through the whole cleaning process. Labeling takes less than two minutes and saves you the frustration of trial-and-error reinstallation later. Check for damage before washing Run your fingers lightly along the mesh and frame to spot tears, holes, or bent corners before you start scrubbing. Washing a damaged screen can make small tears worse. Note any problems now so you can decide whether to repair or replace that screen before moving forward with the rest of the job. Step 2. Deep clean screens after you remove them Once your screens are labeled and inspected, lay them flat on a clean surface like a patio, driveway, or bathtub. A flat surface keeps the mesh from bending or stretching while you work, which is the most important setup step when learning how to clean window screens without causing new damage in the process. Wash, scrub, and rinse each screen Fill your bucket with warm water and a few drops of mild dish soap. Dip your soft-bristle brush into the solution and scrub both sides of the mesh using gentle circular motions, working from top to bottom. Do not press hard; let the soapy water do the work for you. Scrubbing too aggressively tears mesh fibers, so keep your pressure light and consistent throughout. Rinse each screen thoroughly with a garden hose on a low-pressure setting or a showerhead attachment. Hold the screen upright so water runs straight through the mesh rather than pooling inside the frame and soaking into the spline groove. Step 3. Clean screens without removing them Sometimes removing every screen is not realistic, especially in upper-floor windows or when you need a fast result. This in-place method covers how to clean window screens efficiently without pulling them out, and it works well for light to moderate buildup between your deeper seasonal cleanings. Work from top to bottom Start by using a dry microfiber cloth or a lint roller to knock loose dust off the mesh from the inside of your home. Then mix a small amount of mild dish soap with warm water in a spray bottle. Spray the solution directly onto the screen and scrub gently with a soft brush, moving from the top edge down toward the bottom. Wipe away loosened dirt with a damp cloth rather than rinsing, since water running inside can damage your windowsill. Finish by pressing a dry towel firmly against the mesh on both sides to pull out moisture, then leave the window open so the screen air-dries completely before you close it. Step 4. Dry, reinstall, and clean tracks and frames Getting your screens fully dry before reinstallation is just as important as the wash itself. Wet screens pushed back into the frame trap moisture that breeds mold along the window edge over time. Give each screen at least 30 minutes of upright air-drying time so both sides get adequate airflow before you bring them back inside. Clear the tracks before sliding screens back in Before you reinstall anything, run a damp microfiber cloth or an old toothbrush
Commercial Cleaning for Retail Stores in NYC: The 2026 Guide to a Spotless Brand Image
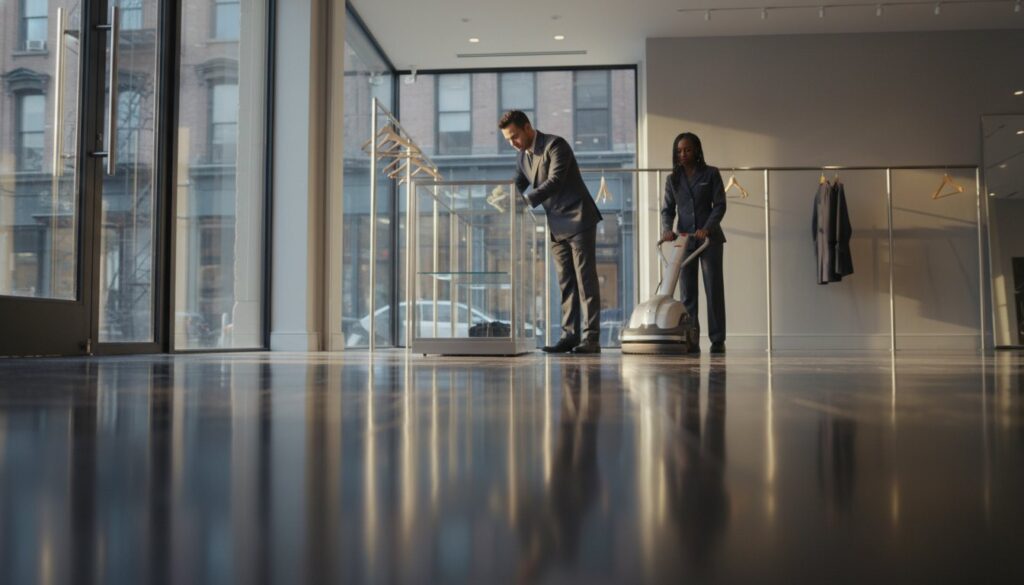
On a brisk Tuesday morning in SoHo, a boutique owner unlocks her doors only to find the previous night’s slush has dried into stubborn, white salt…
Shower Cleaning: How To Clean A Shower (Tiles, Glass, Head)
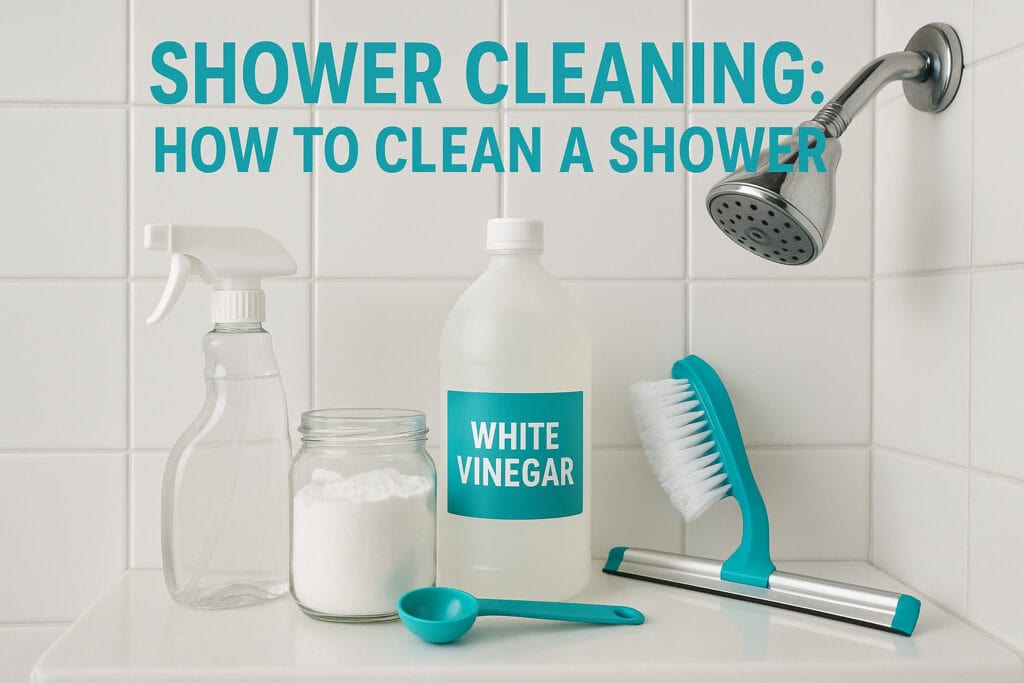
A grimy shower isn’t just unpleasant to look at, it’s a breeding ground for mold, mildew, and bacteria that can affect your health. Soap scum builds up on glass doors, hard water stains crust over tiles, and grime collects around the drain faster than most people realize. Knowing how to clean a shower properly makes a real difference, not just for appearance, but for the overall hygiene of your bathroom. At AlphaLux Cleaning, we handle showers in homes and businesses across New York every single day. Our team has seen every level of buildup, from light weekly dust to years of neglected grime, and we’ve dialed in the methods that actually work. We’re sharing that hands-on knowledge here so you can tackle your shower with confidence, whether you prefer DIY solutions or store-bought products. This guide walks you through cleaning every part of your shower step by step: tiles and grout, glass doors, the shower head, and the drain. You’ll also find maintenance tips to keep things cleaner between scrubs. And if you’d rather skip the elbow grease entirely, our professional cleaning team is always just a booking away. What you need before you start Gathering your supplies before you start saves time and keeps you from stopping mid-clean to hunt something down. Learning how to clean a shower properly starts here, with having the right cleaning solutions and the right tools on hand before you touch a single surface. Cleaning solutions You have two solid options: store-bought cleaners or DIY solutions you can mix at home. Both work well when applied correctly. For everyday soap scum and light grime, a spray bottle filled with equal parts white vinegar and water cuts through buildup without harsh chemicals. For tougher stains and mold, a hydrogen peroxide solution (3%) or a commercial tile-and-grout cleaner gives you more power. Baking soda works as a gentle abrasive when you need to scrub grout lines without scratching tile surfaces. Never mix bleach and vinegar together. Combining these two common cleaners produces chlorine gas, which is dangerous in an enclosed space like a shower. Cleaning Task Recommended Solution Soap scum on glass White vinegar + water (1:1) Tile and grout stains Baking soda paste or commercial grout cleaner Mold and mildew Hydrogen peroxide (3%) or diluted bleach Hard water deposits Vinegar soak or commercial descaler Shower head buildup White vinegar soak Tools and protective gear Having the right tools makes every part of the job faster and more effective. You don’t need a professional kit, but a few basics are non-negotiable. Make sure you have rubber gloves to protect your hands from cleaning solutions, especially when working with bleach or strong commercial products. A stiff-bristled grout brush handles tile lines, while a microfiber cloth takes care of glass and chrome fixtures without leaving scratches. Here’s what to pull together before you start: Rubber gloves Safety glasses (for bleach or strong cleaners) Spray bottle Stiff-bristled grout brush Old toothbrush (for tight corners and caulk lines) Microfiber cloths or non-scratch scrub pads Squeegee Bucket Step 1. Prep the shower and work safely Before you apply a single cleaner, take two minutes to prep the space. Skipping this step leads to slower cleaning and, more importantly, avoidable safety risks. Proper preparation is a core part of knowing how to clean a shower effectively and without cutting corners. Clear the shower space Remove everything from the shower: shampoo bottles, soap bars, razors, loofahs, and any caddies or shelves. Set them on a towel outside the shower. This gives you full access to every surface you need to scrub, and it keeps your products from getting soaked in cleaning solution. Once the shower is empty, do a quick warm water rinse of the walls and floor to loosen any loose soap residue before you start applying cleaners. Ventilate the area Turn on the bathroom exhaust fan and crack a window if you have one. Cleaning products, even milder ones like vinegar, can irritate your nose and throat in a small, enclosed space. Put on your rubber gloves and safety glasses before you open any cleaning product. If you’re using bleach-based products, ventilation is not optional. Breathing bleach fumes in a closed bathroom causes real respiratory irritation. Once the space is clear and the air is moving, you’re ready to start scrubbing surfaces. Step 2. Clean shower walls, tile, and grout Tile and grout take the most abuse in any shower. Soap scum, hard water stains, and mildew work their way into grout lines over time, making them the most stubborn surfaces when learning how to clean a shower. Always start at the top of the walls and work your way down so runoff doesn’t re-dirty areas you’ve already scrubbed. Apply cleaner to the tile and grout lines Spray your chosen cleaner across the entire wall surface, covering all tile and grout lines thoroughly. For heavy buildup, apply a baking soda paste directly to grout lines by mixing baking soda with just enough water to form a thick consistency. Let the cleaner sit for five to ten minutes so it breaks down soap scum and mineral deposits before you start scrubbing. Give the cleaner time to work. Wiping immediately after spraying reduces its effectiveness significantly. Scrub the surfaces and rinse Use your stiff-bristled grout brush to scrub grout lines in short, firm back-and-forth strokes. Switch to a non-scratch scrub pad for the tile faces to remove soap scum without scratching the surface. Once you’ve scrubbed every section, rinse the walls with warm water from top to bottom. Follow this sequence for the best result: Scrub grout lines first with the grout brush Scrub tile faces with a non-scratch pad Rinse from top to bottom with warm water Wipe down with a microfiber cloth to remove excess moisture Step 3. Clean glass doors, fixtures, and shower head Glass doors and chrome fixtures are where soap scum and hard water deposits show up most visibly. This part of knowing how to clean a
Move Out Cleaning Requirements for Apartments: The 2026 Security Deposit Guide
Imagine handing over your keys on June 30th, only to receive a $450 deduction from your security deposit for a dusty ceiling fan you haven’t touched…
8 Best Steam Mop For Tile Floors: 2026 Buyer’s Guide
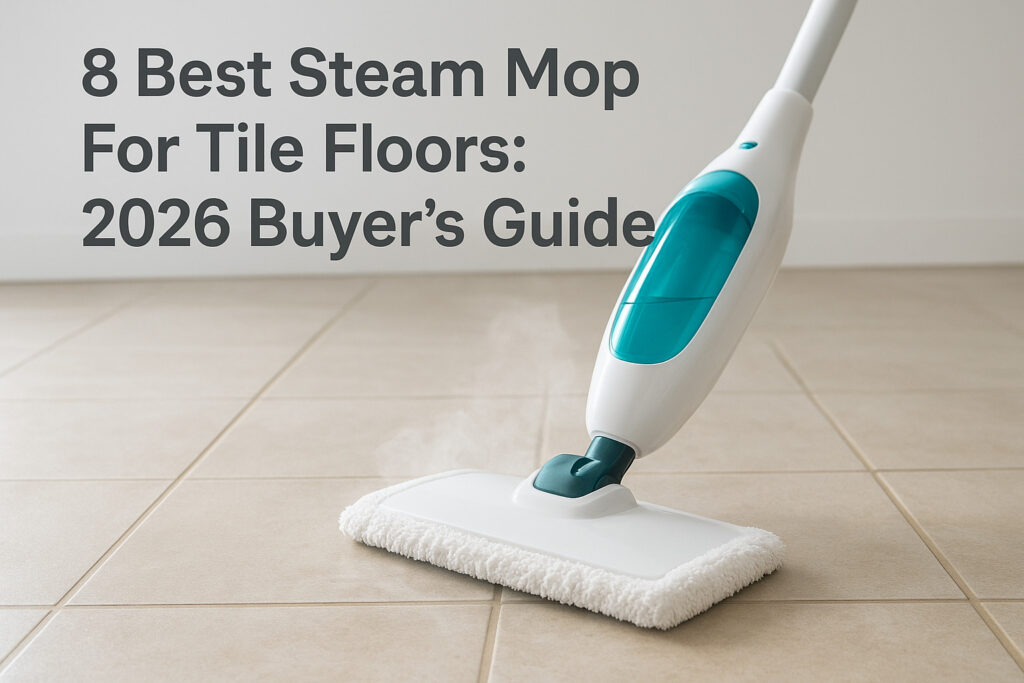
Tile floors look incredible, until grime settles into the grout lines and regular mopping just pushes dirty water around. If you’ve been searching for the best steam mop for tile floors, you already know that not every mop handles tile and grout the same way. Some glide across the surface without actually lifting buildup, while others deliver the kind of deep, chemical-free clean that makes tile look like it was just installed. At AlphaLux Cleaning, we spend our days cleaning homes and businesses across New York State, and we’ve seen firsthand how the right tools make all the difference on tile surfaces. Our team relies on steam-based cleaning methods because they cut through stuck-on residue without harsh chemicals, exactly the kind of safe, effective approach we bring to every job. That hands-on experience with professional-grade equipment gives us a practical perspective on what actually works and what’s just marketing hype. We put together this guide to help you find a steam mop that performs where it counts: on tile and grout. You’ll find eight top-rated options broken down by features, pros, cons, and the specific tile cleaning scenarios they handle best. Whether you’re maintaining a kitchen floor between professional cleanings or tackling a bathroom that needs serious attention, this buyer’s guide will help you make a confident purchase without wasting money on a unit that underdelivers. 1. Kärcher SC 3 Upright EasyFix The Kärcher SC 3 Upright EasyFix earns its place at the top of this list through consistent, professional-level steam output and a design that prioritizes practical tile cleaning over flashy features. Kärcher is a name that shows up in commercial cleaning operations worldwide, and this unit brings that same reliability into a home-friendly package. If you want the best steam mop for tile floors without buying something overpowered for daily use, this is the one to consider first. Tile and grout performance The SC 3 heats water to 100°C (212°F) and delivers steam at a continuous 3.5 bar of pressure, which is enough to break up grease, soap scum, and embedded grime in grout lines without scrubbing by hand. The microfiber pads pick up loosened dirt immediately, so you’re not just redistributing it across the surface. On textured tile, the steam penetrates the uneven surface better than any traditional wet mop would. The combination of high steam pressure and microfiber pad contact is what separates effective grout cleaning from surface-level results. Ease of use and daily handling Kärcher’s EasyFix pad attachment system lets you clip on and remove the mop pad without bending down, which makes switching between a clean pad and a used one much faster mid-session. The unit heats up in roughly 30 seconds, so you’re not waiting around before you start. The upright design handles similarly to a standard vacuum, and the swivel head navigates around furniture and bathroom fixtures without much effort. Maintenance and durability The 0.5-liter detachable water tank refills quickly and the whole unit is built with Kärcher’s commercial durability standards in mind, meaning the internal components hold up under frequent use. Descaling is straightforward, and replacement microfiber pads are widely available. You won’t find yourself hunting for proprietary parts that disappear from shelves after a year. Typical price range The SC 3 Upright EasyFix typically runs between $130 and $160, depending on the retailer and whether it’s bundled with additional pads. For the build quality and steam performance you get, that price point represents solid value compared to cheaper units that lose steam pressure within the first year of regular use. 2. Kenmore S200 Series SM2060 The Kenmore S200 Series SM2060 offers a mid-range option for homeowners who want reliable steam performance without the premium price of commercial-grade units. It sits comfortably in the conversation about the best steam mop for tile floors because it balances usable steam output with features that make everyday cleaning straightforward. Tile and grout performance The SM2060 produces dry steam at temperatures high enough to loosen soap scum and grease from grout lines without chemical cleaners. The rectangular mop head makes good contact with flat tile surfaces, and the included scrubbing pad adds extra friction on stubborn stains that steam alone doesn’t fully release. Ease of use and daily handling Heating up in under 45 seconds, this mop holds enough water in its standard tank for a kitchen or bathroom floor without constant refilling. You’ll find the swivel steering responsive enough to navigate around furniture legs and tight corners, though the cord length may limit your range in larger open rooms. A longer power cord or cordless design would significantly improve this mop’s usability in open-plan spaces. Maintenance and durability Replacement pads are readily available and affordable, and the tank design makes descaling simple with a basic citric acid solution. The plastic housing feels less robust than Kärcher’s build but holds up well under normal residential use. Typical price range The SM2060 typically sells for $80 to $110, making it a budget-conscious choice if your needs don’t require the higher output of the Kärcher SC 3. 3. Aspiron Professional AS-CA044 The Aspiron Professional AS-CA044 is a cylinder-style steam cleaner that takes a different approach from the standard upright mop design. If you want something with more versatility for tile surfaces beyond just floors, this unit deserves a close look when considering the best steam mop for tile floors. Tile and grout performance The AS-CA044 heats water to a high steam temperature and delivers consistent pressure through a floor nozzle equipped with a stiff nylon brush attachment. That brush makes a real difference on grout lines, actively agitating loosened grime rather than relying on the microfiber pad alone to pick it up. The brush-assisted steam head combination is particularly effective on textured or uneven tile where flat pads lose surface contact. Ease of use and daily handling Setup takes a few minutes longer than an upright mop because you’re connecting hoses and attachments, but the added flexibility lets you steam vertical tile surfaces like bathroom walls