Bathroom floors take a beating. Between moisture, soap residue, and daily foot traffic, tile and grout can go from sparkling to grimy faster than any other surface in your home. If you’ve been wondering how to clean bathroom floors without spending your entire afternoon on hands and knees, you’re in the right place, because it really only takes about 30 minutes when you know what you’re doing.
At AlphaLux Cleaning, we’ve scrubbed thousands of bathroom floors across New York State, and our team has picked up a few things along the way. We know which methods actually cut through buildup, which products are safe for different tile materials, and where most people waste time without getting results. That hands-on experience is exactly what shaped this guide, so you can clean with confidence whether you’re tackling a weekly refresh or a long-overdue deep clean.
Below, you’ll find a clear step-by-step process covering tile and grout cleaning, effective DIY and commercial solutions, and material-specific tips to avoid damage. We’ll also share the same techniques our professionals use to get bathroom floors looking (and smelling) fresh in half the time most people expect.
What to gather first and what to avoid
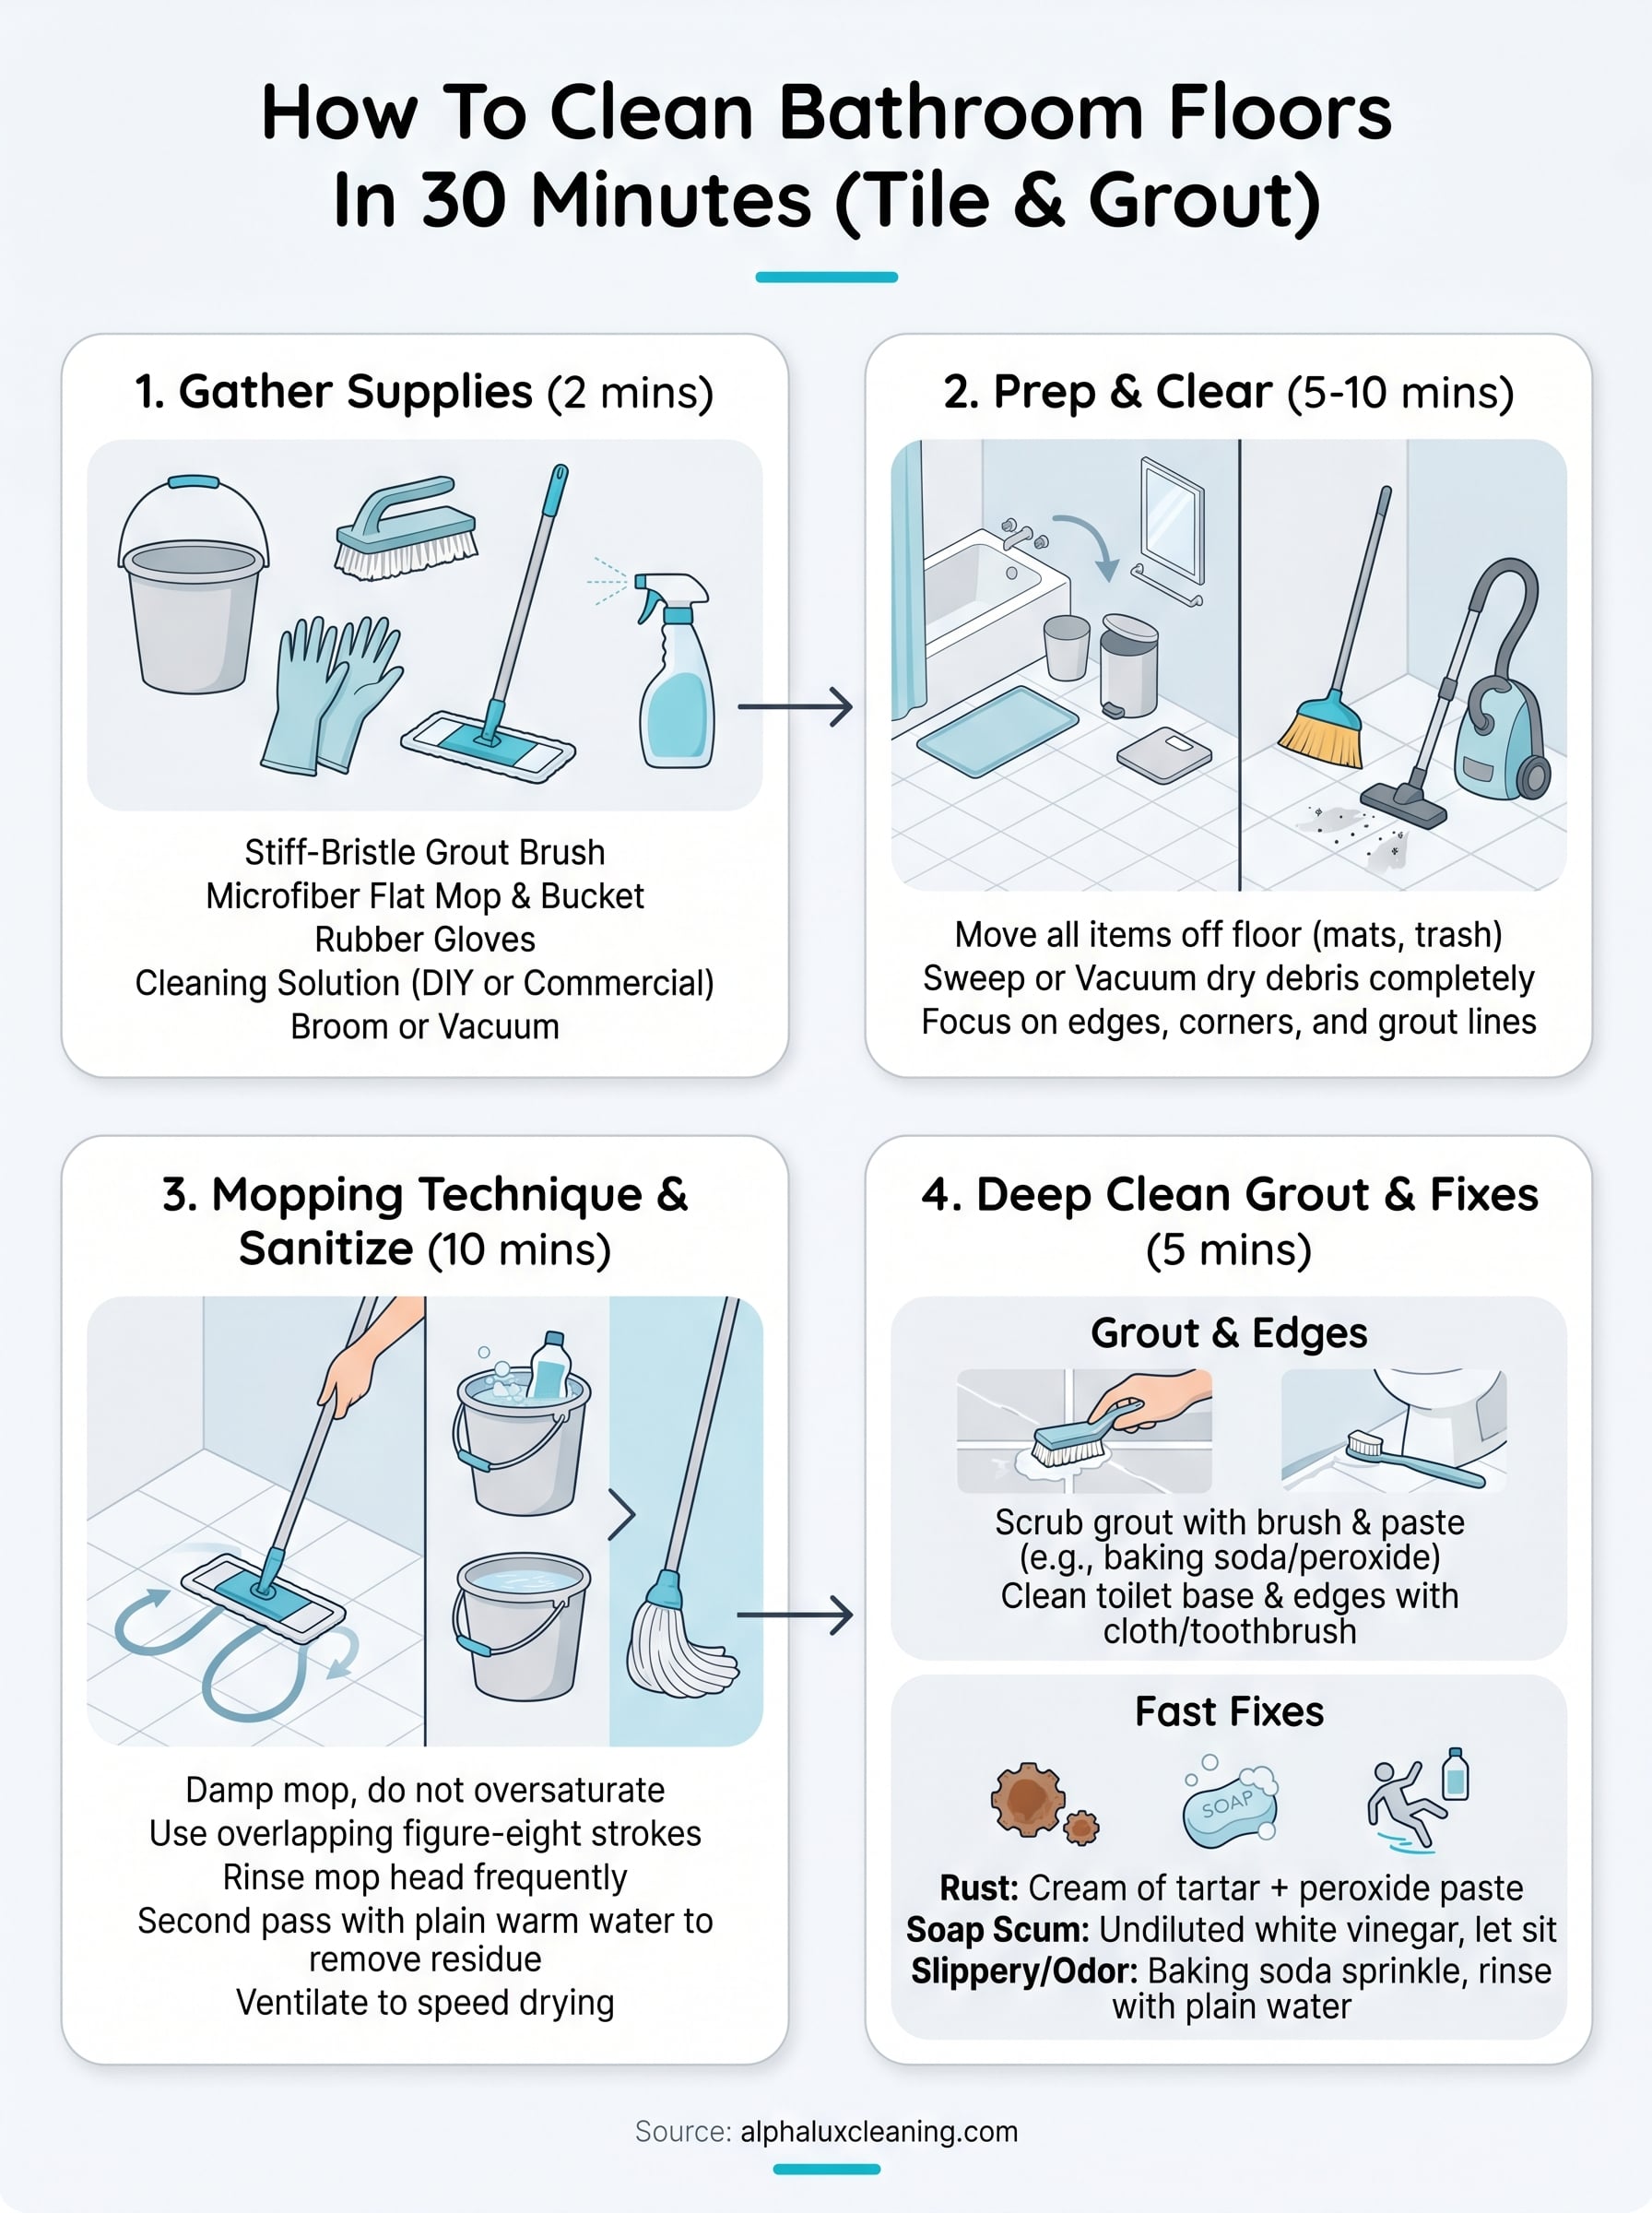
Having everything ready before you start is what keeps the 30-minute timeline realistic. If you stop mid-clean to hunt for a scrub brush or realize you’re out of the right cleaner, the whole process drags out. Gathering your supplies upfront takes about two minutes and saves you far more than that once you get moving. Think of it as the step that makes every other step faster.
The supplies you need
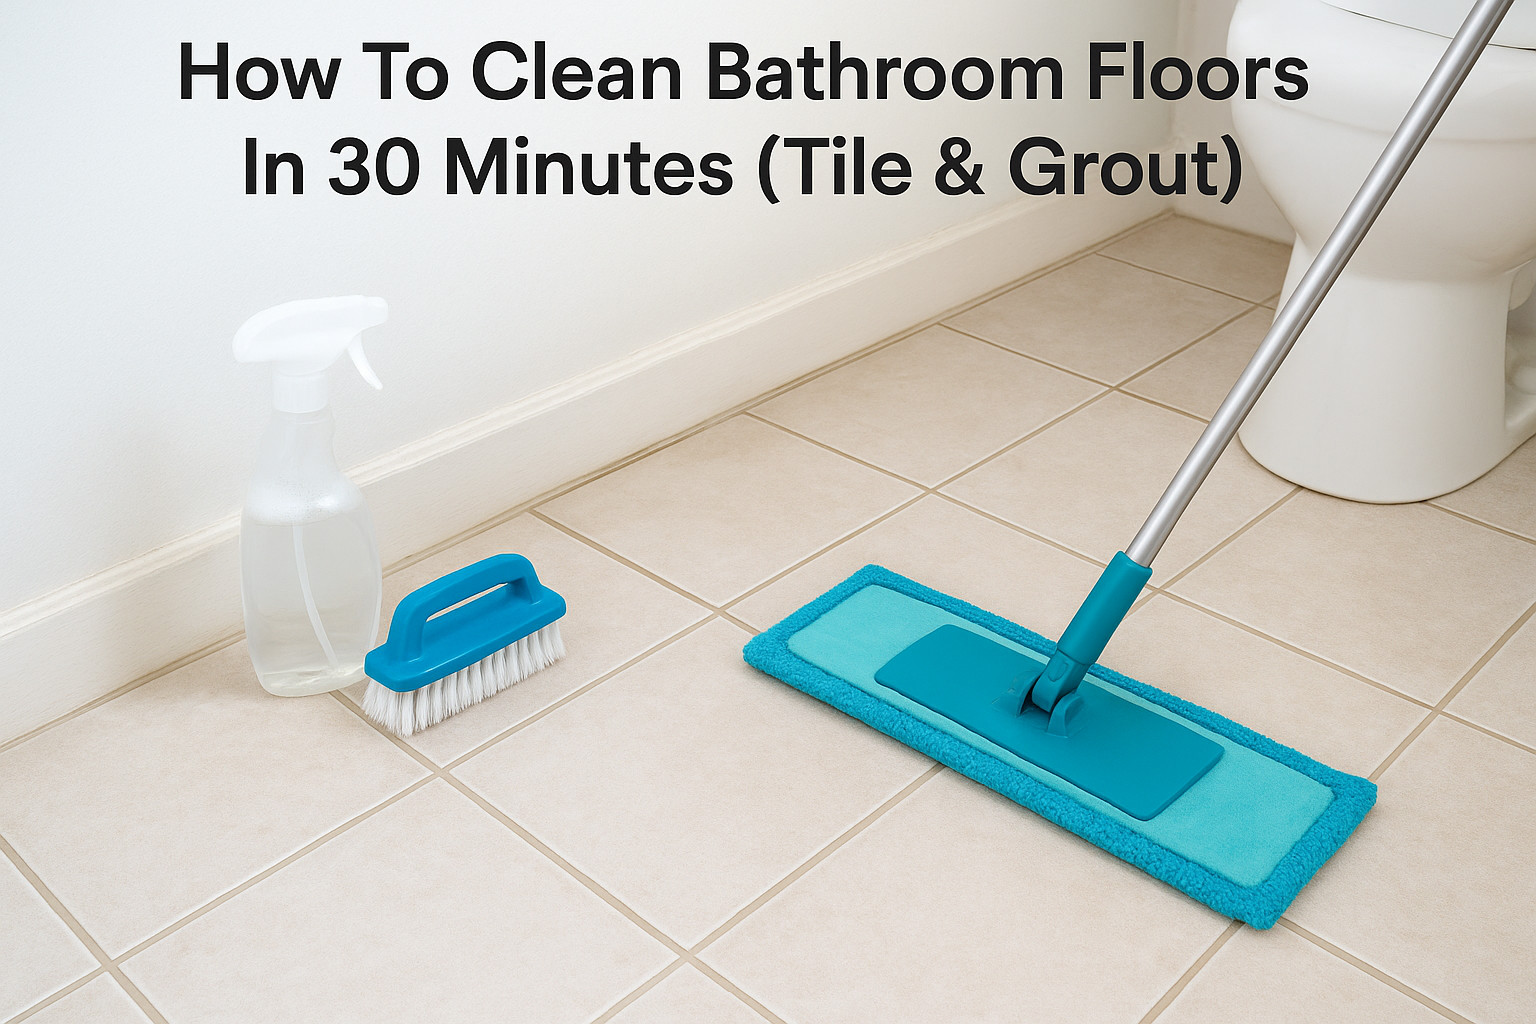
You don’t need a complicated kit to clean bathroom floors effectively. Most of what works well is straightforward: a stiff-bristle grout brush, a microfiber flat mop, a bucket, and your chosen cleaning solution. A pair of rubber gloves protects your hands, especially when you’re using any acid-based or disinfectant products.
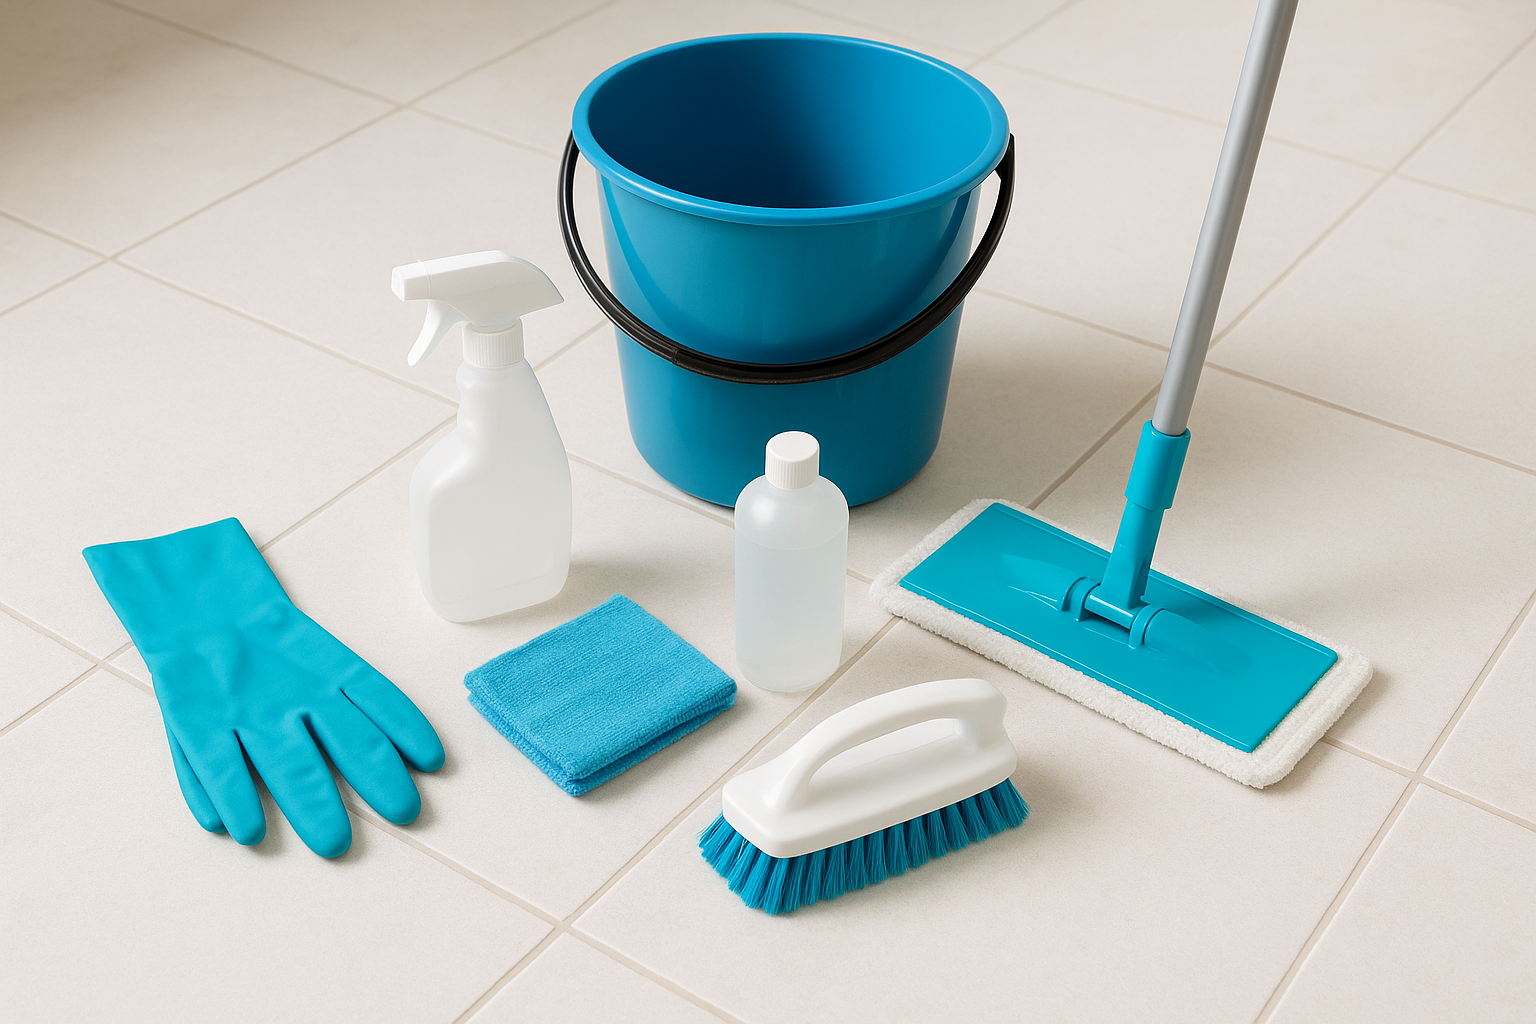
Here’s a quick reference list of what to have ready before you start:
- Broom or vacuum for dry debris removal
- Microfiber flat mop and bucket
- Stiff-bristle grout brush or an old toothbrush for tight corners
- Rubber gloves
- Spray bottle for targeted application
- Cleaning solution (details below)
- Dry microfiber cloths or a dry mop for the finishing pass
For your cleaning solution, you have two solid options. A DIY mix of warm water and white vinegar in a 1:1 ratio works well for light buildup and routine maintenance on most ceramic and porcelain tiles. For tougher grime or sanitizing after illness, a pH-neutral tile cleaner or a diluted bleach solution (1 tablespoon of bleach per gallon of water) gets the job done without risking surface damage.
What to avoid using
Knowing what not to use is just as important when you’re learning how to clean bathroom floors properly. The wrong product can scratch, discolor, or permanently damage your tile or grout. Abrasive scrubbers like steel wool and powdered cleansers with harsh grit will scratch glazed tile surfaces over time, dulling the finish in a way that’s difficult to reverse.
Never mix vinegar and bleach together. Combining them produces toxic chlorine gas, which is genuinely dangerous in a small, enclosed space like a bathroom.
Also avoid using undiluted bleach directly on colored grout, since it will strip the pigment and leave uneven, faded patches. Stay away from oil-based soaps and wax-based cleaners on tile floors as well. These leave a slippery film that builds up with each application, making your floor harder to clean going forward rather than easier.
Step 1. Clear the room and remove dry debris fast
Before any liquid hits the floor, you need a clear, debris-free surface. Skipping this step is one of the most common mistakes people make when learning how to clean bathroom floors. Wet debris sticks, smears, and turns a simple mop job into a longer scrubbing session. Two minutes of prep here saves five to ten minutes once you actually start cleaning.
Move everything off the floor
Pull out the bath mat, the trash can, the scale, and anything else sitting directly on the tile. Don’t try to mop around obstacles because you’ll miss the edges and corners where soap scum and hair collect the most. Set everything outside the bathroom door so you have a completely open surface to work with.
Items to move before you start:
- Bath mat and any fabric rugs
- Trash can and toilet brush holder
- Scale, step stool, or storage baskets
- Any bottles sitting on the floor near the tub or toilet
A fully cleared floor means you won’t have to go back and redo patches you missed around objects.
Sweep or vacuum before any liquid touches the tile
Once the floor is clear, sweep or vacuum up all dry debris before you introduce any moisture. Hair, dust, and grit are much easier to remove when dry. The moment you add water, they clump together and drag across the tile, potentially scratching the surface and clogging your mop.
A vacuum with a hard-floor setting works faster than a broom in tight spaces, but either tool gets the job done. Focus extra attention on the edges along the baseboard, behind the toilet base, and the corners near the door. Run your broom or vacuum head along the grout lines as well, since those channels trap more grit than the flat tile surface does.
Step 2. Mop tile the right way and sanitize safely
With the floor clear and dry debris gone, you’re ready to apply your cleaning solution. The key to mopping tile efficiently is working in small sections rather than soaking the entire floor at once. Oversaturating tile lets water seep into grout joints and under baseboards, which causes long-term moisture damage that no amount of scrubbing can fix.
Apply your solution and mop in sections
Pour your chosen solution into a bucket and wring your mop until it’s damp, not dripping. Start at the far corner of the bathroom and work your way toward the door so you’re never stepping onto the area you’ve just cleaned. Mop in overlapping figure-eight strokes rather than straight back-and-forth lines. This technique picks up more grime per pass because the mop head stays in contact with the tile longer on each stroke.
Rinse your mop head in clean water after every two or three passes. Mopping with dirty water simply spreads the grime around instead of removing it, which is a mistake that undermines the entire process of knowing how to clean bathroom floors properly.
Sanitize without leaving residue
After the first pass with your cleaning solution, a second pass with plain warm water removes any soapy or chemical residue left behind. Residue is what makes tile look dull and feel slightly sticky underfoot, even right after cleaning. One clean rinse pass eliminates this entirely.
Letting tile air dry completely before placing bath mats back down prevents trapped moisture underneath, which is where mold and mildew start.
Crack the bathroom window or run the exhaust fan during this step to speed up drying time and keep the space ventilated while any sanitizing products finish working.
Step 3. Deep clean grout, edges, and the toilet zone
This is the step most people skip on a normal cleaning day, but it’s where real grime hides. Grout lines, floor edges, and the area around the toilet base are the spots that make a bathroom floor look dirty even after mopping. Targeting these zones specifically is what separates a surface clean from a thorough one.
Scrub grout lines with a targeted solution
Grout is porous, which means it absorbs everything: soap residue, mold spores, and mineral deposits from water. A baking soda and hydrogen peroxide paste applied directly onto the grout lines is one of the most effective DIY options available. Mix three parts baking soda with one part hydrogen peroxide to form a thick paste, apply it with your grout brush, let it sit for five full minutes, then scrub in short, firm strokes along the grout line direction.
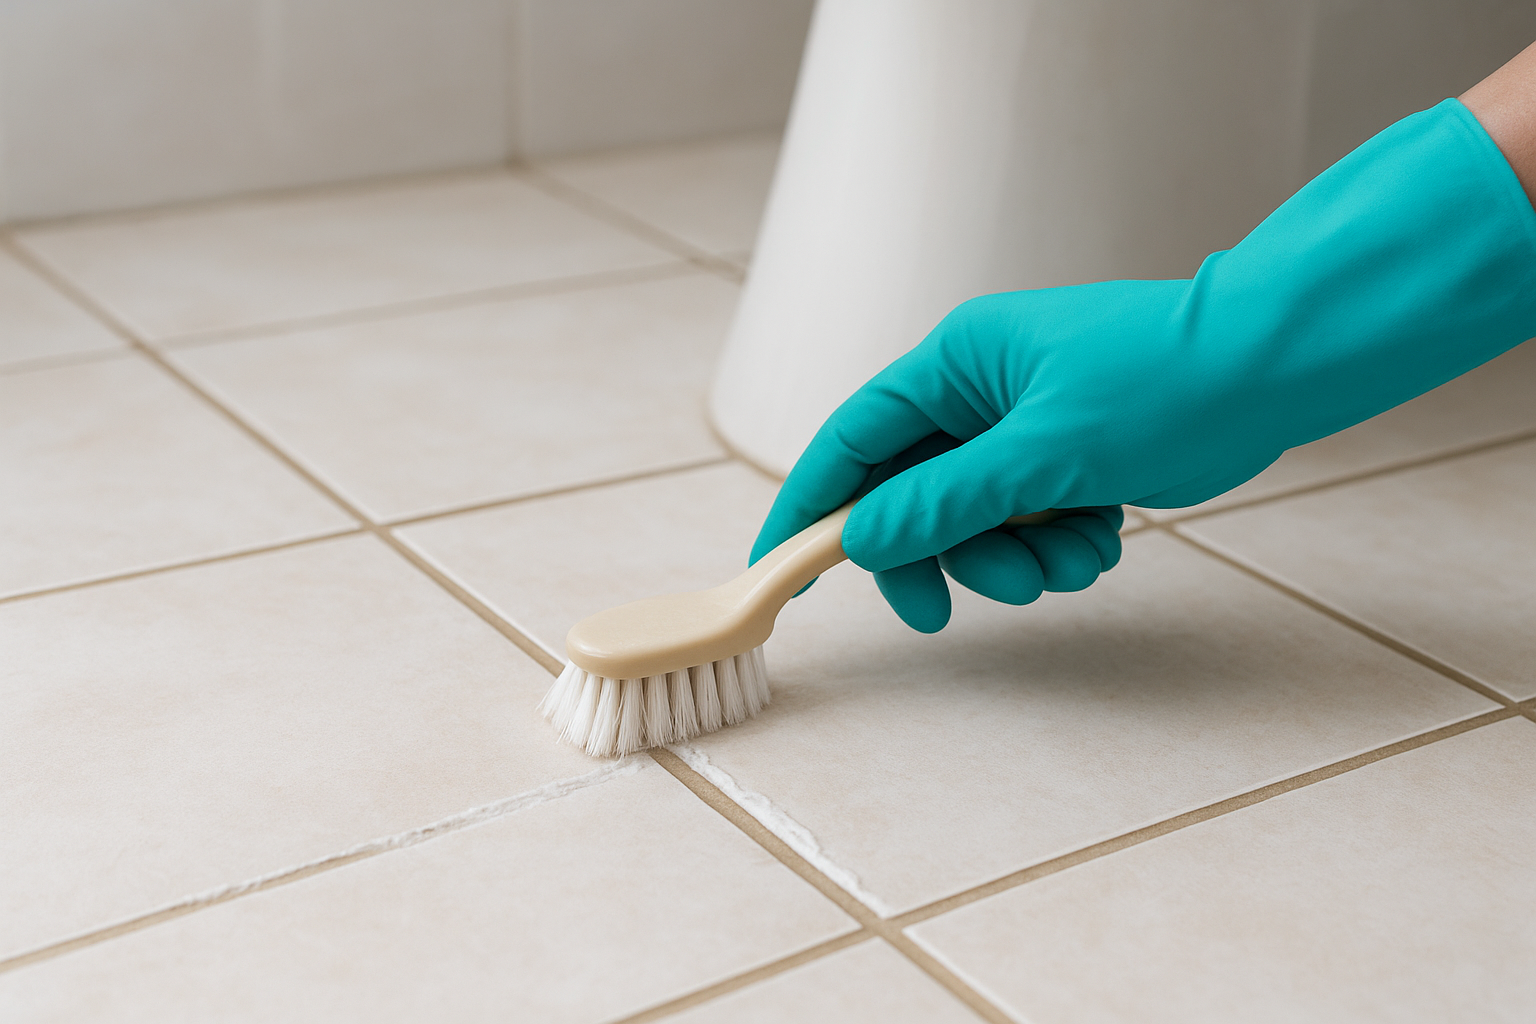
For dark or black grout staining that doesn’t respond to baking soda, a diluted bleach solution applied with a small brush and rinsed immediately gives you a stronger result without overexposing the surrounding tile.
Clean the toilet base and floor edges
The toilet base and the strip of floor running along the baseboard are two areas that get missed during a standard mop pass because the mop head can’t reach them cleanly. Use a damp microfiber cloth or an old toothbrush to wipe the entire perimeter of the toilet base, including underneath the front lip where residue and bacteria collect most heavily. Work the same cloth along the baseboard edge, applying light pressure to lift built-up grime. This detail work is a core part of how to clean bathroom floors completely rather than just visually.
Fast fixes for stains, odors, and slippery residue
Even after a solid clean, specific problems like rust stains, lingering odors, or a slippery film can stick around and make the floor feel unclean. Knowing how to clean bathroom floors also means knowing how to handle these targeted issues without reaching for harsh chemicals that damage tile or grout over time.
Remove stains without damaging tile
Rust stains respond well to a paste made from cream of tartar and a few drops of hydrogen peroxide. Apply it directly to the stain, leave it for ten minutes, then scrub with your grout brush and rinse clean. For soap scum that won’t lift with regular mopping, spray undiluted white vinegar onto the affected area and let it sit for five minutes before scrubbing.
Avoid using steel wool or abrasive pads on tile stains, since scratches dull the surface finish permanently and make future staining worse.
Hard water mineral deposits show up as chalky white patches around tile near the tub or shower drain. A commercial lime and calcium remover applied with a cloth and left for the manufacturer’s recommended time dissolves the buildup without aggressive scrubbing.
Eliminate odors and fix slippery residue
Bathroom floor odors almost always come from bacteria living in grout lines or under the toilet base, not from the tile itself. Sprinkle baking soda over the floor after cleaning, let it sit for five minutes, then rinse with warm water to neutralize odor-causing bacteria without adding chemical residue.
Slippery residue is nearly always caused by soap or cleaning product buildup left behind after mopping. A second rinse pass using plain warm water and a clean mop head cuts through the film and restores normal traction underfoot.
A simple routine to keep floors clean longer
The biggest factor in how to clean bathroom floors effectively over time is consistency, not intensity. A quick two-minute sweep every other day prevents hair and grit from grinding into grout lines, which means you spend far less effort on deep cleaning sessions. Run a damp microfiber mop over tile once a week with your diluted vinegar solution, and you’ll stop buildup before it ever becomes a problem worth scrubbing.
Keeping a small spray bottle of your cleaning solution under the sink makes it easy to spot-treat grout or stains the moment you notice them rather than letting them set. Address any visible moisture near the toilet base or tub edge right away, since those are the spots where odor and mold develop fastest. Small, regular actions compound over time and keep your bathroom floor looking clean between full sessions.
If you’d rather hand off the work entirely, professional cleaning services from AlphaLux Cleaning are available across New York State.