A grimy shower isn’t just unpleasant to look at, it’s a breeding ground for mold, mildew, and bacteria that can affect your health. Soap scum builds up on glass doors, hard water stains crust over tiles, and grime collects around the drain faster than most people realize. Knowing how to clean a shower properly makes a real difference, not just for appearance, but for the overall hygiene of your bathroom.
At AlphaLux Cleaning, we handle showers in homes and businesses across New York every single day. Our team has seen every level of buildup, from light weekly dust to years of neglected grime, and we’ve dialed in the methods that actually work. We’re sharing that hands-on knowledge here so you can tackle your shower with confidence, whether you prefer DIY solutions or store-bought products.
This guide walks you through cleaning every part of your shower step by step: tiles and grout, glass doors, the shower head, and the drain. You’ll also find maintenance tips to keep things cleaner between scrubs. And if you’d rather skip the elbow grease entirely, our professional cleaning team is always just a booking away.
What you need before you start
Gathering your supplies before you start saves time and keeps you from stopping mid-clean to hunt something down. Learning how to clean a shower properly starts here, with having the right cleaning solutions and the right tools on hand before you touch a single surface.
Cleaning solutions
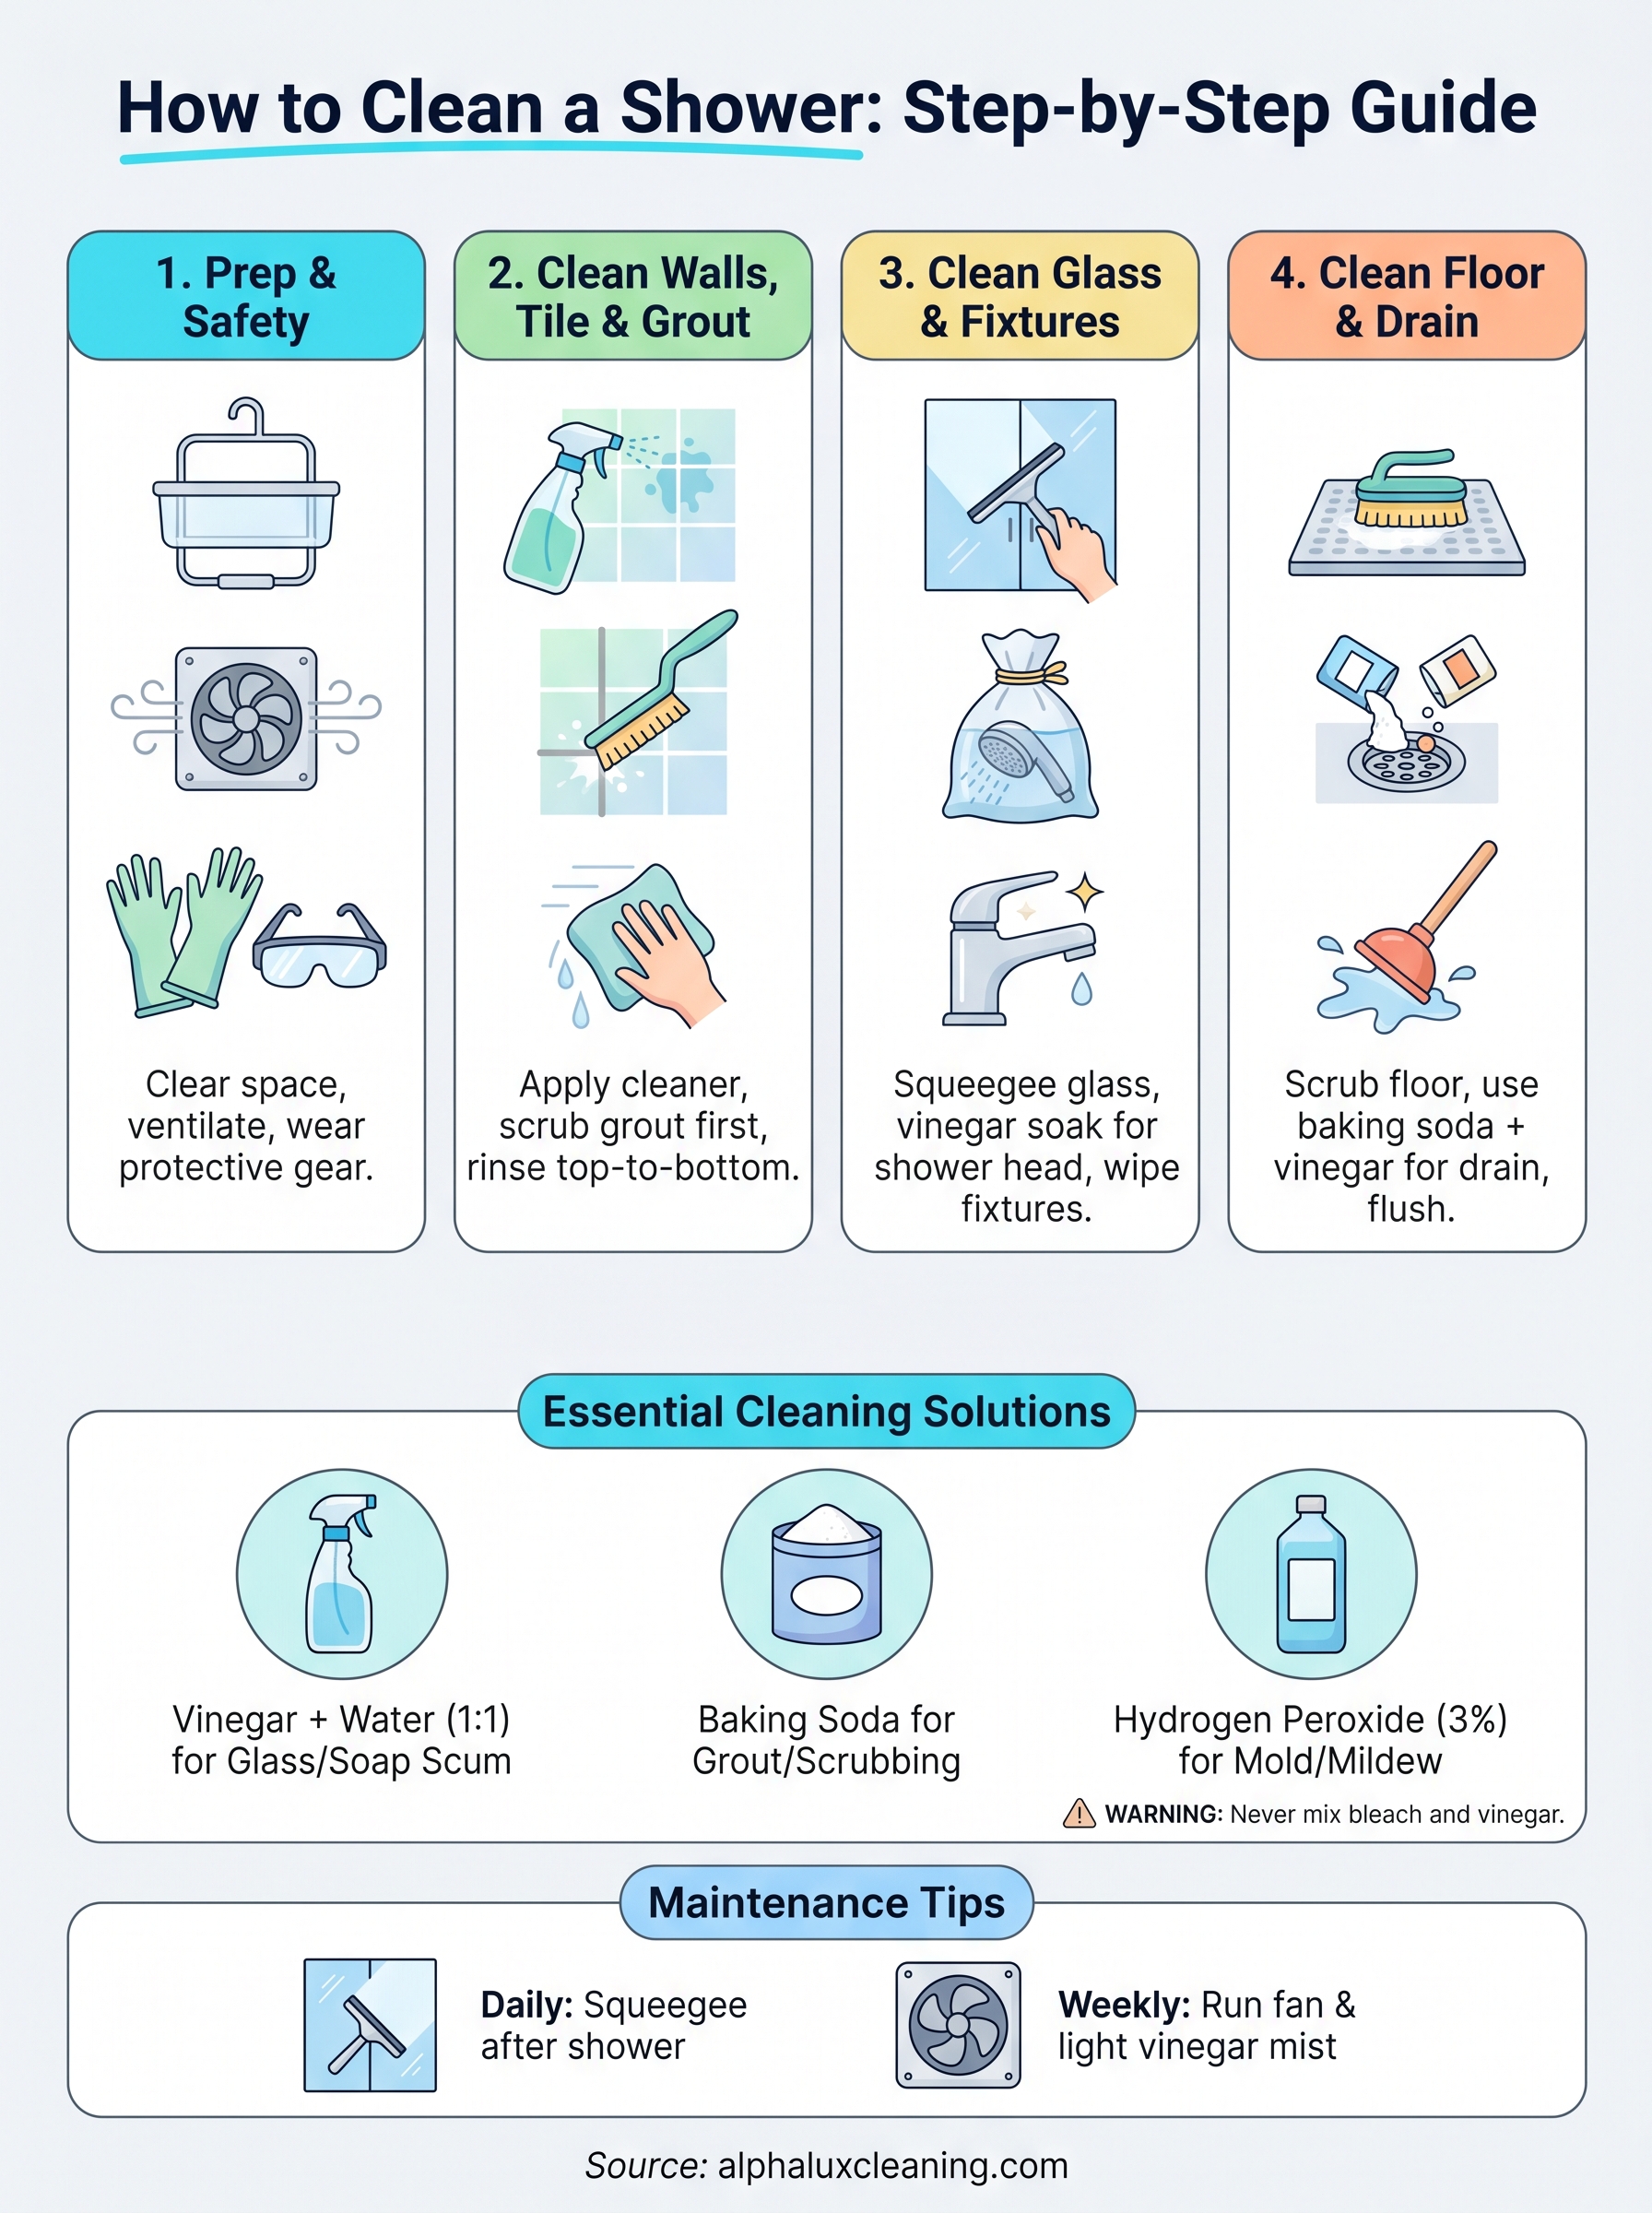
You have two solid options: store-bought cleaners or DIY solutions you can mix at home. Both work well when applied correctly. For everyday soap scum and light grime, a spray bottle filled with equal parts white vinegar and water cuts through buildup without harsh chemicals. For tougher stains and mold, a hydrogen peroxide solution (3%) or a commercial tile-and-grout cleaner gives you more power. Baking soda works as a gentle abrasive when you need to scrub grout lines without scratching tile surfaces.
Never mix bleach and vinegar together. Combining these two common cleaners produces chlorine gas, which is dangerous in an enclosed space like a shower.
| Cleaning Task | Recommended Solution |
|---|---|
| Soap scum on glass | White vinegar + water (1:1) |
| Tile and grout stains | Baking soda paste or commercial grout cleaner |
| Mold and mildew | Hydrogen peroxide (3%) or diluted bleach |
| Hard water deposits | Vinegar soak or commercial descaler |
| Shower head buildup | White vinegar soak |
Tools and protective gear
Having the right tools makes every part of the job faster and more effective. You don’t need a professional kit, but a few basics are non-negotiable. Make sure you have rubber gloves to protect your hands from cleaning solutions, especially when working with bleach or strong commercial products. A stiff-bristled grout brush handles tile lines, while a microfiber cloth takes care of glass and chrome fixtures without leaving scratches.
Here’s what to pull together before you start:
- Rubber gloves
- Safety glasses (for bleach or strong cleaners)
- Spray bottle
- Stiff-bristled grout brush
- Old toothbrush (for tight corners and caulk lines)
- Microfiber cloths or non-scratch scrub pads
- Squeegee
- Bucket
Step 1. Prep the shower and work safely
Before you apply a single cleaner, take two minutes to prep the space. Skipping this step leads to slower cleaning and, more importantly, avoidable safety risks. Proper preparation is a core part of knowing how to clean a shower effectively and without cutting corners.
Clear the shower space
Remove everything from the shower: shampoo bottles, soap bars, razors, loofahs, and any caddies or shelves. Set them on a towel outside the shower. This gives you full access to every surface you need to scrub, and it keeps your products from getting soaked in cleaning solution. Once the shower is empty, do a quick warm water rinse of the walls and floor to loosen any loose soap residue before you start applying cleaners.
Ventilate the area
Turn on the bathroom exhaust fan and crack a window if you have one. Cleaning products, even milder ones like vinegar, can irritate your nose and throat in a small, enclosed space. Put on your rubber gloves and safety glasses before you open any cleaning product.
If you’re using bleach-based products, ventilation is not optional. Breathing bleach fumes in a closed bathroom causes real respiratory irritation.
Once the space is clear and the air is moving, you’re ready to start scrubbing surfaces.
Step 2. Clean shower walls, tile, and grout
Tile and grout take the most abuse in any shower. Soap scum, hard water stains, and mildew work their way into grout lines over time, making them the most stubborn surfaces when learning how to clean a shower. Always start at the top of the walls and work your way down so runoff doesn’t re-dirty areas you’ve already scrubbed.
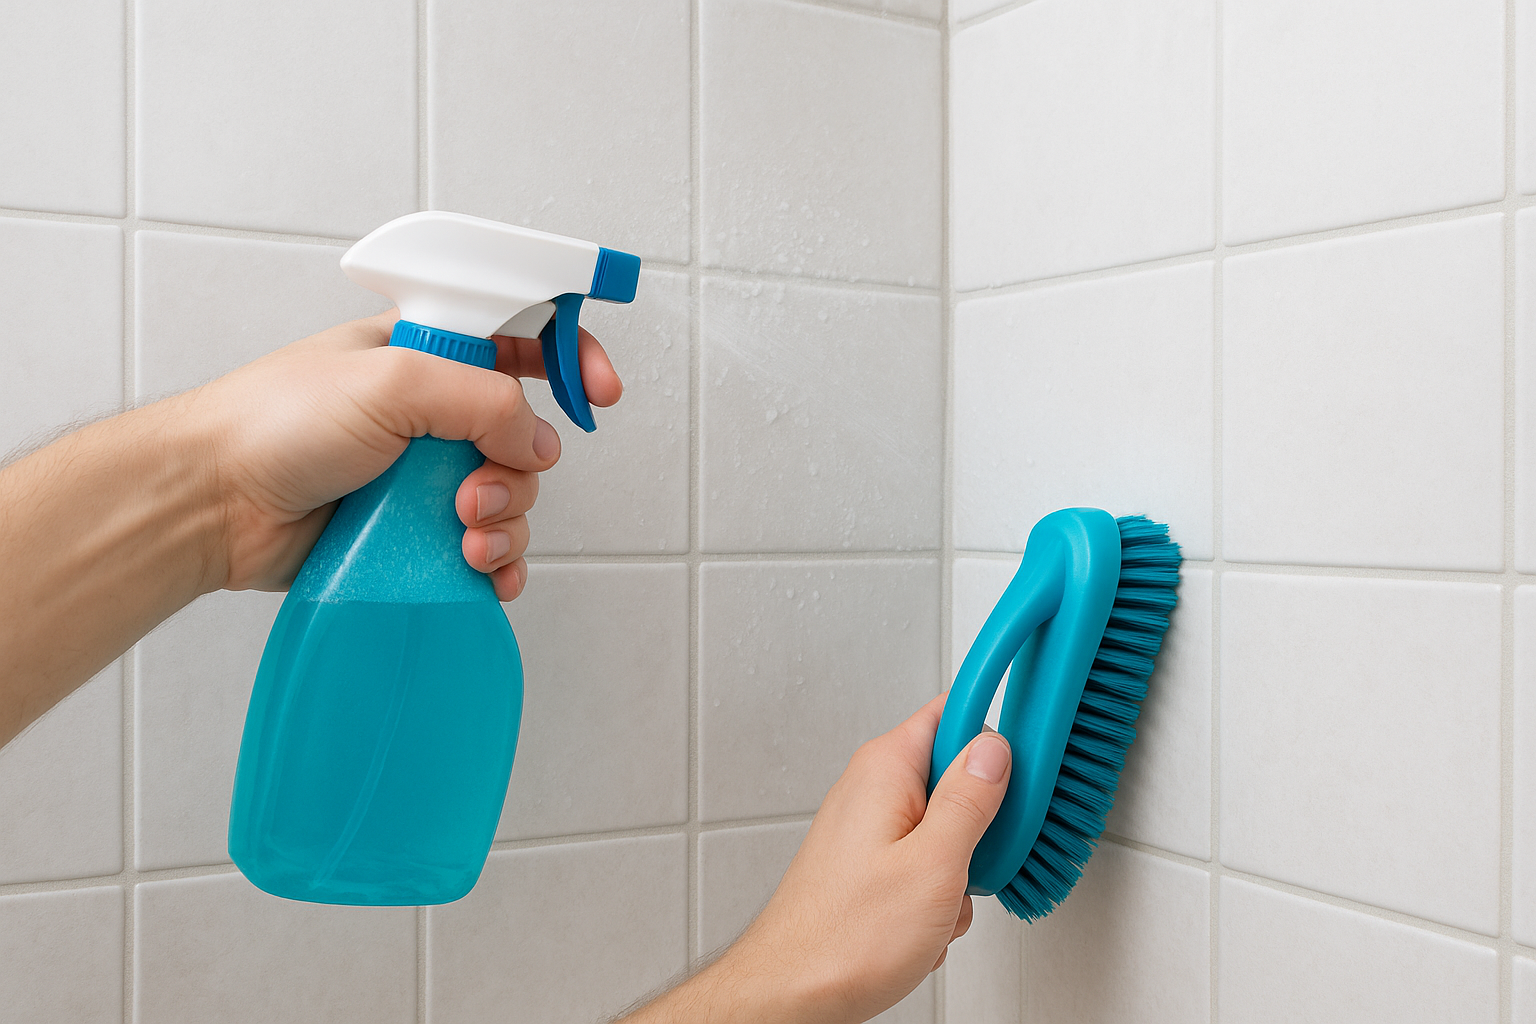
Apply cleaner to the tile and grout lines
Spray your chosen cleaner across the entire wall surface, covering all tile and grout lines thoroughly. For heavy buildup, apply a baking soda paste directly to grout lines by mixing baking soda with just enough water to form a thick consistency. Let the cleaner sit for five to ten minutes so it breaks down soap scum and mineral deposits before you start scrubbing.
Give the cleaner time to work. Wiping immediately after spraying reduces its effectiveness significantly.
Scrub the surfaces and rinse
Use your stiff-bristled grout brush to scrub grout lines in short, firm back-and-forth strokes. Switch to a non-scratch scrub pad for the tile faces to remove soap scum without scratching the surface. Once you’ve scrubbed every section, rinse the walls with warm water from top to bottom.
Follow this sequence for the best result:
- Scrub grout lines first with the grout brush
- Scrub tile faces with a non-scratch pad
- Rinse from top to bottom with warm water
- Wipe down with a microfiber cloth to remove excess moisture
Step 3. Clean glass doors, fixtures, and shower head
Glass doors and chrome fixtures are where soap scum and hard water deposits show up most visibly. This part of knowing how to clean a shower makes the biggest visual impact once you’re done, so it’s worth taking the time to do it right.
Clean glass shower doors
Spray undiluted white vinegar directly onto the glass and let it sit for five minutes. For stubborn hard water spots, press a vinegar-soaked paper towel against the glass and leave it for 15 minutes before wiping. Then scrub with a non-scratch pad and rinse thoroughly.
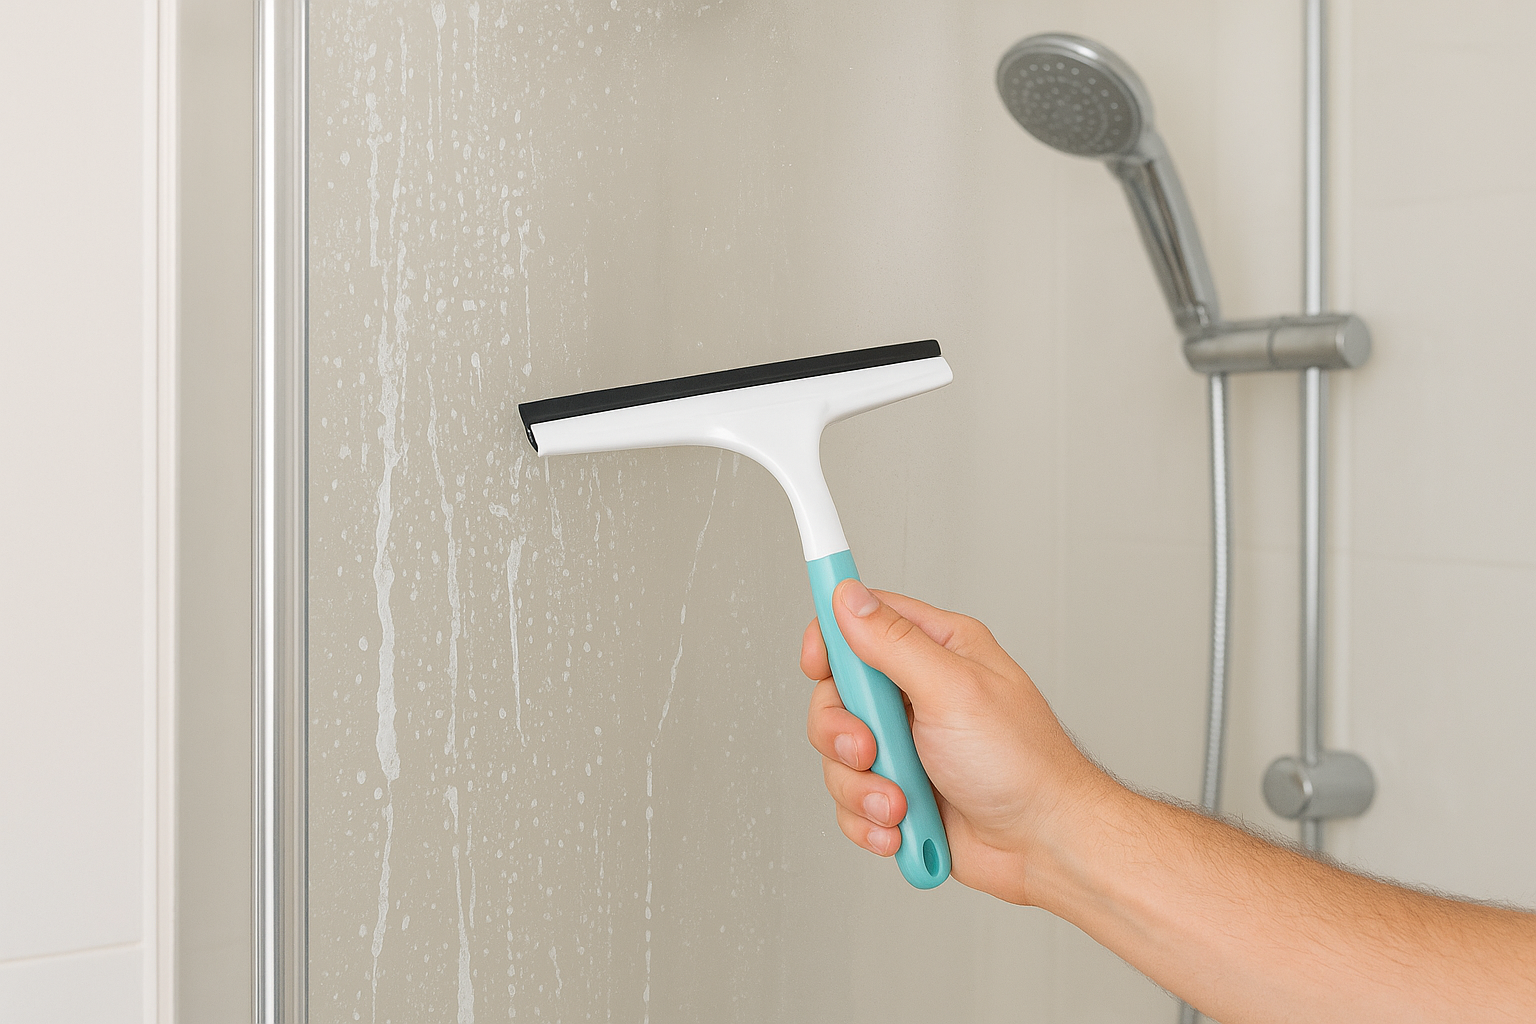
A squeegee pulled top to bottom removes most water from the glass without leaving streaks.
Follow this sequence for streak-free glass:
- Spray vinegar and wait five minutes
- Scrub with a non-scratch pad
- Rinse with warm water
- Squeegee from top to bottom
- Buff dry with a microfiber cloth
Clean the shower head and fixtures
Mineral buildup inside the shower head restricts water flow over time. Fill a plastic bag with white vinegar, submerge the shower head fully, and secure it with a rubber band. Leave it for at least 30 minutes, or up to an hour for heavy buildup. Wipe the fixture with a damp microfiber cloth and run your shower for 30 seconds to flush out any loosened deposits.
Step 4. Clean the shower floor and clear the drain
The shower floor collects soap scum, grime, and bacteria that wash down from the walls every time you use the shower. Since most shower floors have a textured surface to prevent slipping, those grooves trap buildup faster than smooth tile. This is often the most-neglected surface when people learn how to clean a shower, so give it the same attention you gave the walls.
Scrub the floor surface
Sprinkle baking soda generously across the entire floor, then spray white vinegar over it. The fizzing reaction helps loosen grime from textured surfaces and grout lines. Let the mixture sit for five minutes, then scrub with a stiff-bristled brush using short circular motions to work into every groove and corner.
Pay extra attention to the caulk lines along the edges, where mold tends to take hold first.
Clear the drain
Pull out any visible hair and debris from the drain by hand before applying any cleaner (gloves on). Pour half a cup of baking soda down the drain, follow it with half a cup of white vinegar, and let it fizz for five minutes. Then flush with hot water to clear soap buildup and keep water flowing freely.
- Remove visible hair and debris by hand
- Add half a cup of baking soda
- Pour half a cup of white vinegar over it
- Wait five minutes, then flush with hot water
Keep it clean between deep cleans
Deep cleaning your shower once a month keeps major buildup in check, but small daily habits cut down how much scrubbing you need each time. After every shower, take 30 seconds to squeegee the glass and walls. This removes most of the water that would otherwise leave mineral deposits and soap scum behind.
Spray a light mist of diluted white vinegar on the walls once a week and let it air-dry without rinsing. This slows mold and mildew growth between full cleans. Keep the bathroom fan running for at least 10 minutes after your shower to reduce moisture buildup in grout lines and caulk.
Knowing how to clean a shower is one thing; keeping up with it consistently is another. If your schedule makes regular cleaning hard to manage, professional shower and bathroom cleaning from AlphaLux Cleaning is a practical way to keep your space spotless without the effort.