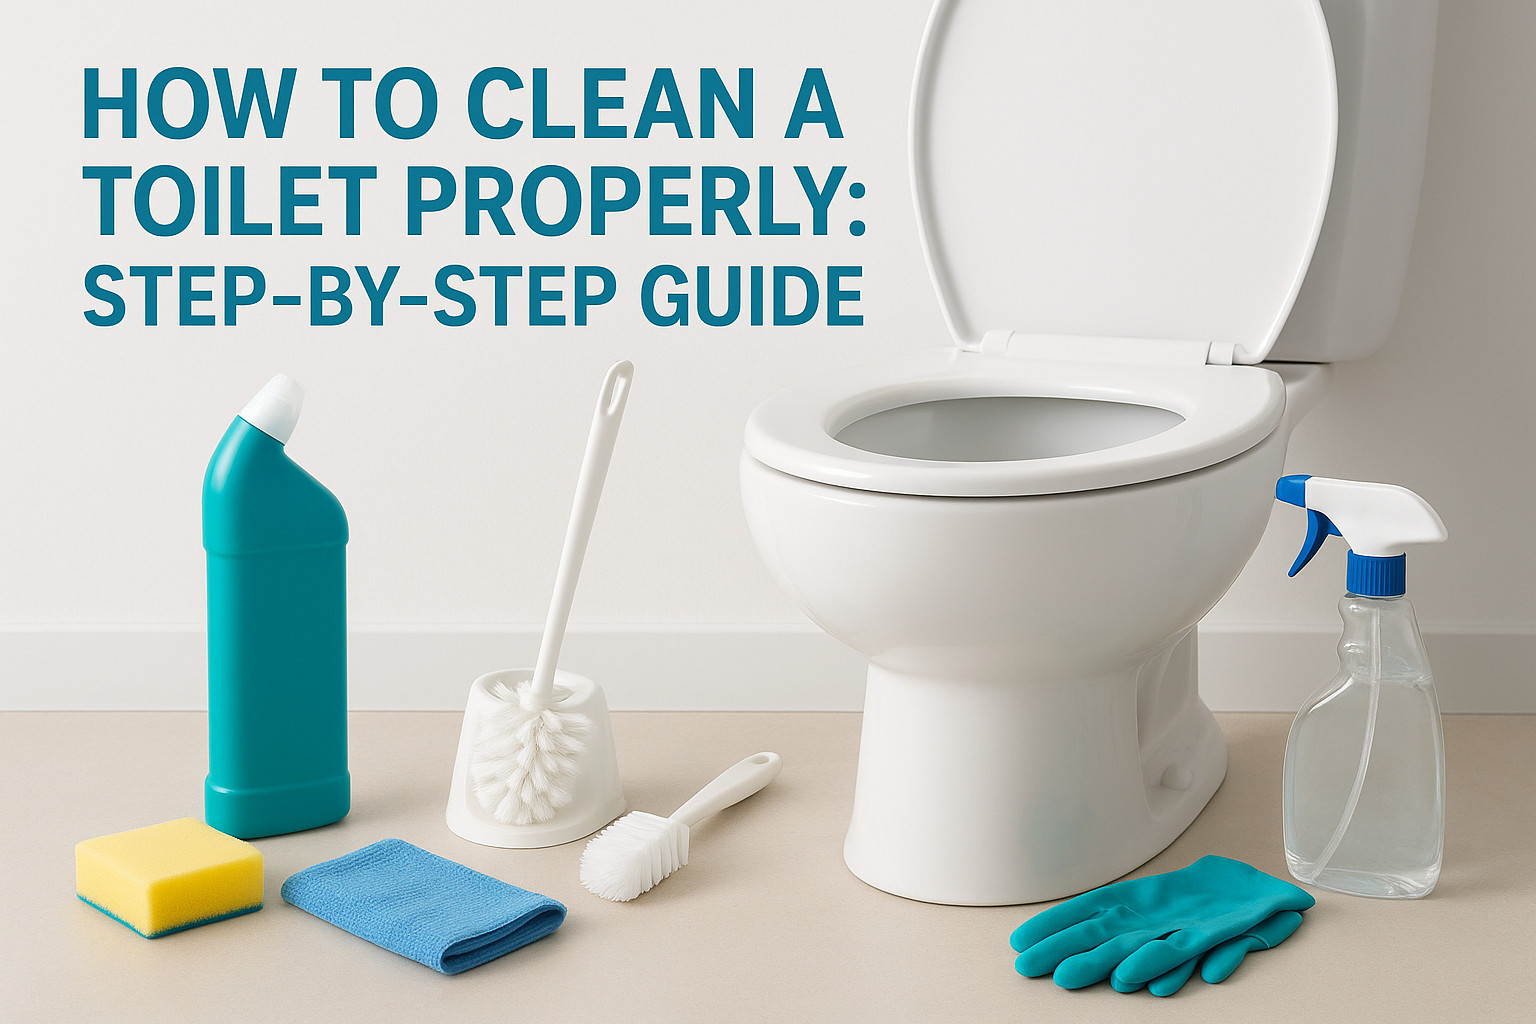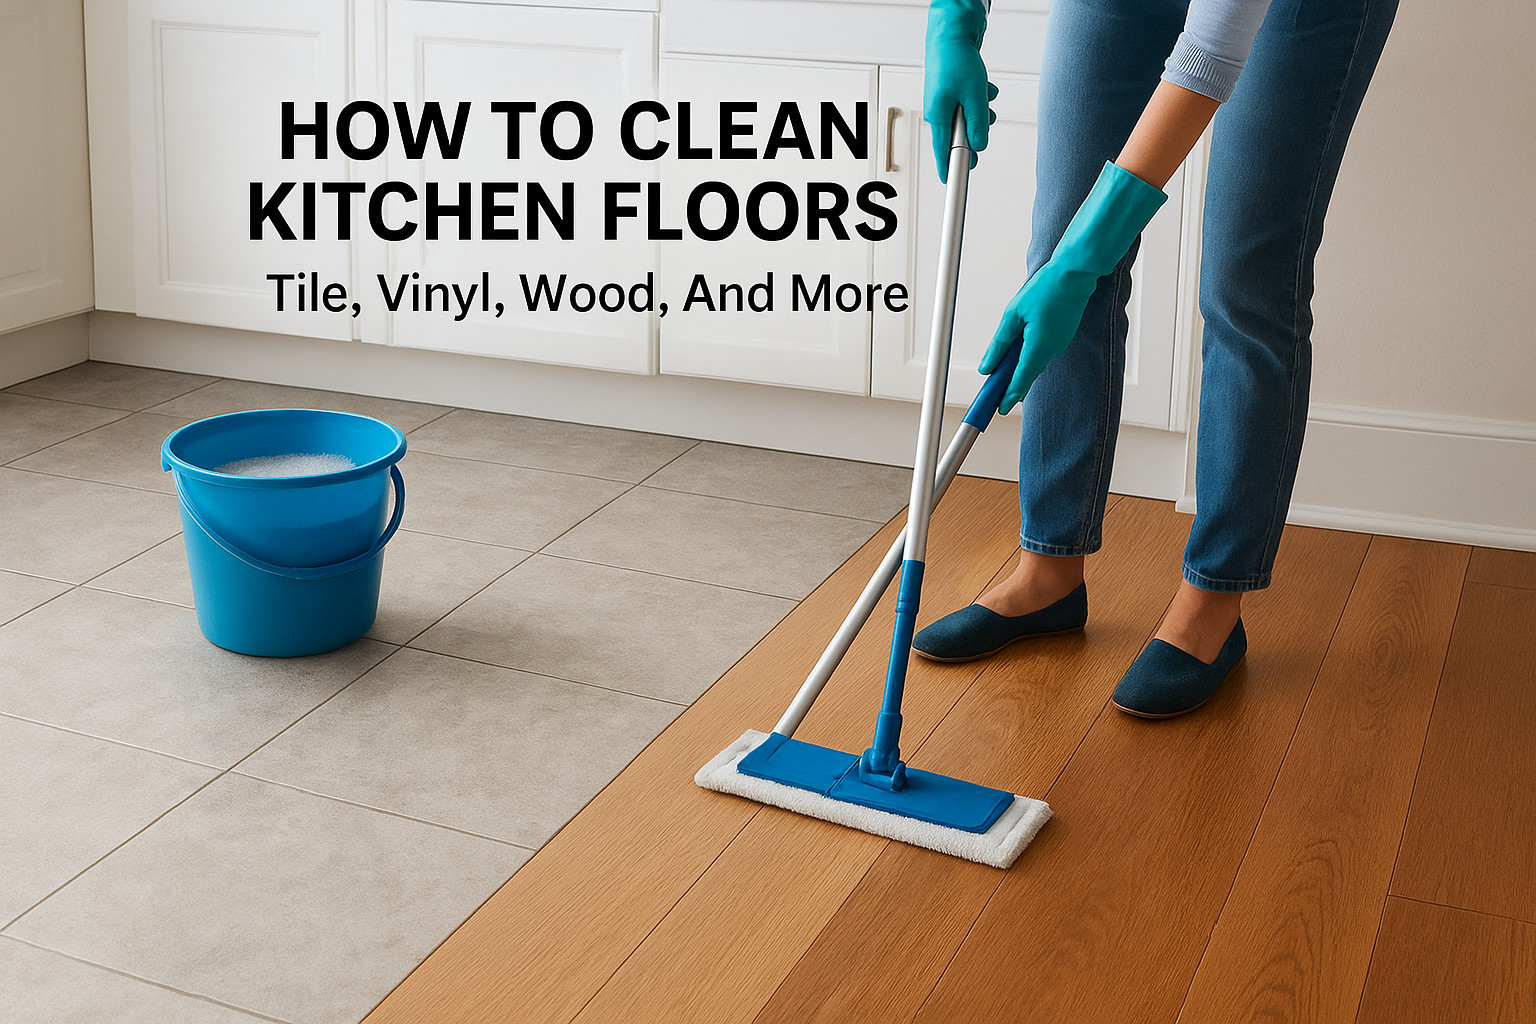
Grease has a way of creeping onto kitchen cabinets without you noticing, until one day you run your hand across the surface and feel that sticky, yellowish film. If you’ve been searching for how to clean greasy kitchen cabinets without stripping the finish or warping the wood, you’re dealing with one of the most common (and most frustrating) kitchen cleaning challenges. Cooking oils, steam, and everyday splatter build up layer by layer, especially on cabinets near the stove and range hood.
The good news? You don’t need expensive specialty products or professional-grade equipment to get your cabinets looking clean again. Most effective grease-cutting solutions use ingredients you probably already have at home, dish soap, baking soda, vinegar. The key is knowing which method works best for your cabinet material and how to apply it without causing damage.
At AlphaLux Cleaning, we tackle greasy kitchen cabinets across New York homes every single week. Our trained cleaning professionals have tested just about every method out there, and we know what actually works, and what leaves you worse off. In this guide, we’re sharing the exact techniques our team relies on to cut through stubborn grease buildup safely. You’ll find step-by-step instructions, DIY solution recipes, product recommendations, and tips to keep your cabinets grease-free between cleanings.
What to know before you start
Before you start scrubbing, take a few minutes to understand what you’re working with. Cabinet materials and finishes vary widely, and the cleaning method that works well on a painted wood cabinet can seriously damage a thermofoil or laminate surface. Jumping straight into cleaning without this knowledge is the most common reason people end up with warped, discolored, or dull cabinets. A little preparation now saves you a lot of regret later.
Understand your cabinet type
Kitchen cabinets come in several different materials, and each one has a different tolerance for moisture, heat, and cleaning chemicals. Here’s a quick breakdown of the most common types you’ll encounter:
| Cabinet Type | Material | Key Concern |
|---|---|---|
| Solid wood | Natural hardwood | Absorbs moisture easily; needs quick drying |
| Painted wood | Wood with a painted finish | Paint chips or streaks with harsh scrubbing |
| Laminate | Plastic layer over MDF or particleboard | Edges swell if water seeps in |
| Thermofoil | Vinyl film over MDF | Heat and harsh chemicals cause peeling |
| Veneer | Thin wood layer over a core | Very sensitive to excess water |
Knowing your cabinet type before you start is the single most important step in the entire process. Once you identify the material, you can match the right cleaning intensity to the right surface and avoid causing damage you can’t reverse.
If you’re unsure what material your cabinets are made from, check with your cabinet manufacturer or look up your kitchen model using the paperwork from your original installation.
Gather your supplies first
Stopping mid-clean to hunt for supplies lets moisture sit on your cabinet surfaces longer than it should. Pull everything together ahead of time so you can move through each step without interruption. Here’s what you’ll need for most grease-removal jobs:
- Microfiber cloths (at least 3 to 4)
- A soft-bristle brush or an old toothbrush for tight spots and hardware
- Two buckets or bowls (one for cleaning solution, one for rinse water)
- Dish soap (a grease-cutting formula like Dawn Original works well)
- Baking soda
- White distilled vinegar
- Warm to hot water
- A dry towel for immediate drying after cleaning
Avoid sponges with rough scrubbing pads on any finished wood or painted surface. Those abrasive sides scratch the finish and leave your cabinets looking worn out faster than any grease buildup ever would.
Watch out for these common mistakes
Knowing how to clean greasy kitchen cabinets also means knowing what not to do. Soaking your cabinets with too much water is one of the fastest ways to cause damage, especially near joints and edges where moisture seeps in and swells the wood or causes delamination. Always use a damp cloth, never a dripping wet one.
Harsh chemical cleaners like bleach or ammonia-based sprays strip finishes, fade paint, and leave behind a residue that actually attracts more grease over time. Stick to gentler, targeted solutions and you’ll get better results with far less risk to your cabinet’s surface and finish.
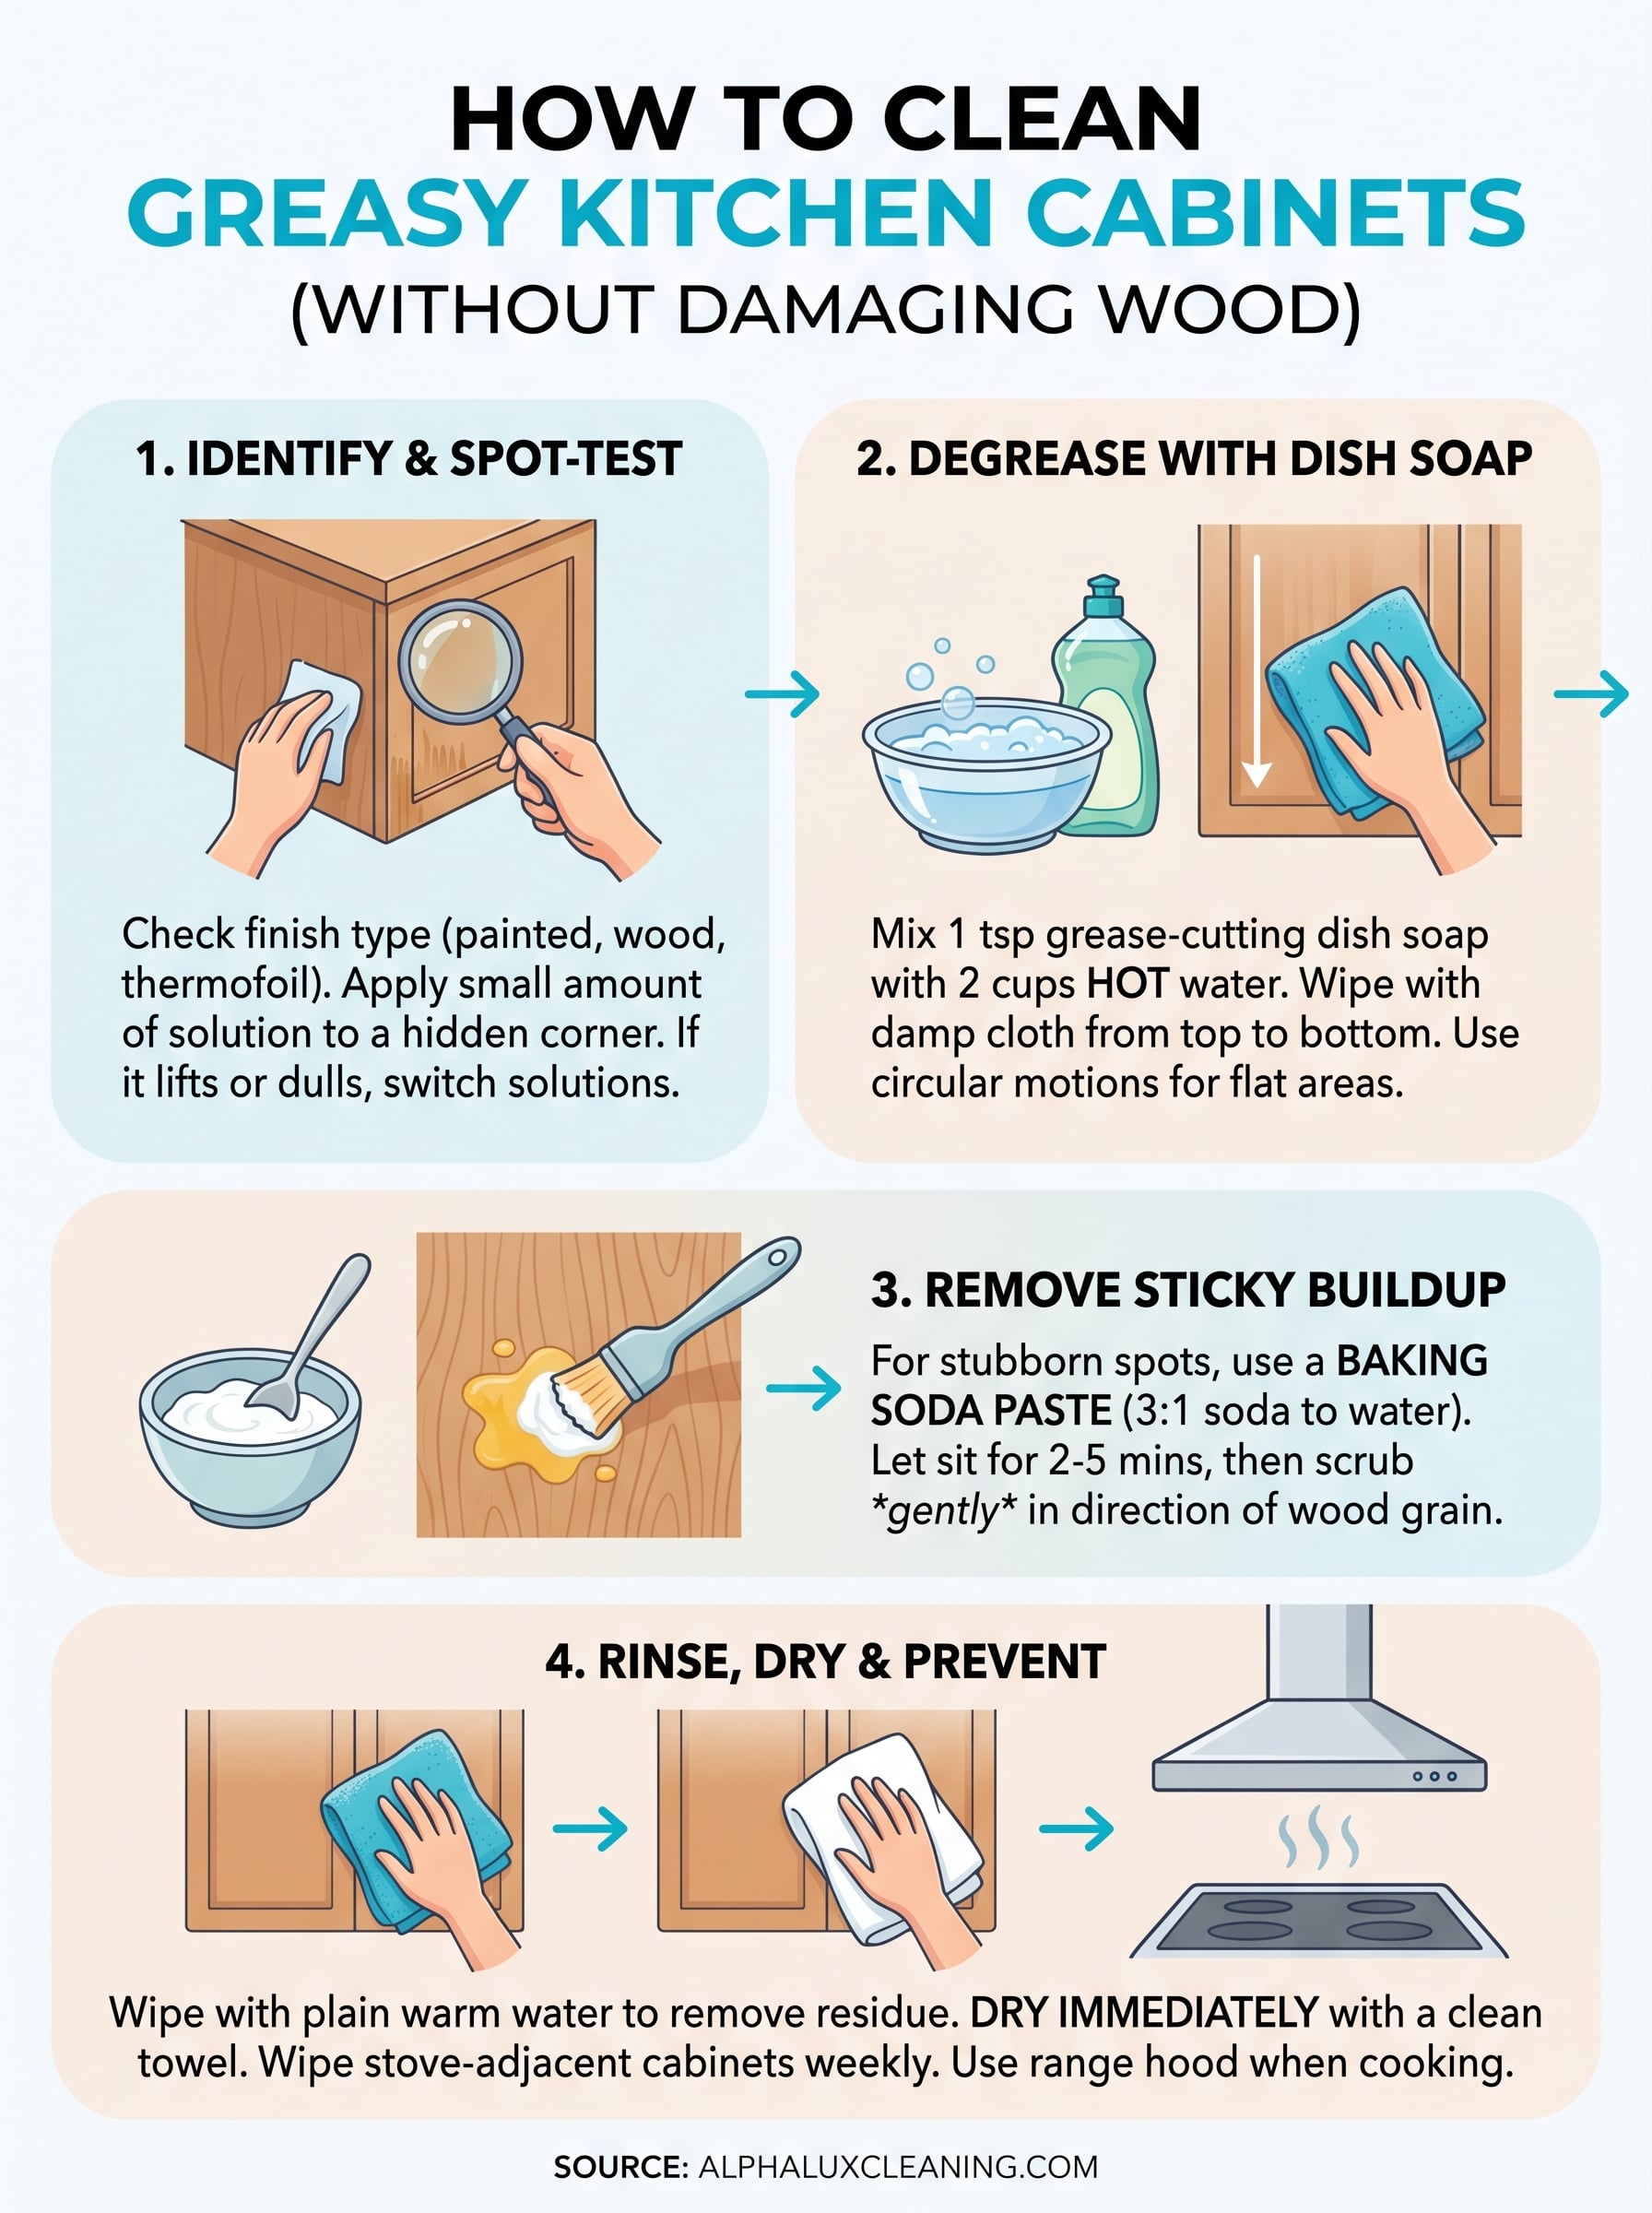
Step 1. Identify your cabinet finish and spot-test
Your cabinet finish determines which cleaning methods are safe and which ones will cause damage. Running the wrong solution on a delicate finish is how people end up with streaks, peeling, or a dull surface that can’t be restored without refinishing. This step takes less than five minutes and protects you from making a mistake that costs far more to fix.
How to identify your cabinet finish
Look closely at the surface texture and sheen of your cabinets. High-gloss, smooth surfaces with no visible grain are typically painted wood or thermofoil. If you can see a natural wood grain beneath a glossy coat, you’re likely dealing with a lacquered or polyurethane-finished solid wood or veneer cabinet. Flat or matte surfaces with a slight texture are usually painted or primed wood.
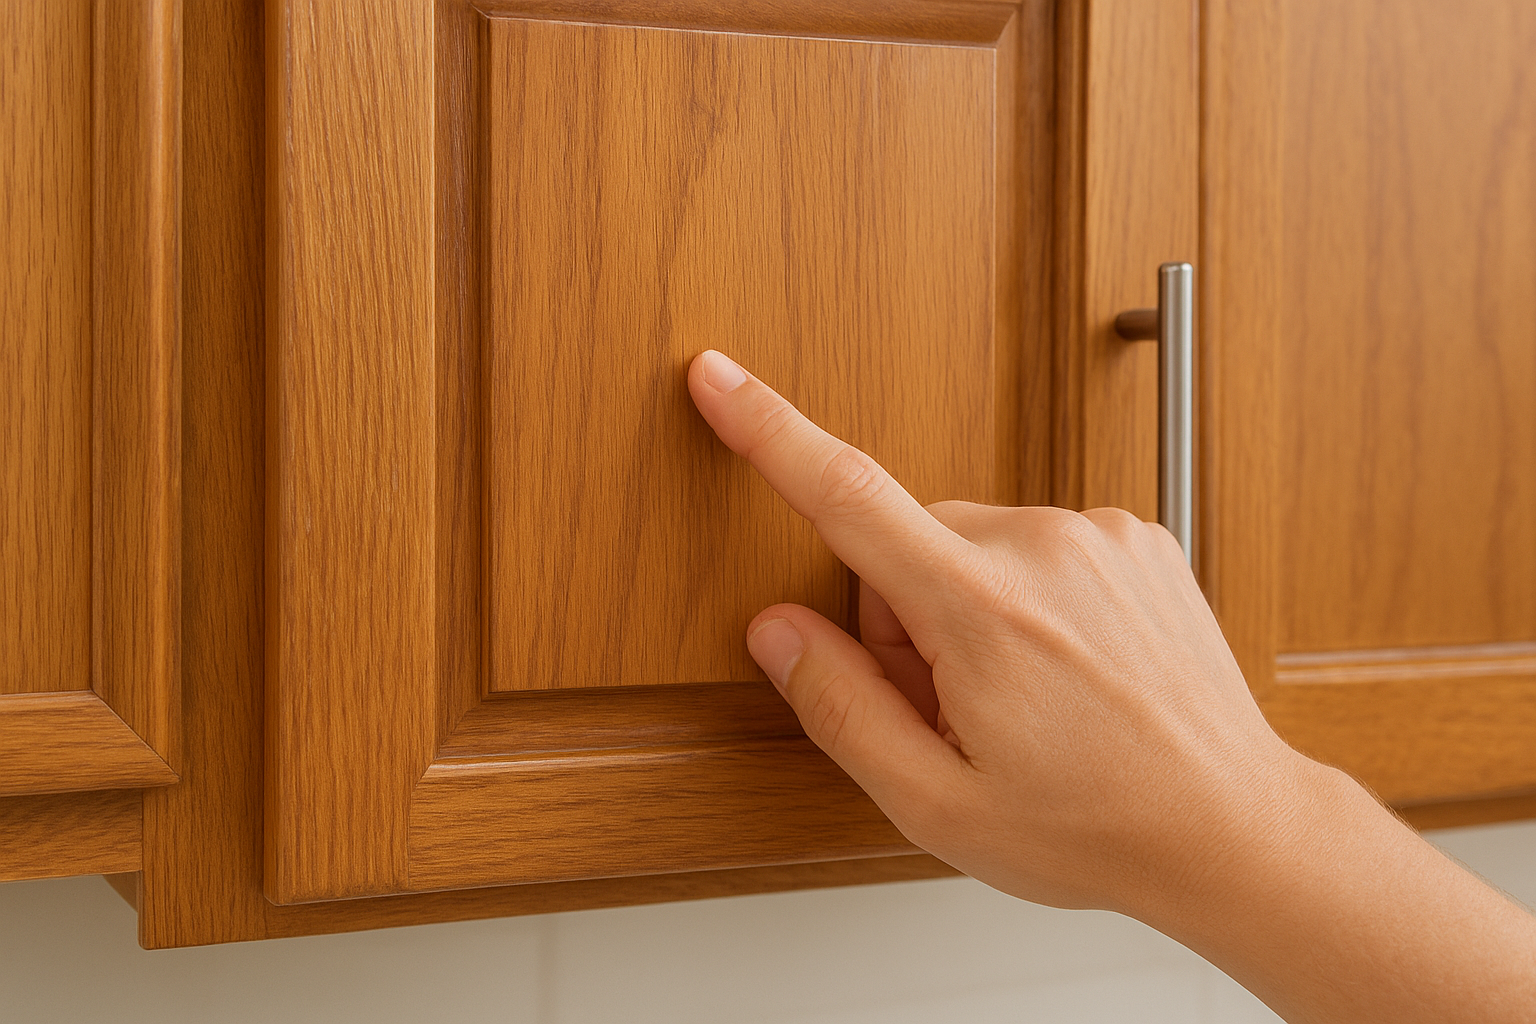
Run your fingernail lightly across a hidden corner. If the top layer feels like a thin plastic film, it’s thermofoil or laminate. If it feels like it’s part of the wood itself, it’s a stained or sealed natural wood finish.
How to run a proper spot-test
Never skip the spot-test, even if you’re confident about the finish type. Pick a hidden area like the inside corner of a door or the back panel near the hinge. Apply a small amount of your chosen cleaning solution with a damp microfiber cloth, let it sit for 30 seconds, then wipe it off and inspect the surface.
If the finish lifts, discolors, or feels tacky after the test, that solution is too harsh for your cabinets. Switch to a milder option before you clean the full surface.
Check for any sign of dullness, streaking, or color transfer on your cloth. If the area looks exactly as it did before, the solution is safe to use. This quick test is one of the most important steps in knowing how to clean greasy kitchen cabinets without causing lasting damage to the surface you’re trying to restore.
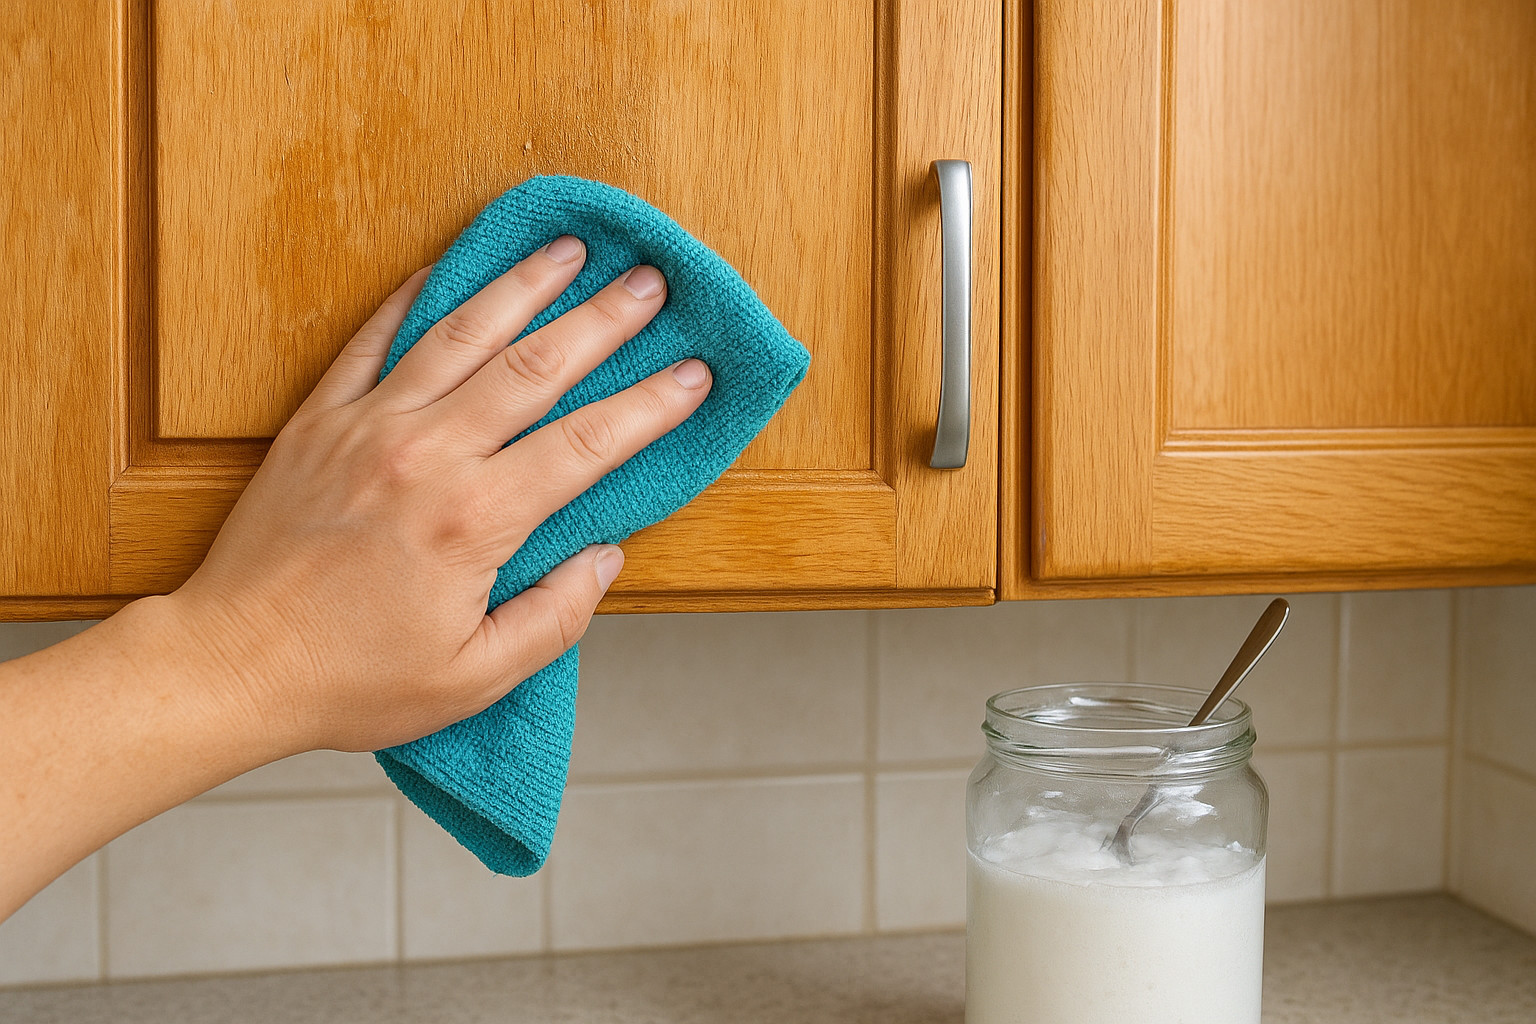
Step 2. Degrease with dish soap and hot water
For most everyday grease buildup, dish soap and hot water is the most effective starting point. A grease-cutting dish soap like Dawn Original breaks down cooking oil at a molecular level, which makes it far more effective than all-purpose sprays for cabinet surfaces. This method works well on painted wood, solid wood, and lacquered finishes and is gentle enough to use regularly without wearing down the surface over time.
Mix your cleaning solution
You don’t need a lot of soap to cut through grease effectively. Too much soap leaves a residue that smears across the cabinet and actually attracts new grease faster. Use the following ratio for a solution that cleans without leaving buildup behind:
- 2 cups of hot (not boiling) water
- 1 teaspoon of grease-cutting dish soap
- Stir gently until combined
Hot water activates the soap’s degreasing agents more effectively than lukewarm water, so use the hottest tap water you can safely work with.
Fill a second bowl or bucket with plain warm water for rinsing your cloth between passes. Keeping your rinse water separate from your cleaning solution means you’re not dragging dissolved grease back onto the surface you just cleaned.
Apply and scrub the right way
Dip a microfiber cloth into your cleaning solution and wring it out until it’s damp, not dripping. Wring it firmly. Start at the top of the cabinet and work your way down so that any drips or loosened grease fall onto areas you haven’t cleaned yet rather than onto surfaces you’ve already finished. This is one of those small techniques that makes how to clean greasy kitchen cabinets significantly faster and more efficient in practice.
Use light, circular motions on flat door panels, and switch to a soft-bristle brush for recessed grooves, corners, and around cabinet hardware. For stubborn spots, press the damp cloth against the surface and let it sit for 20 to 30 seconds before wiping, this softens the grease layer and reduces the scrubbing force you need to apply.
Step 3. Remove heavy sticky buildup safely
When dish soap alone isn’t cutting it, you’re dealing with layered grease that has bonded directly to the finish over months or years of cooking. This kind of sticky, almost varnish-like buildup needs a slightly more aggressive approach, but you can still remove it without damaging the wood underneath. The goal here is to loosen and lift the buildup rather than scrub it off with force, which almost always leads to scratched or dull surfaces you can’t easily restore.
Use a baking soda paste on stubborn spots
Baking soda is a mild abrasive that cuts through thick grease deposits without scratching most cabinet finishes. Mixing it into a paste gives you a targeted solution you can apply directly to the worst affected areas. Here’s the recipe:
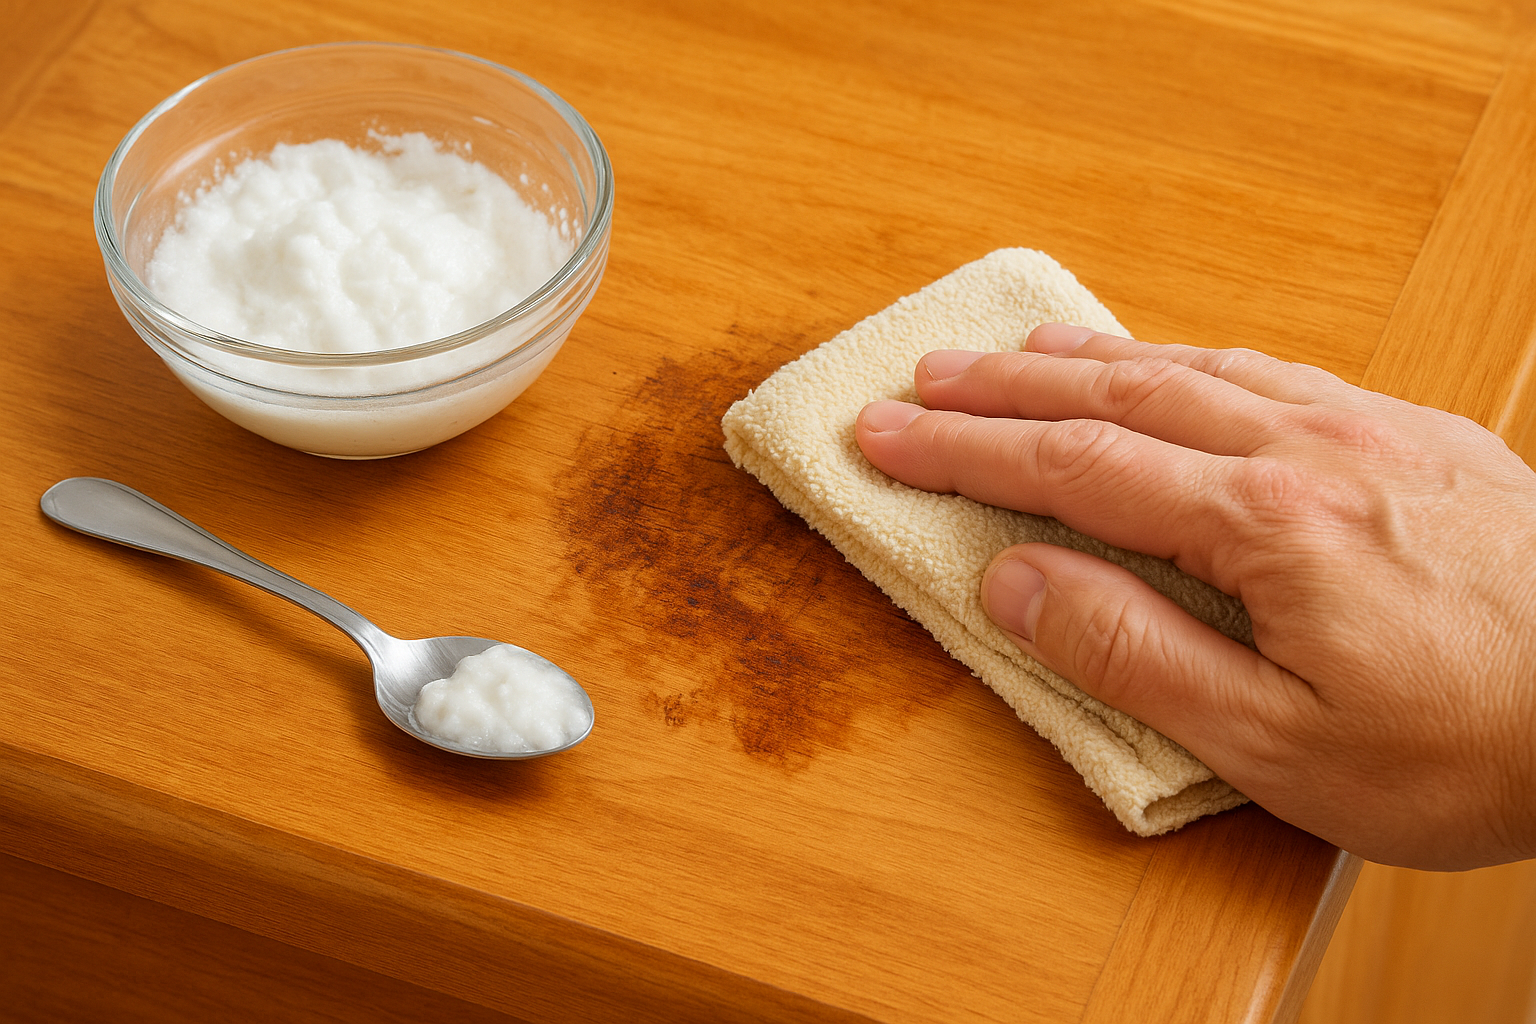
- 3 tablespoons of baking soda
- 1 to 2 tablespoons of warm water (add gradually until you get a thick paste consistency)
- Optional: 1 teaspoon of grease-cutting dish soap for extra degreasing power
Apply the paste to the buildup using your fingers or a soft cloth, then let it sit for 2 to 5 minutes before gently scrubbing in the direction of the wood grain with a soft-bristle brush. Wipe it away with a damp microfiber cloth and check your progress before repeating.
Never scrub in circular motions on wood-grain finishes because this works the paste into the grain and makes it much harder to rinse clean without leaving residue behind.
Try a vegetable oil and baking soda combination
One method that surprises most people when learning how to clean greasy kitchen cabinets is using a small amount of vegetable oil combined with baking soda. The oil loosens the sticky grease film while the baking soda provides just enough grit to break it free. Mix equal parts into a loose paste, apply it with a soft cloth, and rub gently in the direction of the grain.
This approach works particularly well on natural wood cabinets with a matte or satin finish because the oil conditions the wood at the same time it cleans. After you wipe the paste away, the surface should feel noticeably smoother and look refreshed without the dry, stripped appearance that harsher degreasers can leave behind.
Step 4. Rinse, dry, and prevent grease from coming back
After you’ve cut through the grease buildup, rinsing and drying properly is just as important as the cleaning itself. Leaving soap residue on your cabinets creates a film that dulls the finish and actually pulls in new grease faster than a clean, bare surface would. This final step is where knowing how to clean greasy kitchen cabinets correctly really pays off.
Rinse and dry the right way
Use a clean microfiber cloth dampened with plain warm water to wipe down every surface you cleaned. Go over each panel at least twice to make sure no soap or baking soda residue remains. Pay extra attention to corners, edges, and the areas around hardware, where cleaning solution tends to collect and dry into a streaky residue.
Never leave any moisture sitting on your cabinet surfaces, even for a few minutes. Water that seeps into seams causes swelling and warping that no amount of cleaning can reverse.
Immediately follow the rinse with a dry microfiber cloth and wipe the surface completely dry. For solid wood and veneer cabinets, buff lightly in the direction of the grain to prevent water spots. Your cabinets should look clean and feel dry to the touch within seconds of wiping.
Keep grease from building up again
Cleaning your cabinets once is only part of the job. Consistent habits between deep cleans are what keep heavy buildup from forming again. Here are the most effective steps to maintain clean cabinets after you’ve done the hard work:
- Wipe down cabinet fronts near the stove weekly using a damp cloth with a drop of dish soap. This prevents thin grease layers from hardening.
- Run your range hood fan every time you cook, especially when frying or searing. It pulls airborne grease away from your cabinet surfaces before it settles.
- Apply a thin coat of furniture polish or cabinet wax to wood finishes every few months. It creates a protective barrier that makes future grease much easier to wipe away.
- Keep a damp microfiber cloth nearby while cooking and do a quick wipe of nearby cabinet surfaces right after you finish at the stove.
Final thoughts
Knowing how to clean greasy kitchen cabinets comes down to working with your cabinet’s finish rather than against it. Spot-testing before you clean, using the right solution for the buildup level, and drying surfaces immediately are the three habits that separate results that last from ones that leave you dealing with damage on top of grease. Whether you use dish soap and hot water for routine maintenance or a baking soda paste for stubborn layers, the method matters as much as the effort you put in.
Consistent upkeep after a deep clean is what keeps your cabinets looking sharp long-term. A quick weekly wipe near the stove and a running range hood while you cook go further than most people expect. If your cabinets need more than a DIY approach can handle, or if you simply want the job done right the first time, the team at AlphaLux Cleaning is ready to help.