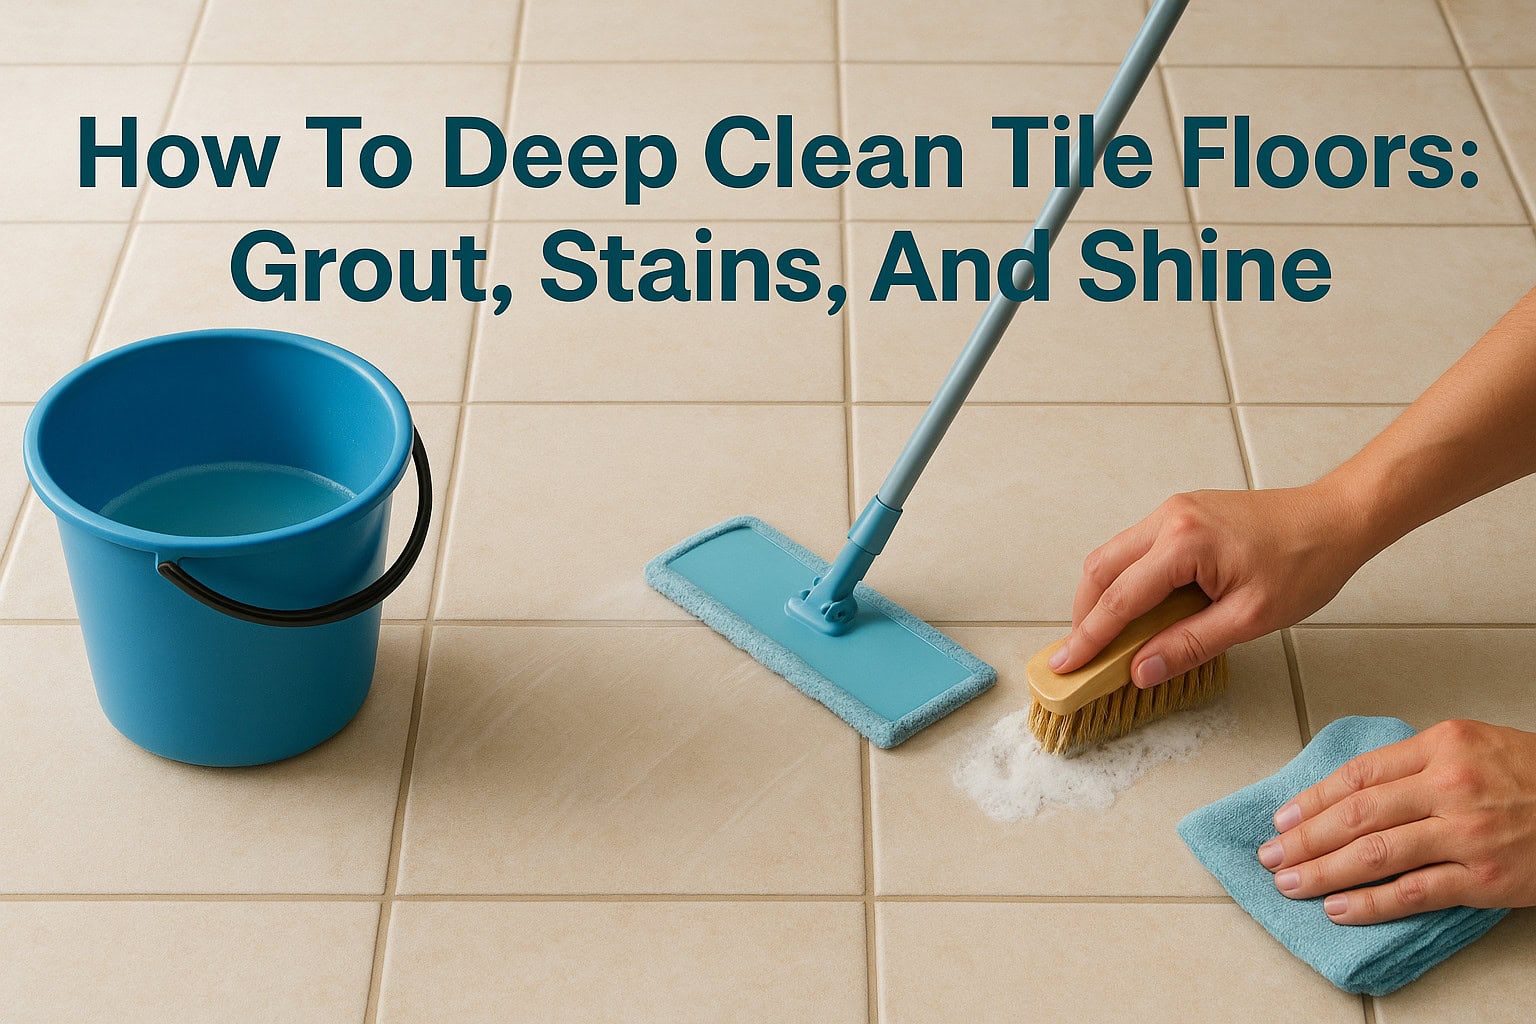
Tile floors are built to last, but even the toughest tile loses its luster when dirt, grime, and stains settle into the surface and grout lines. Regular mopping only does so much, eventually, you need to know how to deep clean tile floors to bring back that original shine. Whether you’re dealing with kitchen grease buildup, dingy bathroom grout, or scuff marks in a high-traffic entryway, a thorough deep clean makes a noticeable difference.
At AlphaLux Cleaning, we deep clean tile floors across New York homes and businesses every day. Our team knows which methods actually work on different tile types, and which ones can cause damage. We’ve put together this guide to share what we’ve learned on the job, so you can tackle the project yourself or at least know what to expect from a professional cleaning.
This article walks you through everything from choosing the right cleaning solution, including DIY options like vinegar and baking soda, to scrubbing grout, removing stubborn stains, and restoring shine. You’ll get clear, step-by-step instructions that work on ceramic, porcelain, and natural stone tile, plus tips on keeping your floors cleaner longer between deep cleans.
What you need before you start
Gathering everything before you start saves you from stopping mid-clean to track down a missing tool. Whether you’re learning how to deep clean tile floors for the first time or doing a scheduled seasonal refresh, having the right tools and cleaning solutions on hand makes the whole process faster and far more effective.
Cleaning solutions
You have two reliable options: DIY mixes or commercial cleaners. For a DIY approach, white vinegar diluted with warm water in a 1:1 ratio works well on ceramic and porcelain tile. Baking soda forms a thick paste for scrubbing grout lines. For heavy staining or deep grout discoloration, an oxygen-based cleaner like OxiClean gives you extra cleaning power without harsh chemical fumes.
Never use vinegar or any acidic solution on natural stone tile such as marble or travertine, since acid permanently etches and dulls the surface.
Stick to a pH-neutral stone cleaner for natural stone, always choosing a product labeled specifically as stone-safe. Here is a quick reference by tile type:
| Tile Type | Recommended Cleaner |
|---|---|
| Ceramic / Porcelain | Diluted white vinegar or all-purpose tile cleaner |
| Natural Stone | pH-neutral, stone-safe cleaner only |
| Grout (any tile) | Baking soda paste or oxygen-based cleaner |
Tools and supplies
The right tools carry most of the workload. You’ll need a stiff-bristle grout brush for scrubbing between tiles, a microfiber mop for washing and buffing the tile surface, and a bucket for your cleaning solution. Keep a second bucket of plain rinse water on hand as well, so you are not spreading dirty solution back across areas you have already cleaned. A spray bottle also makes it easy to target stubborn spots directly.
Also keep dry microfiber cloths ready for buffing and drying after rinsing. Knee pads are worth grabbing too if you are tackling a large floor area, since thorough grout scrubbing puts you close to the ground for a sustained stretch.
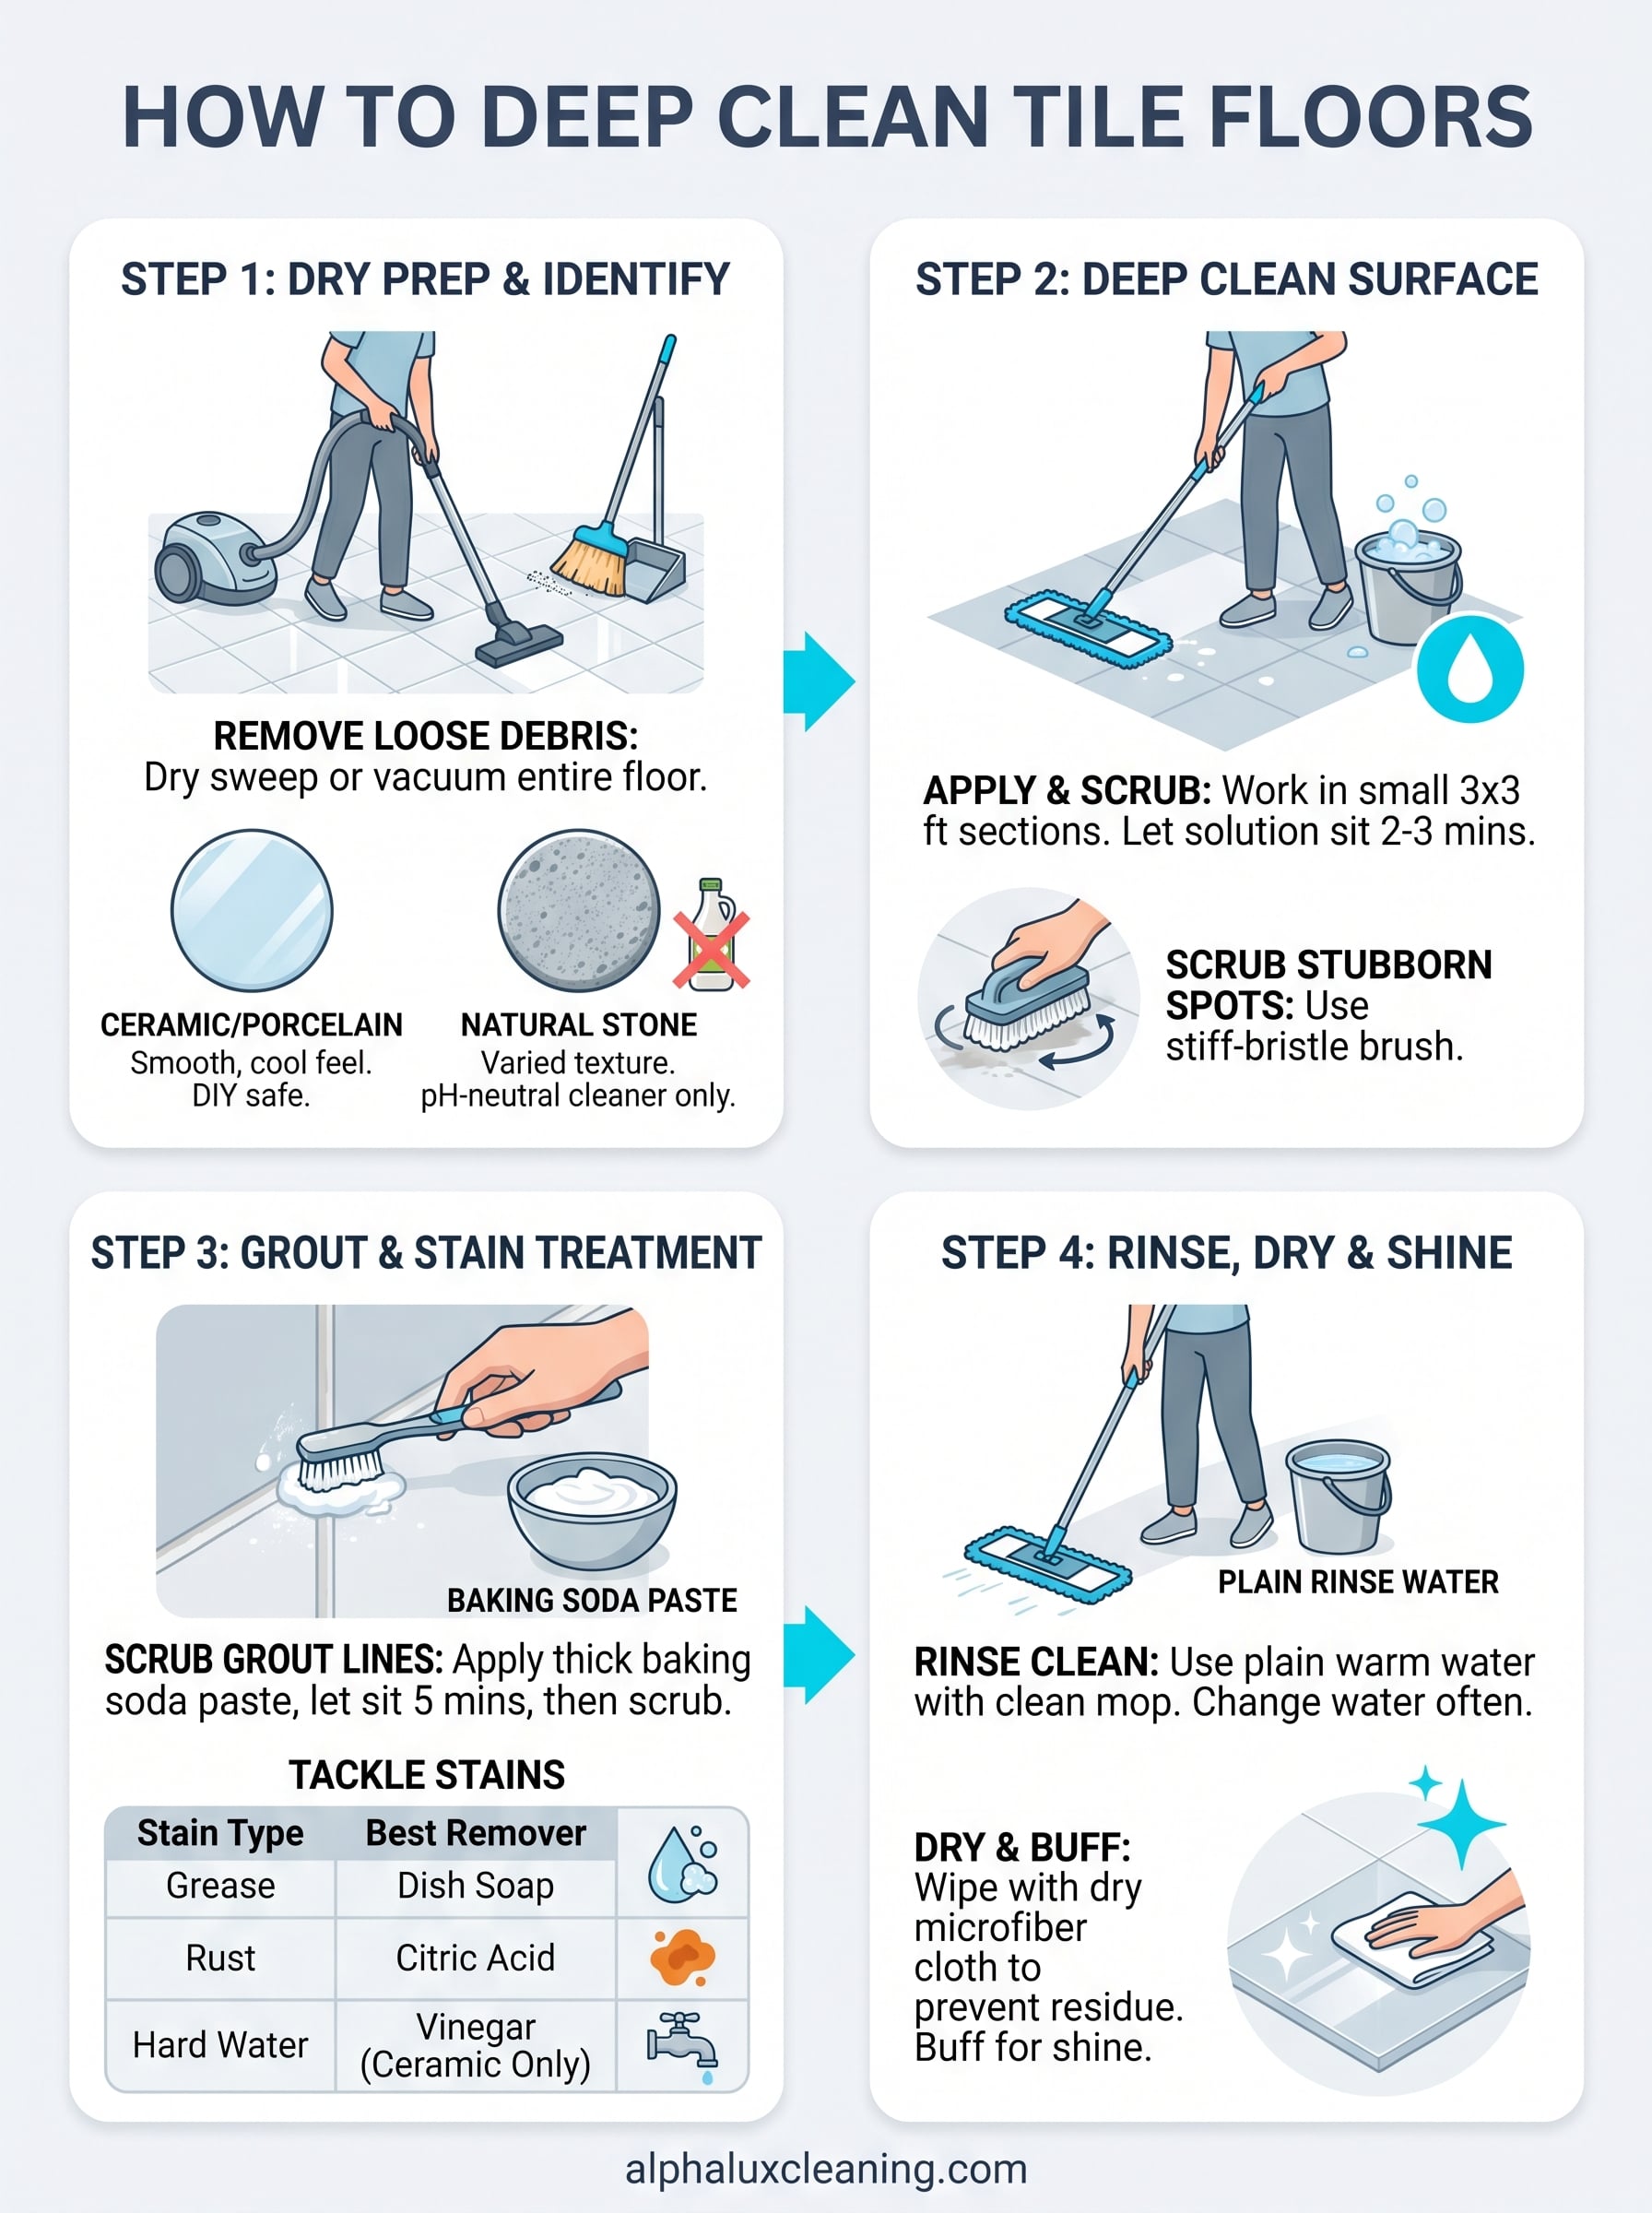
Step 1. Dry prep and identify your tile
Before any water or cleaning solution touches your floor, you need to do two things: remove loose debris and confirm your tile type. Skipping either step leads to muddy residue that gets ground in during scrubbing, or worse, surface damage from the wrong cleaner. This step is where knowing how to deep clean tile floors correctly actually begins.
Dry sweep and vacuum
Start by dry sweeping or vacuuming the entire floor to pull up loose dirt, hair, and grit. Use a vacuum with a hard-floor setting, or a soft-bristle broom if that is what you have. Pay close attention to corners and grout lines, since fine debris collects there and turns into paste the moment it contacts water.
Know your tile type
Run your hand across the tile surface. Ceramic and porcelain tiles feel smooth and slightly cool, while natural stone like marble or slate has a more varied, sometimes porous texture. Check the original flooring documentation if you are unsure.
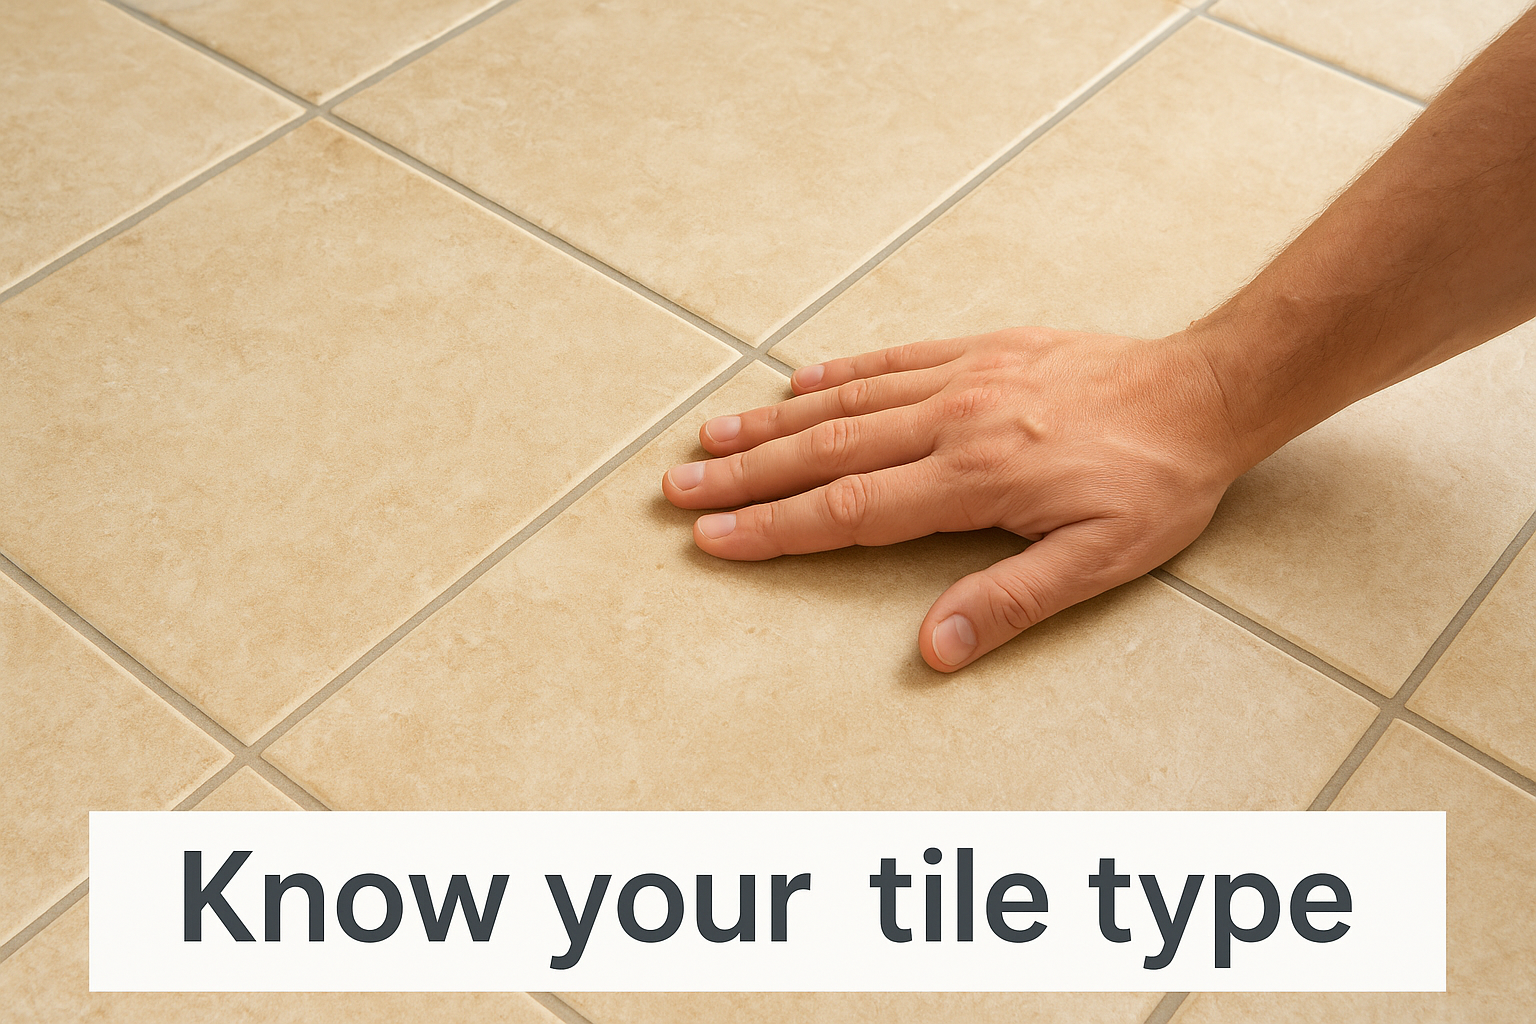
Getting the tile type wrong at this stage is the most common reason deep cleaning causes damage rather than fixing it.
Once you know what you are working with, you can pick the correct cleaning solution from the table in the previous section and move forward without risk.
Step 2. Deep clean the tile surface
With your floor prepped and your tile type confirmed, you are ready to apply your cleaning solution and start working. This is the stage where knowing how to deep clean tile floors pays off most visibly, since proper technique prevents streaks, residue, and missed spots that a quick mop-over leaves behind.
Apply and scrub
Mix your cleaning solution in a bucket according to the ratios from the previous section. Dip your microfiber mop into the solution, wring it out until it is damp but not dripping, and work across the floor in small sections of roughly 3 by 3 feet. Mopping the entire room at once lets the solution dry before you can scrub effectively, which means you end up pushing grime around rather than lifting it.
Let the solution sit on each section for two to three minutes before scrubbing so it can loosen surface grime rather than just moving it around.
Scrub stubborn spots
Use a stiff-bristle brush or a non-scratch scrubbing pad for areas with visible scuff marks or dried residue. Apply steady, moderate pressure and work in small circular motions to lift the deposit without scratching the tile glaze.
Step 3. Reset dingy grout and tackle stains
Clean tile with discolored grout still looks dirty, so grout lines are where the bulk of this step focuses. This is also where knowing how to deep clean tile floors separates a surface-level clean from a true reset.
Scrub the grout lines
Apply a thick baking soda paste directly into the grout lines using an old toothbrush or a dedicated grout brush. Let it sit for five minutes, then scrub in firm back-and-forth strokes along the length of each line. For heavier discoloration, mix the baking soda with a small amount of hydrogen peroxide instead of water to boost the whitening effect.
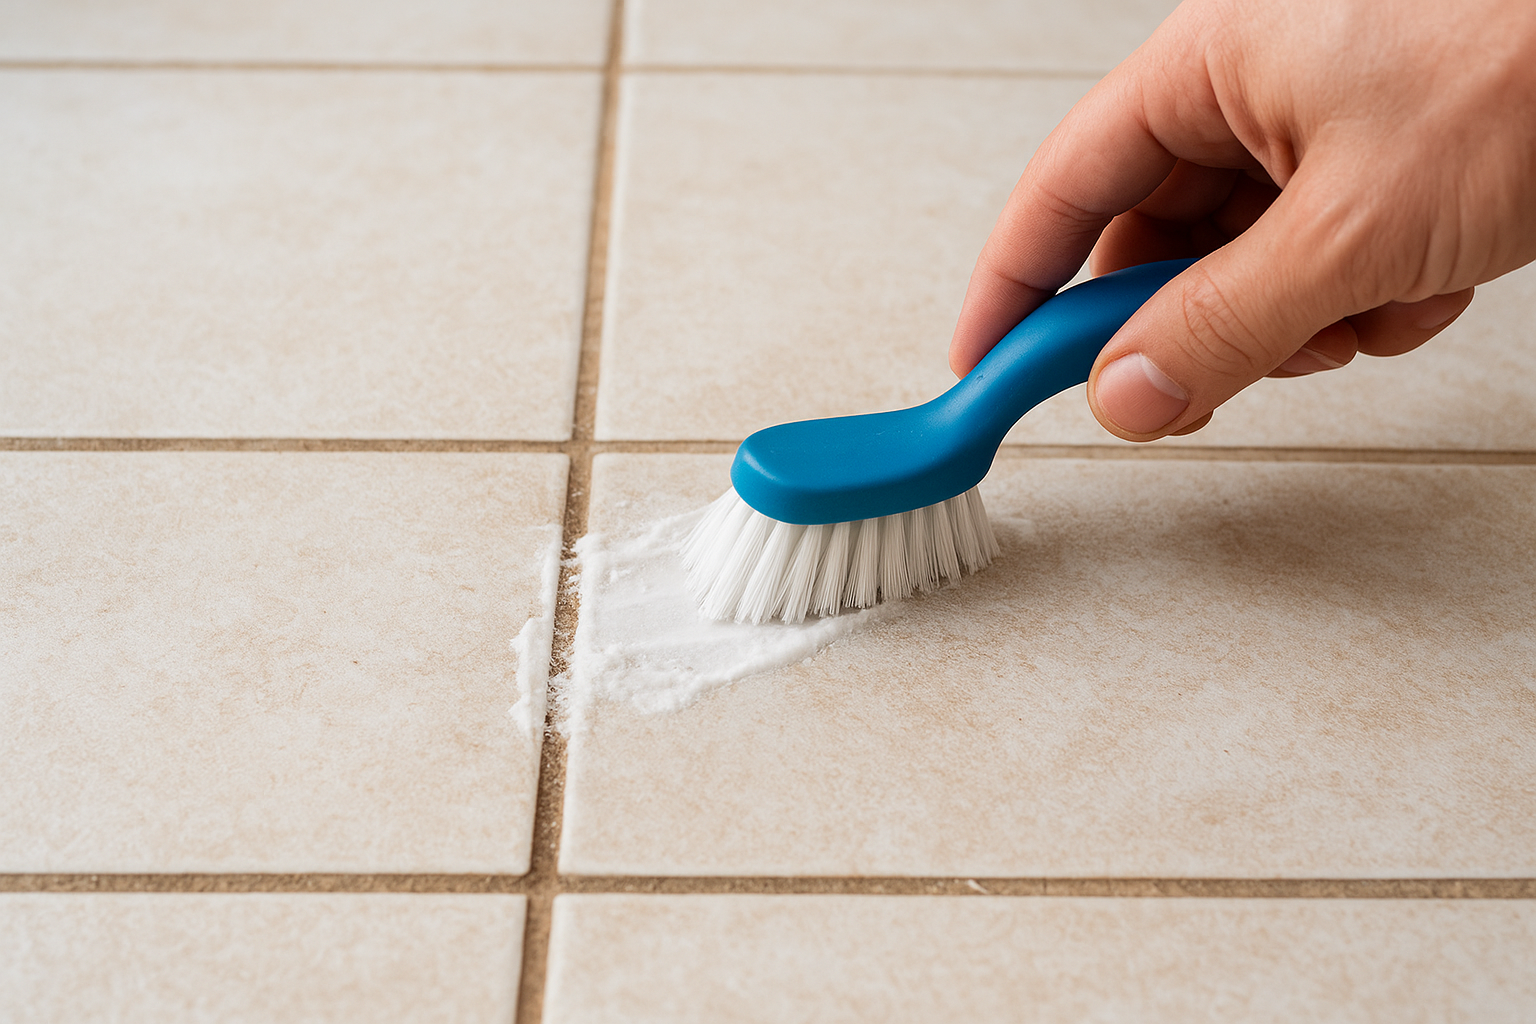
Avoid steel wool or metal-bristle brushes on grout; they strip the surface and make grout absorb stains faster over time.
Tackle set-in stains
Different stains need different approaches, so identify what you are dealing with before you reach for a cleaner. Grease stains respond well to a drop of dish soap worked in with a scrub brush. Rust stains need a citric acid-based remover applied directly to the spot and left for ten minutes before scrubbing. Hard water deposits lift cleanly with undiluted white vinegar on ceramic or porcelain tile only.
| Stain Type | Best Remover |
|---|---|
| Grease | Dish soap + warm water |
| Rust | Citric acid-based remover |
| Hard water | Undiluted white vinegar (ceramic/porcelain only) |
Step 4. Rinse, dry, and bring back the shine
Rinsing is not optional, and it is not just a quick mop-over with water. Cleaning solution residue left on the floor attracts dirt faster than a bare floor would, which means you undo your hard work within days. This final step in knowing how to deep clean tile floors is what locks in the results you just spent time earning.
Rinse the floor clean
Fill your second bucket with plain warm water and go back over the entire floor with a clean, wrung-out mop using the same small-section method you used when applying the cleaner. Swap out the rinse water as soon as it clouds up, since dirty water redeposits grime right back onto the surface you just scrubbed.
One pass is rarely enough; run a second rinse over grout-heavy areas or anywhere you applied a heavy baking soda paste.
Dry and buff for shine
Do not let the floor air dry on its own. Standing water soaks into grout and encourages mildew growth, especially in bathrooms. Use dry microfiber cloths to wipe the tile surface in straight passes, then follow up with a clean, dry microfiber mop to buff the tile to a finish. Natural stone benefits from one additional pass with a stone-safe polish to restore its full luster.
A simple wrap-up and next steps
You now have a complete process for how to deep clean tile floors: dry prep, surface scrubbing, grout treatment, and a proper rinse and dry finish. Each step builds on the last, and skipping any one of them costs you noticeable results. Consistent deep cleaning every three to six months keeps grout from discoloring permanently and protects your tile surface from the kind of buildup that becomes genuinely difficult to reverse.
If the job feels too large, or if your grout has reached a point where DIY methods are not cutting through, a professional clean gets results that are hard to match on your own. The AlphaLux Cleaning team serves homes and businesses across New York with thorough, reliable tile and floor cleaning. Reach out today for a free estimate and get your floors back to the condition they deserve.