
A sticky stovetop, grease-coated range hood, and a fridge that smells like last week’s leftovers, knowing how to clean a kitchen properly means tackling all of it, not just wiping down the counters and calling it done. The kitchen is the hardest-working room in your home, and it deserves more than a surface-level pass. But without a clear plan, deep cleaning can feel overwhelming and easy to put off.
At AlphaLux Cleaning, we deep clean kitchens across New York State every single day. Our trained crews follow a tested process that covers every surface, appliance, and forgotten corner, and we’re sharing that exact approach here. Whether you’re rolling up your sleeves for a DIY deep clean or you want to know what a professional-level result actually looks like, this guide gives you a realistic standard to aim for.
Below, you’ll find a complete step-by-step checklist that walks you through cleaning your kitchen from top to bottom. We cover appliances, cabinets, floors, sinks, and the small details most people skip. Grab your supplies and block out some time, by the end of this guide, you’ll have everything you need to get your kitchen back to a state that actually feels clean, not just looks clean. And if you’d rather hand the job off to professionals, AlphaLux Cleaning is always just a booking away.
Before you start: supplies, products, and timing
Good preparation is what separates a deep clean that actually gets done from one that stalls halfway through. The most common reason people abandon a kitchen clean mid-job is running out of a product or realizing they don’t have the right tool for the surface in front of them. Pulling your supplies, products, and timing together before you start means you work straight through without stopping to improvise or make a hardware store run.
What you’ll need: the complete supply list
You don’t need a cabinet full of specialty products to get this right. A set of reliable, multi-purpose tools and a few targeted cleaners will cover every surface in your kitchen. Here’s the full list to pull together before you start:
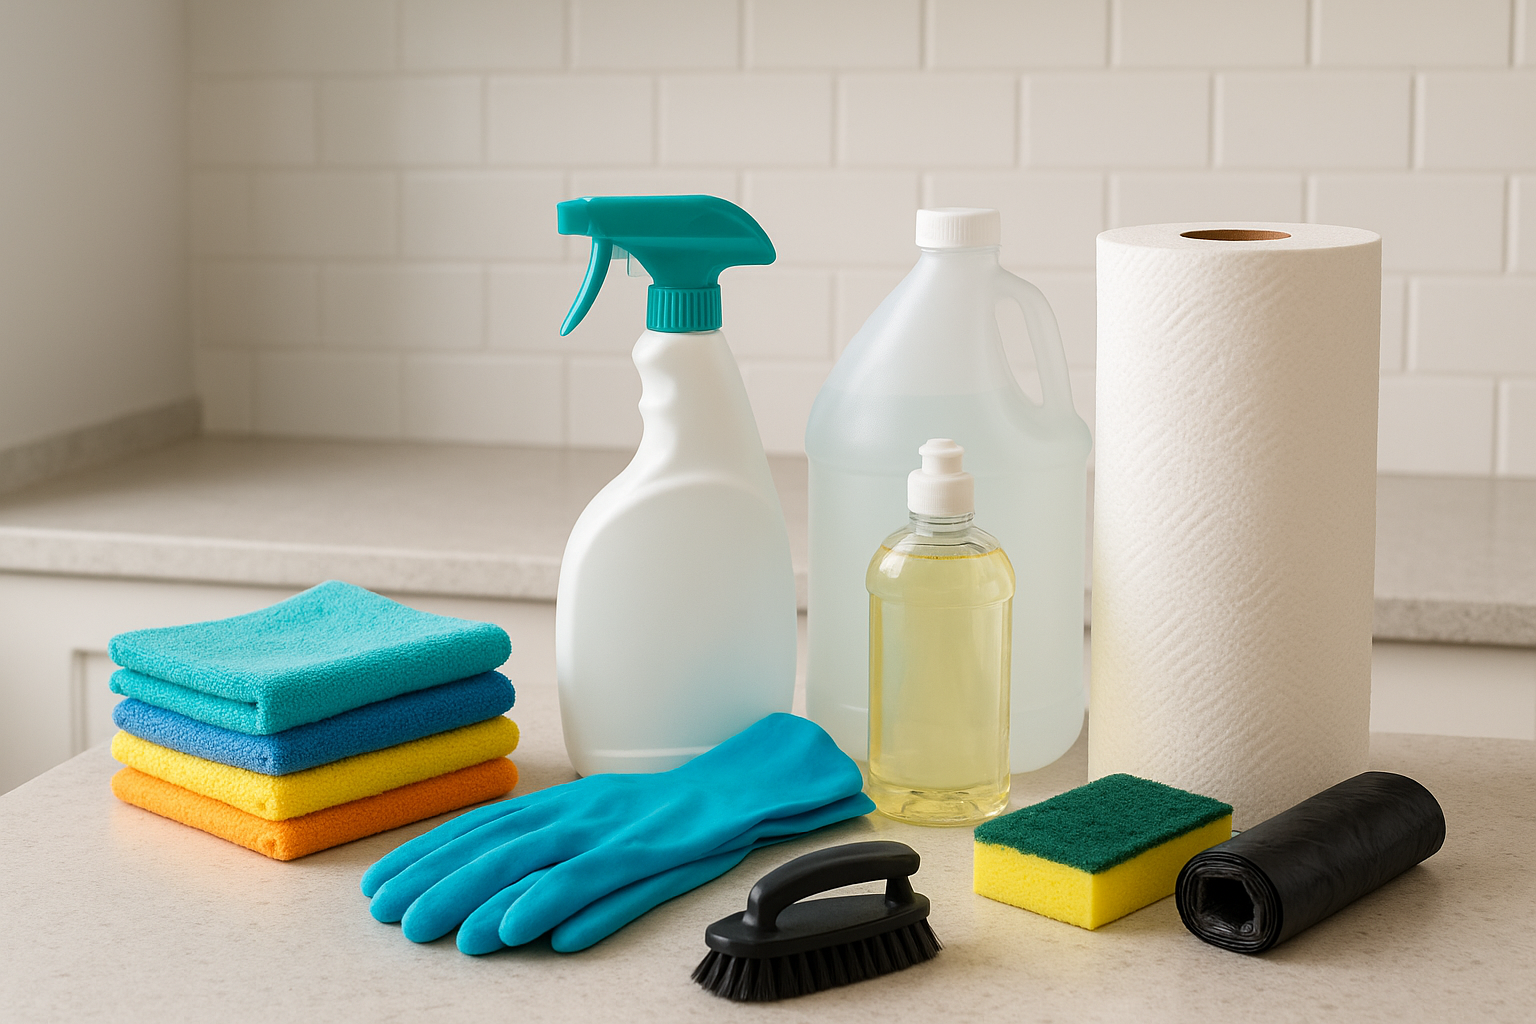
Tools:
- Microfiber cloths (at least 4 to 6, for different surfaces)
- Non-scratch scrub sponges
- A stiff-bristle brush (for grout lines and tight corners)
- Rubber gloves
- Trash bags
- Mop and bucket or a spray mop
Cleaning products:
- All-purpose spray cleaner
- Kitchen degreaser
- Dish soap
- Baking soda
- White vinegar
- Glass cleaner
- Paper towels for the final wipe
Choosing safe, effective products
Not every cleaner belongs in a kitchen. Harsh chemical sprays can leave residue on surfaces where you prepare food, and certain product combinations, like bleach and ammonia, produce dangerous fumes in an enclosed space. For most everyday surfaces, an all-purpose, food-safe cleaner handles grease and grime effectively. Baking soda and white vinegar together cover the majority of stubborn stains and odors without putting your household at risk.
If you have young children or pets, use non-toxic, fragrance-free products on floors and lower cabinet surfaces, since those areas see the most direct contact.
For stovetop grease and range hood buildup, a dedicated kitchen degreaser is worth keeping on hand. All-purpose sprays simply don’t cut through heavy, baked-on grease the way a concentrated degreaser does. Spray it on, let it sit for 5 to 10 minutes before scrubbing, and that dwell time will do more work than extra elbow grease ever will.
How long does a kitchen deep clean take?
Most people underestimate the time a proper deep clean requires, and that underestimate is exactly why so many cleans get rushed or abandoned before the floor is done. A thorough top-to-bottom clean, the kind that covers every surface, appliance, and corner this guide walks you through, takes 2 to 4 hours for an average-sized kitchen. That estimate assumes you are working steadily and know how to clean a kitchen from start to finish without stopping to figure out what comes next.
If your kitchen hasn’t had a deep clean in several months, add 30 to 60 extra minutes to your estimate to account for built-up grease and layers of grime. Block the time on your calendar, clear the kitchen of other people if you can, and keep your phone out of reach. Interruptions are the single biggest reason deep cleans end up half-finished with the floor still dirty.
Step 1. Declutter, dishes, and quick pickup
Starting with the clutter before you touch a single cleaner is the most important habit to build when learning how to clean a kitchen properly. If you spray and wipe around piles of mail, appliances you never use, and random items that migrated from other rooms, you’ll clean around the mess rather than through it. Start every session by removing everything that doesn’t belong in the kitchen before you open a single product.
Clear the counters completely
Before you apply any product to any surface, pull everything off the counters and either return items to their correct place or set them aside in a box to sort later. This includes appliances you haven’t used in weeks, mail, bags, and anything that crept in from other rooms. Clearing the space first means you can clean every inch of the countertop in one pass instead of lifting and replacing items as you go.
Here’s a quick triage approach for counter items:
- Put back: items you use daily (toaster, coffee maker, knife block)
- Relocate: items that belong in another room or a cabinet
- Trash or donate: anything broken, expired, or untouched for months
Do the dishes before anything else
Dirty dishes sitting in the sink block one of the surfaces you need to clean, and they make it harder to rinse cloths and tools as you work through the rest of the steps. Load the dishwasher or wash by hand now, then set the dishes to dry so the sink is completely free before you move on.
A clear sink becomes your working station for rinsing cloths throughout the entire clean, which cuts down on wasted time and trips.
Once the dishes are handled, take out the trash and drop a fresh bag in the bin. You’ll generate debris, used wipes, and food scraps throughout this whole process, and an empty bin from the start means you won’t have to stop mid-clean to deal with an overflowing one.
Step 2. Work top to bottom: dust and cabinets
When learning how to clean a kitchen efficiently, the top-to-bottom rule saves you from redoing work. Dust and debris fall downward, so if you wipe counters before you clean cabinet tops and light fixtures, you’ll end up cleaning the same surface twice. Always start at the highest points in the room and work your way steadily down to the floor.
Start at the ceiling: vents, light fixtures, and upper surfaces
Ceiling vents and light fixtures collect grease-laced dust faster than almost any other spot in the kitchen because cooking vapors float upward and cling to every surface they touch. Use a dry microfiber cloth to wipe ceiling fan blades, light fixture covers, and the top edges of cabinet boxes. For range hood vents, a cloth dampened with degreaser handles the sticky buildup that dry wiping alone won’t lift.
Don’t skip the top of the refrigerator and upper cabinet surfaces. They accumulate a thick layer of greasy dust that transfers right back onto your clean counters if you leave them alone.
Work across the room in one direction rather than jumping from wall to wall. Pick a starting point and move systematically to the opposite side so no section gets skipped or doubled up.
Clean cabinet exteriors and handles
Cabinet fronts take a beating from cooking grease, handprints, and splatter. Spray your all-purpose cleaner directly onto a microfiber cloth rather than onto the cabinet surface itself, since soaking wood or painted finishes can cause warping or peeling over time. Wipe each door panel in the direction of the grain or finish, then follow immediately with a dry cloth to pull off any leftover moisture.
Handles and knobs are high-touch points that hold bacteria long after a visual wipe looks clean. Use a dampened cloth to get into the grooves around each handle, then dry thoroughly. Pay extra attention to the area just below handles where fingers drag grease downward with every pull.
Step 3. Deep clean appliances without backtracking
Appliances take the most time in any kitchen deep clean because baked-on grease and food residue need dwell time to loosen before you scrub. The key to knowing how to clean a kitchen efficiently is to start cleaning agents on one appliance, move to another while the product sits, and return to scrub when the dwell time is up. This rotation keeps you moving steadily instead of standing around waiting for a product to work.
Start with the oven and microwave
These two appliances get the dirtiest and need the longest dwell time, so activate them before you touch anything else. For the oven, remove the racks and soak them in hot soapy water in your sink. Then coat the interior walls with a baking soda and water paste (roughly 3 parts baking soda to 1 part water), close the door, and let it sit for at least 20 minutes while you move on.
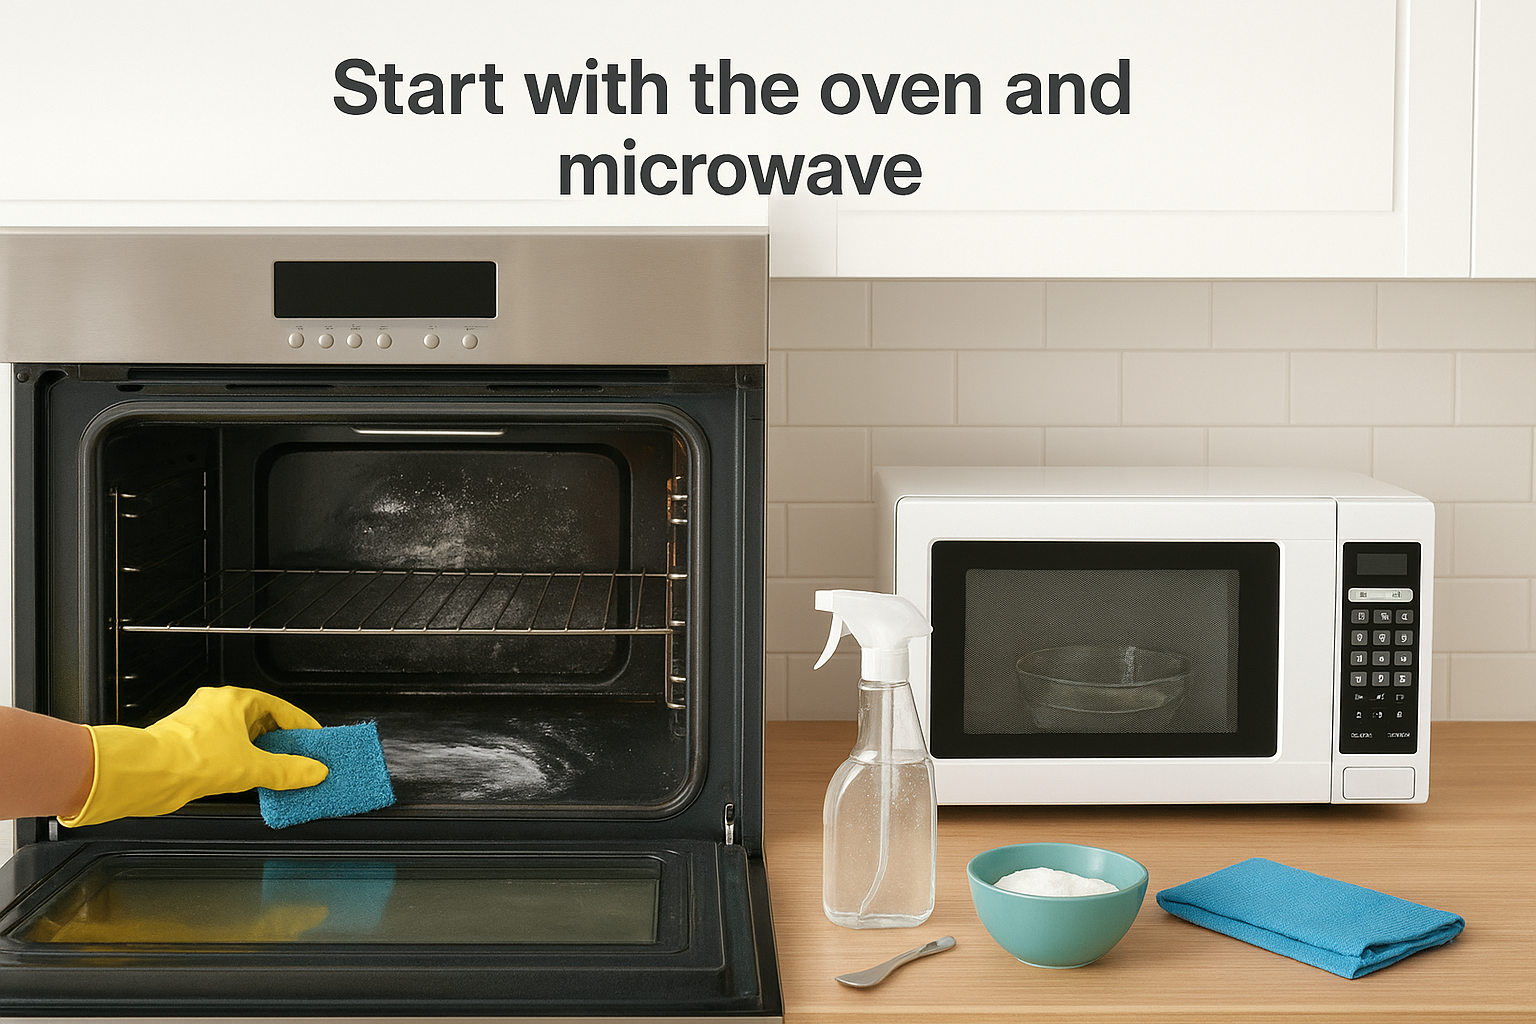
For the microwave, place a microwave-safe bowl filled with one cup of water and a few tablespoons of white vinegar inside and run it on high for 3 to 5 minutes. The steam loosens splatter on the walls and ceiling so you can wipe everything clean with a single damp cloth when you come back.
This steam method handles even dried, stubborn splatter that a dry wipe or spray alone would take serious scrubbing to remove.
Tackle the refrigerator and dishwasher next
While your oven paste and microwave steam do their work, move directly to the refrigerator. Pull out each shelf and drawer, wash them in your sink with warm soapy water, and wipe the interior walls with an all-purpose cleaner. Toss expired items as you go so the fridge is both clean and organized when you replace everything.
For the dishwasher, place a cup of white vinegar on the top rack and run a hot cycle. This pulls out mineral deposits and built-up odors without any scrubbing required on your part.
Step 4. Counters, sink, trash, and floors
By the time you reach this step, your appliances are clean and your cabinets are wiped down. Now you move to the horizontal surfaces, the sink, and finally the floor, which should always be the last thing you clean so any debris from earlier steps lands on a surface you haven’t finished yet. This sequence is the backbone of knowing how to clean a kitchen without creating extra work for yourself.
Countertops and the sink
Spray your all-purpose cleaner across the entire counter surface and let it sit for 30 seconds before wiping. Work from the back of the counter toward the edge so you push debris forward rather than scatter it across a clean section. Grout lines and the seam where counters meet the backsplash collect grease and crumbs that a flat wipe misses, so run a stiff-bristle brush along those gaps before making your final pass with a microfiber cloth.
Dry your counters completely after cleaning. Moisture left sitting on stone or laminate surfaces causes streaking and, over time, can damage the finish.
For the sink, scrub the basin with baking soda applied directly to a damp sponge. Baking soda handles stains and odors without scratching stainless steel or porcelain. Rinse the basin, then wipe down the faucet, handles, and the area around the drain with a cloth dampened with all-purpose cleaner. Dry everything with a clean cloth so water spots don’t form.
Sweep and mop the floors
Sweep or vacuum the floor before you mop to pick up loose crumbs and debris. Mopping over dry debris just spreads it around and leaves your floor dirtier than when you started. Work from the far corner toward the door so you don’t walk back across a wet floor and track footprints through it.
Mop in controlled, overlapping passes using a cleaner appropriate for your floor type. Tile floors handle a diluted all-purpose cleaner well, while hardwood requires a wood-safe formula applied sparingly. Change your mop water if it turns visibly dirty before you finish.
Keep it clean with a simple weekly plan
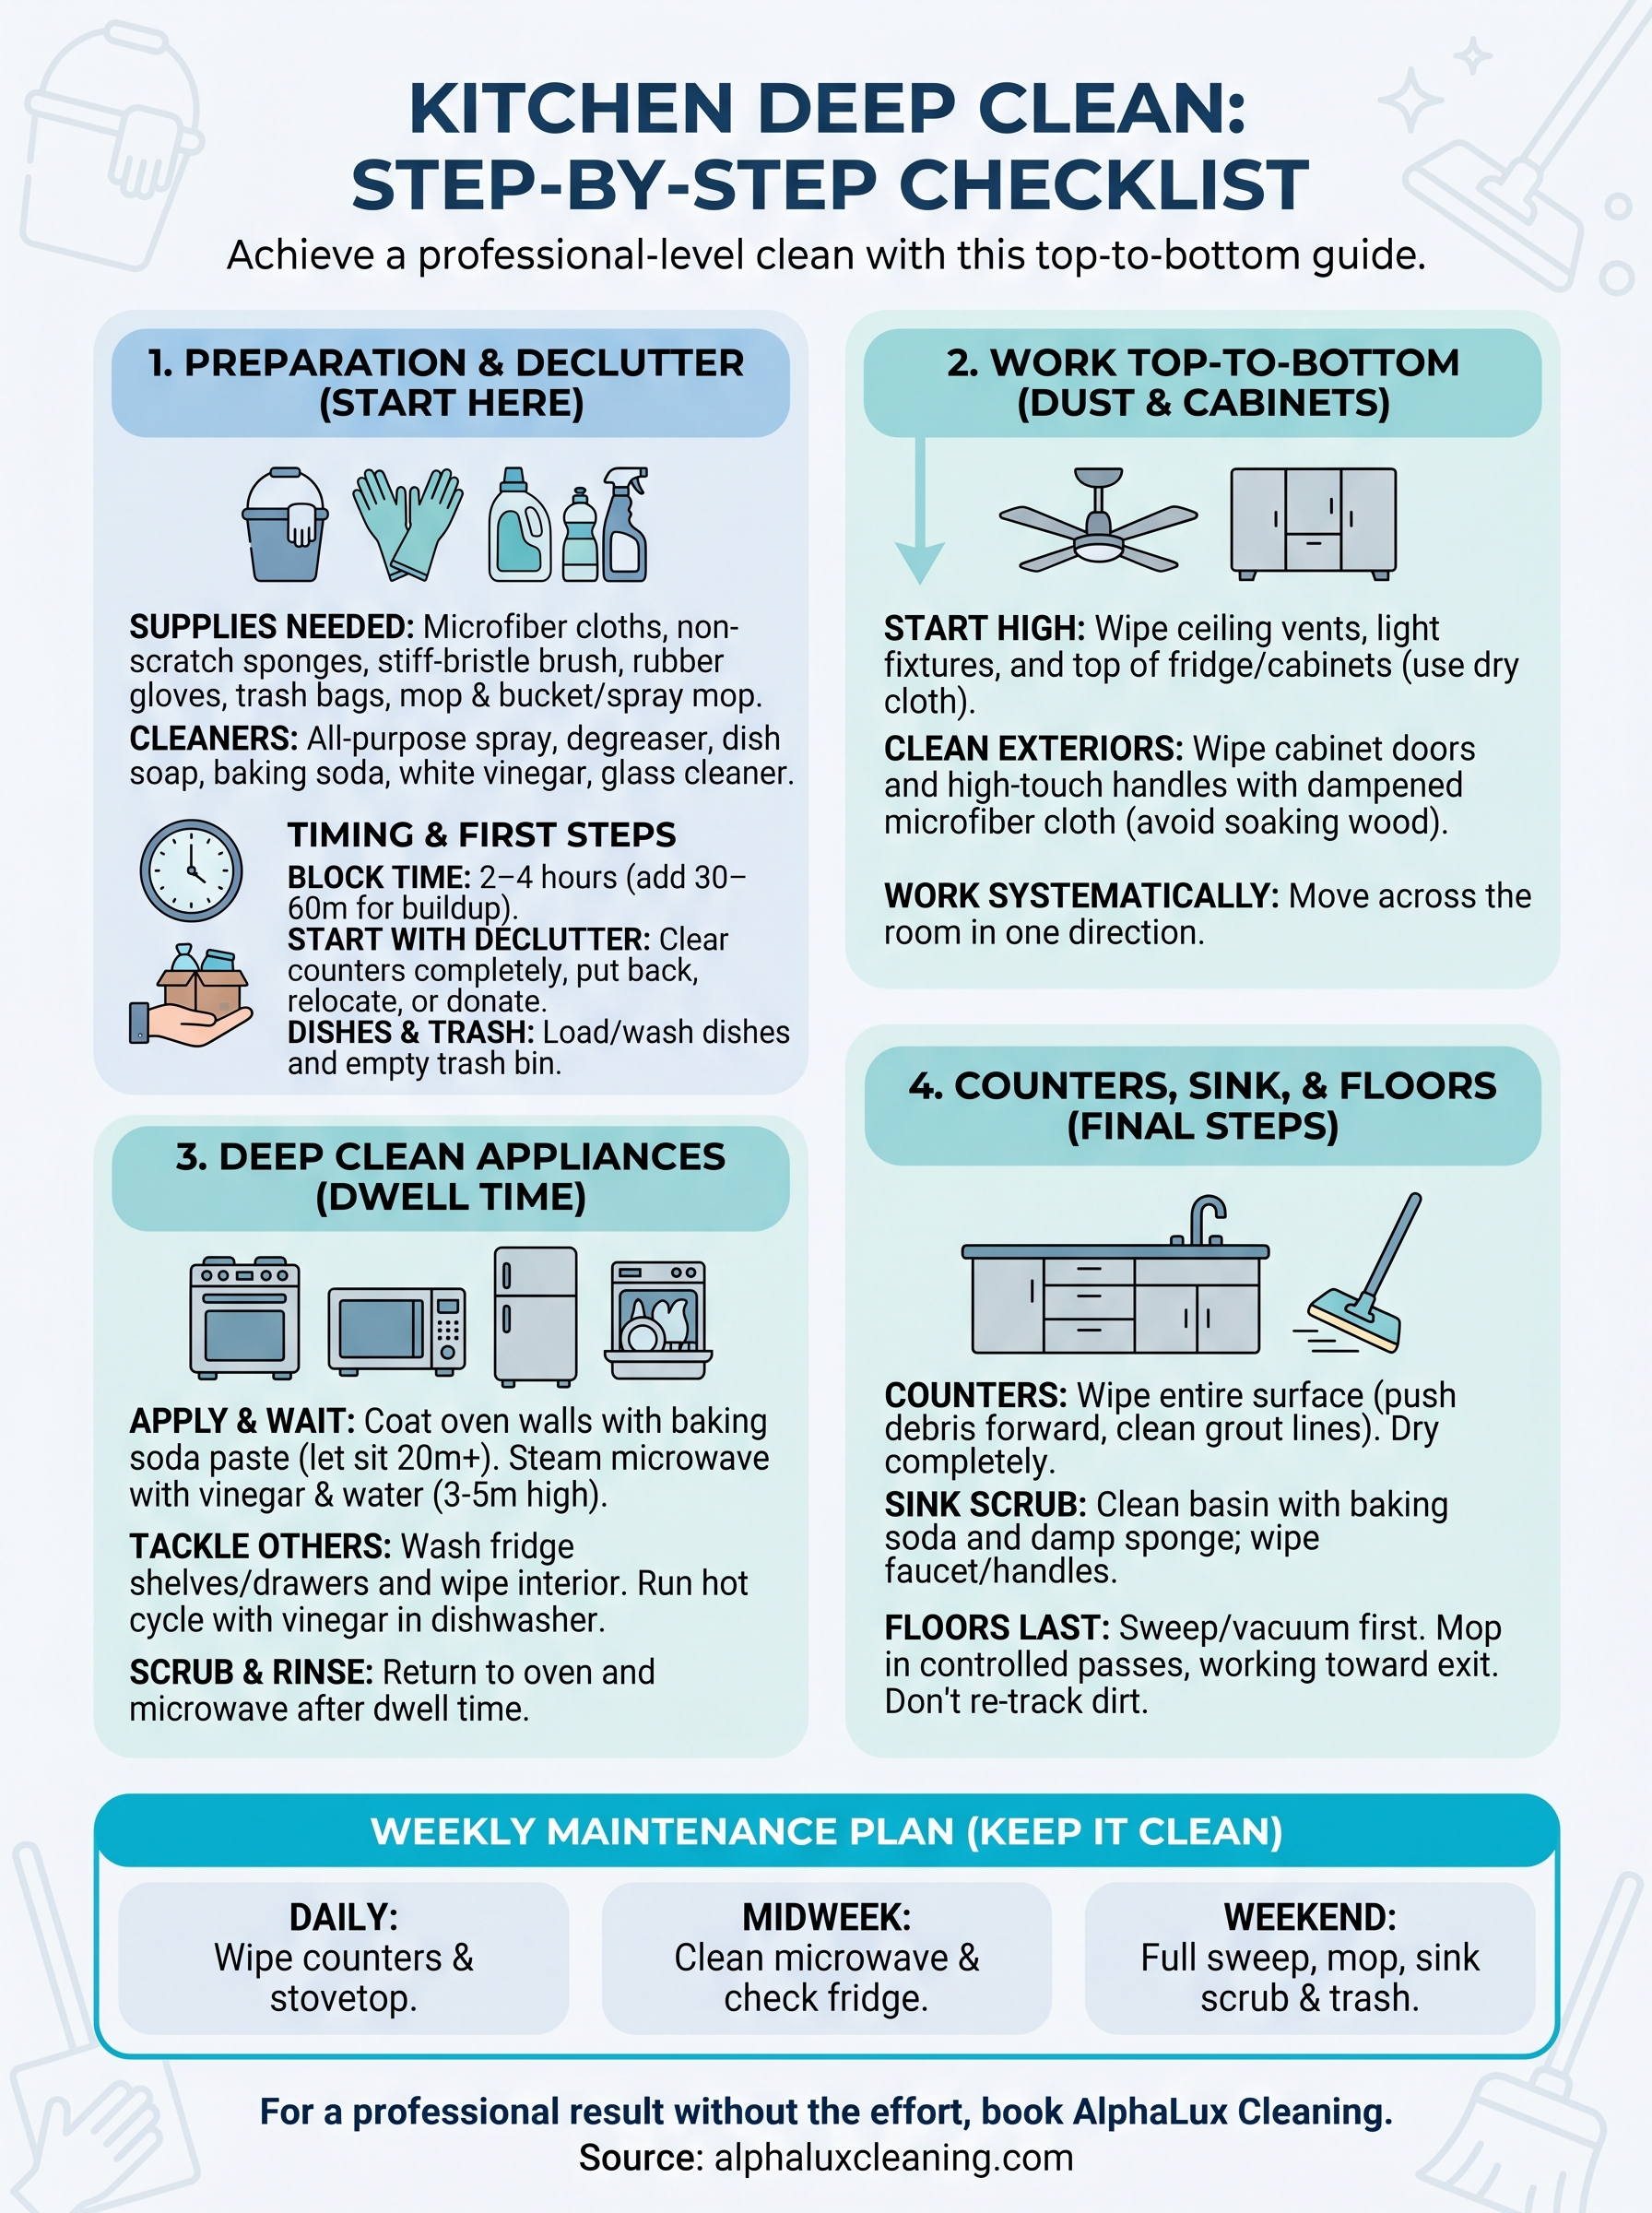
A deep clean gives you a reset, but a short weekly routine is what keeps your kitchen from needing another full session in two weeks. Once you know how to clean a kitchen from top to bottom, the upkeep becomes straightforward. Wipe counters and the stovetop daily, do a quick cabinet handle wipe every few days, and run a full sweep-and-mop once a week. That rhythm prevents grease and grime from layering up into the kind of buildup that takes hours to remove.
This simple weekly checklist keeps the work consistent without turning into a project:
- Daily: Wipe counters and stovetop after cooking
- Midweek: Clean the microwave and check the fridge for expired items
- Weekend: Full sweep, mop, sink scrub, and trash change
If a deeper clean is overdue or you’d rather hand it off entirely, professional kitchen cleaning services from AlphaLux Cleaning get your kitchen back to a standard that’s hard to match on your own.