
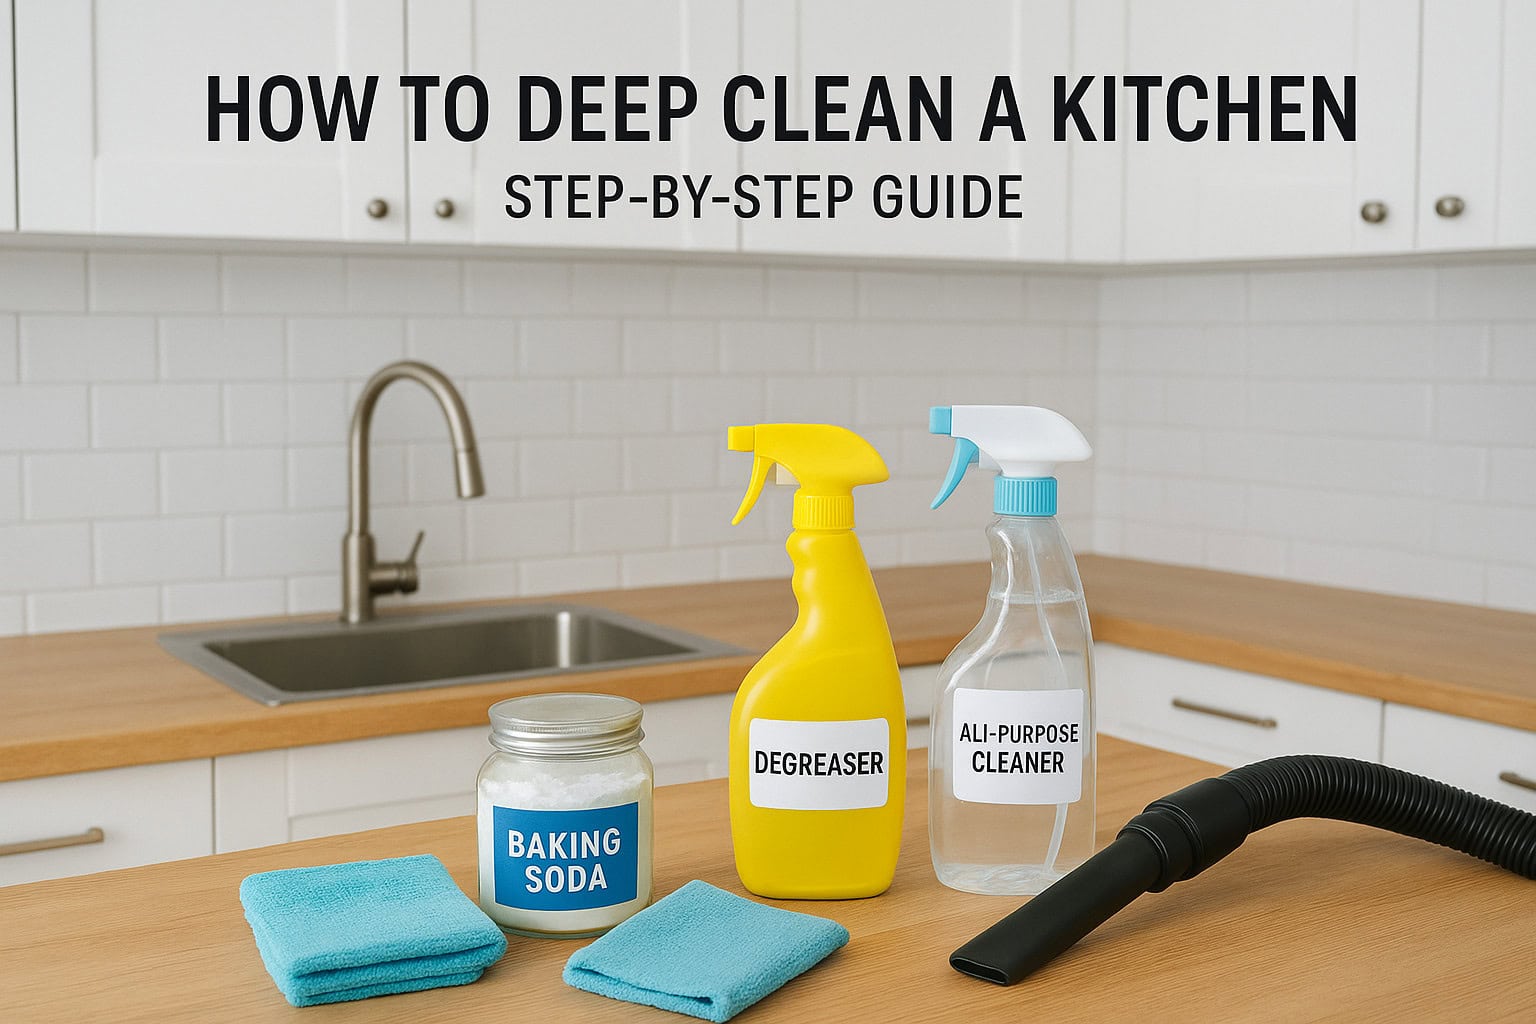
Your kitchen looks fine at a glance, but you know what’s hiding behind the toaster and inside the fridge seals. Regular wiping keeps things presentable, while learning how to deep clean a kitchen actually removes the grease buildup, crumbs, and grime that pile up in spots you skip every day.
This guide gives you a room-by-room checklist that starts at the ceiling and works down to the baseboards, covering appliances, cabinets, countertops, and floors in the order that actually saves you time. You’ll get specific steps for degreasing your stove hood, descaling your coffee maker, and pulling out the fridge to clean underneath it, not just vague tips to
What you need before you start
Grabbing random sprays from under the sink halfway through the job wastes time and usually leaves streaks. Before you touch a single cabinet, gather your supplies and map out your time so you can move through the kitchen in one continuous pass instead of stopping every twenty minutes to hunt for a rag.
Stock up on the right supplies
You don’t need a cart full of specialty products to deep clean a kitchen well. A short list of multi-purpose cleaners and a few dedicated tools covers almost everything, from greasy stove hoods to sticky cabinet fronts.
| Supply | What it’s for |
|---|---|
| Degreaser (or dish soap + hot water) | Stove, oven interior, range hood, cabinet fronts |
| All-purpose cleaner | Counters, sink, backsplash, appliance exteriors |
| Baking soda | Scrubbing burnt-on grime and deodorizing the fridge |
| White vinegar | Descaling the coffee maker and cutting through hard water spots |
| Microfiber cloths (8-10) | General wiping without scratching finishes |
| Old toothbrush or grout brush | Grease in corners, stove knobs, gasket seals |
| Rubber gloves | Protecting your hands from degreasers and hot water |
| Vacuum with crevice attachment | Crumbs in drawers, under appliances, behind the fridge |
| Trash bags | Sorting out expired pantry items and freezer food |
Eco-friendly options work just as well for most of this list. Plain white vinegar, baking soda, and a mild dish soap handle the majority of kitchen grime without leaving chemical residue on surfaces where you prepare food.
Give yourself enough time
Rushing is where deep cleans fall apart. A standard kitchen takes most people between three and five hours to deep clean properly, and that includes letting degreaser sit on the oven and stove for 15 to 20 minutes before you scrub. If you’re tackling a kitchen that hasn’t seen a deep clean in over a year, plan for closer to a full afternoon.
A deep clean isn’t a faster version of your weekly wipe-down, it’s a slower, more deliberate pass through every surface you normally skip.
Breaking the job into the four steps below, rather than trying to do everything at once, keeps the work manageable and stops you from burning out halfway through the cabinets.
Set up basic safety first
Open a window or turn on the range hood fan before you start mixing cleaning products. Never combine bleach with ammonia-based cleaners or vinegar, since the fumes are genuinely dangerous, not just unpleasant. If you’re unplugging the fridge or moving heavy appliances to clean behind them, have a second person around, or at minimum clear a path so you’re not straining your back. The Environmental Protection Agency notes that indoor air quality can suffer when cleaning chemicals mix improperly, so ventilation matters as much as the products themselves (source: EPA.gov).
Once your supplies are staged and your window is cracked, you’re ready to start where the mess actually begins: the cabinets and pantry shelves you open every single day without really looking at.
Step 1. Clear out and wipe down cabinets and pantry
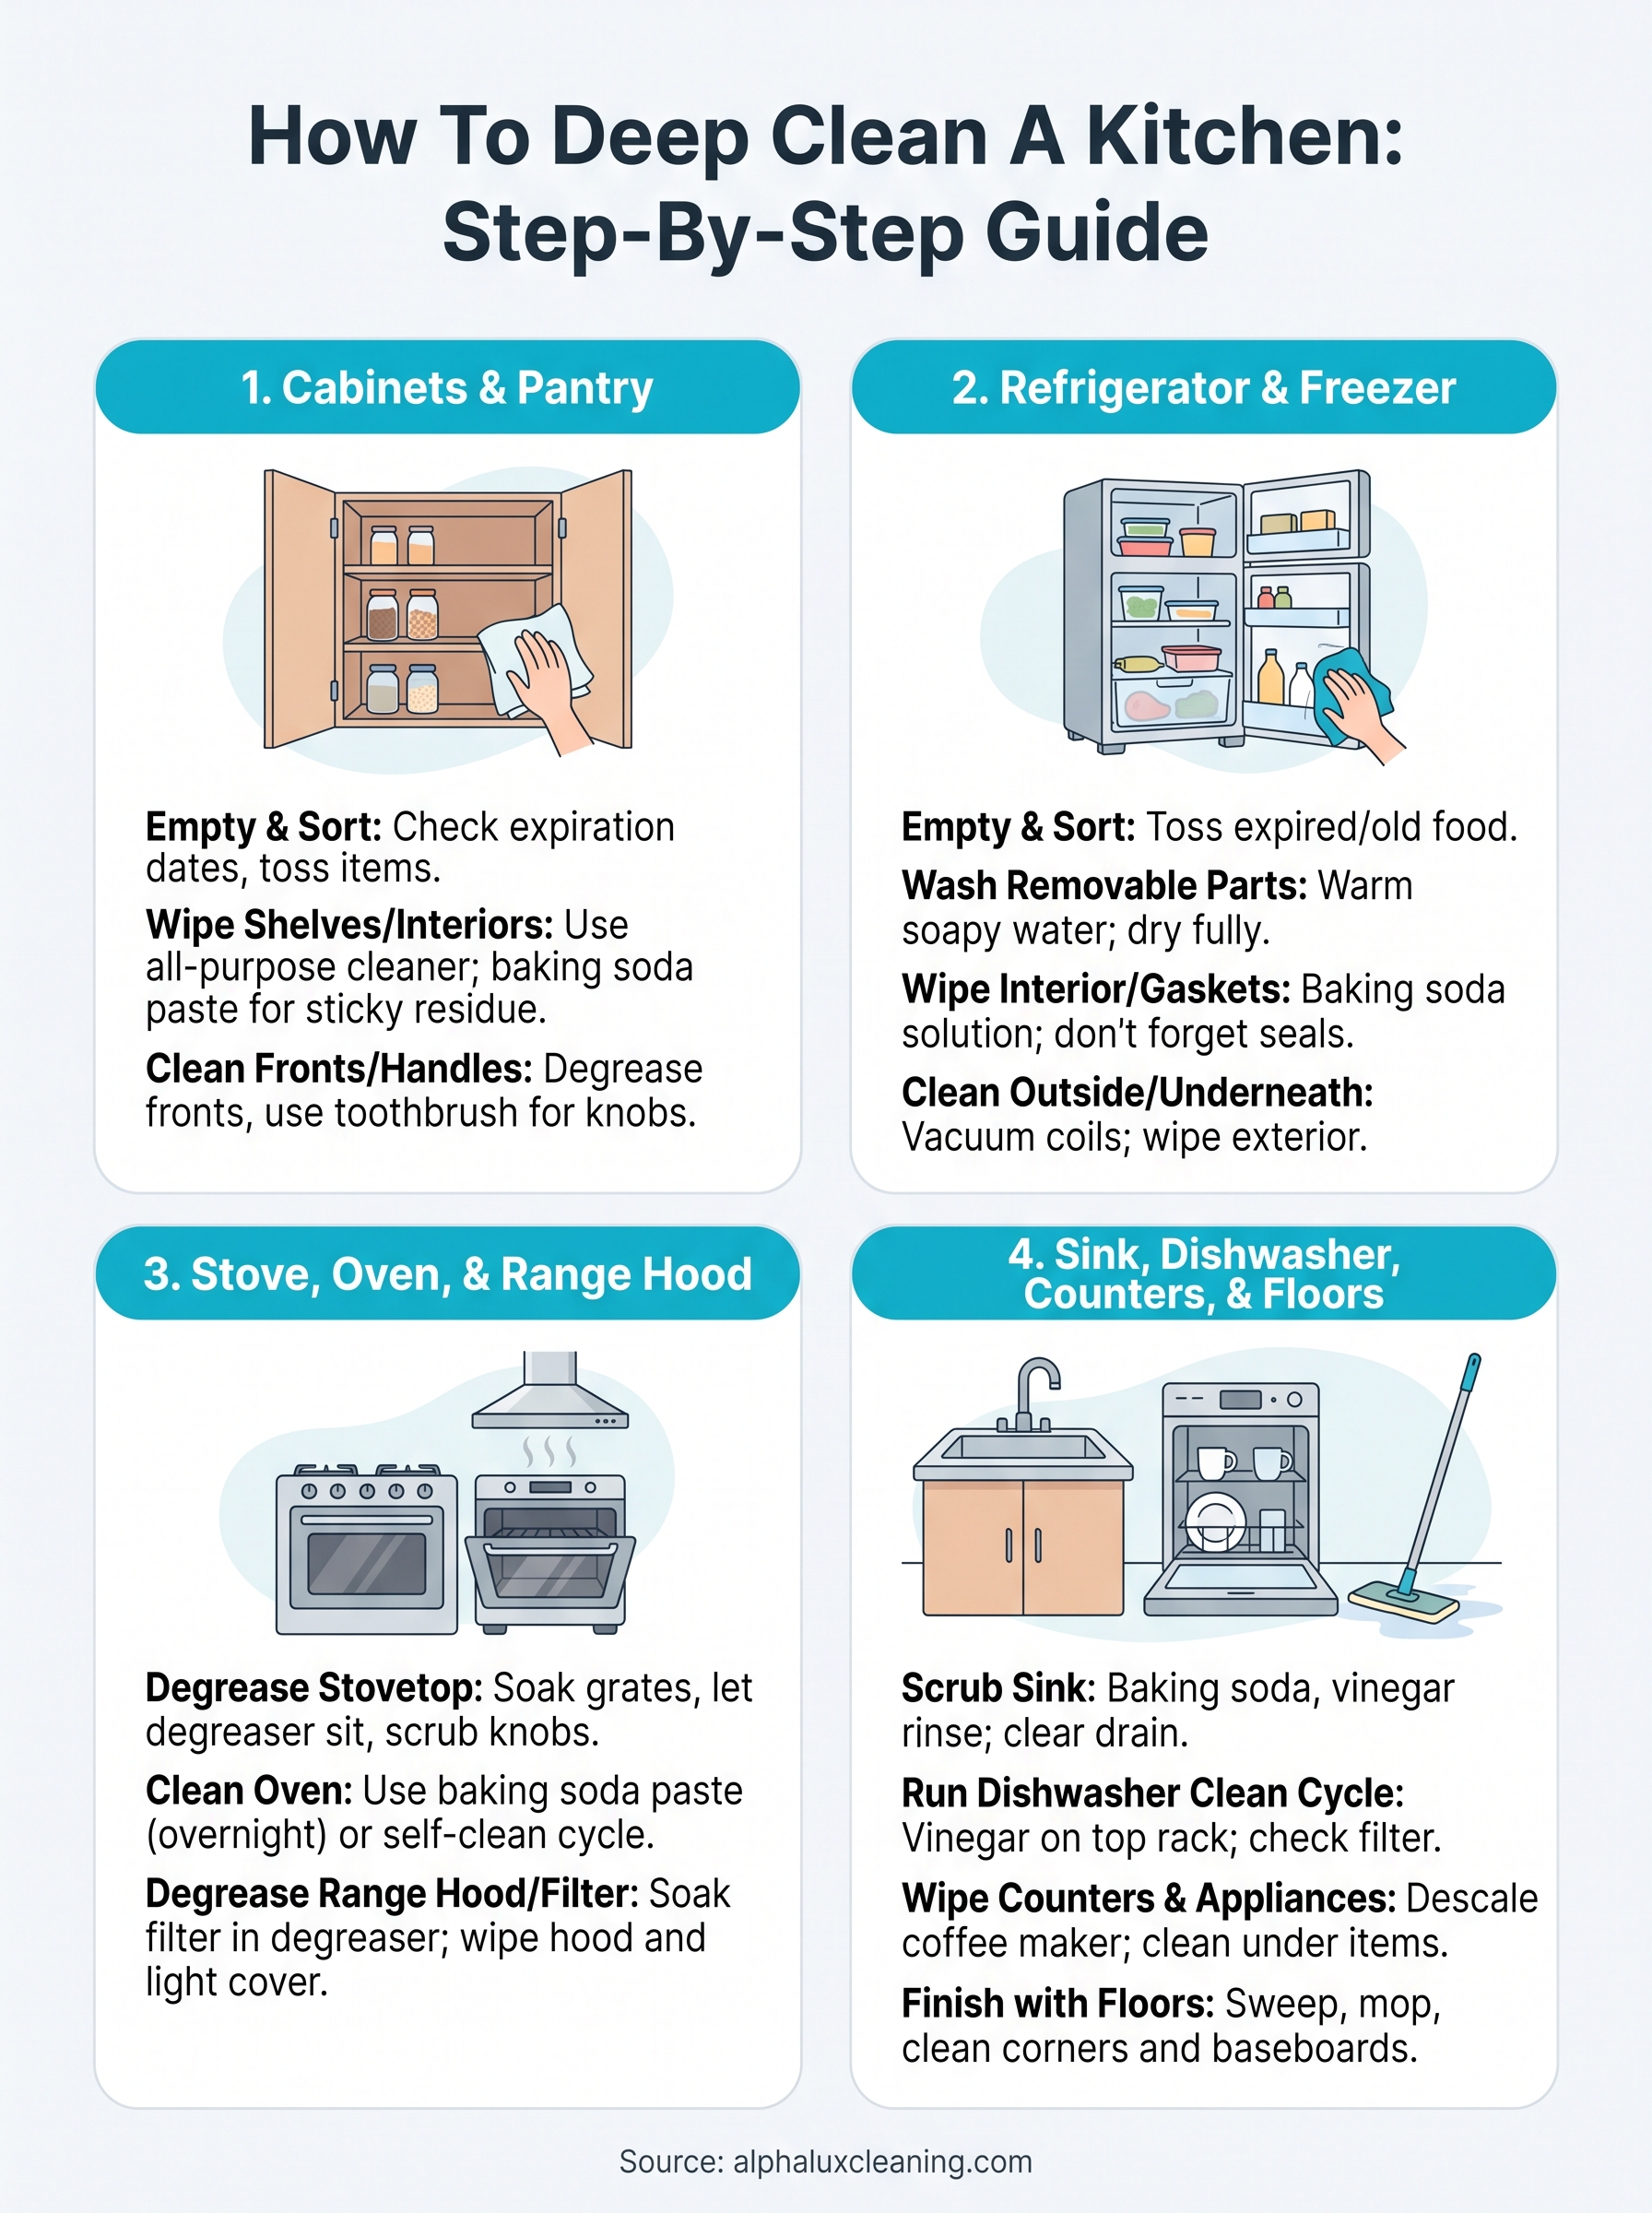
Start at the top of your cabinets and work your way down, since crumbs and dust from upper shelves will fall onto lower ones anyway. Pulling everything out at once forces you to actually look at what you’re storing instead of just wiping around it.
Empty every shelf and sort as you go
Take everything off one shelf at a time rather than dumping the whole cabinet onto your counter. Sorting as you empty keeps the job from turning into a bigger mess than the one you started with.
- Check expiration dates on canned goods, spices, and dry pantry items
- Toss anything with signs of pantry moths or stale smells
- Group items into keep, donate, and trash piles
- Wipe jars and containers before they go back in
A deep clean of your cabinets isn’t complete until you’ve actually thrown something away, not just rearranged it.
Wipe down shelves and interiors
Once a shelf is empty, spray it with your all-purpose cleaner and wipe with a microfiber cloth, paying attention to the back corners where crumbs and spilled sugar tend to settle. For sticky residue from honey or syrup that’s hardened onto the shelf liner, a paste of baking soda and water loosens it without scratching the surface. Vacuum the shelf with your crevice attachment before wiping if you see visible crumbs, since wiping first just smears them into a paste.
Clean cabinet fronts and handles
Cabinet doors and handles collect a layer of grease from cooking splatter and hand contact that you barely notice day to day. Use your degreaser on the fronts, working in small sections, and go over handles and knobs with an old toothbrush since grime tends to build up in the grooves. Wood cabinets need a gentler touch, so stick to a diluted dish soap solution instead of a heavy degreaser that can strip the finish.
Reload with purpose
Before putting items back, line shelves with fresh paper if you use liners, and group similar items together so future spills and expired products are easier to spot. This is also the moment to decide if your current pantry organization is actually working, since you’re already handling every item anyway. A well-organized cabinet also makes your next deep clean faster, because you’ll spend less time sorting and more time wiping.
Step 2. Deep clean the refrigerator and freezer
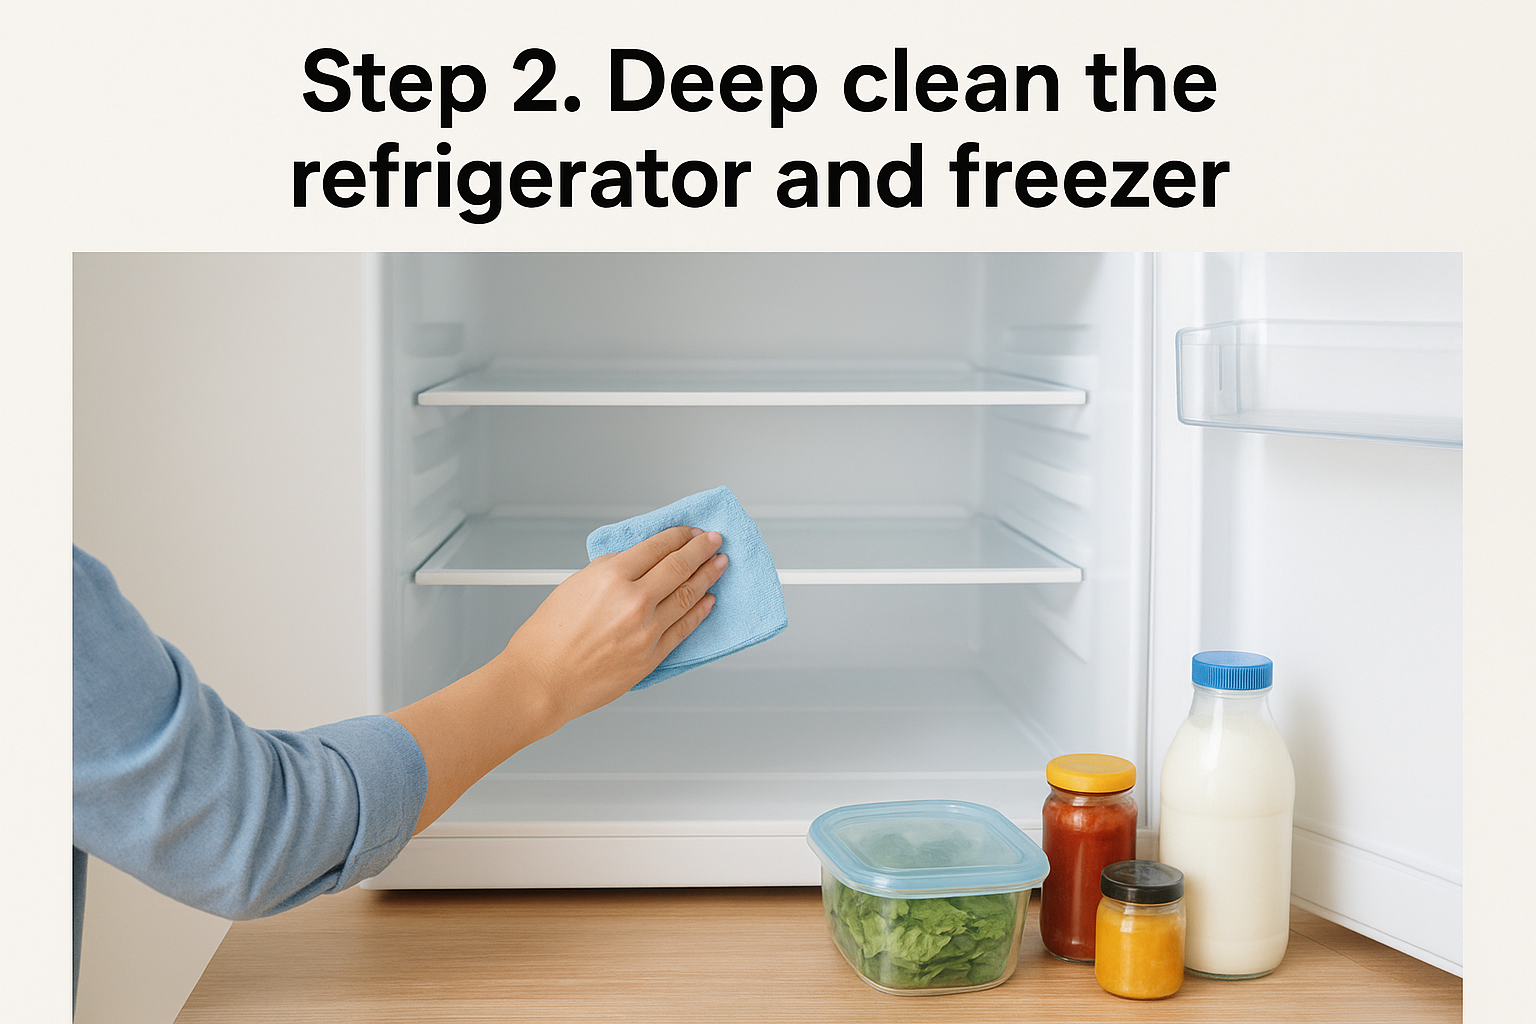
Unplug the fridge, or at least switch it to its lowest cooling setting, before you start pulling out shelves and drawers. This step gets skipped constantly because it means dealing with food, but the fridge holds more hidden grime than almost any other appliance in your kitchen, from sticky spill rings under condiment jars to mystery drips at the back of the bottom shelf.
Empty it out and sort the food
Pull everything out and check it as you go, since a deep clean is the natural point to toss what’s actually expired rather than pushing it to the back for another month. Group items on your counter so cold things stay grouped together and don’t sit out too long.
- Toss anything past its expiration date or showing mold
- Consolidate half-used condiments into fewer containers
- Check the freezer for freezer-burned items you’ll never actually eat
- Set aside anything you want to keep cold in a cooler while you work
Wash removable shelves and drawers
Take out every shelf, drawer, and door bin you can, and wash them in warm soapy water in the sink rather than wiping them in place. Glass shelves that are cold to the touch can crack under hot water, so let them come to room temperature first. Dry each piece fully before sliding it back in, since trapped moisture leads to mildew smells over time.
Wipe the interior and tackle odors
Mix a solution of baking soda and warm water, roughly two tablespoons per quart, and wipe down every interior wall, including the door seals where crumbs and sticky residue collect unnoticed. This mixture cuts through grime without leaving behind the chemical smell that a stronger cleaner would trap inside a sealed space where you store food.
A fridge that looks clean on the shelves but smells off almost always has the problem hiding in the door gasket.
Don’t forget the outside and underneath
Wipe down the door and handles with an all-purpose cleaner, then pull the fridge away from the wall if it’s on wheels or light enough to move safely. Vacuum the coils on the back or bottom, since dust buildup there makes the compressor work harder and can shorten the appliance’s lifespan.
Step 3. Degrease the stove, oven, and range hood
Grease compounds over time into a sticky film that regular wiping never fully removes, especially around the stove and hood. This is the step where letting your degreaser sit and do the work matters more than how hard you scrub, so apply it early and move on to another task while it breaks down the buildup.
Tackle the stovetop first
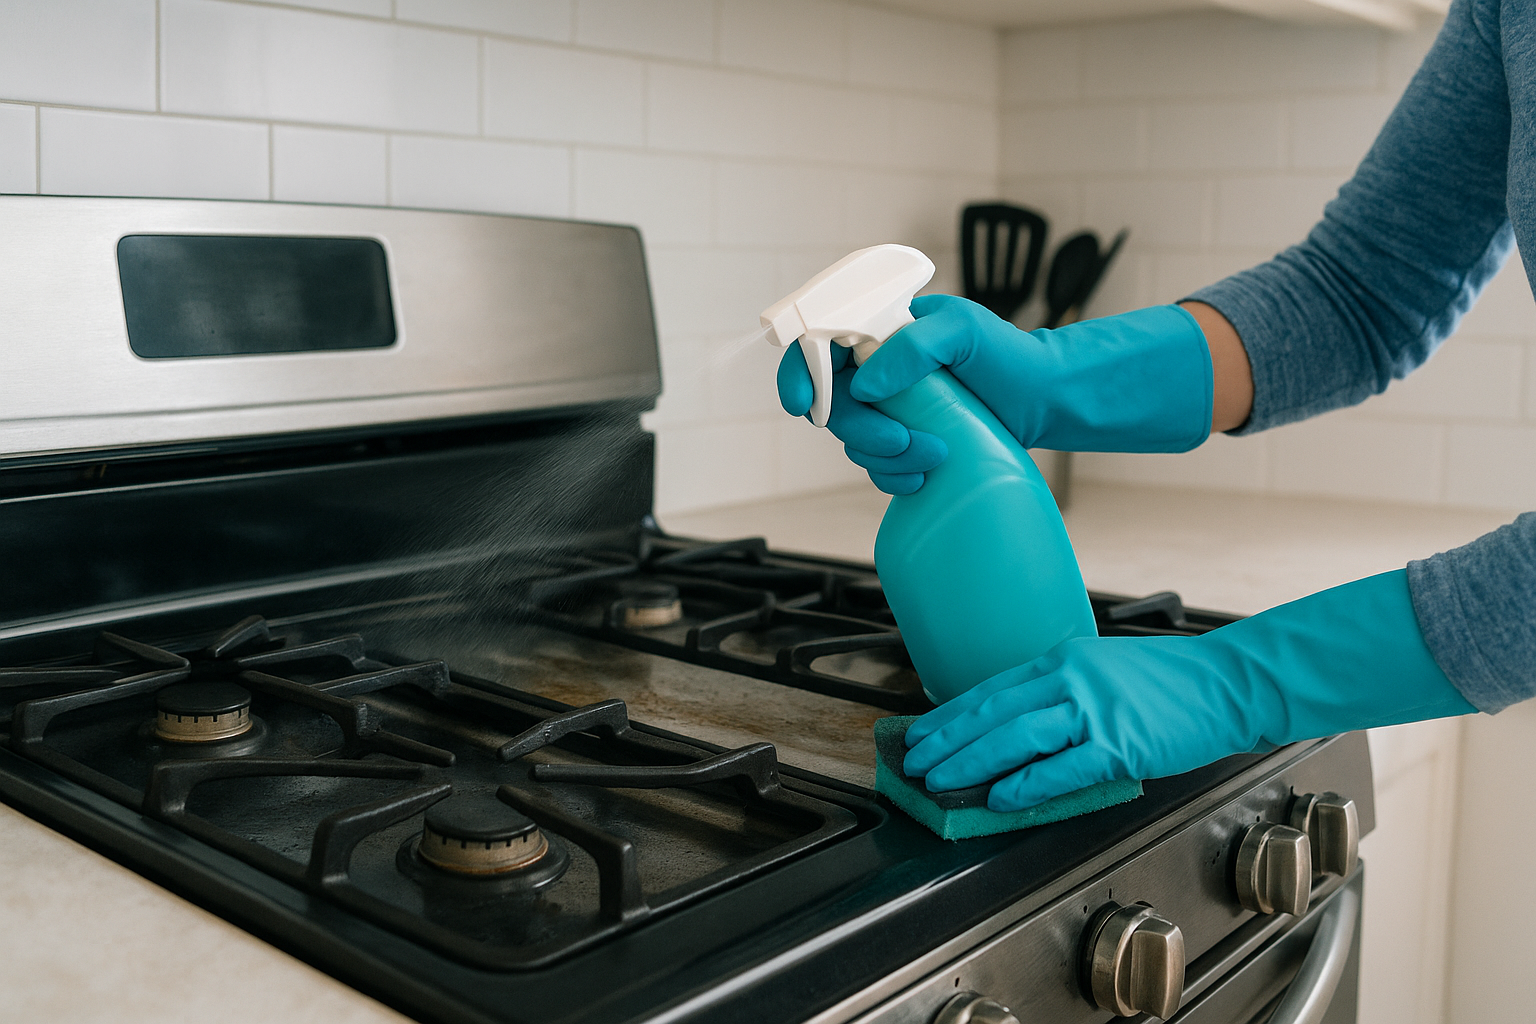
Remove the grates and burner caps and soak them in hot water with dish soap while you work on everything else. Spray the stovetop itself with degreaser and let it sit for the full 15 to 20 minutes mentioned earlier, then scrub with a non-abrasive pad, using your old toothbrush for the tight spots around ignition switches. Wipe the knobs separately, since food splatter collects in the grooves and around the base where they meet the panel.
Grease you can’t see under the knobs is usually thicker than the grease you can see on the stovetop.
Deep clean the oven interior
If your oven has a self-cleaning cycle, run it first, then wipe out the ash residue once it cools. Without that feature, follow this simple sequence instead:
- Spread a thick paste of baking soda and water over the interior walls and floor, avoiding the heating elements
- Let it sit for at least four hours, or overnight for heavy buildup
- Wipe out the paste with a damp cloth, then spray with white vinegar to lift any remaining residue
- Clean the oven door glass separately with all-purpose cleaner, since baked-on splatter here often needs a second pass
Degrease the range hood and filter
The range hood filter traps airborne grease from every meal you’ve cooked, and a clogged filter makes your hood far less effective at pulling smoke and odors out of the kitchen. Remove the filter and soak it in hot water with degreaser or dish soap for 10 minutes, then scrub with a brush before rinsing and letting it air dry completely. Wipe the hood’s exterior and the underside where grease tends to drip, and don’t skip the light cover, since it’s usually coated in a thin greasy film that dims the bulb underneath.
Step 4. Finish with the sink, dishwasher, counters, and floors
By this point you’ve handled the appliances that hide the worst grime, so this last stretch moves faster. Finishing how to deep clean a kitchen properly means working from the sink outward to the floors, since anything you knock loose while wiping counters ends up underfoot anyway.
Scrub the sink and clear the drain
Sprinkle baking soda across the basin and scrub with a non-abrasive sponge, paying attention to the area around the drain where soap scum and food particles build a slick film. For stainless steel, follow the grain of the metal to avoid dulling the finish, and finish with a vinegar rinse to cut hard water spots and bring back some shine. Run hot water down the drain for a minute, then pour in a half cup of baking soda followed by a cup of vinegar to break up any lingering odor-causing buildup.
Run a cleaning cycle in the dishwasher
Pull out the bottom rack and check the drain filter for trapped food scraps, since this is the most common source of a dishwasher smelling worse than the dishes it’s cleaning. Wipe the door seal by hand, then place a cup of white vinegar on the top rack and run a hot, empty cycle to clear grease and mineral deposits from the interior.
A dishwasher can’t clean itself if its own filter is clogged with last month’s food scraps.
Wipe counters, backsplash, and small appliances
Clear everything off the counters and wipe underneath items you normally leave in place, like the toaster or coffee maker, since crumbs and dust collect there constantly. Descale the coffee maker by running a cycle of equal parts water and vinegar through it, followed by two cycles of plain water to rinse the taste away.
End with the floors
Sweep or vacuum first to clear loose debris, then mop with a solution suited to your flooring, whether that’s tile, laminate, or hardwood. Get into the corners and along the baseboards with a smaller brush, since mops tend to skip the edges where dust and grease actually settle.
Keeping your kitchen spotless going forward
A deep clean like this doesn’t need to happen every week, but a quarterly pass through these same four steps keeps grease and grime from ever building back up to the level you just tackled. Wiping down cabinet fronts monthly and running that vinegar cycle through your dishwasher every few weeks stretches the time between full deep cleans and makes each one shorter than the last.
Busy schedules make it easy to let months slip by between real cleanings, and that’s exactly when grease compounds into the stubborn film you had to scrub off today. If you’d rather hand this off entirely, or just want a professional deep clean on the calendar so you never fall behind again, book a cleaning with AlphaLux Cleaning and let a trained, insured team handle the degreasing, descaling, and detail work for you.