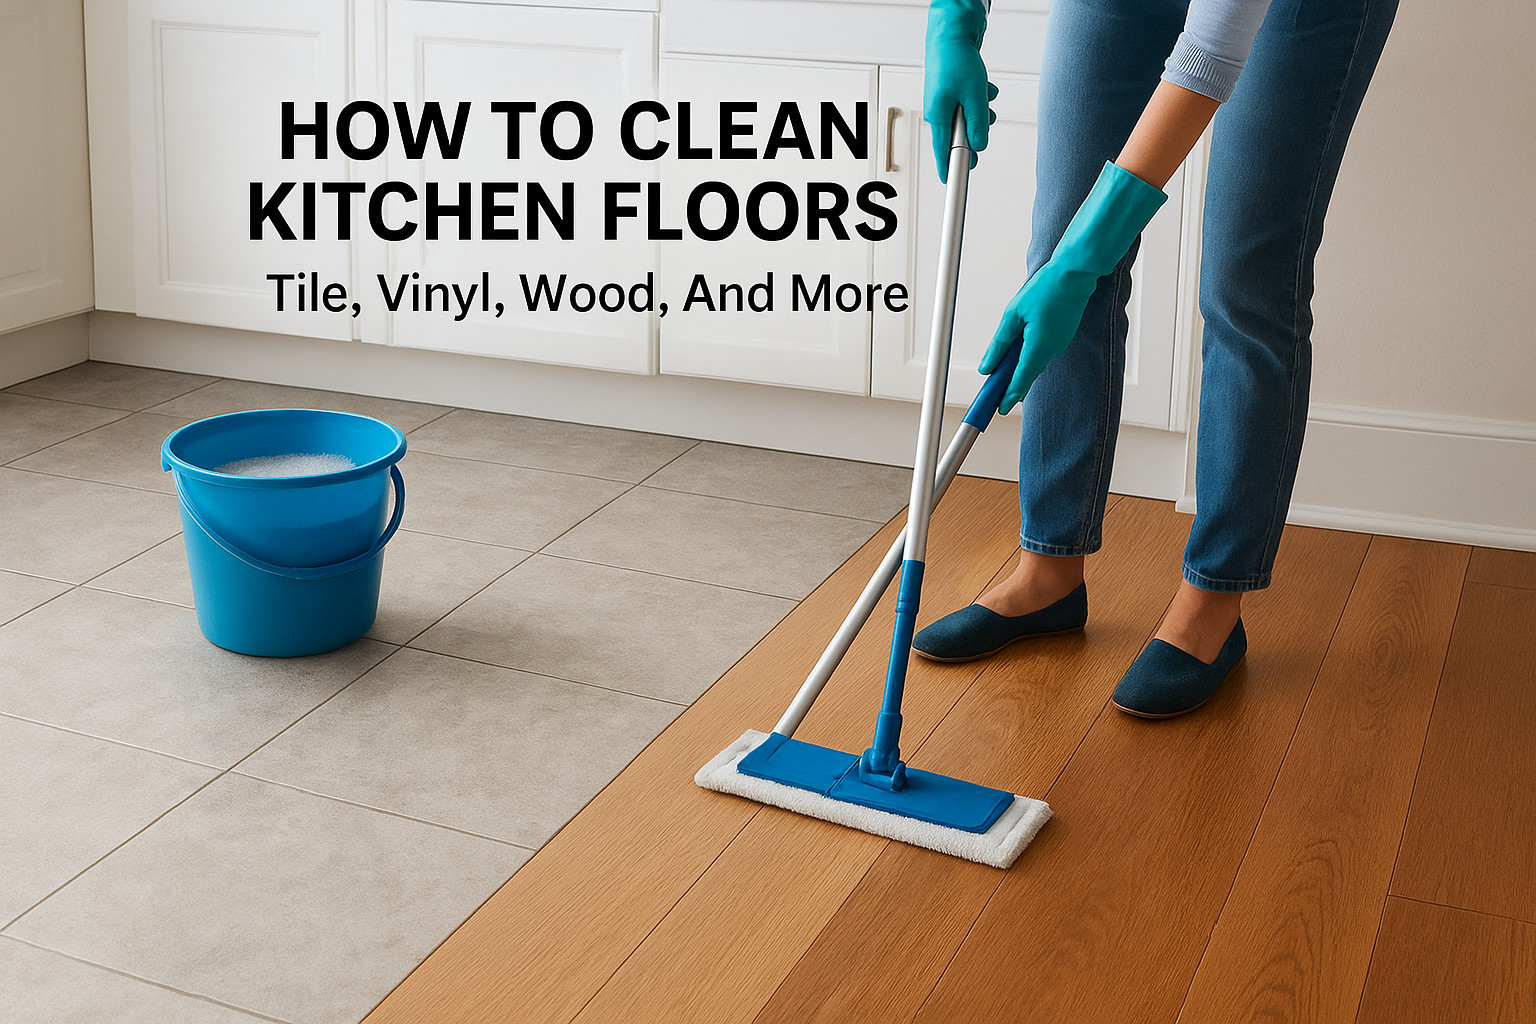
Kitchen floors take a beating. Between spills, foot traffic, crumbs, and grease splatters, they’re one of the hardest-working surfaces in your home. Knowing how to clean kitchen floors the right way matters because the wrong method or product can dull finishes, damage grout, or warp wood. The trick is matching your cleaning approach to your specific floor type, and that’s exactly what this guide covers.
Below, you’ll find step-by-step instructions for cleaning tile, vinyl, hardwood, laminate, and stone kitchen floors. We’ll walk through effective DIY cleaning solutions (including simple mixes with vinegar and dish soap), explain what to avoid on each surface, and share maintenance tips that keep floors looking their best between deep cleans. At AlphaLux Cleaning, we clean every type of kitchen floor across New York homes and businesses, so these methods come from hands-on professional experience, not guesswork.
Whether you’re tackling sticky buildup after a week of cooking or prepping floors before a move, this guide will help you get the job done right.
What to do before you start
Before you mop a single drop of water, a few quick prep steps will make a big difference in your results. Rushing straight into scrubbing often spreads grime around instead of removing it, and using the wrong cleaner on the wrong surface can cause permanent damage. Checking your floor type and gathering the right supplies beforehand saves you time and protects your floors.
Know your floor type
The single biggest factor in how to clean kitchen floors correctly is knowing what material you’re working with. Tile and grout handle moisture and most cleaners well, while hardwood and laminate can warp or swell if you use too much water or the wrong solution. Vinyl is durable but can degrade with harsh chemicals like undiluted bleach. If you’re unsure what type of floor you have, check your original flooring paperwork, look for a manufacturer’s label near a baseboard, or search online using any brand name stamped on a tile edge.
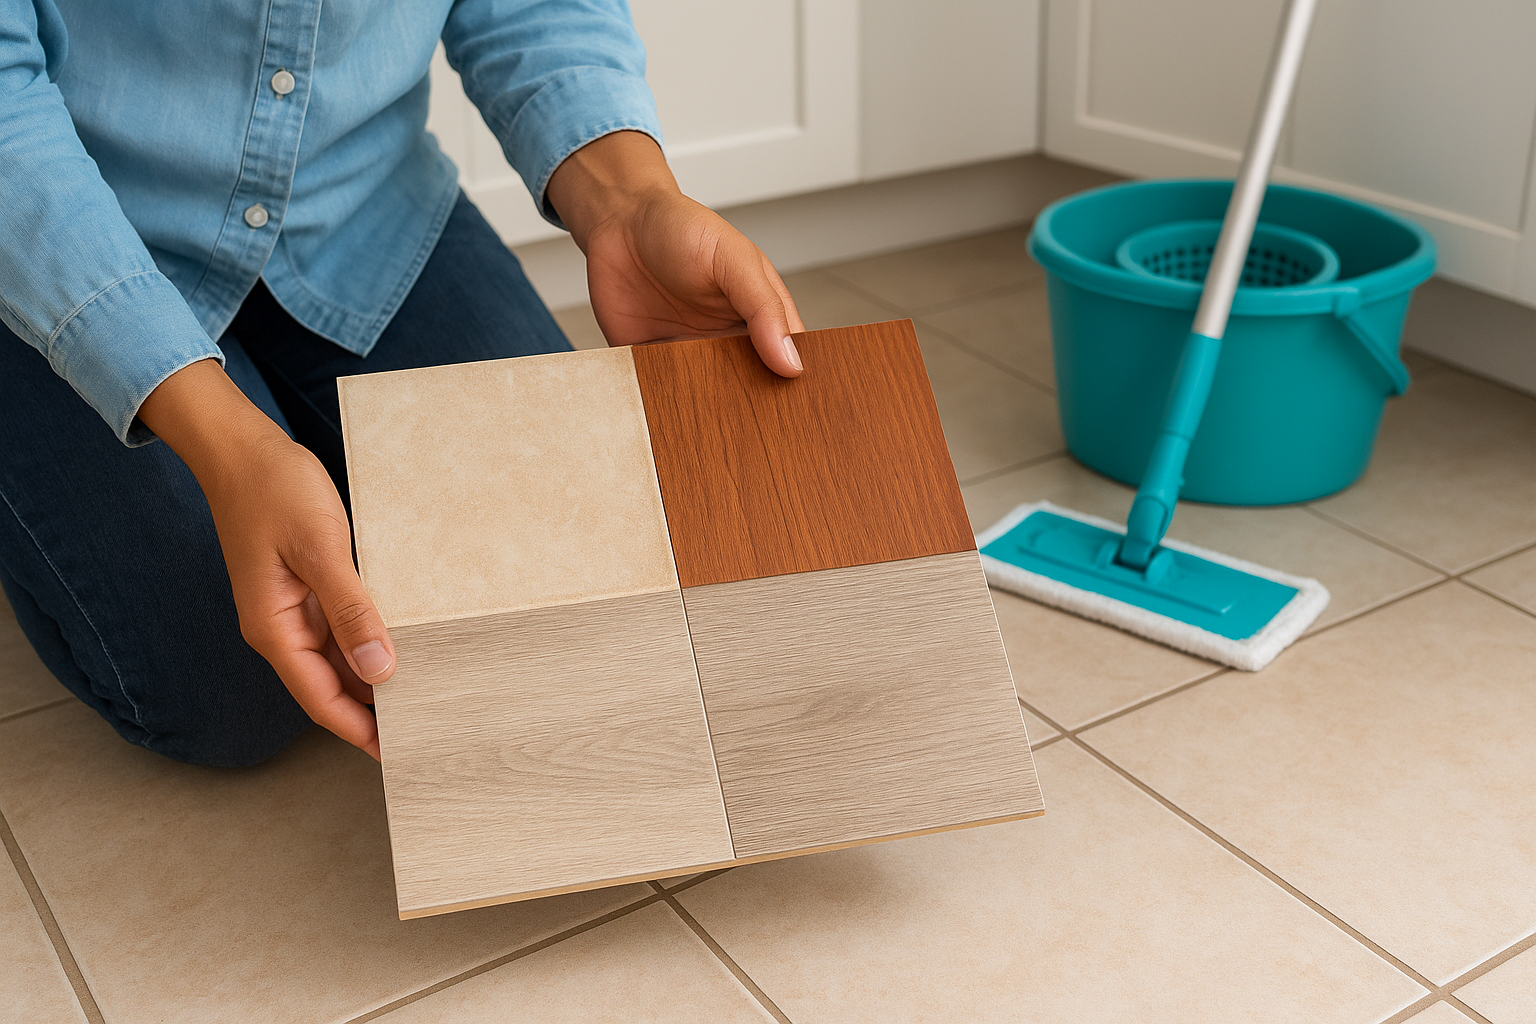
Identifying your floor type before you start is the single step that prevents the most damage.
Pull together your supplies
Having everything ready before you start keeps the process moving without interruptions. Gathering supplies upfront also means you won’t need to walk back across a wet floor mid-clean. Here’s what you’ll need for most kitchen floor jobs:
- Broom, vacuum, or dust mop for dry debris removal
- Mop and bucket (flat microfiber mop for hardwood and vinyl; string mop for tile)
- Warm water as the base for almost every cleaning solution
- Dish soap (a few drops cuts grease effectively on most surfaces)
- White vinegar for tile and vinyl (diluted: 1/2 cup per gallon of water)
- pH-neutral floor cleaner for hardwood and natural stone
- Microfiber cloths for spot cleaning and drying
Clear the floor
Move chairs, trash cans, pet bowls, and any floor rugs out of the kitchen before you begin. Furniture legs and rug edges trap dirt underneath them and block the areas that need the most attention. Clearing the space completely also lets you work in a logical path from one end of the kitchen to the other, so you never step back onto an area you’ve already cleaned.
Step 1. Remove crumbs and grit
Dry debris removal is the most skipped step in kitchen floor cleaning, and skipping it always makes things worse. When you mop over loose crumbs, sand, or dried food particles, you push them around in the water and scratch the floor surface. Removing all dry grit first is what makes the mopping step actually effective.
Sweep or vacuum first
Start with a broom, dust mop, or vacuum to pull up everything loose before any liquid touches the floor. A microfiber dust mop works well on hardwood and vinyl because it captures fine particles without scratching the finish. On tile, a stiff-bristled broom or a vacuum with a hard floor setting both work well. Go over the entire floor in overlapping passes so you don’t leave strips of debris behind.
A vacuum with a hard floor setting picks up more fine grit than a broom alone, especially inside textured tile grout lines.
Pay attention to edges and corners
Debris collects most heavily along baseboards, under appliance edges, and in tight corners where foot traffic pushes it throughout the day. Run your broom or vacuum attachment along every wall and under any appliances you can reach without straining. Pet hair, crumbs, and dust pile up in these spots fast. Spending an extra minute on these areas now prevents gritty residue from working back into the center of your floor during mopping.
Step 2. Cut grease and mop the right way
Grease is the defining challenge of kitchen floors. Cooking splatter, drips from stovetops, and oily foot traffic leave a film that traps dirt and makes floors look dull even after sweeping. The key to knowing how to clean kitchen floors effectively is breaking down grease before you mop, not just pushing wet water around.
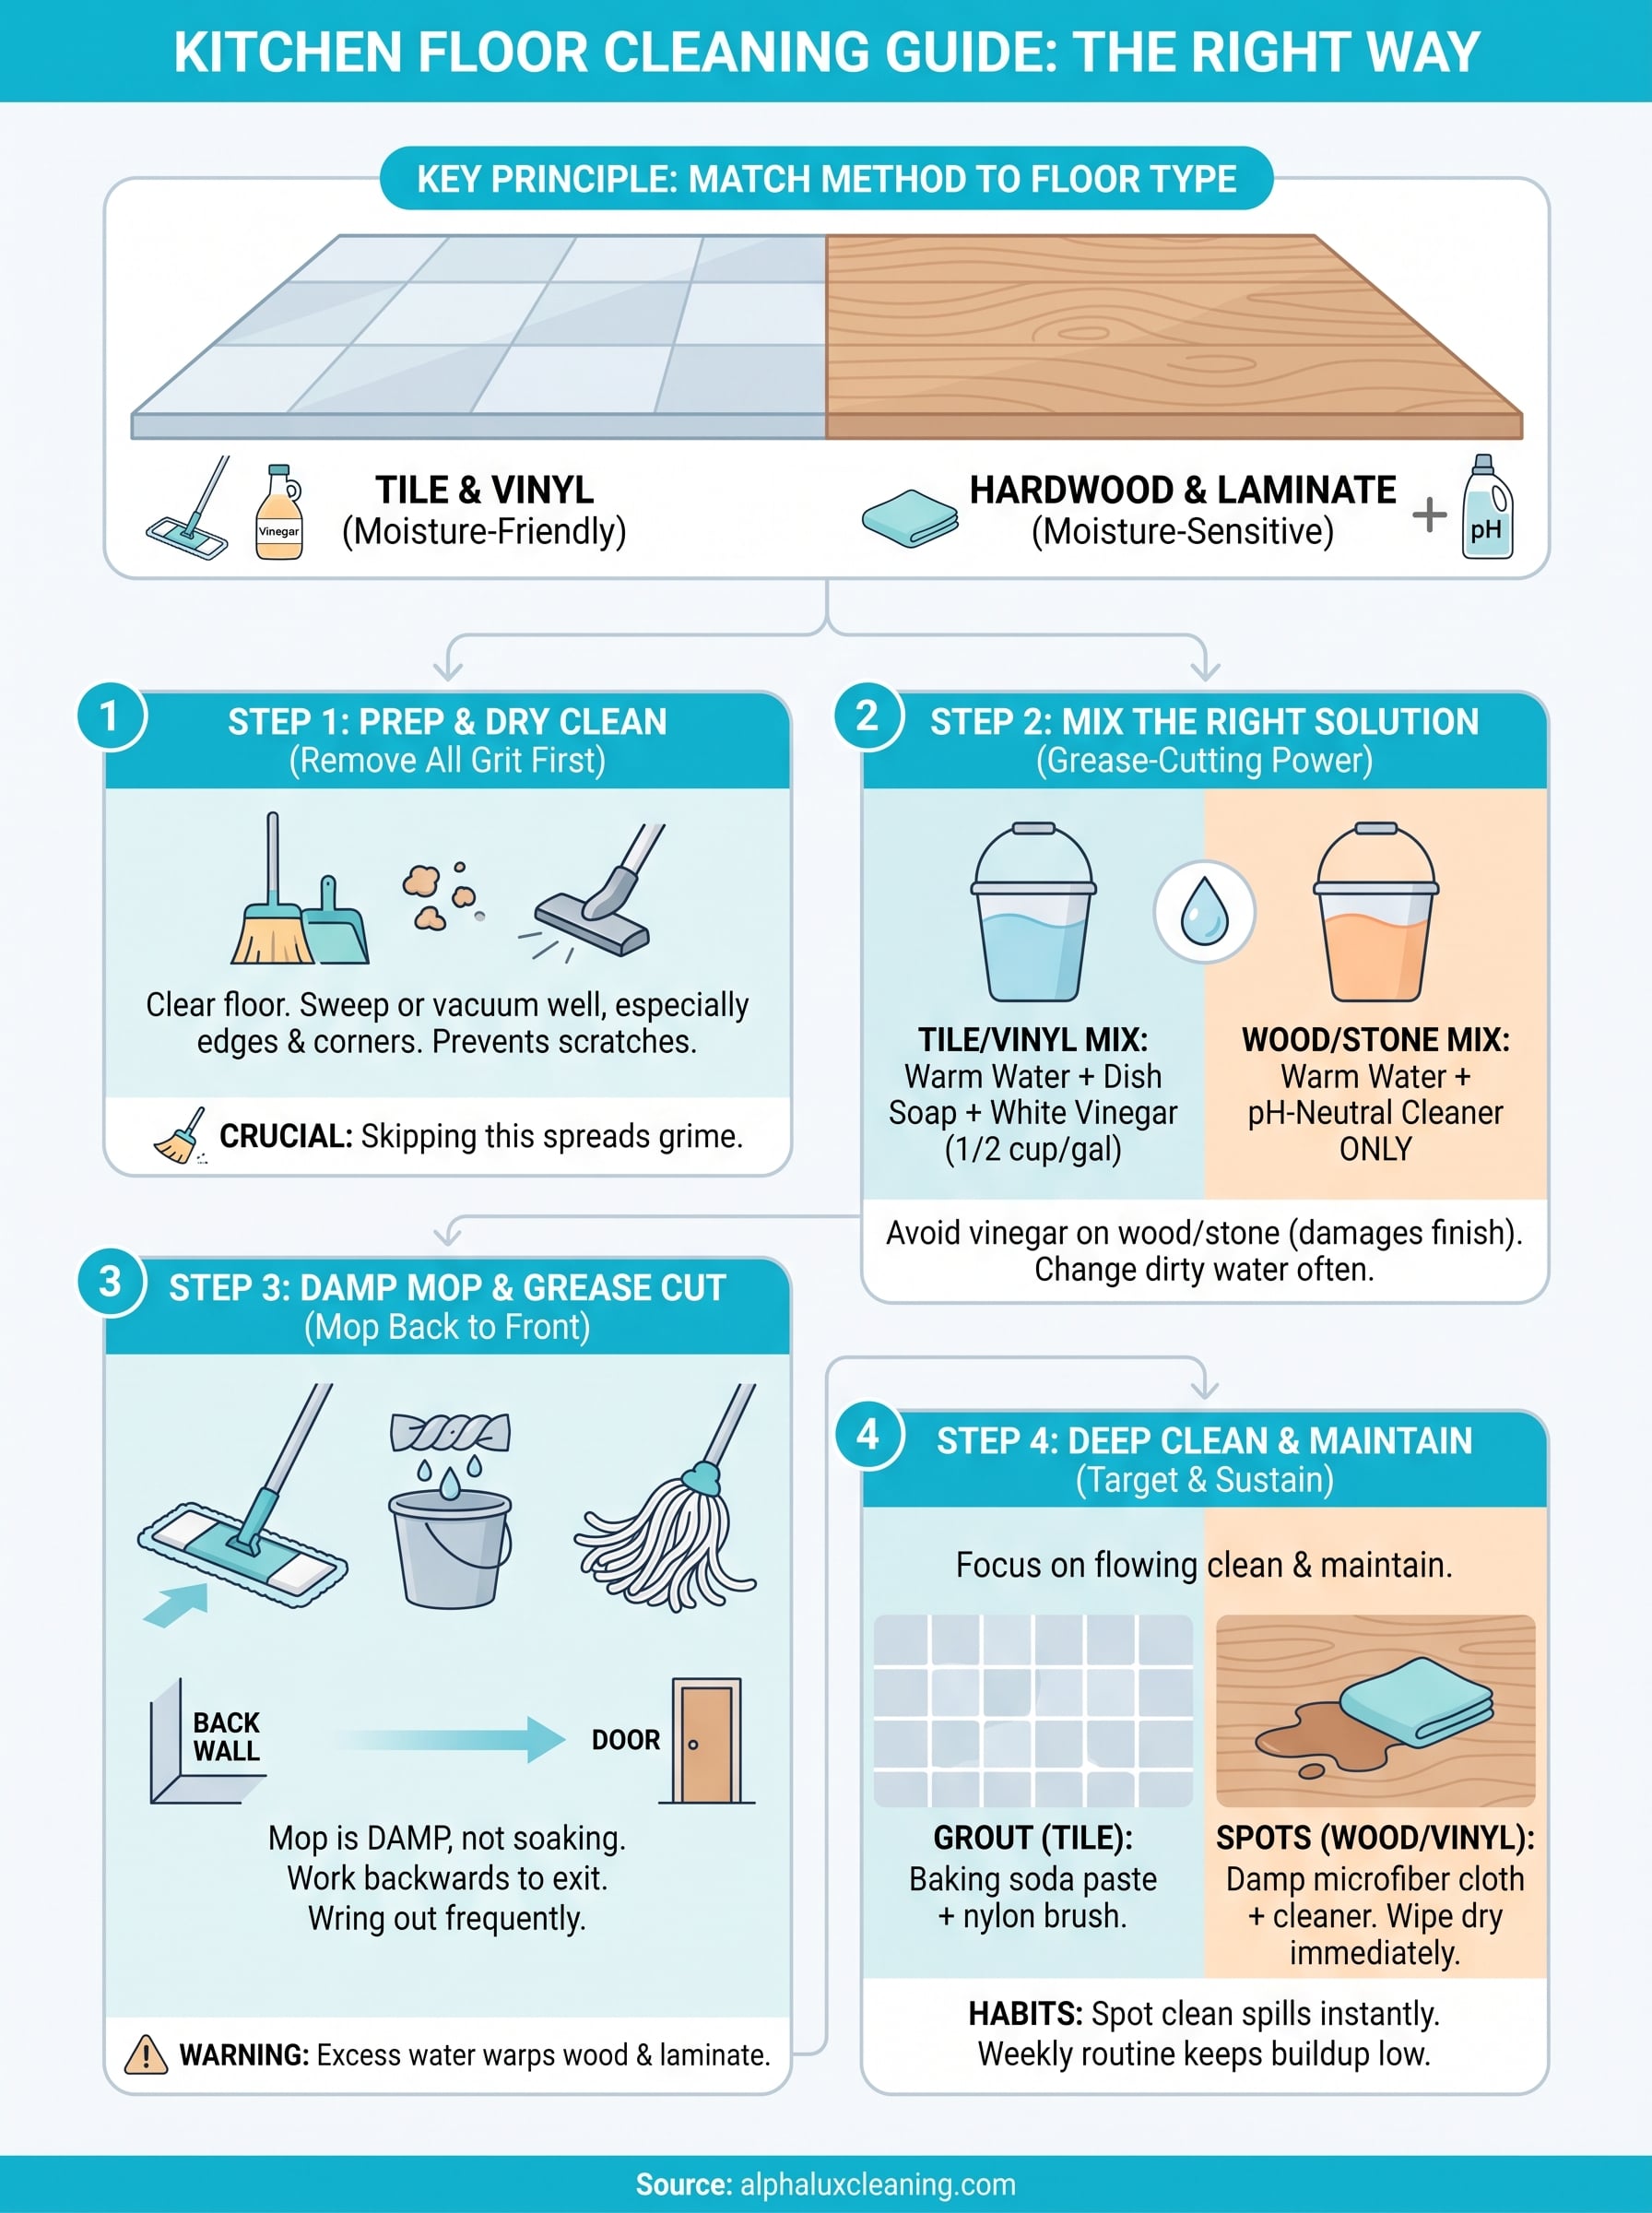
Mix the right cleaning solution
Your cleaning solution does most of the work. For most kitchen floors, a few drops of dish soap in warm water cuts grease without leaving residue. For tile and vinyl, add half a cup of white vinegar per gallon of water to boost cleaning power. Avoid this on hardwood or stone since the acidity damages the finish.
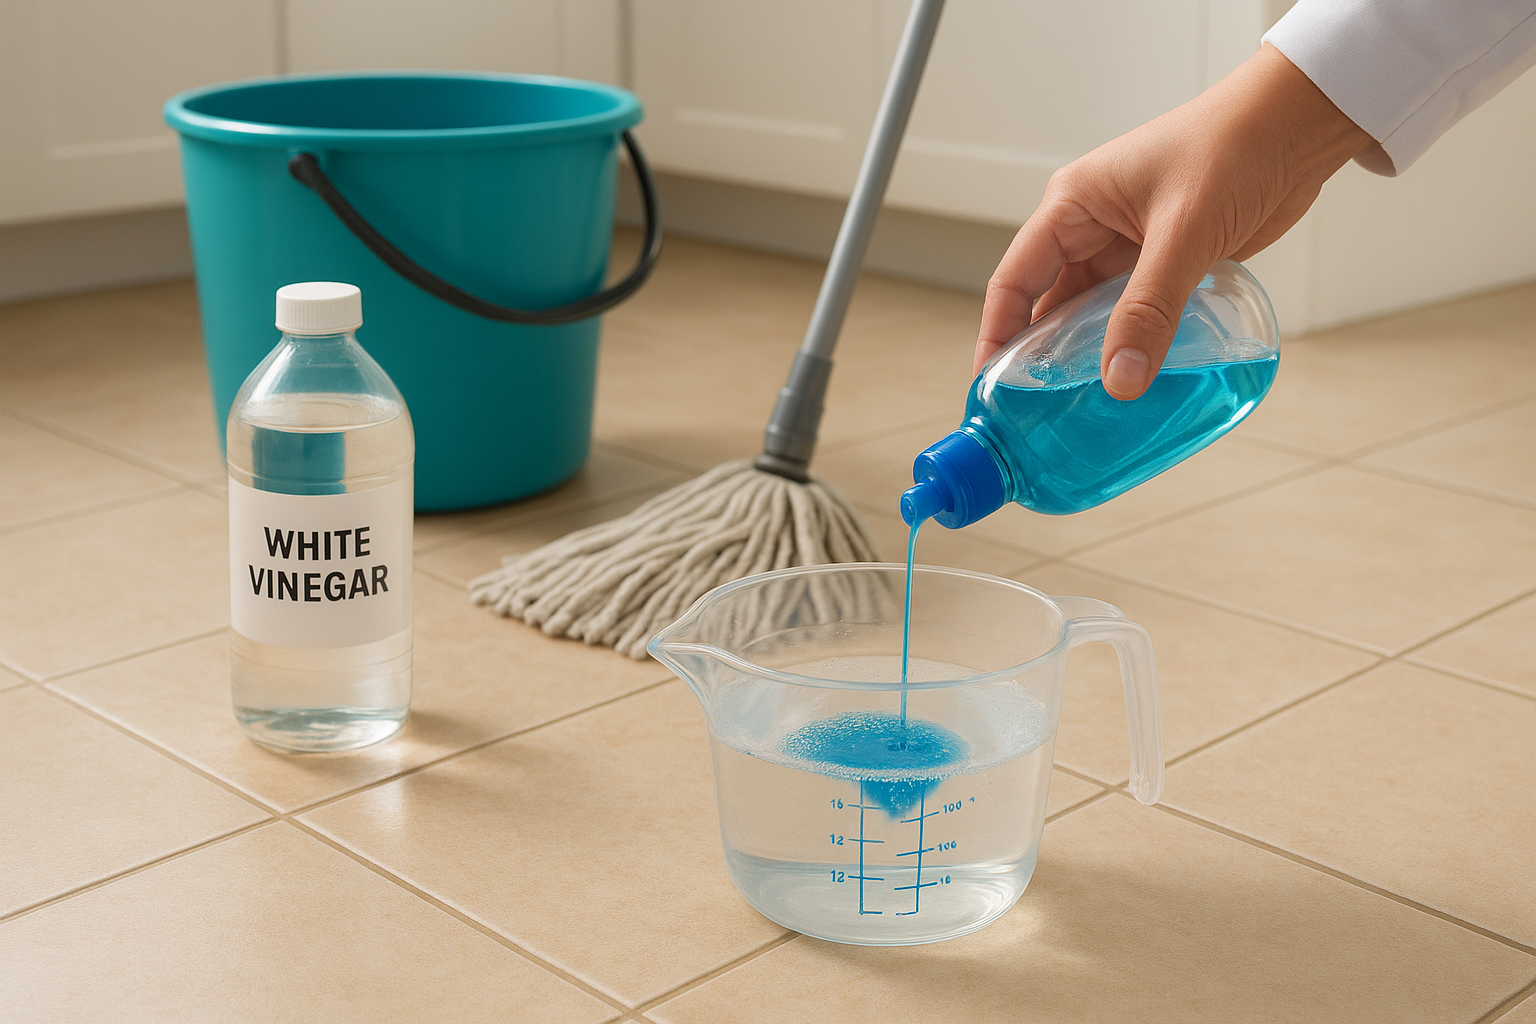
For hardwood and natural stone, stick to a pH-neutral cleaner specifically labeled for those surfaces.
Here are the three most useful mixes:
- Tile and vinyl: 1/2 cup white vinegar + 1 tsp dish soap + 1 gallon warm water
- Hardwood and laminate: pH-neutral floor cleaner + warm water per label directions
- General grease buildup: 1 tsp dish soap + 1 gallon warm water
Mop from the back wall to the door
Always work from the farthest corner toward the exit so you never step onto a clean section. Wring your mop until it’s barely damp, especially on wood and laminate.
Change your bucket water when it turns gray rather than pushing dirty water across clean areas. A second pass with a clean damp mop removes any soap residue that would otherwise leave a sticky film.
Step 3. Deep clean by floor type
Regular mopping keeps surfaces looking acceptable, but grout lines, textured finishes, and stubborn buildup need targeted treatment to come fully clean. Knowing how to clean kitchen floors at this level means adjusting your tools and solutions to the specific material you’re working on.
| Floor type | Deep clean method | What to avoid |
|---|---|---|
| Tile and grout | Baking soda paste + nylon brush | Wire brushes on grout |
| Vinyl | Diluted dish soap, damp mop | Abrasive scrubbers, undiluted bleach |
| Laminate | Damp microfiber cloth only | Water near seams |
| Hardwood | pH-neutral cleaner, wipe with grain | Excess moisture, vinegar solutions |
| Natural stone | pH-neutral cleaner | Acidic solutions including vinegar |
Tile and grout
Tile handles scrubbing well, but grout is porous and absorbs grease, staining it dark over time. Mix a paste of baking soda and water, apply it directly to grout lines, then scrub with a nylon-bristled brush in short back-and-forth strokes.
Let the baking soda paste sit for five minutes before rinsing since that contact time breaks down buildup more effectively than scrubbing alone.
Vinyl, laminate, and wood
For stuck-on spots on vinyl or laminate, apply diluted dish soap directly to the area, let it sit for two minutes, then lift the residue with a damp microfiber cloth. Never pour water onto laminate seams since it seeps underneath and causes swelling.
Your hardwood floors need the least moisture of all. Dampen a microfiber cloth with a pH-neutral cleaner and work one small section at a time, always wiping in the direction of the wood grain and drying each section immediately with a clean dry cloth.
Step 4. Keep floors cleaner between mops
Knowing how to clean kitchen floors thoroughly is only half the equation. Daily habits reduce the buildup that makes deep cleaning necessary so often, and small consistent actions each day keep grease, crumbs, and tracked-in grit from compounding into a much bigger problem by the end of the week.
Build a simple daily habit
Spot cleaning spills immediately is the single most effective maintenance habit you can build. Liquids that sit on hardwood swell the grain, and sugary spills on tile harden into sticky films that require real scrubbing later. Keep a damp microfiber cloth near the sink so you can wipe up drips before they dry.
A doormat at every kitchen entrance cuts down on grit tracked in from outside significantly, reducing how often you need to sweep.
Set a weekly maintenance schedule
A consistent routine prevents any one cleaning session from feeling overwhelming. Spreading the work across the week keeps floors in much better shape with less total effort. Use this simple schedule as a starting point:
- Monday and Thursday: Sweep or vacuum to remove crumbs and loose grit
- Wednesday: Spot clean any visible stains or spills you missed
- Saturday: Full damp mop with the appropriate solution for your floor type
- Monthly: Deep clean grout lines on tile or apply a wood-safe conditioner to hardwood surfaces
A cleaner kitchen floor, week after week
Knowing how to clean kitchen floors the right way means the difference between surfaces that stay fresh and floors that slowly accumulate grime no matter how often you mop. Every step in this guide builds on the last: dry removal first, the right solution for your floor type, targeted deep cleaning where buildup hides, and daily habits that prevent the problem from compounding. Stick to the weekly schedule and you’ll spend less time on each session, not more.
Sometimes, though, your schedule simply doesn’t allow for consistent floor maintenance. If your kitchen floors need a thorough professional clean or you want reliable upkeep handled by someone else, the team at AlphaLux Cleaning works across New York homes and businesses with the right tools and solutions for every floor type. Book a free estimate and get your kitchen floors back to the standard they deserve.