Most people scrub a toilet in under two minutes and call it done, then wonder why the bowl still smells or the ring keeps coming back. Learning how to clean a toilet properly takes more than a quick swipe with a brush. It means hitting the areas people skip, using the right products in the right order, and giving disinfectant enough contact time to actually kill bacteria instead of just moving it around.
This guide walks you through the exact steps professional cleaners use, from the first application under the rim to the final wipe on the base and hinges, where grime and odor actually build up. You’ll learn which tools work best for tough stains, how to tackle hard water rings and mineral buildup, and how to sanitize the entire fixture, not just the bowl.
We put this together from what our teams do on real jobs across New York homes and offices, where a fast wipe-down isn’t good enough for clients who expect a genuinely clean bathroom. Whether you’re cleaning your own home or trying to raise your standards before your next deep cleaning, this step-by-step method gets your toilet truly spotless, not just presentable.
What you need before you clean your toilet properly
Grabbing a random spray bottle and an old brush is how most people end up with a toilet that looks clean but isn’t. Proper toilet cleaning starts before you even touch the bowl, with the right supplies laid out and ready. Skipping this step means stopping mid-clean to hunt for gloves or a scrub brush, which breaks the contact time your disinfectant needs to actually work.
Gather the right cleaning supplies
You don’t need a cabinet full of specialty products. You need a short list of tools that each do a specific job, and you need them within arm’s reach before you start.
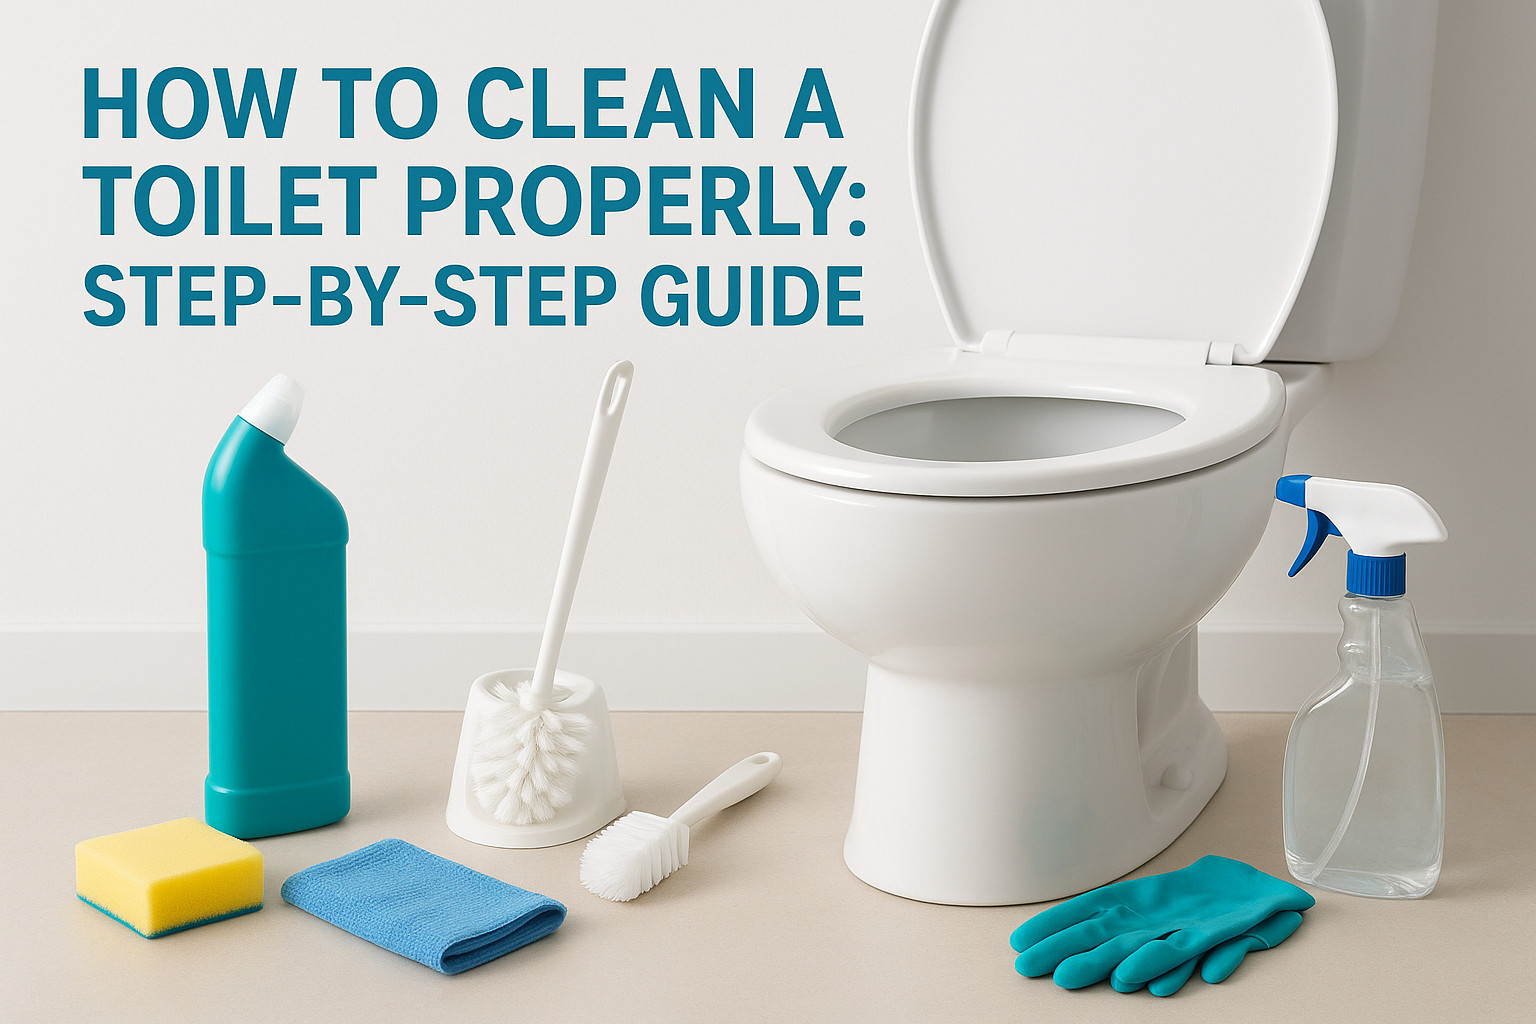
- Toilet bowl cleaner with a thick, clingy formula (bleach-based or an eco-friendly alternative)
- Disinfectant spray or wipes rated to kill bacteria and viruses on hard surfaces
- A toilet brush with stiff bristles, ideally one with an angled head to reach under the rim
- A separate scrub brush or old toothbrush for hinges, bolts, and tight seams
- Microfiber cloths, at least two, one for the tank and seat, one for the base and floor
- Rubber gloves to protect your hands from chemicals and bacteria
- White vinegar or a lime-scale remover for hard water stains and mineral buildup
- A small bucket or bin if you’re carrying supplies from room to room
Keep the toilet brush and its holder as a dedicated tool. Never use it on sinks, tubs, or countertops, and never let a cloth touch both the toilet and the kitchen counter without a wash cycle in between.
Choose eco-friendly products when it matters
Harsh bleach works, but it isn’t the only option, and in homes with kids, pets, or septic systems it isn’t always the best one. Eco-friendly, non-toxic cleaners built around citric acid or hydrogen peroxide cut through grime and kill most common bacteria without leaving fumes behind. This is the standard our teams use on residential jobs across New York, where families want a bathroom that’s sanitized, not one that smells like a swimming pool for the rest of the day. If you’re set on a natural approach, look for an EPA Safer Choice label, which the Environmental Protection Agency awards to formulas that meet strict health and environmental criteria while still performing.
A toilet that smells like bleach isn’t necessarily a toilet that’s actually disinfected. Contact time matters more than the product name on the bottle.
Protect yourself and prep the space
Gloves aren’t optional here. Toilet bowls harbor E. coli, salmonella, and norovirus, and even a small splash during scrubbing can transfer bacteria to your hands and then to every surface you touch next. Open a window or turn on the bathroom fan before you start, especially if you’re using a bleach-based product, since the fumes concentrate fast in a small, tiled room.
Finally, clear the area around the toilet. Move the bath mat, trash can, and any decor out of the splash zone. Ventilation, clear space, and the right supplies within reach turn a rushed five-minute wipe-down into a proper clean that actually holds up between visits.
Step 1. Flush and apply toilet bowl cleaner
Start with a full flush, even if the bowl already looks empty. This clears loose debris and wets the porcelain, which helps the toilet bowl cleaner grip the surface instead of sliding straight down. A dry bowl causes the product to run off before it has a chance to work, especially on the sloped sides where most people skip entirely.
Apply cleaner under the rim first
Squeeze the cleaner directly under the rim, working the bottle all the way around the bowl in one continuous motion. This is the spot professional cleaners hit first because it’s the one homeowners consistently miss, and it’s where mineral deposits and bacteria build up fastest, hidden from view. Let gravity pull the product down the sides so it coats the water line, the bowl walls, and the base near the drain opening.
The area under the rim causes more repeat odor complaints than any other spot in the bathroom, yet it’s the one step most people skip.
Give the cleaner time to actually work
Don’t scrub right away. Every disinfectant and bowl cleaner needs dwell time to break down grime and kill bacteria, and wiping it off too soon wastes the product entirely. Check the label on your specific cleaner, but as a general guide:
| Cleaner type | Minimum contact time |
|---|---|
| Bleach-based bowl cleaner | 5-10 minutes |
| Eco-friendly / citric acid formula | 10-15 minutes |
| Hydrogen peroxide-based cleaner | 10 minutes |
| Heavy-duty lime scale remover | 15-20 minutes |
Use this waiting window productively instead of standing around. Wipe down the sink, restock toilet paper, or move on to prepping your disinfectant wipes for the tank and seat, which you’ll tackle in a later step. Just set a timer if you’re prone to forgetting, since guessing at contact time is how people end up rinsing away a cleaner that never finished its job.
Avoid mixing products at this stage. Combining a bleach-based cleaner with anything containing ammonia or acid produces toxic fumes, so pick one formula, apply it, and let it sit before you introduce a second product like vinegar for stain treatment later on.
Step 2. Scrub the bowl, rim, and jets
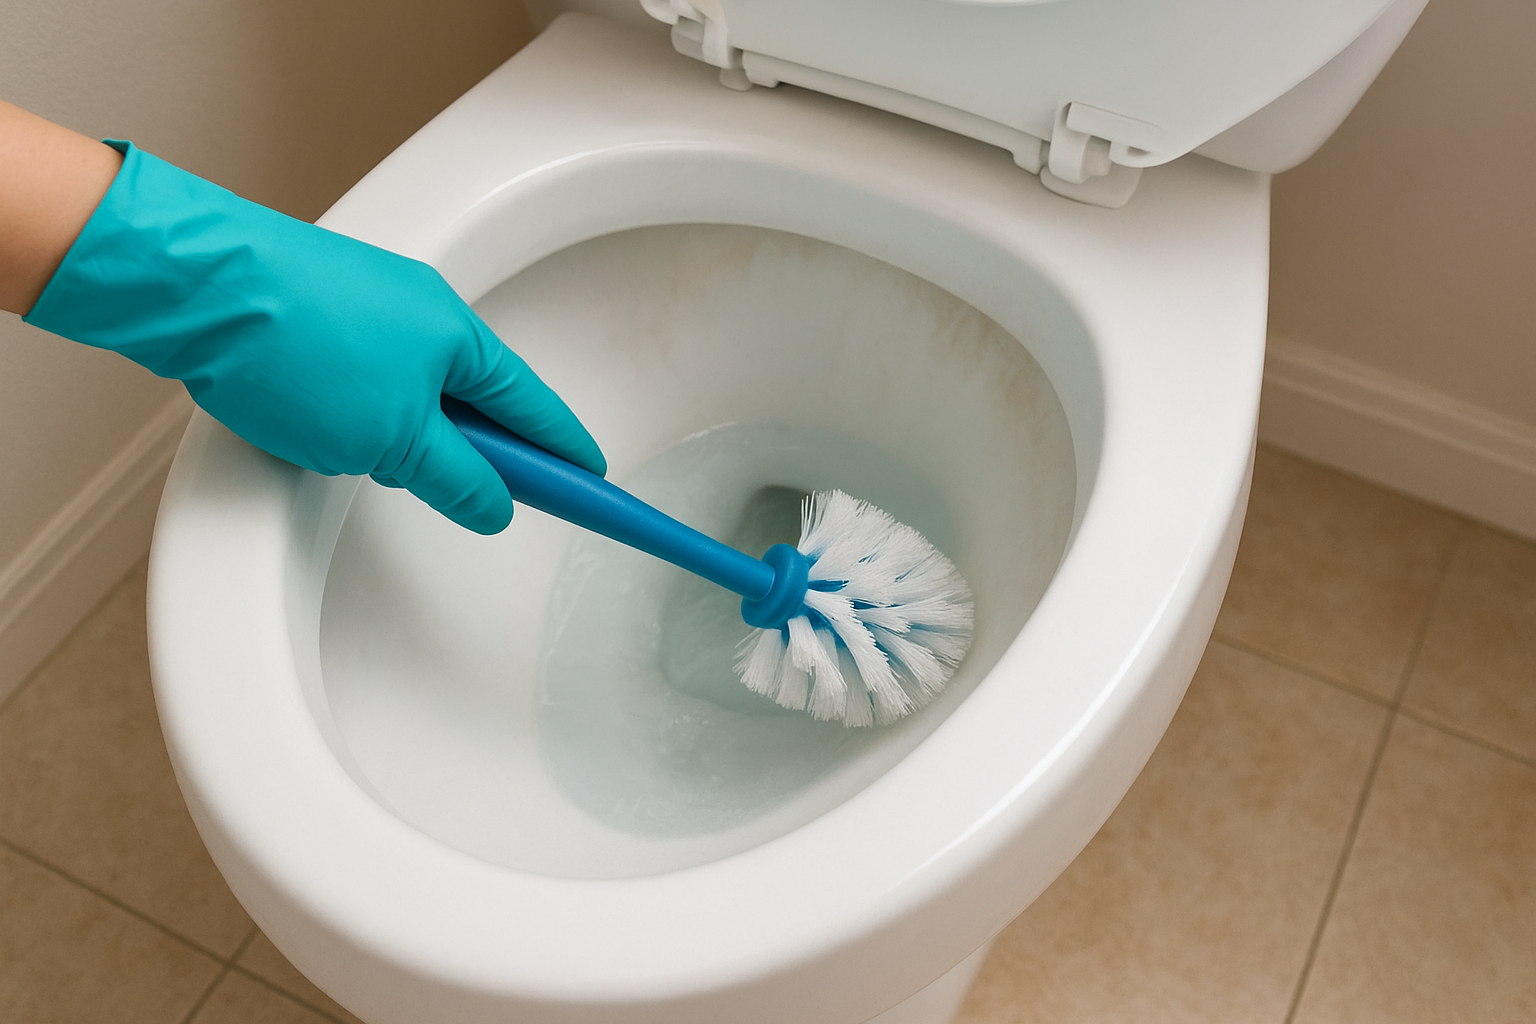
Once the cleaner has had its full contact time, pick up your toilet brush and start scrubbing with purpose, not just a few quick swirls. Proper scrubbing technique means working every angle of the bowl, not just the visible parts you can see when you glance down. Press the bristles firmly against the porcelain, since a light touch just spreads grime around instead of lifting it off.
Work the brush under the rim and jets
Angle the brush head up and into the rim, pushing the bristles into each individual jet opening around the circumference. These small holes are where the water flows in during a flush, and they clog with mineral deposits and mold faster than any other part of the toilet. Run the brush tip into each jet with a twisting motion, then pull it back out, repeating around the full circle before moving down to the bowl walls.
Clogged jets cause weak flushes and lingering odor long before the average person thinks to check them.
Scrub the waterline and bowl walls
Move to the waterline next, the visible ring where water sits between flushes. This is where hard water stains and discoloration collect, so use firm, overlapping strokes rather than a single pass. Work your way down the sides of the bowl toward the drain opening, covering every inch of porcelain, including the areas hidden by the bowl’s curve near the back.
Check for buildup you can feel but not see
Run a gloved finger lightly along the rim’s underside once you’re done scrubbing, since buildup often hides in spots your eyes miss but your fingers catch immediately. If you feel a gritty texture, go back over that section with the brush and a bit more cleaner rather than assuming a visual check is enough.
- Scrub under the rim and each jet opening first
- Work down the bowl walls with overlapping strokes
- Finish at the waterline and drain opening
- Do a finger check for missed grit before moving on
Finish this step by flushing once to rinse away loosened debris, leaving the bowl ready for the disinfecting work in the next step.
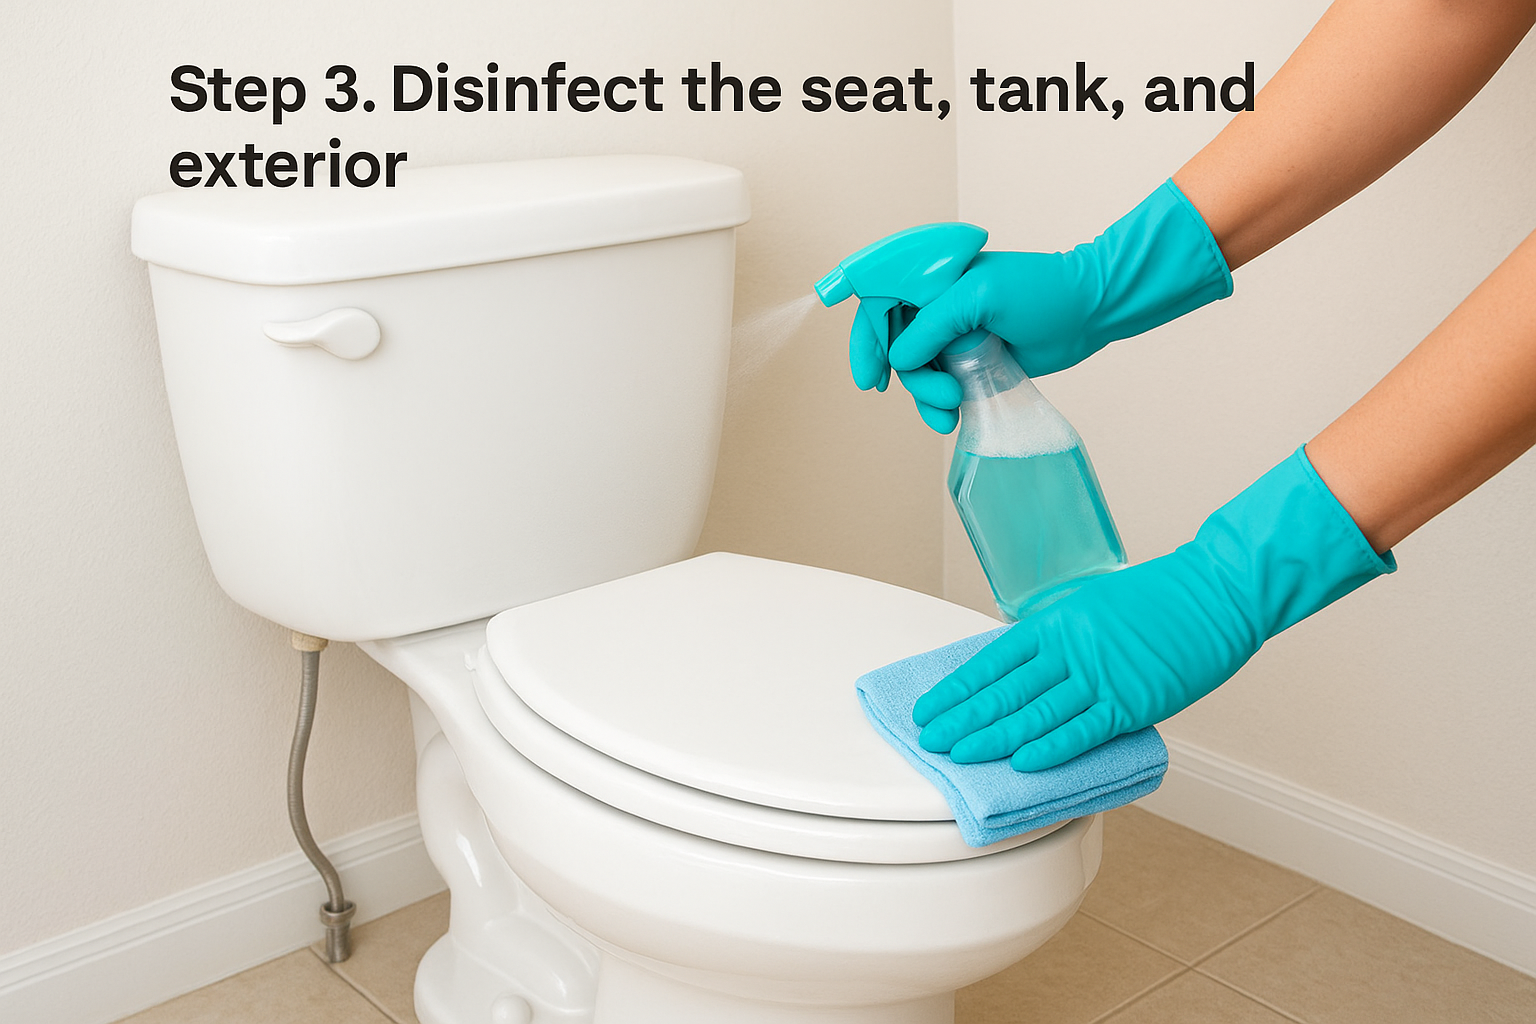
Step 3. Disinfect the seat, tank, and exterior
With the bowl scrubbed and rinsed, shift your attention to the parts of the toilet people touch with their hands, not just the water. The seat, tank, and exterior surfaces carry more transferable bacteria than the bowl itself, since hands, clothing, and cleaning cloths make direct contact with them dozens of times a day. Spray your disinfectant liberally across every surface before wiping, then let it sit for the full contact time listed on the label, the same rule that applied to your bowl cleaner back in step one.
Wipe down the seat, lid, and hinges
Start with the seat and lid, working top to bottom so drips land on surfaces you haven’t cleaned yet instead of ones you already finished. Lift the seat and clean both sides separately, since the underside collects splash residue and bacteria that the top rarely sees. Pay close attention to the hinges, where grime packs into the small gaps; this is where that spare toothbrush from your supply list earns its keep, scrubbing into seams a cloth can’t reach.
The hinges hide more bacteria than the bowl itself, because almost nobody scrubs a hinge.
Disinfect the tank lid and flush handle
Move to the tank lid and the flush handle next, two spots people touch constantly and clean rarely. Wipe the flush handle with the same disinfectant cloth, pressing into the grooves where fingers grip it daily, then run the cloth across the full tank lid surface, front to back.
Clean the exterior, base, and floor bolts
Finish by working down the outside of the bowl, the base, and the floor bolts, where dust and moisture collect unnoticed for weeks. According to the CDC, routinely disinfecting high-touch surfaces meaningfully reduces germ transmission, and a toilet’s exterior qualifies as high-touch even though most cleaning routines skip it entirely.
- Seat top and underside
- Hinges and seams
- Tank lid and flush handle
- Base, bolts, and floor around the toilet
Give that final layer of disinfectant its full contact time before moving on to rinsing and drying.
Step 4. Rinse, dry, and treat stubborn stains
Once the disinfectant has finished its contact time, flush the toilet and wipe down every surface you just treated with a clean, damp microfiber cloth. Rinsing removes leftover chemical residue that would otherwise dry into a hazy film on the seat, tank, and bowl rim. Work top to bottom again, seat first, then tank, then exterior, so you’re not dragging a dirty cloth back over a surface you already cleaned.
Dry every surface to stop water spots
Grab a second, dry microfiber cloth and go over the same surfaces immediately after rinsing. Standing moisture on porcelain and metal fittings is what causes water spots and mineral streaks to set in overnight, especially around the flush handle and hinges. Dry the base and floor bolts too, since damp grout around a toilet base is a common source of lingering bathroom odor that has nothing to do with the bowl itself.
Most lingering bathroom odors trace back to damp, unwiped surfaces, not the toilet bowl itself.
Treat hard water rings and stubborn stains
If a ring or mineral stain survived the scrubbing in step two, don’t reach for a stronger bleach dose. Acidic products break down mineral buildup far more effectively than bleach, which is built to disinfect, not dissolve calcium deposits. Try these in order of intensity:
- Pour undiluted white vinegar directly onto the stain and let it sit for 30 minutes before scrubbing again
- Make a paste of baking soda and vinegar for rings that resist a plain vinegar soak
- Use a pumice stone, wet, on porcelain only, with light pressure and small circular motions for calcified rings that won’t budge
- Reach for a commercial lime-scale remover as a last resort, following the label’s contact time exactly
Avoid abrasive powders and steel wool. Both scratch porcelain, and those tiny scratches trap bacteria and grime, making the next stain worse than the one you just removed. A final flush after any stain treatment confirms the bowl is clear and ready for regular use.
Keeping your toilet fresh between cleanings
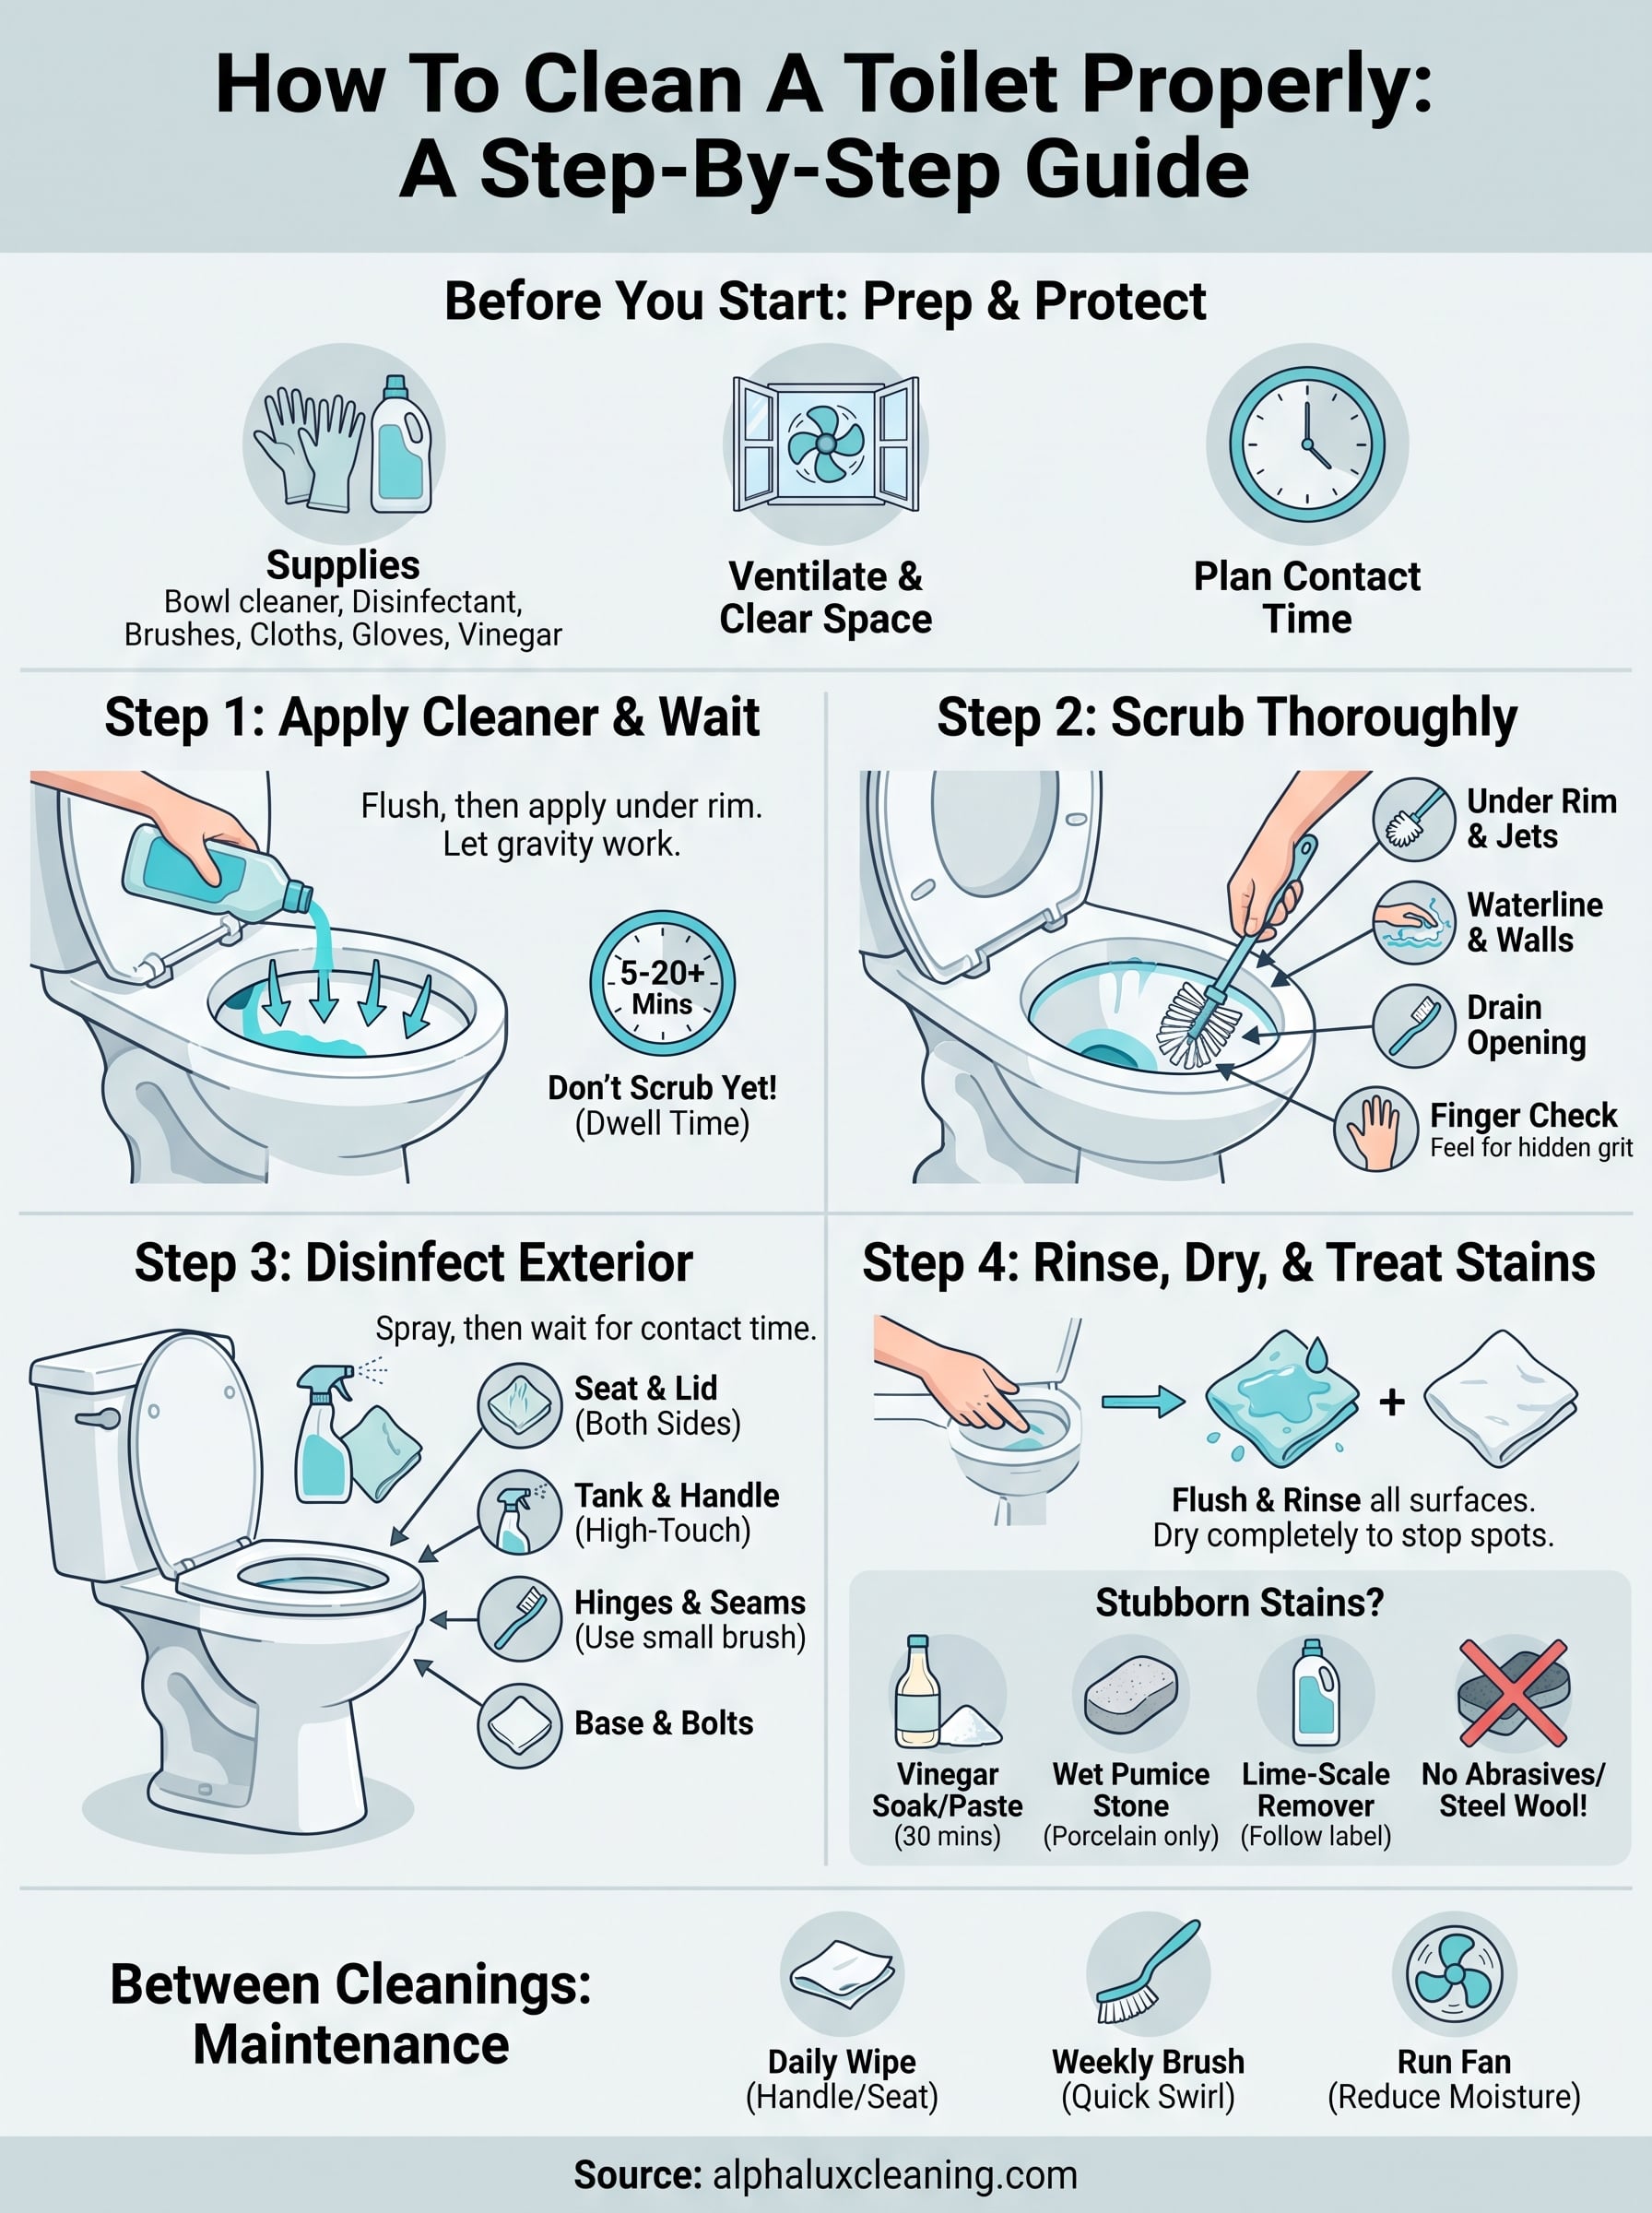
A quick daily habit keeps the deeper clean you just finished lasting longer. Swipe the seat and handle with a disinfectant wipe once a day, and run the brush around the bowl every few days so grime never gets the chance to set into a stain again. Keep the bathroom fan running during and after use, since trapped moisture is what feeds odor and mildew between full cleanings.
Repeating these four steps weekly is how you turn how to clean a toilet properly into a habit instead of a chore you dread. You’ll spend less time scrubbing stubborn rings because you’re never letting buildup get that far in the first place.
If a truly spotless bathroom still feels out of reach with your schedule, that’s exactly the gap our teams fill every week across New York homes and offices. Get a free estimate from AlphaLux Cleaning and let us handle the toilet, and everything else, properly.