Office Deep Cleaning Services in Manhattan: The 2026 Executive Guide

This executive guide explains how a meticulous approach to deep cleaning transforms your workspace into a pristine, high-performance environment that…
How To Clean Bathroom Floors In 30 Minutes (Tile & Grout)
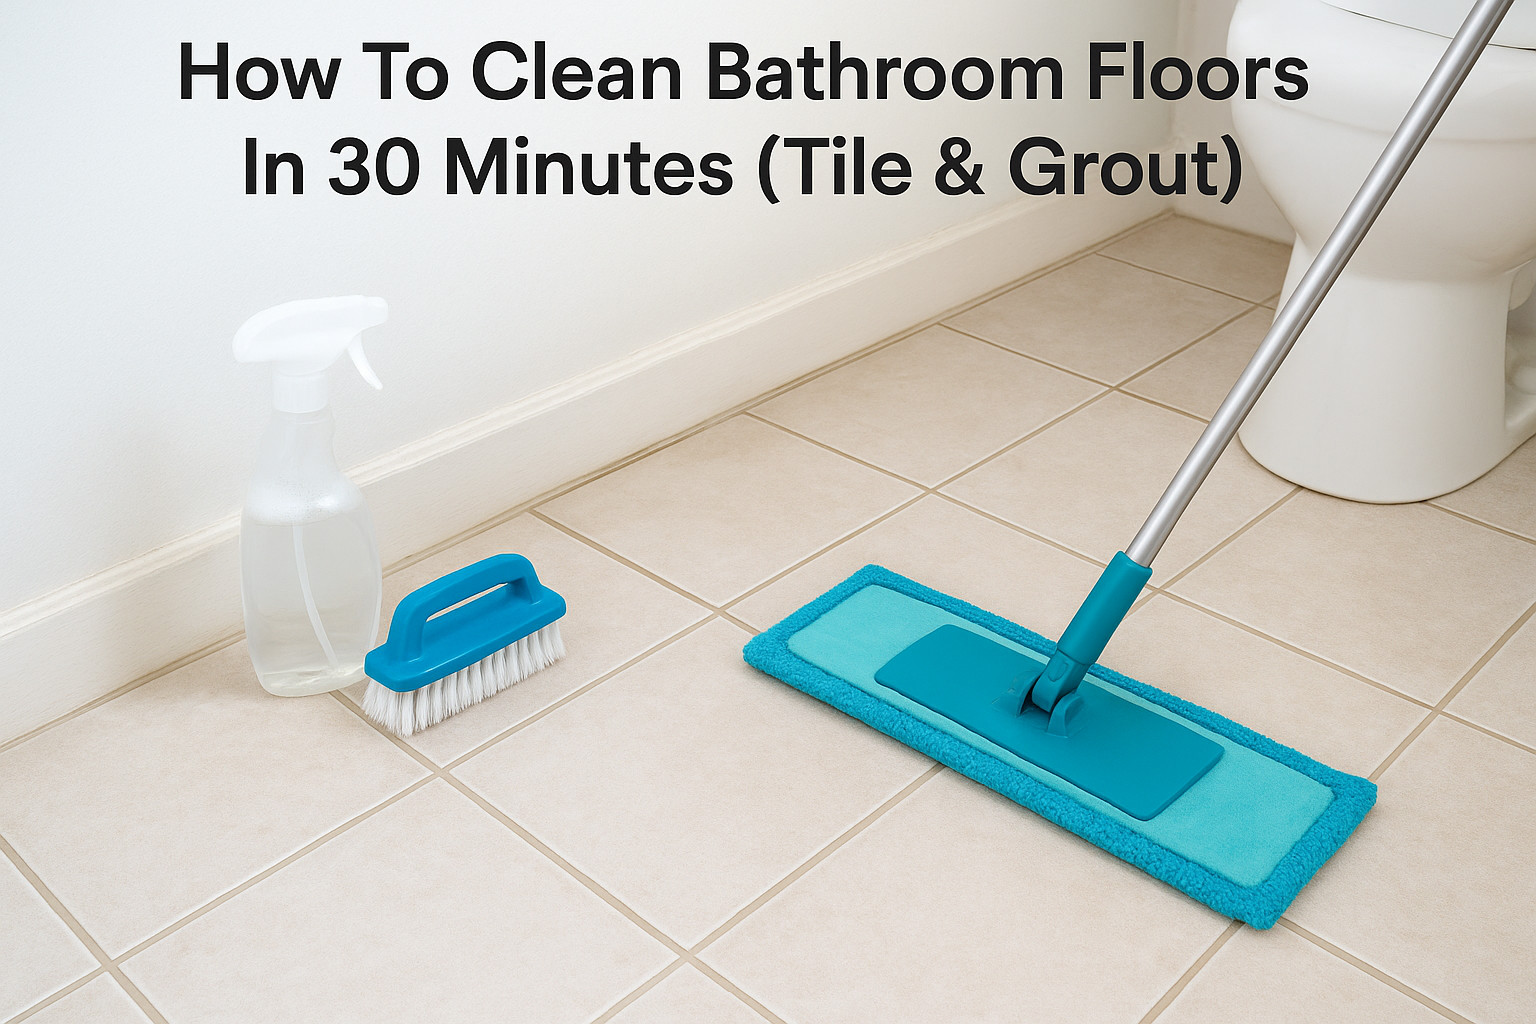
Bathroom floors take a beating. Between moisture, soap residue, and daily foot traffic, tile and grout can go from sparkling to grimy faster than any other surface in your home. If you’ve been wondering how to clean bathroom floors without spending your entire afternoon on hands and knees, you’re in the right place, because it really only takes about 30 minutes when you know what you’re doing. At AlphaLux Cleaning, we’ve scrubbed thousands of bathroom floors across New York State, and our team has picked up a few things along the way. We know which methods actually cut through buildup, which products are safe for different tile materials, and where most people waste time without getting results. That hands-on experience is exactly what shaped this guide, so you can clean with confidence whether you’re tackling a weekly refresh or a long-overdue deep clean. Below, you’ll find a clear step-by-step process covering tile and grout cleaning, effective DIY and commercial solutions, and material-specific tips to avoid damage. We’ll also share the same techniques our professionals use to get bathroom floors looking (and smelling) fresh in half the time most people expect. What to gather first and what to avoid Having everything ready before you start is what keeps the 30-minute timeline realistic. If you stop mid-clean to hunt for a scrub brush or realize you’re out of the right cleaner, the whole process drags out. Gathering your supplies upfront takes about two minutes and saves you far more than that once you get moving. Think of it as the step that makes every other step faster. The supplies you need You don’t need a complicated kit to clean bathroom floors effectively. Most of what works well is straightforward: a stiff-bristle grout brush, a microfiber flat mop, a bucket, and your chosen cleaning solution. A pair of rubber gloves protects your hands, especially when you’re using any acid-based or disinfectant products. Here’s a quick reference list of what to have ready before you start: Broom or vacuum for dry debris removal Microfiber flat mop and bucket Stiff-bristle grout brush or an old toothbrush for tight corners Rubber gloves Spray bottle for targeted application Cleaning solution (details below) Dry microfiber cloths or a dry mop for the finishing pass For your cleaning solution, you have two solid options. A DIY mix of warm water and white vinegar in a 1:1 ratio works well for light buildup and routine maintenance on most ceramic and porcelain tiles. For tougher grime or sanitizing after illness, a pH-neutral tile cleaner or a diluted bleach solution (1 tablespoon of bleach per gallon of water) gets the job done without risking surface damage. What to avoid using Knowing what not to use is just as important when you’re learning how to clean bathroom floors properly. The wrong product can scratch, discolor, or permanently damage your tile or grout. Abrasive scrubbers like steel wool and powdered cleansers with harsh grit will scratch glazed tile surfaces over time, dulling the finish in a way that’s difficult to reverse. Never mix vinegar and bleach together. Combining them produces toxic chlorine gas, which is genuinely dangerous in a small, enclosed space like a bathroom. Also avoid using undiluted bleach directly on colored grout, since it will strip the pigment and leave uneven, faded patches. Stay away from oil-based soaps and wax-based cleaners on tile floors as well. These leave a slippery film that builds up with each application, making your floor harder to clean going forward rather than easier. Step 1. Clear the room and remove dry debris fast Before any liquid hits the floor, you need a clear, debris-free surface. Skipping this step is one of the most common mistakes people make when learning how to clean bathroom floors. Wet debris sticks, smears, and turns a simple mop job into a longer scrubbing session. Two minutes of prep here saves five to ten minutes once you actually start cleaning. Move everything off the floor Pull out the bath mat, the trash can, the scale, and anything else sitting directly on the tile. Don’t try to mop around obstacles because you’ll miss the edges and corners where soap scum and hair collect the most. Set everything outside the bathroom door so you have a completely open surface to work with. Items to move before you start: Bath mat and any fabric rugs Trash can and toilet brush holder Scale, step stool, or storage baskets Any bottles sitting on the floor near the tub or toilet A fully cleared floor means you won’t have to go back and redo patches you missed around objects. Sweep or vacuum before any liquid touches the tile Once the floor is clear, sweep or vacuum up all dry debris before you introduce any moisture. Hair, dust, and grit are much easier to remove when dry. The moment you add water, they clump together and drag across the tile, potentially scratching the surface and clogging your mop. A vacuum with a hard-floor setting works faster than a broom in tight spaces, but either tool gets the job done. Focus extra attention on the edges along the baseboard, behind the toilet base, and the corners near the door. Run your broom or vacuum head along the grout lines as well, since those channels trap more grit than the flat tile surface does. Step 2. Mop tile the right way and sanitize safely With the floor clear and dry debris gone, you’re ready to apply your cleaning solution. The key to mopping tile efficiently is working in small sections rather than soaking the entire floor at once. Oversaturating tile lets water seep into grout joints and under baseboards, which causes long-term moisture damage that no amount of scrubbing can fix. Apply your solution and mop in sections Pour your chosen solution into a bucket and wring your mop until it’s damp, not dripping. Start at the far corner of the bathroom and work your way toward the door so you’re
Mastering the Post Construction Cleaning Bid Proposal: A Comprehensive 2026 Guide

A winning construction bid is not a price list; it is a risk-mitigation document that proves technical precision. In the competitive New York City…
First Impressions Count: How Commercial Cleaning Elevates Your Business Image
Move Out Cleaning Cost: Average Prices & What Affects Them
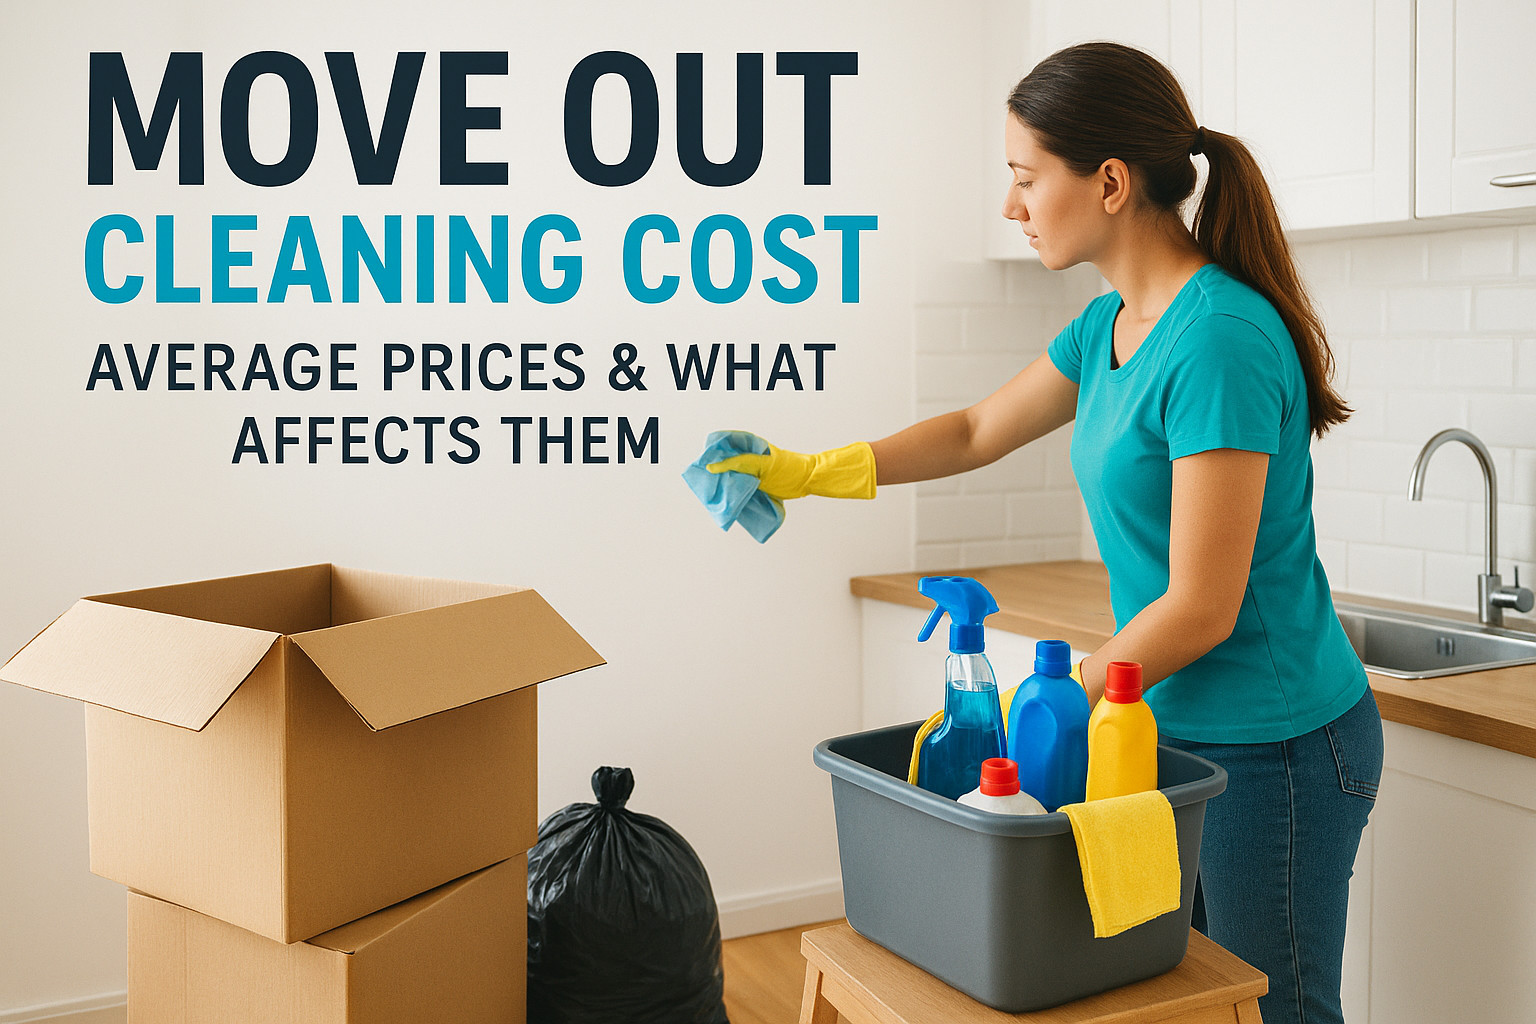
Whether you’re wrapping up a lease or selling your home, one of the first questions that comes up is: how much will the move out cleaning cost me? It’s a fair question, and one that doesn’t always have a straightforward answer. Prices can swing significantly depending on factors like square footage, the condition of your space, and the specific tasks involved. At AlphaLux Cleaning, we handle move-out cleans across New York State every week, so we see the full range of what these jobs actually cost. Pricing transparency matters to us because we know you’re already juggling deposits, moving logistics, and a dozen other expenses. The last thing you need is a surprise on the cleaning bill. This article breaks down average move-out cleaning prices, what drives them up or down, and how to evaluate quotes so you’re not overpaying. We’ll walk through the real numbers, based on home size, cleaning scope, and add-on services, so you can budget with confidence before your move-out day arrives. What move-out cleaning includes Move-out cleaning is more thorough than a standard recurring clean. Professional move-out cleaning covers the entire property from top to bottom, targeting areas that often get skipped during routine maintenance. The goal is to return the space to a condition that satisfies a landlord’s inspection checklist or impresses a buyer walking through before closing. Understanding what’s included matters because scope directly affects your move out cleaning cost. If you compare two quotes without knowing what each one covers, you might choose the lower price only to find it excludes appliance cleaning or cabinet interiors that the other quote included. Scope clarity is how you make an honest comparison. Standard tasks covered in every room Every room in the property gets the same baseline treatment in a professional move-out clean. Cleaners dust and wipe all surfaces, including baseboards, window sills, door frames, and light switches. They also vacuum and mop floors, clean interior windows, and remove cobwebs from corners and ceiling lines that accumulate over time. Here’s what you can expect as standard across each room: Dusting all horizontal and vertical surfaces Wiping down baseboards, door frames, and molding Cleaning interior window glass and tracks Vacuuming carpets or mopping hard floors Wiping inside closets and cabinets Spot-cleaning walls for scuffs and marks Cleaning light fixtures and ceiling fans A thorough room-by-room clean is what separates a move-out service from a regular maintenance visit, and it’s also what justifies the higher price point. Kitchen and bathrooms: the heavy hitters Kitchens and bathrooms require significantly more time and effort than other areas of the property. In the kitchen, cleaners scrub the inside of the oven, degrease the stovetop and hood filter, and wipe down cabinet interiors and exteriors. The refrigerator interior is typically included in standard move-out packages as well, though you should confirm this before booking since some providers treat it as an add-on. Bathrooms receive the same level of attention. Toilets, showers, tubs, and sinks are scrubbed and disinfected, grout lines are targeted for buildup and mildew, mirrors are wiped streak-free, and exhaust fans are dusted and cleared. These two rooms often determine whether a tenant gets their security deposit back, so professionals spend more time here than anywhere else. What typically falls outside the scope Knowing what’s NOT included helps you avoid surprises on the final invoice. Most standard move-out cleaning packages do not cover exterior windows, deep carpet shampooing, or biohazard cleanup. Garage cleaning, outdoor areas like patios or balconies, and anything involving damage repair or painting also fall outside the scope of a typical job. Some tasks that seem obvious, like cleaning inside washer and dryer units or handling pest-related messes, may require separate service requests with different pricing structures. Always ask your cleaning provider for a written scope of work before you book, so you know exactly what’s covered and what you’ll need to add on to meet your landlord’s or buyer’s expectations. Average move-out cleaning cost in 2026 Most move-out cleaning jobs in 2026 fall between $150 and $500 for standard residential properties, though the range stretches well beyond that depending on size, condition, and location. In New York State, where labor costs run higher than the national average, expect to pay toward the middle or upper end of that range for most apartments and single-family homes. A studio or small one-bedroom might come in around $150 to $200, while a 3,000-square-foot house could easily reach $400 to $600 or more. The single biggest driver of move out cleaning cost is square footage, but the condition of the property plays an equally important role once cleaners actually see what they’re working with. Cost by home size Your home’s size is the most reliable starting point for estimating what you’ll pay. Cleaning companies use square footage or bedroom count as the primary pricing anchor because larger spaces require more time, more labor, and more cleaning supplies. Here’s a general breakdown of what most professional services charge in 2026: Home Size Estimated Cost Studio / 1 bed (under 700 sq ft) $150 – $220 2 bedroom (700-1,100 sq ft) $200 – $300 3 bedroom (1,100-1,800 sq ft) $280 – $400 4 bedroom (1,800-2,500 sq ft) $375 – $500 5+ bedroom / large home $475 – $650+ These figures reflect a standard move-out clean without add-ons like carpet shampooing or exterior window washing. Your actual quote may come in higher if the property hasn’t been cleaned in a while or if specific areas need extra attention. What the price range tells you A wide price range isn’t a red flag; it reflects how much variation exists between properties. Two 2-bedroom apartments can look completely different after a tenant moves out, and cleaning companies account for that when they price a job. A unit with built-up grease in the kitchen and soap scum in the bathrooms takes more time than a well-maintained space of the same size, so it costs more even at identical square footage. This is why
Move Out Cleaning for Homeowners: The Strategic Guide to a Flawless Transition
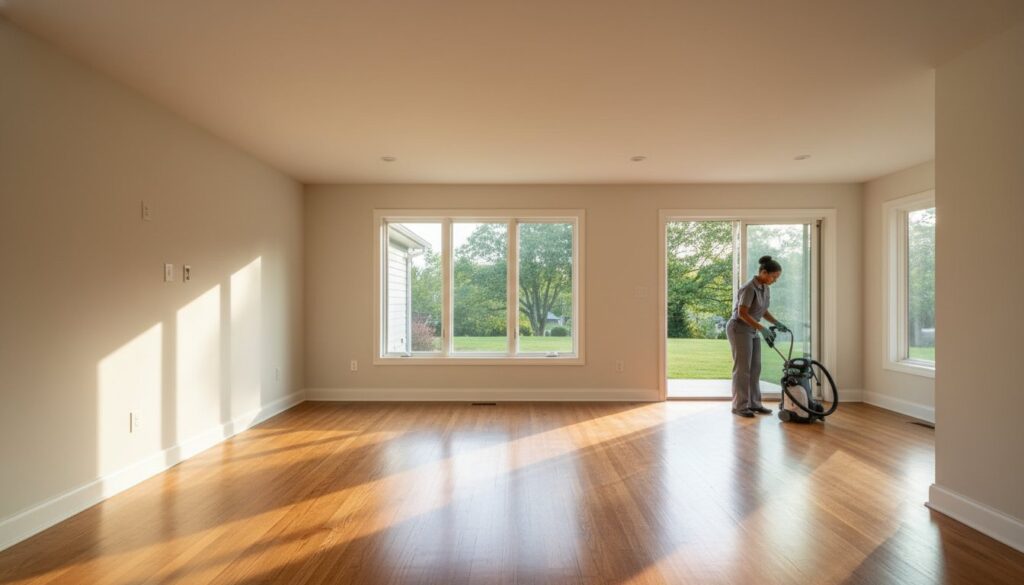
What if the final hurdle to your New York home sale isn’t the complex legal paperwork, but the dust lingering in your baseboards? You’ve likely spent…
5 Oven Cleaning Service Pros In NY: Pricing & What’s Included
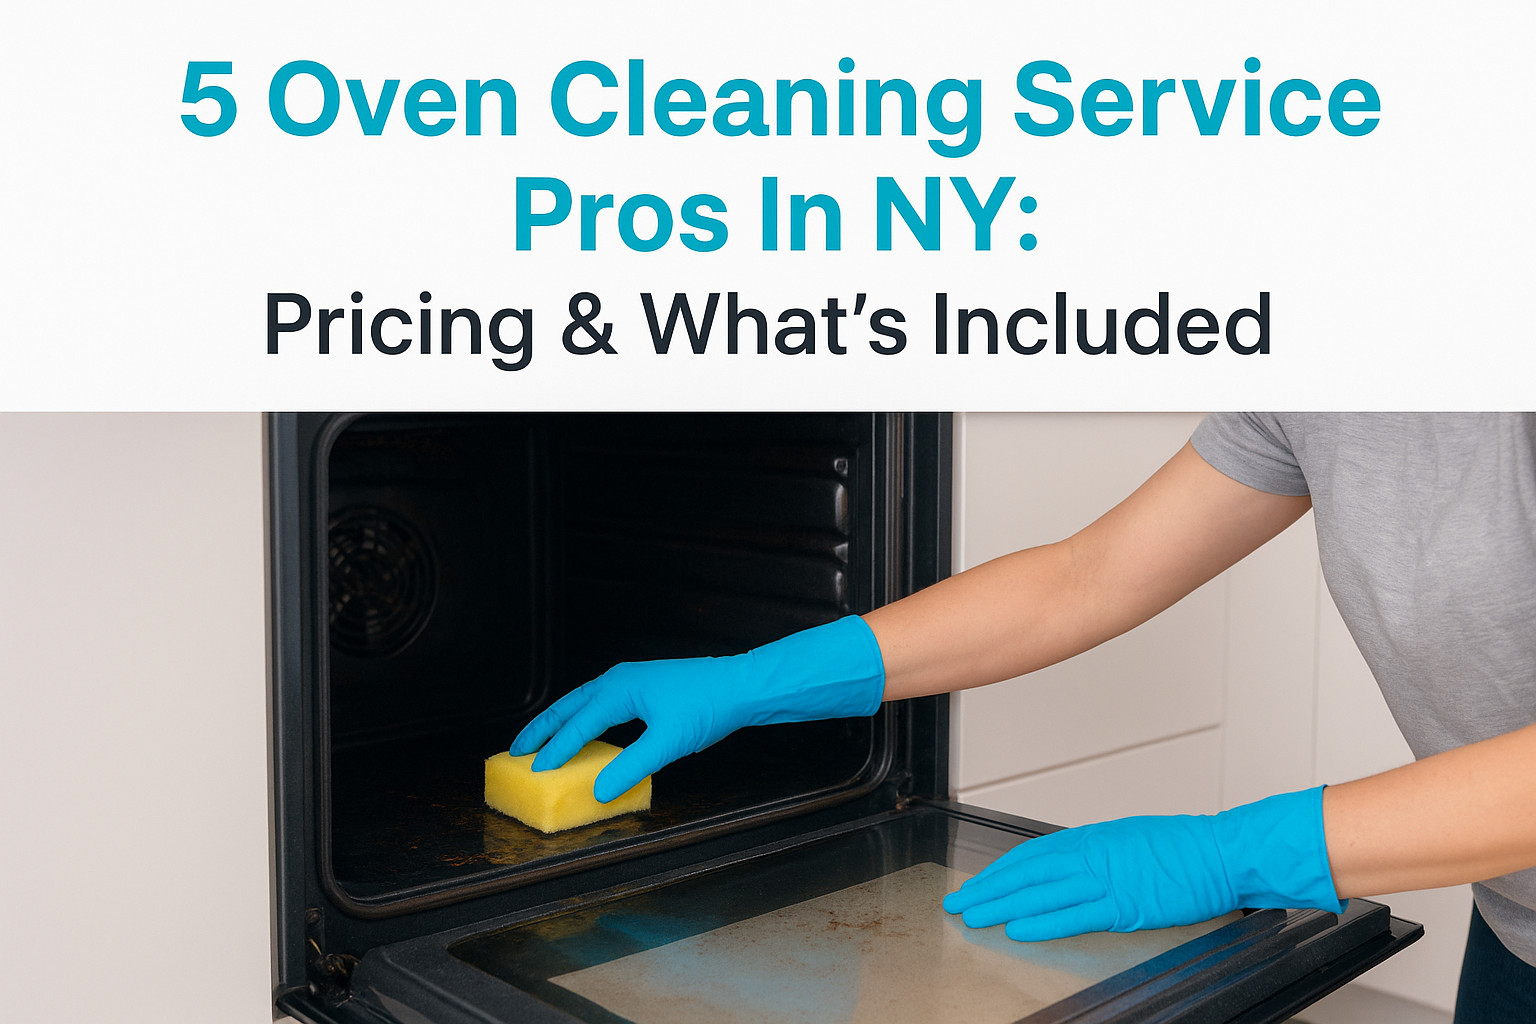
A grimy oven doesn’t just look bad, it affects how your food tastes, how efficiently your appliance runs, and even the air quality in your kitchen. If you’ve been putting off scrubbing through layers of baked-on grease, hiring a professional oven cleaning service is one of the smartest shortcuts you can take. But finding the right one in New York means knowing what you’re actually paying for. At AlphaLux Cleaning, we handle deep cleaning across New York homes and businesses, so we know firsthand what separates a thorough clean from a surface-level wipe-down. That experience gives us a sharp eye for quality, and we used it to put together this guide. We compared pricing, methods, and what’s included across five reputable oven cleaning pros in the state. Below, you’ll find a breakdown of each service, what they charge, how they work, and which one might be the right fit for your kitchen. Whether you need a one-time deep clean or something more regular, this list will help you make a confident hire. 1. AlphaLux Cleaning AlphaLux Cleaning operates across New York state and brings a thorough, detail-focused approach to every job. Their oven cleaning service goes well beyond a quick wipe, covering internal components, racks, and door glass using non-toxic, eco-friendly products that leave no chemical residue behind. What you get with AlphaLux oven cleaning Every booking includes a hands-on deep clean of the oven interior, targeting baked-on grease, carbon buildup, and food debris from the cavity walls, floor, and ceiling. Staff are fully vetted, background-checked, and insured, so you get peace of mind alongside a spotless result. A proper deep clean can restore your oven’s heat efficiency and cut down on smoke and odors during cooking. What’s included vs add-ons The standard oven clean covers the interior cavity, removable racks, and door glass. AlphaLux also lets you customize your visit by adding stovetop burner cleaning or range hood degreasing when you book, so you can tackle the whole cooking area in one appointment. Typical pricing in New York and what changes it Pricing for a standard oven clean in New York typically starts in the $80 to $120 range. The final number depends on oven size, the severity of grease buildup, and any add-ons you select, so heavily soiled appliances or double ovens will push the cost higher. Who this service fits best AlphaLux suits homeowners and renters who want a vetted, insured professional rather than an unverified gig worker. It is also a practical choice for landlords turning over a unit and households that prioritize safe, eco-friendly cleaning products. How to book and what to prep You can book online or request a free estimate directly through the AlphaLux website. Before your cleaner arrives, pull out any items stored inside the oven and clear the area around the appliance so the team can start immediately. 2. The Cleaning Authority The Cleaning Authority is a national franchise with locations across New York. They focus primarily on recurring home cleaning plans rather than one-off specialist jobs, which shapes how their oven cleaning service fits into a booking. How their oven cleaning typically works When you request oven cleaning through The Cleaning Authority, it generally gets bundled into a full home cleaning appointment rather than offered as a standalone service. That means you book a complete house clean and include the oven as part of that visit. If the oven is all you need cleaned, this structure may not be the most cost-effective setup for your budget. What’s included vs add-ons Standard visits cover exterior oven surfaces and door glass. A deep interior clean with rack removal is usually treated as an extra request, so confirm what your specific plan includes before the cleaner arrives. Typical pricing in New York and what changes it Recurring plans in New York typically run $150 to $250 per visit, depending on home size. Adding interior oven work can push that number higher. Who this service fits best This option suits homeowners already on a recurring cleaning plan who want basic oven maintenance folded into their regular schedule without booking a separate appointment. How to book and what to prep Book directly through your local franchise location. Before the visit, remove any items stored inside the oven and confirm that deep oven cleaning is covered under your specific plan. 3. Merry Maids Merry Maids is a national cleaning franchise with locations throughout New York. Their model leans on recurring home cleaning schedules, so their approach to oven and appliance work reflects that structure. How their appliance and oven cleaning typically works Merry Maids includes appliance cleaning as part of broader home cleaning visits rather than offering it as an isolated appointment. You request oven work when scheduling your visit, and the team folds it into the overall clean. If deep oven cleaning is your only priority, a franchise built around recurring full-home visits may not be the most efficient route. What’s included vs add-ons A standard visit covers exterior oven surfaces and control panels. Interior deep cleaning, rack removal, and door glass scrubbing are typically treated as extra requests, so confirm those details when you book. Typical pricing in New York and what changes it Expect $150 to $260 per visit for a standard home clean in New York. Adding an oven cleaning service with interior access pushes that total higher based on the level of buildup. Who this service fits best Merry Maids works well for existing recurring customers who want light oven maintenance layered into their scheduled visits without booking a separate appointment. How to book and what to prep Contact your local Merry Maids franchise to confirm oven cleaning is included in your plan. Clear everything out of the oven and remove racks beforehand to save time on your appointment. 4. MaidPro MaidPro is a national franchise with locations across New York that focuses on recurring residential cleaning plans. Their oven work is structured as an optional add-on rather than a
Deep Kitchen Cleaning Services NYC: The Ultimate Professional Guide for 2026
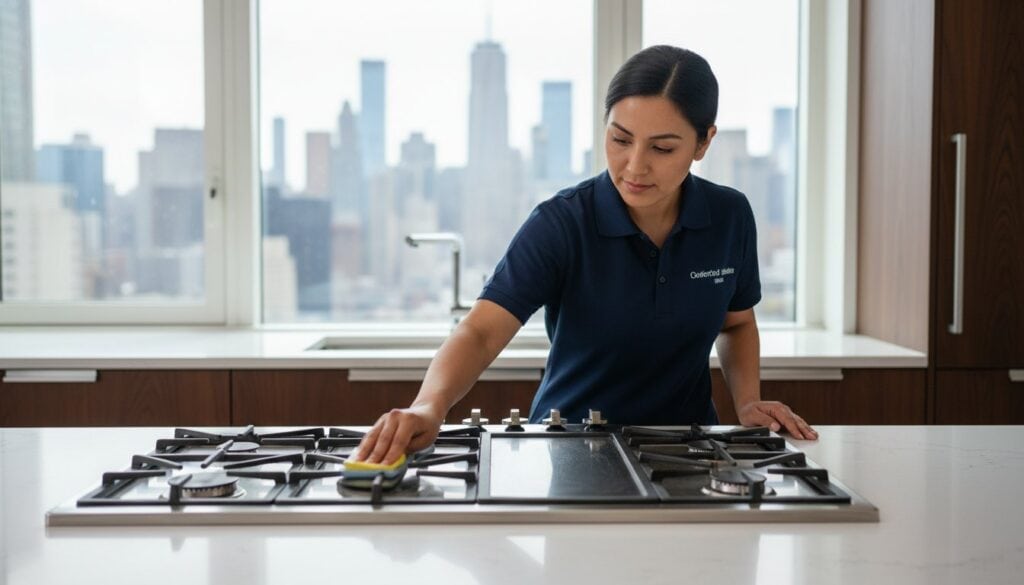
What if the heart of your Manhattan home is harboring layers of urban soot and hidden grease that a standard wipe-down simply cannot reach? You…
Kitchen Cleaning Checklist: Daily, Weekly & Monthly Tasks
A clean kitchen doesn’t happen by accident, it happens with a system. Without one, grease builds up on the stovetop, crumbs collect in corners, and that mystery smell in the fridge just keeps getting worse. A solid kitchen cleaning checklist breaks the work into manageable steps so nothing gets overlooked, and your kitchen stays a space you actually want to cook in. The trick is knowing what to clean and how often. Some tasks need daily attention. Others only matter once a month. When you organize your cleaning by frequency, the whole process becomes less overwhelming and far more effective, whether you’re maintaining your own home or managing a commercial kitchen that needs to meet higher standards. At AlphaLux Cleaning, we help homeowners and businesses across New York keep their spaces spotless through professional, detail-oriented cleaning services. We built this checklist from real experience, the same approach our trained team uses when deep cleaning kitchens throughout Long Island and beyond. Below, you’ll find a complete breakdown of daily, weekly, and monthly tasks to keep your kitchen fresh, sanitary, and ready for whatever you’re serving up next. 1. Hire AlphaLux Cleaning for a kitchen deep clean Before you work through your personal kitchen cleaning checklist, it helps to start from a clean baseline. AlphaLux Cleaning provides professional kitchen deep cleans for homeowners and businesses across New York, so you can take over with a maintenance routine instead of trying to tackle years of buildup on your own. What it covers A deep clean from AlphaLux goes far beyond wiping down surfaces. Our trained team scrubs inside appliances like ovens, microwaves, and refrigerators, degreases range hoods and stovetops, cleans behind and underneath heavy equipment, and tackles grout lines, cabinet faces, and baseboards that most people skip entirely. A professional deep clean removes the built-up grease, grime, and bacteria that regular wiping simply cannot reach. Here is a quick look at what a kitchen deep clean from AlphaLux typically includes: Oven interior cleaning, including racks, walls, and door glass Refrigerator interior wipe-down and deodorizing Range hood and filter degreasing Cabinet exterior scrubbing Sink and faucet sanitizing Floor cleaning, including corners and edges Countertop and backsplash disinfecting When it matters most Certain situations call for a professional deep clean rather than a standard wipe-down. If you are moving into a new home, preparing a rental for new tenants, recovering from a kitchen renovation, or simply realizing your kitchen has not had a thorough clean in months, a professional service is the right move. Businesses running commercial kitchens or office break rooms should schedule professional cleaning regularly to maintain sanitation standards and keep staff and clients comfortable. A single visit can also give you a proper reset before you start maintaining the space yourself. Helpful tips When you book with AlphaLux, clear your countertops and empty your fridge before the team arrives. This allows the cleaners to reach every surface without wasting time moving items around. You should also flag any specific problem areas upfront, whether that is a burnt oven bottom, a greasy range hood, or a fridge with a persistent odor. The more detail you provide ahead of the appointment, the more thorough and targeted the results will be. 2. Set up your kitchen cleaning routine A cleaning routine only works when it fits your real life. Before you commit to any schedule, think about how often your kitchen gets used, how many people cook in it, and how much time you can realistically set aside each day. Building a routine around your actual habits is what makes it stick long-term. What it covers Setting up your routine means deciding which tasks belong to which frequency tier. Your kitchen cleaning checklist works best when divided into daily, weekly, monthly, and seasonal layers, each matched to how much attention those areas actually need. Here is a simple way to think about it: Daily: high-contact surfaces like stovetops, sinks, and countertops Weekly: appliance exteriors, floors, and the inside of the microwave Monthly: refrigerator interiors, cabinet faces, and range hood filters Seasonal: deep cleaning behind appliances, inside cabinets, and overlooked fixtures When it matters most Your routine matters most when life gets busy and consistency becomes harder to maintain. Picking a specific time for daily tasks, like right after dinner, removes the decision fatigue that causes skipped cleaning. Writing your schedule down and posting it somewhere visible makes it far more likely you will follow through. A routine built around your real habits will always outperform a perfect one you never follow. Helpful tips Start with two or three non-negotiable daily tasks before adding anything else. Once those feel automatic, layering in weekly and monthly tasks becomes much easier. A simple checklist format lets you track what gets done and catch gaps before they turn into bigger cleaning problems down the line. 3. Daily kitchen cleaning checklist Your daily tasks are the backbone of any kitchen cleaning checklist. They take less than ten minutes when done consistently, but skipping even a few days allows grease, bacteria, and odors to build up fast. The goal with daily cleaning is to reset your kitchen after each use so it never reaches a point where a quick wipe-down is no longer enough. What it covers Daily kitchen cleaning focuses on the high-contact surfaces and items that collect grime with every meal. These are the areas that affect both hygiene and how your kitchen feels to cook in the next day. Wipe down stovetop and burner grates after cooking Clean countertops with a food-safe disinfectant Wash dishes or run the dishwasher Rinse and dry the sink, then wipe the faucet Empty the trash if it is full or smells Sweep or spot-clean the floor around the stove and prep areas Wipe down the exterior of appliances you touched during cooking When it matters most Daily cleaning matters most on the days you cook the most, especially after meals involving oil, raw meat, or anything that splatters. Doing these tasks
Commercial Cleaning for Gyms in Long Island: The Premium Sanitation Standard for 2026

Could the invisible state of your facility be the silent factor impacting your member retention rates? While a busy gym floor is a sign of success,…